
Commission Garment
Build a garment for a client with measurements, muslin fittings, approval checkpoints, and professional handoff. Covers client briefs, quoting, remote fitting strategies, progress communication, and shipping finished garments safely.
8 weeks
15
8
2
See the whole look before you start.
References, materials, budget, and build order for Commission Garment.
Timeline
8 weeks
Color refs
Materials
8 items
Budget
$100 - $400
save the visual refs
Full reference board
The preview above is curated for scanning. This is the working board you clone into your own build, with notes, colors, product images, and extra references intact.
Images are sourced from around the internet to help you get started. Use the web clipper to build your own reference library.
Reference images are gathered from around the web and belong to their original creators. We link back to where we found each one. If something here is yours and you want it taken down, email us and it is gone.
Build guide
Sewing for a client is where your craft becomes a business, and the shift is bigger than most sewists expect. You're not just making a garment. You're managing expectations, communicating progress, hitting deadlines, and delivering something that fits a body you might never pin on in person. The sewing skills are table stakes. The client management skills are what determine whether you get repeat business or refund requests.
Your deliverable is a finished garment that matches the client's brief, fits their measurements, has passed their approval at key checkpoints, and arrives safely in their hands. The process includes formal approval gates alongside construction milestones because surprises kill commissions. A client who discovers a color mismatch after the garment ships is a client you've lost forever.
The brief is your contract. Nail down every detail before you pick up scissors: exact design specifications, fabric preferences, measurements (with photos of how they measured), timeline, budget, and what's included in revisions. Write it all in a shared document with screenshots and references. If the client says "I want it to look like this" and you have different interpretations of "this," you'll find out too late.
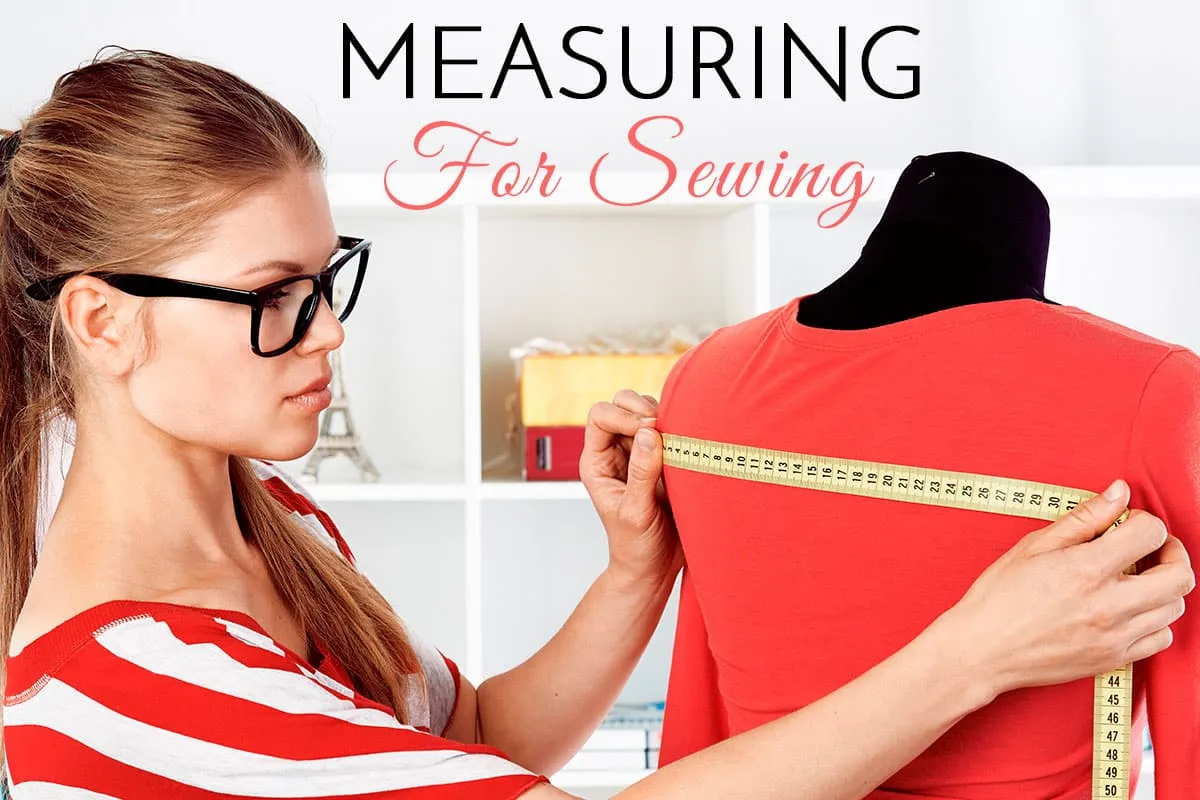
Remote fittings are the biggest challenge in garment commissions. When you can't pin on the actual person, you need to build adjustment room into the garment. Laced closures instead of zippers, adjustable waistbands, and generous seam allowances that can be let out. Ship a muslin for the client to try on and photograph, or build to their measurements with intentional adjustment points.
Client Brief
Collect detailed references, color specifics (Pantone numbers or fabric swatches if possible), and written confirmation of every design detail. Take or receive measurements using a standardized measurement guide with photos showing exactly where to measure. If the client sends measurements, verify them by asking for reference checks (height, weight, a garment they own that fits well with its labeled size).
Planning and Quoting
Draft a detailed plan listing every construction step, materials needed, estimated timeline, and total cost. Break the quote into materials and labor. Include your revision policy: how many rounds of changes, what constitutes a revision versus a redesign, and the cost of additional revisions. Get written approval on the plan and quote before proceeding.
Pattern and Muslin
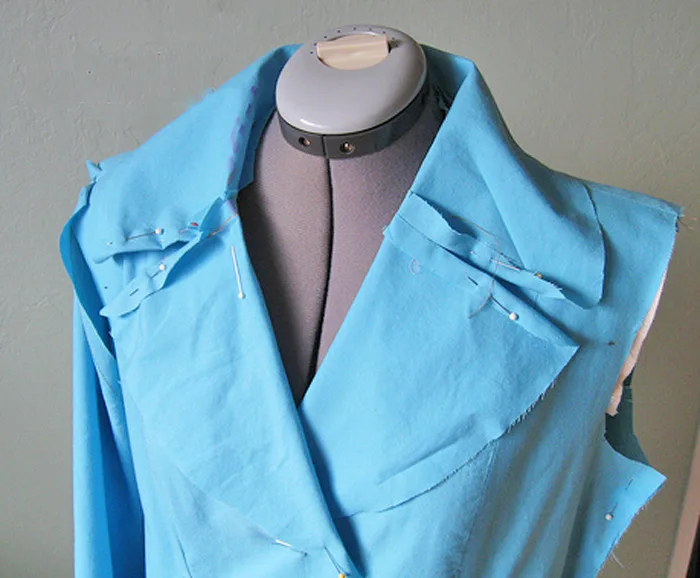
Draft or adapt a pattern to the client's measurements. Size the pattern, make adjustments based on their measurement notes (they mentioned broad shoulders, FBA needed, etc.), and sew a muslin. Photograph the muslin from front, side, and back. Send these to the client for review. If budget allows and the client is remote, ship the muslin for them to try on and photograph while wearing.
Client Approval on Fit
Wait for explicit written approval on the muslin fit before cutting fashion fabric. If changes are needed, adjust the muslin, photograph or ship again, and get approval. This gate prevents the most expensive mistake in commission sewing: cutting $30-80/yard of fashion fabric to a pattern that doesn't fit.
Fabric Sourcing
Source fabrics per the approved design. Send fabric swatches or photos for client confirmation before cutting. If a specified fabric is unavailable, present alternatives with photos and get approval on the substitution. Never substitute without asking.
Construction
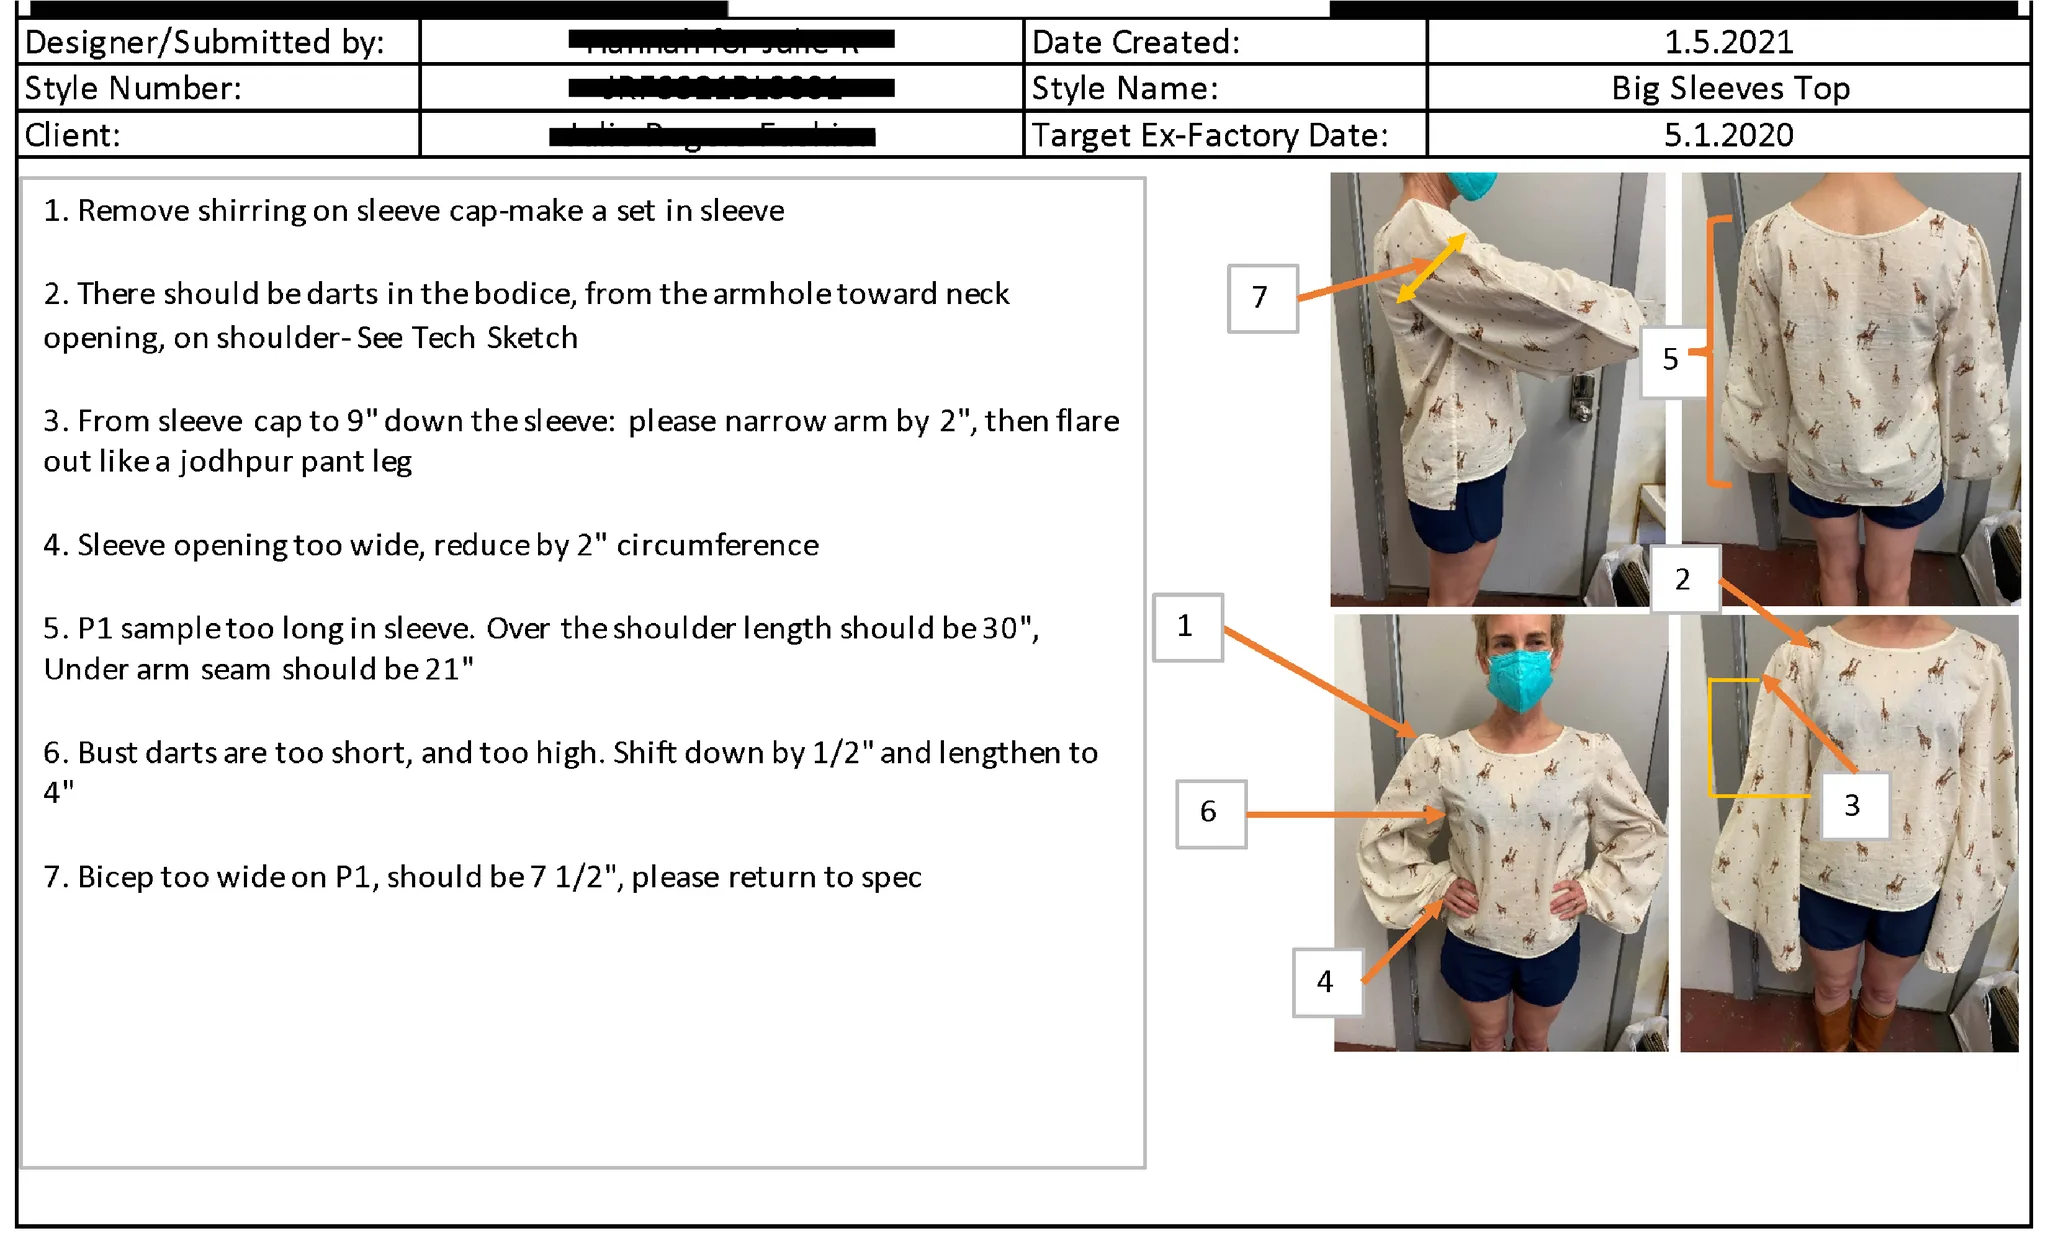
Cut and sew the garment following the approved pattern. Send progress photos at natural milestones: main body assembled, closures installed, embellishments in progress. Include a brief note about what's done, what's next, and timeline status. Weekly photo updates minimum.
Progress Communication
This is the make-or-break habit for commission work. Clients who don't hear from you get nervous. Nervous clients send "just checking in" messages that multiply if unanswered. A 2-minute photo and status update every week prevents 90% of client anxiety. If you're behind schedule, say so immediately with a revised timeline.
Fitting
For local clients, schedule an in-person fitting. For remote clients, this is where your adjustment points pay off. If the garment has adjustable closures, the client can fine-tune the fit themselves. Include fitting instructions with the delivery.
Final Adjustments
Make any adjustments from client feedback. If the requested changes are within the original scope, include them. If they're new requests (additional embellishment, design changes), quote them separately. Be kind but clear about scope boundaries.
Finishing and Delivery
Press the finished garment, photograph it from all angles under good lighting, and send final photos for approval. Once approved, package in tissue paper inside a garment bag, place in a sturdy shipping box, and ship with tracking and insurance. Include care instructions, a thank-you note, and your contact info. A small fabric swatch of the main material helps the client with future repairs.
Common mistakes
- Starting construction before written approval. Verbal agreements lead to disputes. Every approval (design, quote, muslin fit, fabric choice, final product) should be in writing (email, text, or shared doc).
- Underquoting labor hours. Track your time on your first few commissions to calibrate your estimates. Most sewists underestimate by 30-50% because they forget communication time, shopping, and finishing.
- No progress photos. Even if construction is going perfectly, the client doesn't know that. Radio silence plus a looming deadline equals an anxious client.
- Shipping without insurance. A finished garment lost or damaged in shipping is a full financial loss. Insurance costs $5-15 and covers the full value. Always ship insured.
- Absorbing scope creep. If the client changes the design mid-build, that's additional work. Quote it, get approval, then build it. Absorbing unpaid changes leads to resentment and unsustainable pricing.
Commission sewing is a skill multiplier. It turns your craft into income. But the business side (communication, agreements, boundaries) matters as much as the stitching.
Components
Client garment
Fitting muslin
Materials list
8 itemsEstimated total cost
$100 - $400
Milestone timeline
8 weeks- 1
Client brief and reference collection
planning
- 2
Take or receive client measurements
planning
- 3
Draft plan, timeline, and quote
planning
- 4
Client approval on plan
planning
- 5
Source fabrics and notions
cutting
- 6
Draft or adjust pattern to measurements
pattern
- 7
Sew muslin and photograph for client
muslin
- 8
Client approval on muslin fit
muslin
- 9
Cut fashion fabric
cutting
- 10
Sew garment
sewing
- 11
Progress photos to client
sewing
- 12
Fitting (in person or ship muslin)
Fitting
- 13
Final adjustments
Finishing
- 14
Press and photograph finished garment
pressing
- 15
Package and ship or arrange handoff
pressing
Frequently
asked questions.
Related tools and guides
Plan your build, estimate costs, and get ready.
Budget Calculator
Estimate your build cost before you start buying materials.
Convention Checklist
88-item packing checklist. Check off items as you pack.
Prop Scaling Calculator
Scale reference images to your body measurements.
How Much Does a Sewing Project Cost?
Real build budgets with specific products and dollar amounts.
Fabric Yardage Calculator for Cosplay
Real build budgets with specific products and dollar amounts.
Sewing on Costumary
Templates, tools, and workspace built for sewing makers.
Browse all templates
Explore build plans across 10 craft verticals.
Start this build free
Clone this template into your workspace. Track materials, milestones, budget, and build progress in one place.
Related templates
Sweet Lolita JSK
4 weeks · 18 milestones
A sweet lolita jumperskirt: fitted bodice, gathered or pleated skirt with shirring or lace-edged waistband, tiered ruffles, lace trim everywhere. The bodice is the technical core, the lace application is where precision shows, and the skirt needs serious volume without looking limp. 6 components, 12 materials, ~4 weeks, $70-180.
Layered Petticoat
2 weeks · 14 milestones
A multi-layered petticoat or crinoline for historical dresses, lolita coords, or cosplay skirts. The fullness comes from gathering long fabric strips and stacking them in tiers, building volume without a rigid frame. Choose between cotton voile for light fluff or organza for structure and visible iridescence. 4 components, 11 materials, ~2 weeks, $30-80.
Cottagecore Dress
3 weeks · 13 milestones
A prairie-inspired cottagecore dress with puffed sleeves, gathered skirt, and delicate finishing. The puffed sleeves are the focal point, requiring careful sleeve cap sizing and gathering. This is a forgiving first garment project for sewers who want something wearable and romantic. 4 components, 11 materials, ~3 weeks, $50-140.
Regency Day Dress
5 weeks · 13 milestones
An empire-waist dress with gathered skirt and puffed sleeves, grounded in Regency-era silhouettes (1811-1820). The high waistline and tailored bodice define the build; the challenge is matching the delicate fabric drape and hand-finishing details that period gowns demanded. 5 components, 11 materials, ~5 weeks, $100-280.
Renaissance Bodice
4 weeks · 15 milestones
A structured renaissance faire bodice with boned channels and lace-up front or back closure. The boning is the make-or-break detail: it holds the silhouette and prevents slumping after hours of wear. Choose between an overbust or underbust style, pick your lacing direction, and layer it over a chemise for authentic drape. 5 components, 12 materials, ~4 weeks, $80-200.
Hooded Cloak
3 weeks · 11 milestones
A full-length hooded cloak lined and finished—the weekend project that reads like you spent months on it. This is a beginner-friendly build that teaches you the fundamentals: cutting large pieces, sewing clean seams, drafting a hood that fits, and installing a functional clasp. 4 components, 10 materials, ~3 weeks, $60-150.
Underbust Corset
5 weeks · 13 milestones
A steel-boned underbust corset with proper construction technique: laced front, structured channels for spiral and flat bones, reinforced grommets, and a sturdy busk closure. This is a real garment, not a costume shortcut. Learning to build one teaches you about structured sewing, pattern grading, and how precision seaming carries the whole piece. 5 components, 13 materials, ~4-5 weeks, $120-280.
Costume / Cosplay Garment
6 weeks · 13 milestones
Sew a costume garment for cosplay, theater, or ren faire with non-standard construction. Covers character reference analysis, pattern drafting or adaptation, muslin fitting, specialty fabric sourcing, and costume-specific embellishment techniques.