
Alterations Batch
Tackle a pile of garments that need hemming, taking in, letting out, or modifying for better fit. Covers sorting, pinning adjustments, unpicking, resewing, and finishing a batch of alterations in one focused session.
1 weeks
8
6
1
See the whole look before you start.
References, materials, budget, and build order for Alterations Batch.
Timeline
1 weeks
Color refs
Materials
6 items
Budget
$5 - $20
save the visual refs
Full reference board
The preview above is curated for scanning. This is the working board you clone into your own build, with notes, colors, product images, and extra references intact.
Images are sourced from around the internet to help you get started. Use the web clipper to build your own reference library.
Reference images are gathered from around the web and belong to their original creators. We link back to where we found each one. If something here is yours and you want it taken down, email us and it is gone.
Build guide
Everyone has the pile. The jeans that are 2 inches too long, the dress that gaps at the waist, the thrifted jacket with sleeves past your fingertips, the pants from last year that don't quite fit anymore. You keep meaning to get to them, and they keep sitting there. An alterations batch turns that guilt pile into a productive afternoon.
Your finished product is a stack of garments that actually fit and are ready to wear. Not someday. Tomorrow. The whole batch takes a few hours to a full weekend depending on how many pieces you're tackling and how involved the alterations are. Simple hems take 15-20 minutes each. Taking in a waist is 30-45 minutes. Rebuilding a shoulder seam is an hour.
Sort by complexity before you start. Group your garments into tiers: simple (hems, taking in side seams), moderate (moving darts, adjusting waistbands, shortening sleeves), and complex (restructuring shoulders, replacing zippers, adding darts where none exist). Do all the simple ones first to build momentum, then tackle the harder pieces when you're warmed up.
The seam ripper is your most important tool for this project. Half of alterations work is unpicking existing construction before you can resew it. A sharp seam ripper and good lighting make this tolerable. A dull seam ripper and bad lighting make you want to throw the garment across the room. Buy a fresh seam ripper. They're $3.
Planning
Sort all garments and list the specific alteration needed for each one. Try on every piece and note exactly what needs to change. Be specific: "take in side seams 1 inch total" not "make it smaller." Write it down. When you're mid-batch with fabric everywhere, you won't remember the details.
Fitting and Pinning
Try on each garment and pin the adjustments while wearing it. For hems, wear the shoes you'll pair with the garment. Have someone else pin if possible; pinning your own hem is awkward and often uneven. For taking in, pin along the seam line while wearing and mark the new line with chalk when you take it off.
Marking
Transfer pinned adjustments to precise markings with tailor's chalk or a fabric marker. Measure from the original seam to your new line to make sure it's consistent. An alteration that's 1/2 inch at the top and 3/4 inch at the bottom looks crooked when worn.
Unpicking
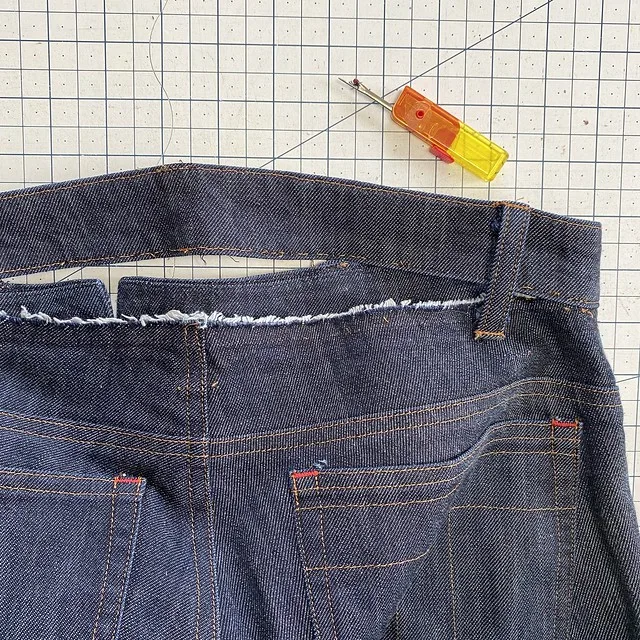
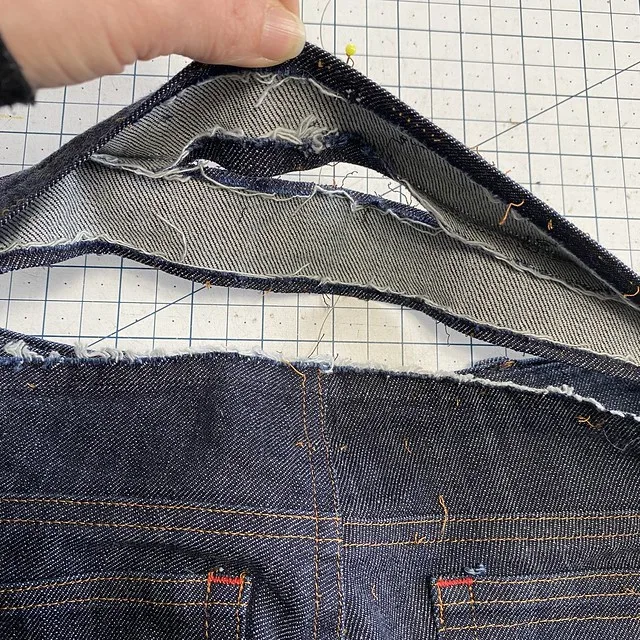
Remove the original stitching in the areas you're altering. Slide the seam ripper blade under each stitch individually. Don't drag the ripper along the seam line (this tears fabric). Pull out all thread fragments so they don't get caught in your new stitching.
Sewing
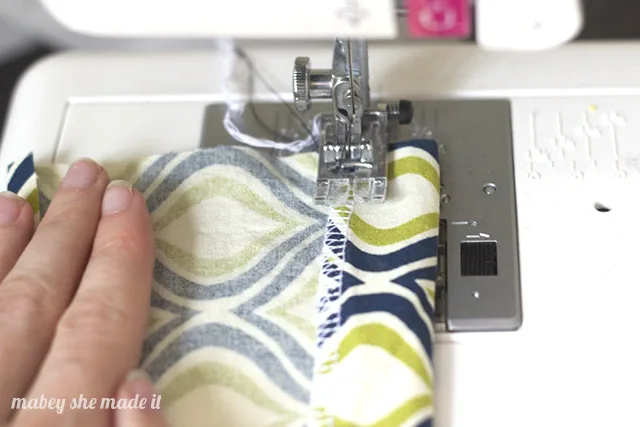
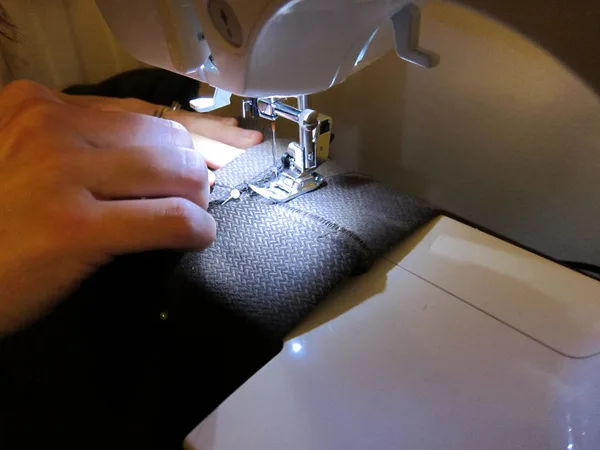
Sew the new seam lines. Match thread color as closely as possible. Use the same stitch type as the original construction where visible (straight stitch for wovens, stretch stitch for knits). Backstitch at the beginning and end. For hems, a blind hem stitch (by hand or machine) is invisible from the outside.
Verification
Try on each garment after alteration. Check that the fix solved the original problem and didn't introduce new ones. Taking in a waist sometimes causes the hip to pull. Shortening sleeves sometimes exposes a vent that needs adjustment. Fix any cascading issues now.
Finishing and Pressing
Trim any excess fabric from altered seams (leave at least 1/2 inch seam allowance for future adjustments). Finish raw edges with a zigzag stitch or pinking shears. Press all altered areas.
Common mistakes
- Not wearing the right shoes when hemming. Heel height changes hem length. Always pin hems with the shoes you'll wear with that garment.
- Forgetting to check the other side. If you take in the left side seam, you probably need to take in the right side the same amount. Symmetry matters.
- Trimming too much seam allowance. Leave enough to let out if your body changes or you made a mistake. Half an inch minimum.
- Using the wrong thread color on visible stitching. Thread that's close-but-not-matching is more visible than you'd think. Hold thread against the garment in daylight, not under fluorescent lights.
Alterations are the most practical sewing skill you can have. A $5 thrift store find that fits perfectly after a 20-minute alteration beats a $50 new garment that doesn't.
Components
Garments to alter
Materials list
6 itemsEstimated total cost
$5 - $20
Milestone timeline
1 weeks- 1
Sort garments and list needed alterations
planning
- 2
Try on each garment and pin adjustments
Fitting
- 3
Mark new seam lines and hems
pattern
- 4
Unpick original seams where needed
sewing
- 5
Sew alterations
sewing
- 6
Try on and verify fit
Fitting
- 7
Finish raw edges and trim bulk
Finishing
- 8
Press all altered garments
pressing
Frequently
asked questions.
Related tools and guides
Plan your build, estimate costs, and get ready.
Budget Calculator
Estimate your build cost before you start buying materials.
Convention Checklist
88-item packing checklist. Check off items as you pack.
Prop Scaling Calculator
Scale reference images to your body measurements.
How Much Does a Sewing Project Cost?
Real build budgets with specific products and dollar amounts.
Fabric Yardage Calculator for Cosplay
Real build budgets with specific products and dollar amounts.
Sewing on Costumary
Templates, tools, and workspace built for sewing makers.
Browse all templates
Explore build plans across 10 craft verticals.
Start this build free
Clone this template into your workspace. Track materials, milestones, budget, and build progress in one place.
Related templates
Commission Garment
8 weeks · 15 milestones
Build a garment for a client with measurements, muslin fittings, approval checkpoints, and professional handoff. Covers client briefs, quoting, remote fitting strategies, progress communication, and shipping finished garments safely.
Sweet Lolita JSK
4 weeks · 18 milestones
A sweet lolita jumperskirt: fitted bodice, gathered or pleated skirt with shirring or lace-edged waistband, tiered ruffles, lace trim everywhere. The bodice is the technical core, the lace application is where precision shows, and the skirt needs serious volume without looking limp. 6 components, 12 materials, ~4 weeks, $70-180.
Layered Petticoat
2 weeks · 14 milestones
A multi-layered petticoat or crinoline for historical dresses, lolita coords, or cosplay skirts. The fullness comes from gathering long fabric strips and stacking them in tiers, building volume without a rigid frame. Choose between cotton voile for light fluff or organza for structure and visible iridescence. 4 components, 11 materials, ~2 weeks, $30-80.
Cottagecore Dress
3 weeks · 13 milestones
A prairie-inspired cottagecore dress with puffed sleeves, gathered skirt, and delicate finishing. The puffed sleeves are the focal point, requiring careful sleeve cap sizing and gathering. This is a forgiving first garment project for sewers who want something wearable and romantic. 4 components, 11 materials, ~3 weeks, $50-140.
Regency Day Dress
5 weeks · 13 milestones
An empire-waist dress with gathered skirt and puffed sleeves, grounded in Regency-era silhouettes (1811-1820). The high waistline and tailored bodice define the build; the challenge is matching the delicate fabric drape and hand-finishing details that period gowns demanded. 5 components, 11 materials, ~5 weeks, $100-280.
Renaissance Bodice
4 weeks · 15 milestones
A structured renaissance faire bodice with boned channels and lace-up front or back closure. The boning is the make-or-break detail: it holds the silhouette and prevents slumping after hours of wear. Choose between an overbust or underbust style, pick your lacing direction, and layer it over a chemise for authentic drape. 5 components, 12 materials, ~4 weeks, $80-200.
Hooded Cloak
3 weeks · 11 milestones
A full-length hooded cloak lined and finished—the weekend project that reads like you spent months on it. This is a beginner-friendly build that teaches you the fundamentals: cutting large pieces, sewing clean seams, drafting a hood that fits, and installing a functional clasp. 4 components, 10 materials, ~3 weeks, $60-150.
Underbust Corset
5 weeks · 13 milestones
A steel-boned underbust corset with proper construction technique: laced front, structured channels for spiral and flat bones, reinforced grommets, and a sturdy busk closure. This is a real garment, not a costume shortcut. Learning to build one teaches you about structured sewing, pattern grading, and how precision seaming carries the whole piece. 5 components, 13 materials, ~4-5 weeks, $120-280.