
Bag / Accessory
Sew a tote bag, zipper pouch, or fabric accessory from a commercial pattern. A practical weekend project with a quick payoff and immediate use. Great for beginners who want a finished product fast.
2 weeks
10
7
3
See the whole look before you start.
References, materials, budget, and build order for Bag / Accessory.
Timeline
2 weeks
Color refs
Materials
7 items
Budget
$10 - $40
save the visual refs
Full reference board
The preview above is curated for scanning. This is the working board you clone into your own build, with notes, colors, product images, and extra references intact.
Images are sourced from around the internet to help you get started. Use the web clipper to build your own reference library.
Reference images are gathered from around the web and belong to their original creators. We link back to where we found each one. If something here is yours and you want it taken down, email us and it is gone.
Build guide
A bag is the perfect first or second sewing project because you finish it in a weekend and immediately start using it. No fitting, no body measurements, no muslin mockup. Cut, sew, turn right side out, done. You walk out of the craft room with something functional instead of a pile of learning-project fabric that goes in a drawer.
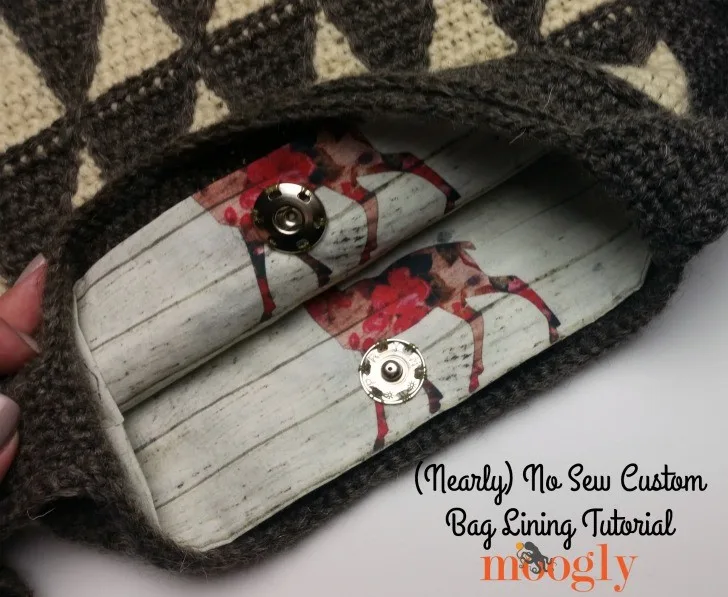
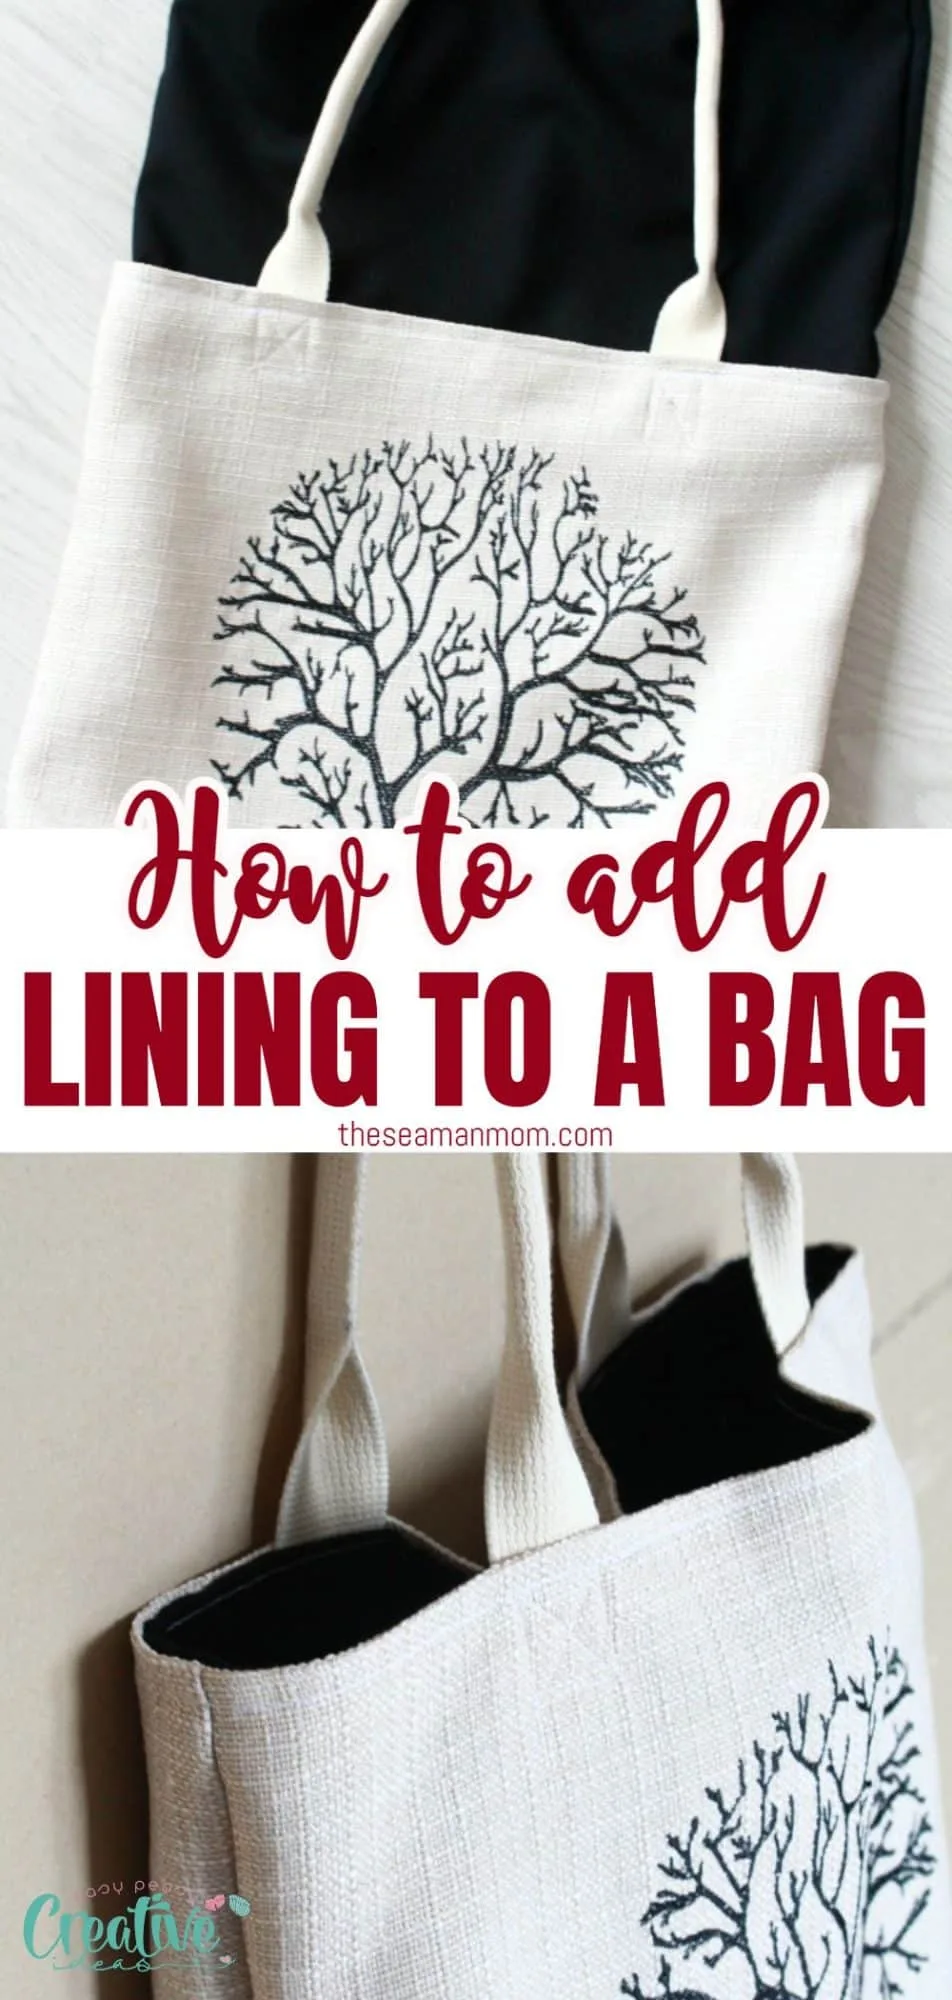
Your finished product is a practical bag or accessory: a tote, zipper pouch, crossbody bag, or travel organizer. It'll have a lining, a closure (zipper, magnetic snap, or button), and handles or straps. The construction teaches you skills that directly transfer to garment sewing: interfacing, zipper installation, topstitching, and working with multiple layers.
Bag patterns are more forgiving than garment patterns. There's no body to fit. If your seam allowance varies by 1/8 inch, the bag still works. It might be slightly larger or smaller, but nobody notices. This forgiveness makes bags ideal for building confidence with your machine before tackling fitted garments.
Interfacing transforms a floppy bag into a structured one. Fusible interfacing is an iron-on layer that gives fabric body and structure. Without it, most fabrics are too limp to hold a bag shape. Pellon SF101 (light) or Pellon 808 (medium) are standard choices for bags. Heavy-duty bags use Pellon 71F (extra firm). Fuse it to your outer fabric pieces before sewing.
Planning
Choose a bag pattern that matches your skill level. A flat tote is the simplest (two rectangles and two straps). A lined zipper pouch adds a zipper but is still a weekend project. A structured crossbody with pockets and a flap is an intermediate project. Read the pattern instructions through before starting.
Materials
Select your outer fabric, lining fabric, and interfacing. Canvas and duck cloth work great for totes. Cotton prints with fusible interfacing handle structured pouches and bags. Lining fabric should be lighter weight than the outer (quilting cotton is fine). Pick a zipper, snap, or button for the closure, and webbing or self-fabric straps.
Cutting
Cut all pieces from your outer fabric, lining, and interfacing following the pattern layout. Apply fusible interfacing to the wrong side of outer fabric pieces with a dry iron (press, don't slide, and hold for 10-15 seconds per section). Let interfaced pieces cool before handling.
Pockets
If your bag has interior pockets, sew them to the lining pieces now, before assembling the bag body. It's much easier to topstitch a pocket onto a flat piece of lining than inside an assembled bag. Press pocket edges under before stitching for clean lines.
Zipper Installation
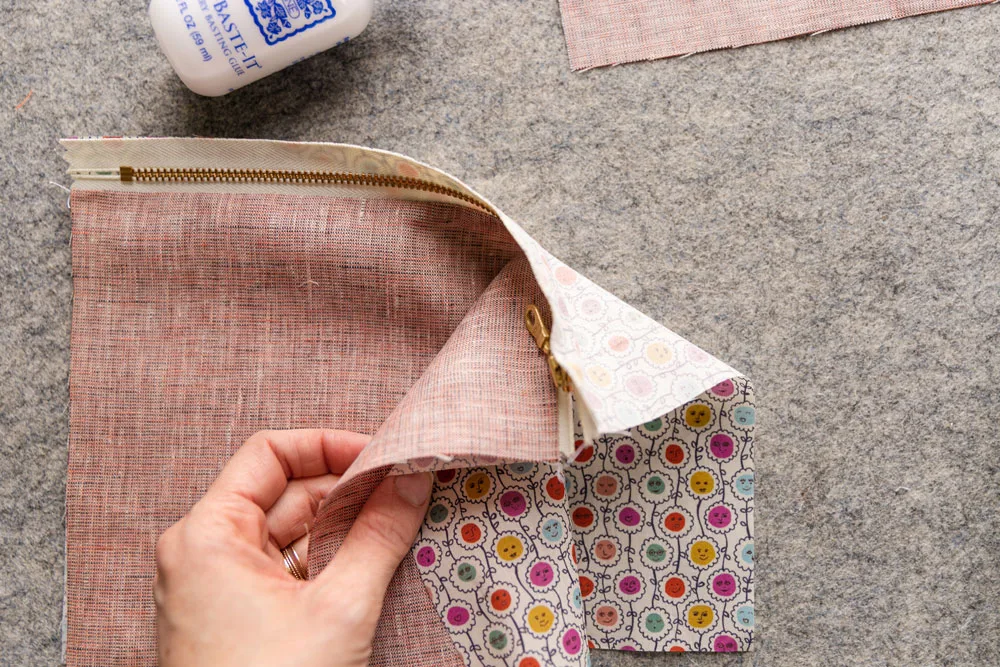
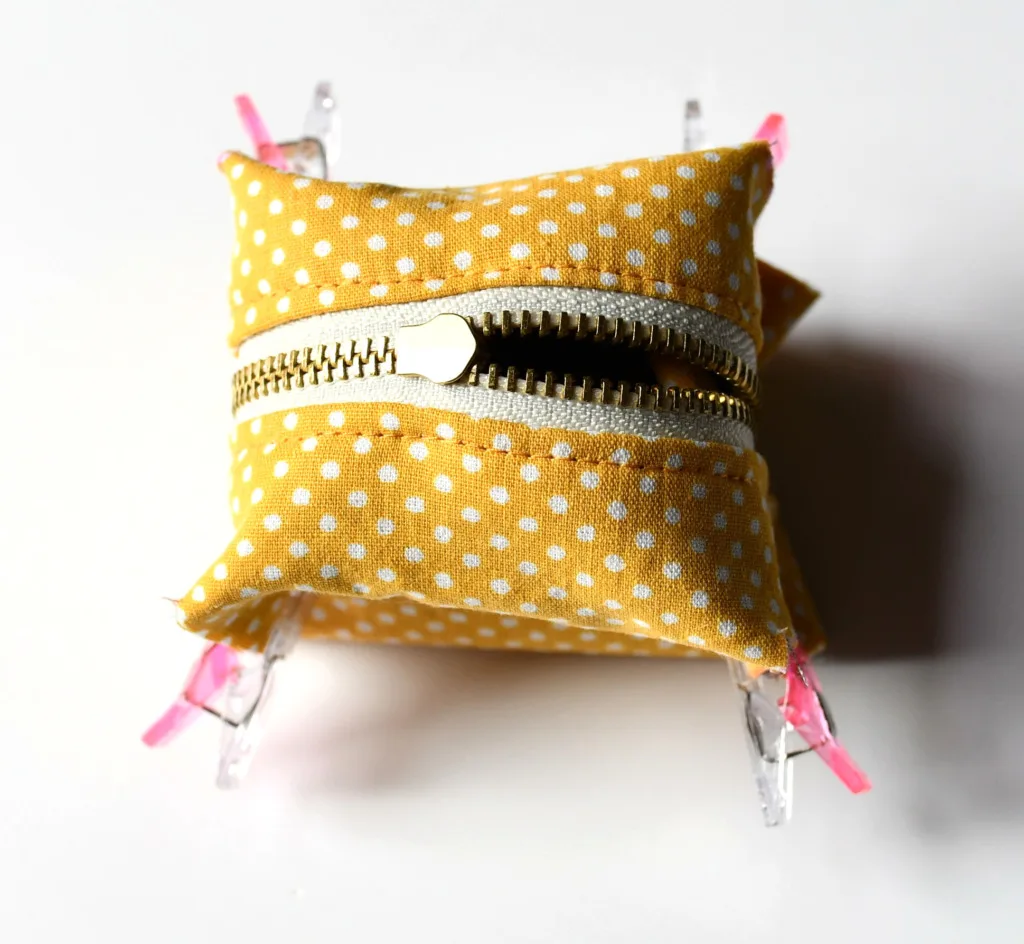
For a zippered pouch or bag, install the zipper next. Sandwich the zipper between the outer and lining fabric, right sides together, sew with a zipper foot. The trick is getting the lining and outer fabric to line up evenly on both sides of the zipper. Clips (not pins) work better for holding layers around a zipper.
Assembly
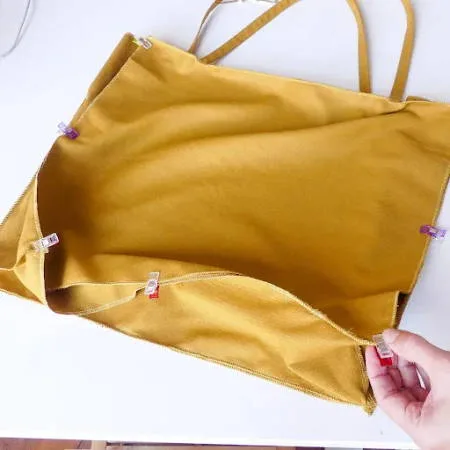
Sew the main bag body. Most bag patterns have you sew the outer and lining separately, then join them at the top edge. Leave a 4-6 inch turning gap in the lining bottom. Turn the whole bag right side out through that gap, then close it with a ladder stitch or topstitch.
Straps
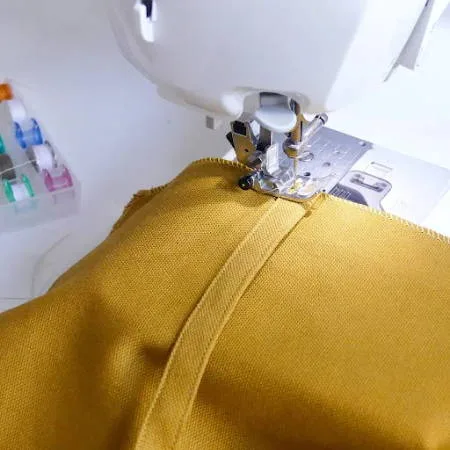
Attach straps securely. Bag straps take a lot of stress. Box-stitch (a square with an X inside) your strap attachment points. Backstitching at the beginning and end of each strap line isn't enough for loaded bags. Webbing straps ($3-5/yard at JoAnn) are stronger than self-fabric straps.
Finishing
Turn right side out, push out corners with a point turner or chopstick, and press everything flat. Topstitch around the opening edge at 1/8 inch from the edge. This secures the lining inside and gives a clean, professional finish. Final press.
Common mistakes
- Forgetting interfacing. An uninterfaced bag is floppy and shapeless. It's the difference between a bag that stands up and one that collapses when you set it down.
- Skipping the turning gap in the lining. If you sew the lining closed completely, you can't turn the bag right side out. Leave a 4-6 inch gap in the bottom seam and close it after turning.
- Weak strap attachment. A simple straight stitch where straps meet the bag will rip under load. Use a box-stitch (square with X) and backstitch at every corner.
- Not clipping curves and corners. Curved seams and corners need to be clipped (curves) or trimmed (corners) before turning so they lie flat on the outside. Unclipped curves pucker.
Bags are instant gratification sewing. You finish on Sunday and use it on Monday.
Components
Bag body
Lining
Straps / handles
Materials list
7 itemsEstimated total cost
$10 - $40
Milestone timeline
2 weeks- 1
Choose bag pattern and style
planning
- 2
Select fabric and hardware
planning
- 3
Cut all pieces
cutting
- 4
Apply interfacing to structural pieces
cutting
- 5
Sew interior pockets (if any)
sewing
- 6
Install zipper
sewing
- 7
Sew main body
sewing
- 8
Attach straps or handles
sewing
- 9
Turn right side out and press
Finishing
- 10
Topstitch and final press
pressing
Frequently
asked questions.
Related tools and guides
Plan your build, estimate costs, and get ready.
Budget Calculator
Estimate your build cost before you start buying materials.
Convention Checklist
88-item packing checklist. Check off items as you pack.
Prop Scaling Calculator
Scale reference images to your body measurements.
How Much Does a Sewing Project Cost?
Real build budgets with specific products and dollar amounts.
Fabric Yardage Calculator for Cosplay
Real build budgets with specific products and dollar amounts.
Sewing on Costumary
Templates, tools, and workspace built for sewing makers.
Browse all templates
Explore build plans across 10 craft verticals.
Start this build free
Clone this template into your workspace. Track materials, milestones, budget, and build progress in one place.
Related templates
Commission Garment
8 weeks · 15 milestones
Build a garment for a client with measurements, muslin fittings, approval checkpoints, and professional handoff. Covers client briefs, quoting, remote fitting strategies, progress communication, and shipping finished garments safely.
Sweet Lolita JSK
4 weeks · 18 milestones
A sweet lolita jumperskirt: fitted bodice, gathered or pleated skirt with shirring or lace-edged waistband, tiered ruffles, lace trim everywhere. The bodice is the technical core, the lace application is where precision shows, and the skirt needs serious volume without looking limp. 6 components, 12 materials, ~4 weeks, $70-180.
Layered Petticoat
2 weeks · 14 milestones
A multi-layered petticoat or crinoline for historical dresses, lolita coords, or cosplay skirts. The fullness comes from gathering long fabric strips and stacking them in tiers, building volume without a rigid frame. Choose between cotton voile for light fluff or organza for structure and visible iridescence. 4 components, 11 materials, ~2 weeks, $30-80.
Cottagecore Dress
3 weeks · 13 milestones
A prairie-inspired cottagecore dress with puffed sleeves, gathered skirt, and delicate finishing. The puffed sleeves are the focal point, requiring careful sleeve cap sizing and gathering. This is a forgiving first garment project for sewers who want something wearable and romantic. 4 components, 11 materials, ~3 weeks, $50-140.
Regency Day Dress
5 weeks · 13 milestones
An empire-waist dress with gathered skirt and puffed sleeves, grounded in Regency-era silhouettes (1811-1820). The high waistline and tailored bodice define the build; the challenge is matching the delicate fabric drape and hand-finishing details that period gowns demanded. 5 components, 11 materials, ~5 weeks, $100-280.
Renaissance Bodice
4 weeks · 15 milestones
A structured renaissance faire bodice with boned channels and lace-up front or back closure. The boning is the make-or-break detail: it holds the silhouette and prevents slumping after hours of wear. Choose between an overbust or underbust style, pick your lacing direction, and layer it over a chemise for authentic drape. 5 components, 12 materials, ~4 weeks, $80-200.
Hooded Cloak
3 weeks · 11 milestones
A full-length hooded cloak lined and finished—the weekend project that reads like you spent months on it. This is a beginner-friendly build that teaches you the fundamentals: cutting large pieces, sewing clean seams, drafting a hood that fits, and installing a functional clasp. 4 components, 10 materials, ~3 weeks, $60-150.
Underbust Corset
5 weeks · 13 milestones
A steel-boned underbust corset with proper construction technique: laced front, structured channels for spiral and flat bones, reinforced grommets, and a sturdy busk closure. This is a real garment, not a costume shortcut. Learning to build one teaches you about structured sewing, pattern grading, and how precision seaming carries the whole piece. 5 components, 13 materials, ~4-5 weeks, $120-280.