
Commission Look
Build a stage-ready look for another performer, managing the full process from concept approval through measurements, construction, fittings, embellishment, and delivery. This template adds client communication checkpoints to the garment construction workflow.
6 weeks
9
6
3
See the whole look before you start.
References, materials, budget, and build order for Commission Look.
Timeline
6 weeks
Color refs
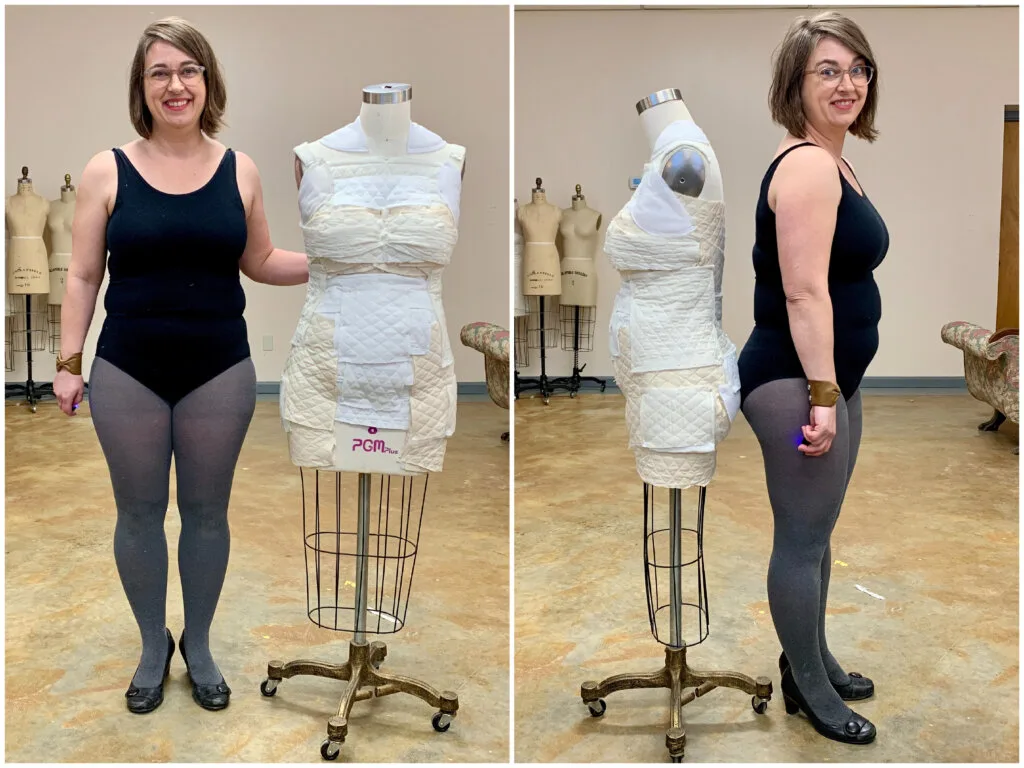
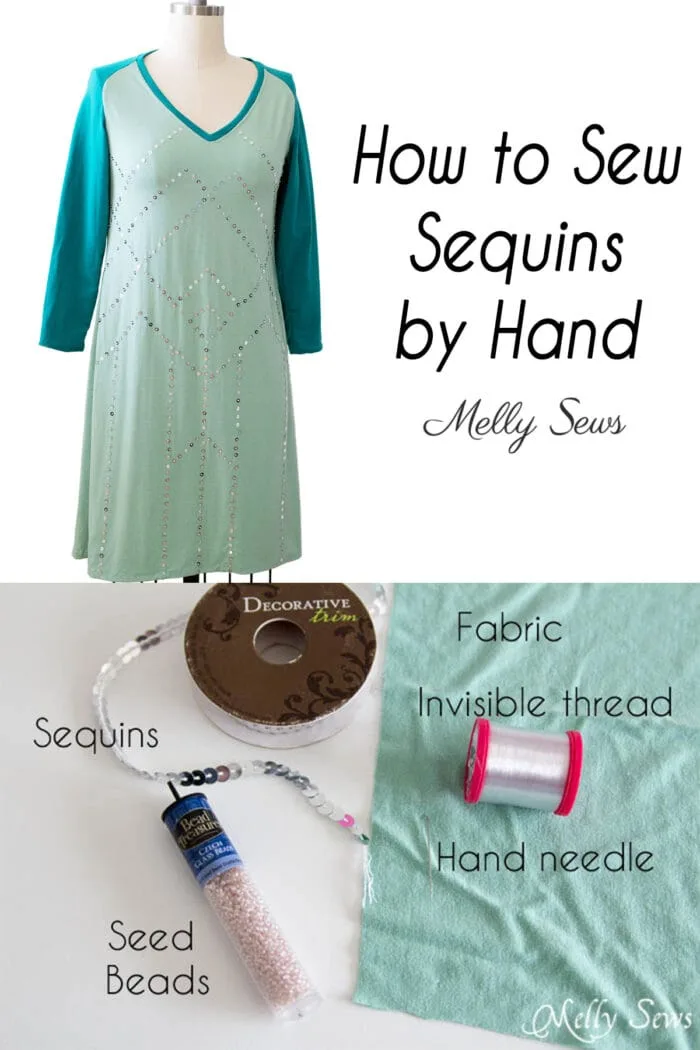
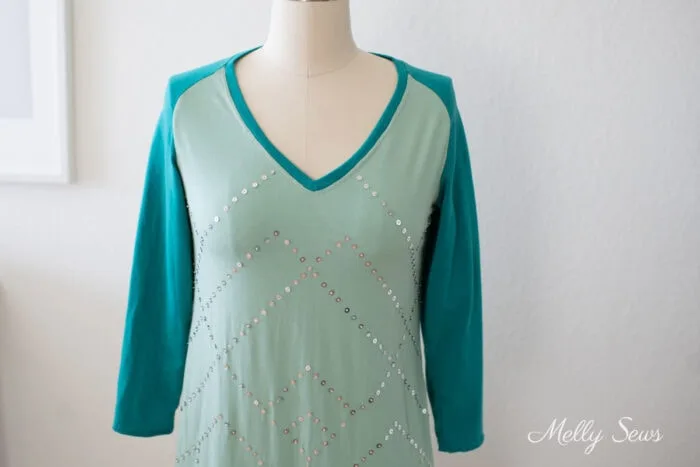
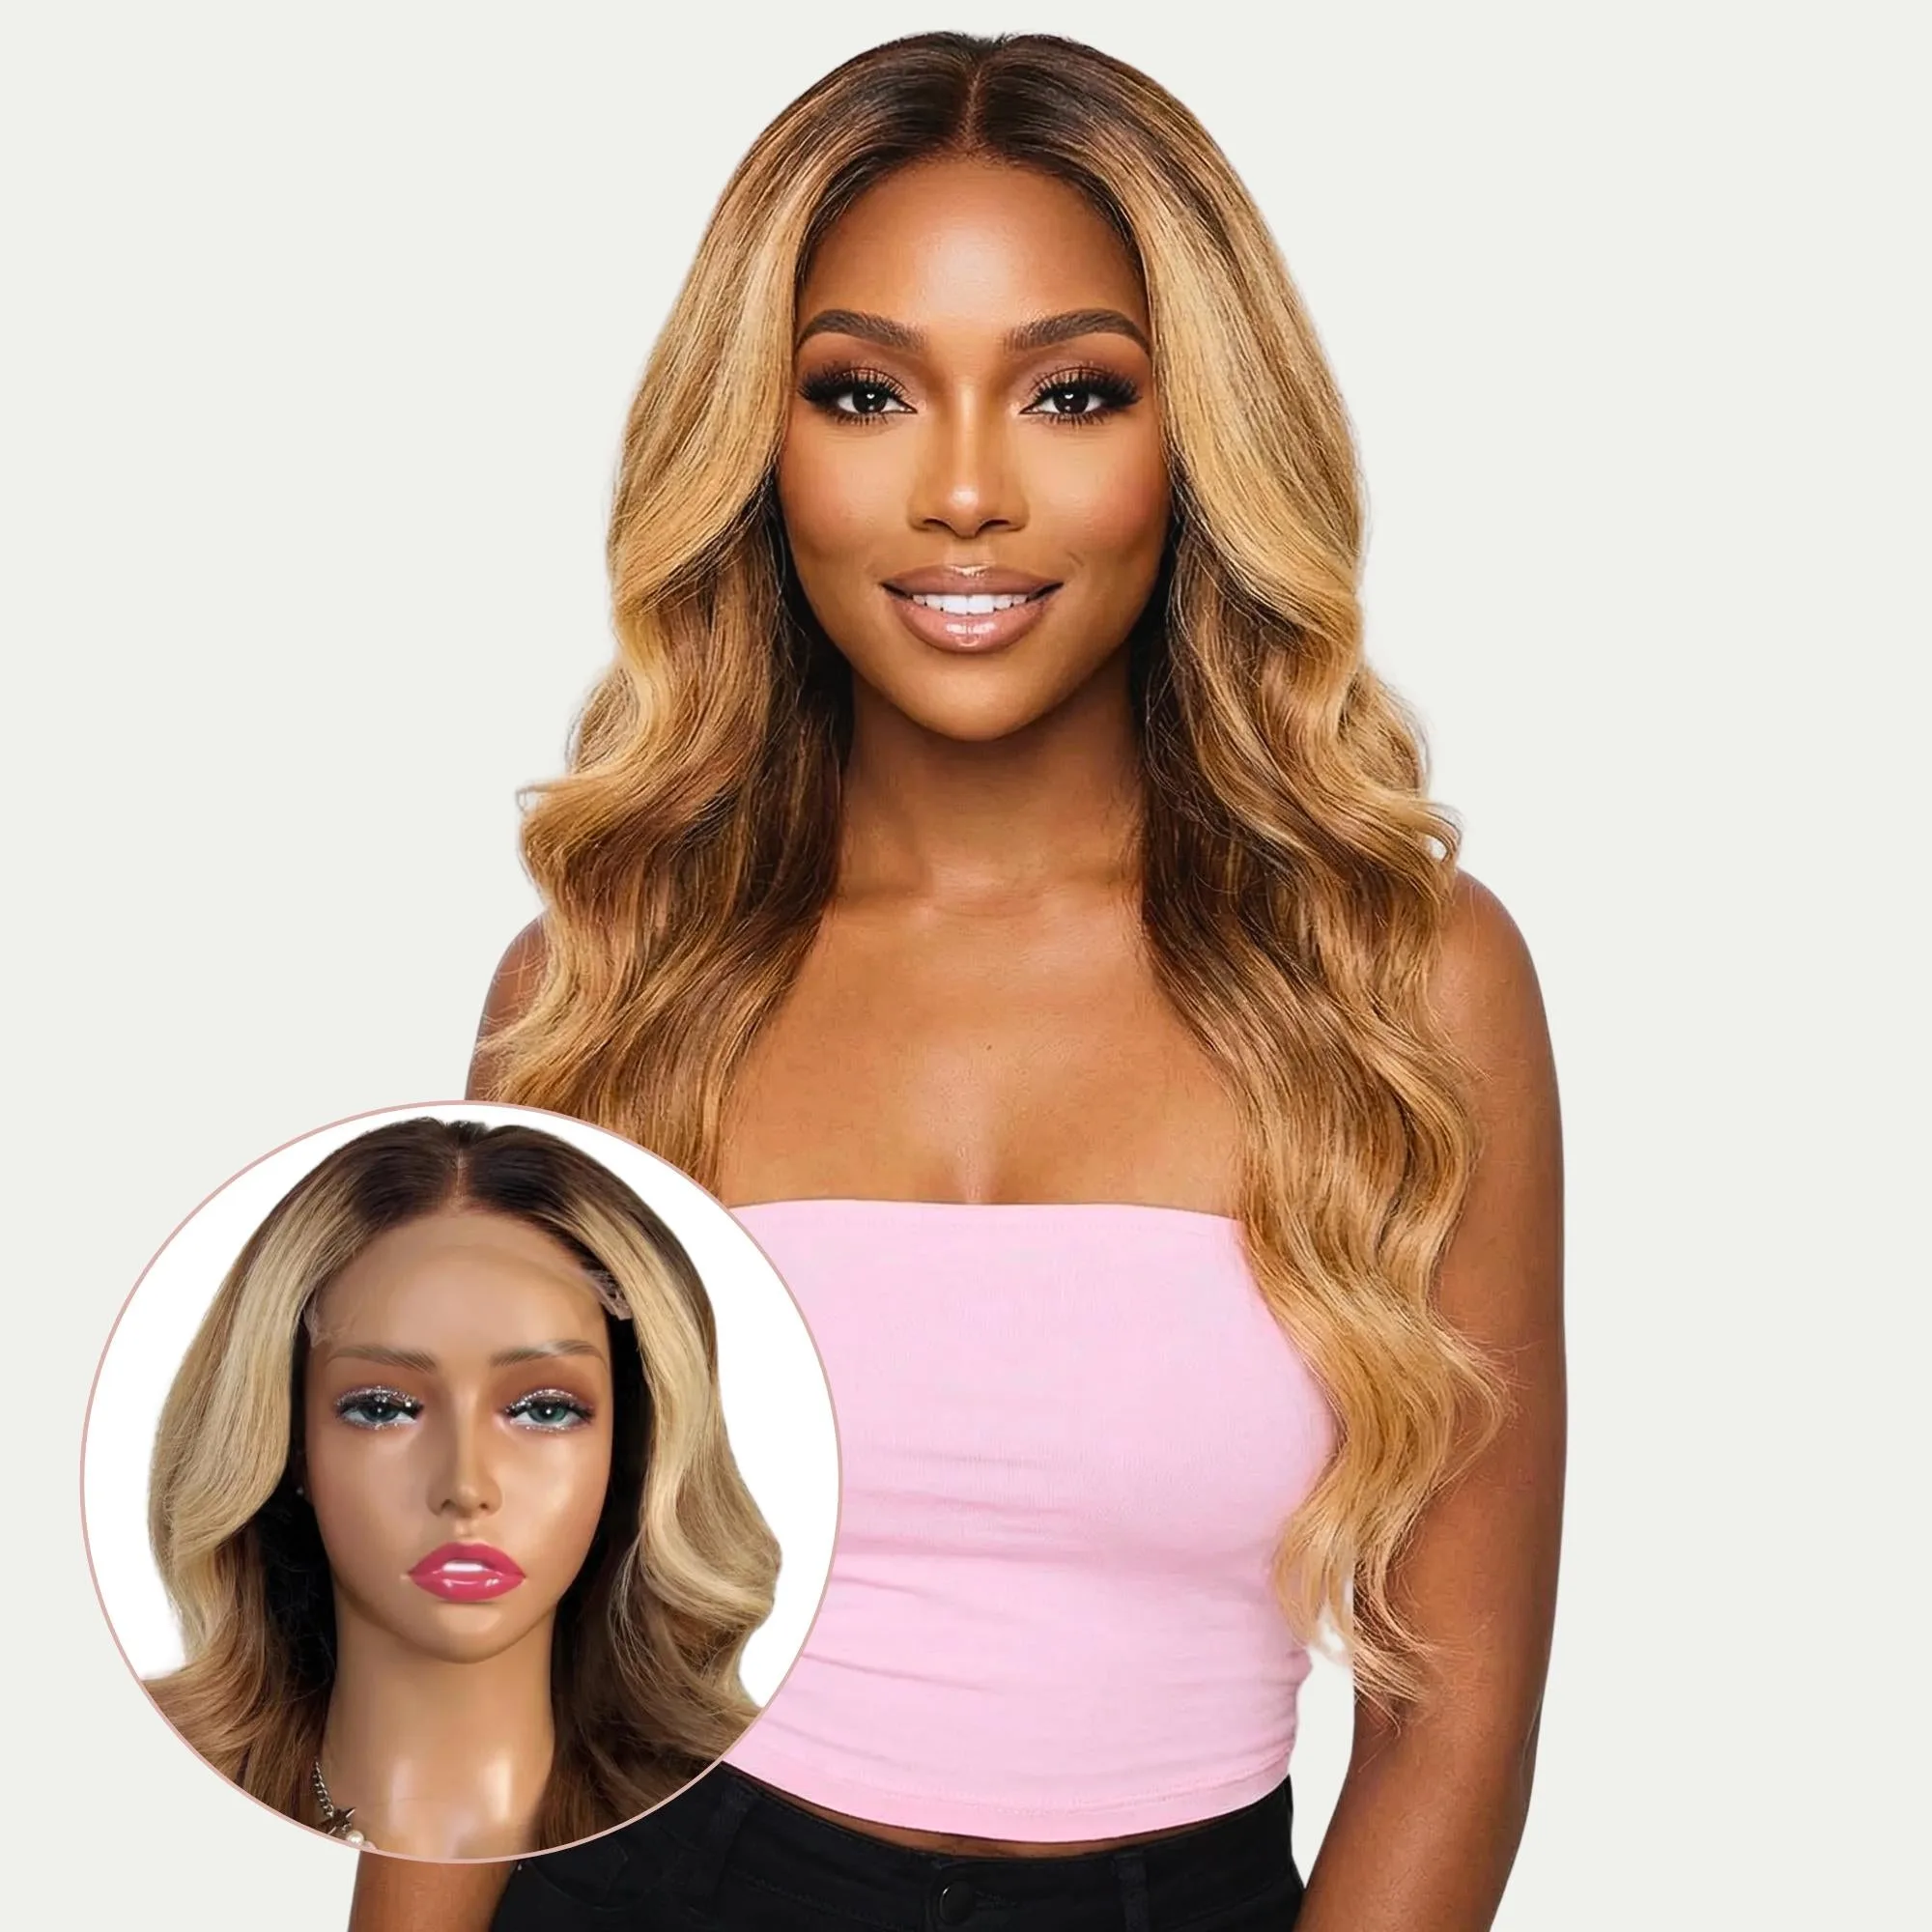
Materials
6 items
Budget
$150 - $800
save the visual refs
Full reference board
The preview above is curated for scanning. This is the working board you clone into your own build, with notes, colors, product images, and extra references intact.
Images are sourced from around the internet to help you get started. Use the web clipper to build your own reference library.
Reference images are gathered from around the web and belong to their original creators. We link back to where we found each one. If something here is yours and you want it taken down, email us and it is gone.
Build guide
Making a look for someone else means you can't eyeball the fit, you can't make creative decisions on the fly, and the performer's body, style, and performance needs might be completely different from yours. A commission look requires just as much project management as it does sewing skill. The makers who succeed at this long-term are the ones who build clear processes around communication, not just construction.
This template is for drag garment makers, designers, and crafters who are ready to take paid work. If you haven't constructed garments for yourself first, do that. You need to know your own build timeline and quality level before you promise either to a client.
Concept and Budget Alignment
The first conversation sets the tone for the entire project. You need to understand what the client wants, what they can spend, and when they need it. These three things define everything that follows.
Ask for reference images, not just descriptions. "I want something red and glamorous" means something different to every person. Five reference images tell you exactly what they're envisioning. Look for patterns in what they send. Are all the references body-con silhouettes? Floor-length? Heavily stoned? That's your brief.
Be transparent about what their budget can and can't buy. A $200 budget gets a well-made garment with moderate embellishment. A $500 budget gets custom fabric, heavy stoning, and matching accessories. A $1000+ budget gets everything plus premium materials and rush timeline options. Setting expectations early prevents disappointment later.
Get the concept, budget, and deadline confirmed in writing before you do any work. A DM or email thread works. This is your protection if the client changes their mind mid-project.
Measurements and Performance Needs
Collect comprehensive measurements: bust, waist, hip, shoulder to shoulder, shoulder to waist, waist to floor, arm length, and neck circumference at minimum. Ask the client to measure over their padding and undergarments because the garment needs to fit their performance body, not their everyday body.
If the client is local, measure them in person wearing their corset, hip pads, and breast forms. If they're remote, send a measurement guide with photos showing exactly where to place the tape. Wrong measurements mean wrong fit, and fit corrections cost you time and materials.
Ask about performance needs. Do they dance? Do death drops? Reveals? A garment for a slow evening gown walk is constructed differently from one that needs to survive high kicks and floor work. Stretch fabric and reinforced seams for movement-heavy performances. Structured formal fabrics for presentation numbers.
Material Sourcing and Approval
Once you know the concept and measurements, source fabrics and trims. Pull 2-3 fabric options in the right color family and send photos (in natural light, on a flat surface) to the client. Include a physical swatch if possible, especially for colors that are hard to match on screen (nudes, pastels, metallics).
Get written approval on fabric selection before you cut. Once the fabric is cut, you can't un-cut it. The approval protects both of you.
Source rhinestones, trim, appliques, and closures at the same time as fabric. Having everything on hand before you start construction prevents delays from waiting on shipments mid-build.
Garment Construction
Draft the pattern based on the client's measurements. If you're using a commercial pattern as a starting point, adjust it to their specific measurements before cutting fabric. A muslin toile (test garment in cheap cotton) is worth the extra 2-3 hours for complex or expensive garments. It costs $3 in muslin fabric versus $30-80 in fashion fabric if the fit is wrong.
Build the garment in stages and photograph each stage. These photos serve double duty: they're your checkpoint images for client approval, and they're your portfolio content for future commissions.
Install closures (invisible zippers, hook-and-eye, snaps) during construction, not as an afterthought. The closure engineering affects the garment's drape and fit. A zipper added after assembly often pulls or puckers.
Fitting and Progress Reviews
If the client is local, schedule at least one fitting at the half-constructed stage (bodice or main structure complete, before finishing and embellishment). This is where you catch fit issues before they're expensive to fix.
If the client is remote, send clear progress photos from front, back, and both sides. Include a measurement tape in photos so they can gauge proportions. Wait for written approval before proceeding to embellishment. "Looks good" in a text is sufficient. The point is documentation, not formality.
Embellishment and Closures
Stone, bead, or embellish after the fit is confirmed. Stoning a garment that needs to be taken in or let out is wasted work because you'll have to remove and re-apply stones at the seam.
Apply rhinestones with Gem-Tac for stretch garments or E6000 for structured pieces. Work in sections, let each dry before handling. For heavy stoning (1000+ stones), budget 6-12 hours of application time. This is often the most time-consuming phase of a commission look.
Final closures and hardware go in last. Check that every snap is secure, every hook catches, and the zipper operates smoothly over padding and undergarments. The client needs to be able to get in and out of this garment alone (or with one helper at most) in a dressing room on show night.
Wig and Accessory Coordination
Some commissions include wig styling or accessory sourcing. If the client is providing their own wig and accessories, ask for photos of those pieces early so you can ensure the garment complements them. A red gown and a red wig that don't match in tone looks like a mistake.
If you're providing the wig, style it after the garment is complete so you can check the full look together. Ship the wig on a wig head or stuffed with tissue paper to maintain the style.
Quality Check and Delivery
Before packaging, inspect every seam, stone, and closure. Turn the garment inside out and check for loose threads, unfinished edges, or weak points. Try it on a dress form or mannequin to check drape.
Take professional photos of the finished garment for your portfolio and for client approval. Natural light, clean background, multiple angles. Send these to the client for final sign-off before shipping.
Pack garments in a garment bag inside a sturdy box. Include tissue paper between folds to prevent creasing. Add a care card with washing, storage, and stoning repair instructions. Ship with tracking and insurance valued at the commission price. A lost or damaged package without insurance is a devastating financial and reputation hit.
Common Mistakes
- Not getting concept approval in writing. Verbal agreements about "red and sparkly" lead to disputes about shade, sparkle level, and silhouette. Written concept approval with reference images prevents this.
- Skipping the muslin toile on expensive fabrics. A test garment in $3 muslin catches fit issues before you cut into $25-per-yard satin. The extra 2-3 hours saves you time and money.
- Embellishing before confirming fit. Stoning a bodice, then realizing it needs to be taken in, means removing and re-applying dozens of stones. Always fit first, then embellish.
- Undercharging for labor. Track your hours on the first few commissions. If you're making under $10/hour after materials, your pricing is too low. Most commission garment makers charge $200-800 for a complete look depending on complexity.
- No revision policy. Define how many rounds of revisions are included and what constitutes an extra charge. Without this, some clients will request unlimited changes and drain your time and goodwill.
Commission work is a business. Treat it like one from the first message, and both you and your client will be happier with the result.
Components
Client garment
Approval notes
Delivery package
Materials list
6 itemsEstimated total cost
$150 - $800
Milestone timeline
6 weeks- 1
Confirm concept, budget, and deadline
concept
- 2
Collect measurements and performance needs
sourcing
- 3
Approve sketch, fabrics, and trims
sourcing
- 4
Construct garment base
Construction
- 5
Fit or review progress photos
Construction
- 6
Add embellishment and closures
Construction
- 7
Coordinate wig or accessory details
wig
- 8
Final quality check
rehearsal
- 9
Pack, invoice, and deliver
Packing
Frequently
asked questions.
Related tools and guides
Plan your build, estimate costs, and get ready.
Budget Calculator
Estimate your build cost before you start buying materials.
Convention Checklist
88-item packing checklist. Check off items as you pack.
Prop Scaling Calculator
Scale reference images to your body measurements.
How Much Does a Drag Look Cost?
Real build budgets with specific products and dollar amounts.
Drag Makeup Under Stage Lights
Real build budgets with specific products and dollar amounts.
Drag on Costumary
Templates, tools, and workspace built for drag makers.
Browse all templates
Explore build plans across 10 craft verticals.
Start this build free
Clone this template into your workspace. Track materials, milestones, budget, and build progress in one place.
Related templates
Character Look
4 weeks · 8 milestones
Recreate a recognizable pop culture character, theme, or era through drag with costume sourcing, wig styling, character-specific makeup, props, and performance planning. This template bridges drag and cosplay for themed numbers that need to be both accurate and stage-ready.
Pageant Look
6 weeks · 10 milestones
Build a competition-grade look with custom garment construction, heavy embellishment, styled wig, polished accessories, and presentation rehearsal. This template covers everything from category requirements through final steaming and packing for the stage.
Quick Look
1 weeks · 7 milestones
Assemble a polished look from your existing wardrobe, wig collection, and makeup kit in a day or less. Built for open stage nights, last-minute bookings, or low-effort concepts that still look intentional on stage.
Performance Look
3 weeks · 10 milestones
Build a complete stage look around a specific number, covering garment selection or construction, wig styling, full beat, accessories, and rehearsal. This template coordinates every element so nothing gets forgotten between concept and curtain call.