
Costume / Cosplay Garment
Sew a costume garment for cosplay, theater, or ren faire with non-standard construction. Covers character reference analysis, pattern drafting or adaptation, muslin fitting, specialty fabric sourcing, and costume-specific embellishment techniques.
6 weeks
13
8
2
See the whole look before you start.
References, materials, budget, and build order for Costume / Cosplay Garment.
Timeline
6 weeks
Color refs
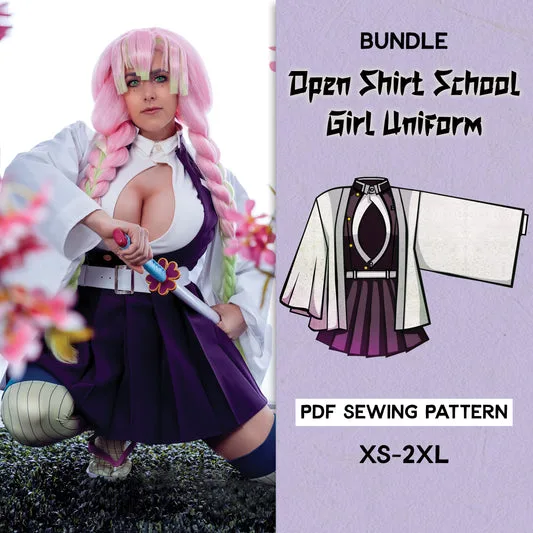
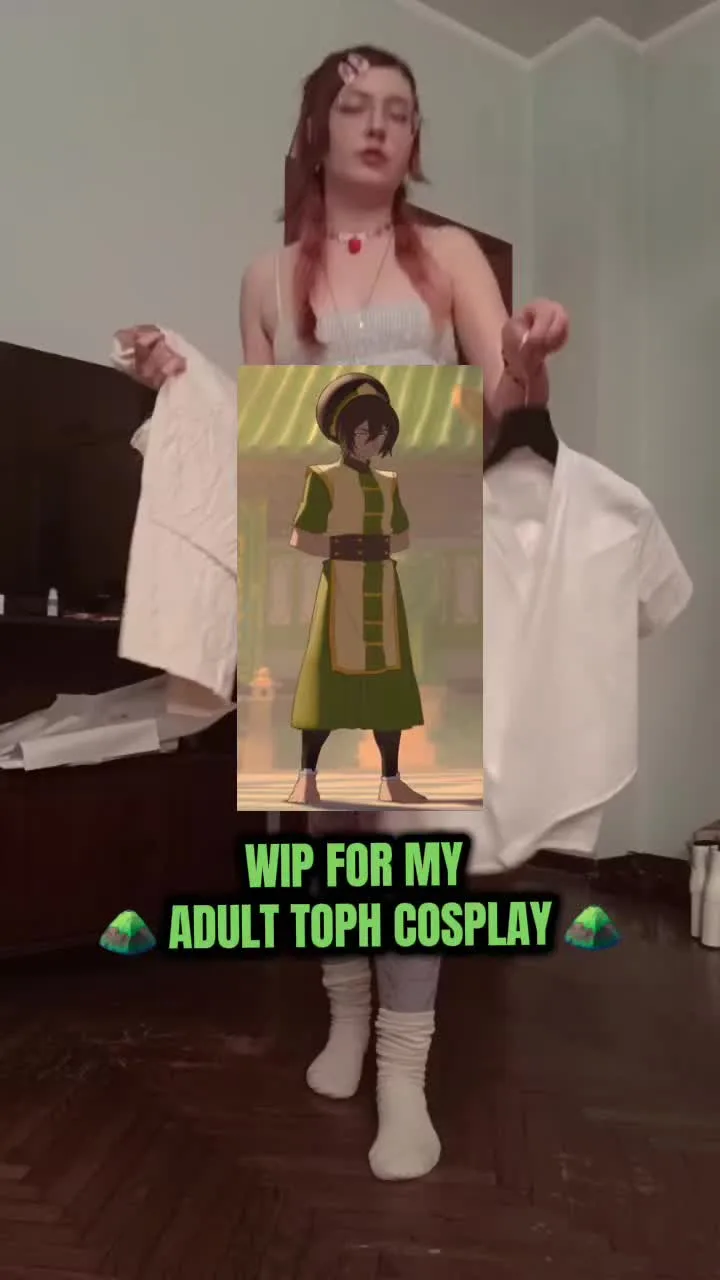
Materials
8 items
Budget
$50 - $200
save the visual refs
Full reference board
The preview above is curated for scanning. This is the working board you clone into your own build, with notes, colors, product images, and extra references intact.
Images are sourced from around the internet to help you get started. Use the web clipper to build your own reference library.
Reference images are gathered from around the web and belong to their original creators. We link back to where we found each one. If something here is yours and you want it taken down, email us and it is gone.
Build guide
Costume sewing sits in a weird middle ground between regular garment sewing and pure craft. You're using real sewing techniques (patterns, seams, darts, closures) to build garments that don't exist in real life. A fantasy bodice with asymmetric panels. A sci-fi jacket with piped neon seams. A ren faire tunic with hand-embroidered trim. The pattern doesn't exist in a McCall's catalog, so you're adapting, frankensteining, and sometimes drafting from nothing.
Your finished garment is a sewn costume piece for a specific character, event, or aesthetic. It's built to look right in photos and survive a full day of wear, but it doesn't need to follow the same construction rules as everyday clothing. Costume garments often have hidden closures, reinforced stress points, and deliberate shortcuts where they won't be seen. Budget about 6 weeks from reference gathering to packed and ready.
Breaking the design into sewable pieces is the real skill. Look at your character reference and figure out which parts are separate garments, which are attached, and which are decorative elements applied on top of a base garment. A character's jacket might actually be a modified vest with attached sleeves and a fabric collar layered over a simple shirt. Identifying the construction layers lets you use existing patterns as starting points.
Specialty fabrics are where costume sewing gets fun and expensive. Fantasy and sci-fi costumes often call for fabrics that aren't in your local JoAnn: metallic stretch mesh, faux leather, LED-reactive materials, holographic spandex. Spandex World, Spandex House, and Mood Fabrics carry the weird stuff. Budget $15-30/yard for specialty materials versus $8-12 for standard fabrics.
Research
Collect character references with a focus on garment construction. Look for seam lines, closures, layers, and fabric behavior (is it stiff? flowy? stretchy?). Other cosplayers' WIP shots of the same character are invaluable because they show how someone else solved the same construction puzzles.
Pattern Adaptation
Break the design into sewable pieces and find existing patterns that approximate each one. Modify commercial patterns by changing neckline shapes, extending or shortening hems, adding panels, or combining pieces from different patterns (frankenpatterning). Draft from scratch for truly unique shapes, using your body measurements and muslin iterations.
Muslin
Sew a muslin mockup, especially for any fitted element or unusual construction. Costume garments often have non-standard proportions (extremely high collars, exaggerated shoulder lines, asymmetric closures) that need testing before committing to fashion fabric. Adjust and finalize the pattern.
Fabric Sourcing
Source your main fashion fabric and any accent materials. For costume fabrics, order swatches first when buying online. Colors and textures on screen almost never match reality. If the character has a specific fabric texture (leather, chainmail, brocade), find the right specialty fabric before you start cutting.
Construction
Cut all pieces. Sew the base garment body following your adapted pattern. Costume garments often have unconventional internal structure: boning in a fantasy bodice, foam or interfacing in structured collars, hidden closures (snaps, hooks, or magnets) where a zipper would break the design.
Costume Details
This is where costume garments diverge from everyday sewing. Decorative trim, applique, fabric painting, heat-transfer vinyl, and layered fabric panels create the character-specific look. Topstitch trim for durability. Hot glue is fine for details that won't see stress or washing. Fabric paint (Angelus, Jacquard Textile Color) handles logos, patterns, and gradients.
Closures
Install closures that work with the costume's design. Invisible zippers in hidden seams, snaps behind overlapping panels, hook and eye closures at stress points, or magnetic closures for quick changes. Plan how you'll get in and out of the garment, especially if it layers under armor or other pieces.
Fitting
Fit the garment with all other costume components. If armor goes over the garment, wear the armor during fitting. If boots tuck into the pants, test that. Costume garments rarely exist in isolation. Check that nothing restricts movement, that all closures stay closed during posing, and that the overall silhouette matches your reference.
Finishing
Hem, finish edges, and press. Costume garments get pressed just like regular garments. Clean seams and pressed edges look deliberate. Rumpled seams look unfinished. If the garment will be worn at outdoor events, consider waterproofing spray for natural fiber fabrics.
Common mistakes
- Not testing pattern modifications on a muslin. You're working with adapted or drafted patterns, not tested commercial ones. The muslin is where you catch the errors that adaptation introduced.
- Gluing where you should sew. Hot glue works for quick embellishments, but anything that takes stress (belts, straps, structural panels) needs to be sewn. Hot glue fails under tension and in heat.
- Ignoring the undergarment situation. If your costume has an open neckline, exposed back, or fitted bodice, plan what goes underneath. Visible bra straps and modern underwear lines break the character illusion.
- Using one fabric weight throughout. Accent panels, collars, cuffs, and structural elements often need different fabric weights than the main body. A limp collar and a stiff skirt shouldn't use the same material.
Costume sewing is problem-solving with fabric. Every character is a new puzzle, and solving it is the fun part.
Components
Main garment
Accessories / layers
Materials list
8 itemsEstimated total cost
$50 - $200
Milestone timeline
6 weeks- 1
Collect character references
planning
- 2
Break design into sewable pieces
planning
- 3
Draft or adapt patterns
pattern
- 4
Sew muslin mockup for fit
muslin
- 5
Adjust muslin and finalize pattern
muslin
- 6
Source fashion and specialty fabrics
cutting
- 7
Cut all pieces
cutting
- 8
Sew base garment
sewing
- 9
Add costume-specific details (trim, appliqué)
sewing
- 10
Install closures
sewing
- 11
Fitting with other costume pieces
Fitting
- 12
Hem, finish edges, press
Finishing
- 13
Full costume test
Fitting
Frequently
asked questions.
Related tools and guides
Plan your build, estimate costs, and get ready.
Budget Calculator
Estimate your build cost before you start buying materials.
Convention Checklist
88-item packing checklist. Check off items as you pack.
Prop Scaling Calculator
Scale reference images to your body measurements.
How Much Does a Sewing Project Cost?
Real build budgets with specific products and dollar amounts.
Fabric Yardage Calculator for Cosplay
Real build budgets with specific products and dollar amounts.
Sewing on Costumary
Templates, tools, and workspace built for sewing makers.
Browse all templates
Explore build plans across 10 craft verticals.
Start this build free
Clone this template into your workspace. Track materials, milestones, budget, and build progress in one place.
Related templates
Commission Garment
8 weeks · 15 milestones
Build a garment for a client with measurements, muslin fittings, approval checkpoints, and professional handoff. Covers client briefs, quoting, remote fitting strategies, progress communication, and shipping finished garments safely.
Sweet Lolita JSK
4 weeks · 18 milestones
A sweet lolita jumperskirt: fitted bodice, gathered or pleated skirt with shirring or lace-edged waistband, tiered ruffles, lace trim everywhere. The bodice is the technical core, the lace application is where precision shows, and the skirt needs serious volume without looking limp. 6 components, 12 materials, ~4 weeks, $70-180.
Layered Petticoat
2 weeks · 14 milestones
A multi-layered petticoat or crinoline for historical dresses, lolita coords, or cosplay skirts. The fullness comes from gathering long fabric strips and stacking them in tiers, building volume without a rigid frame. Choose between cotton voile for light fluff or organza for structure and visible iridescence. 4 components, 11 materials, ~2 weeks, $30-80.
Cottagecore Dress
3 weeks · 13 milestones
A prairie-inspired cottagecore dress with puffed sleeves, gathered skirt, and delicate finishing. The puffed sleeves are the focal point, requiring careful sleeve cap sizing and gathering. This is a forgiving first garment project for sewers who want something wearable and romantic. 4 components, 11 materials, ~3 weeks, $50-140.
Regency Day Dress
5 weeks · 13 milestones
An empire-waist dress with gathered skirt and puffed sleeves, grounded in Regency-era silhouettes (1811-1820). The high waistline and tailored bodice define the build; the challenge is matching the delicate fabric drape and hand-finishing details that period gowns demanded. 5 components, 11 materials, ~5 weeks, $100-280.
Renaissance Bodice
4 weeks · 15 milestones
A structured renaissance faire bodice with boned channels and lace-up front or back closure. The boning is the make-or-break detail: it holds the silhouette and prevents slumping after hours of wear. Choose between an overbust or underbust style, pick your lacing direction, and layer it over a chemise for authentic drape. 5 components, 12 materials, ~4 weeks, $80-200.
Hooded Cloak
3 weeks · 11 milestones
A full-length hooded cloak lined and finished—the weekend project that reads like you spent months on it. This is a beginner-friendly build that teaches you the fundamentals: cutting large pieces, sewing clean seams, drafting a hood that fits, and installing a functional clasp. 4 components, 10 materials, ~3 weeks, $60-150.
Underbust Corset
5 weeks · 13 milestones
A steel-boned underbust corset with proper construction technique: laced front, structured channels for spiral and flat bones, reinforced grommets, and a sturdy busk closure. This is a real garment, not a costume shortcut. Learning to build one teaches you about structured sewing, pattern grading, and how precision seaming carries the whole piece. 5 components, 13 materials, ~4-5 weeks, $120-280.