
Historical Garment
Build a period-accurate garment using historical construction techniques. Covers corsets, stays, and full outfits with boning, hand-finishing, lacing, and historically appropriate fabric and closure selection. For experienced sewists who want accuracy, not approximation.
10 weeks
14
9
3
See the whole look before you start.
References, materials, budget, and build order for Historical Garment.
Timeline
10 weeks
Color refs
Materials
9 items
Budget
$60 - $300
save the visual refs
Full reference board
The preview above is curated for scanning. This is the working board you clone into your own build, with notes, colors, product images, and extra references intact.
Images are sourced from around the internet to help you get started. Use the web clipper to build your own reference library.
Reference images are gathered from around the web and belong to their original creators. We link back to where we found each one. If something here is yours and you want it taken down, email us and it is gone.
Build guide
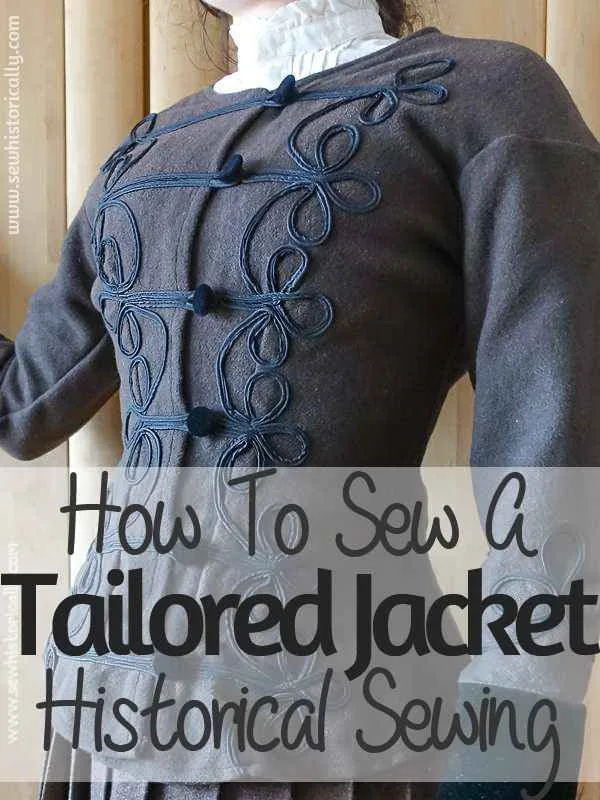
Historical sewing is a different beast from modern garment construction. You're not just making a garment that looks like a time period. You're building it the way they actually built it, with the techniques, materials, and structural principles of the era. That means hand-sewn buttonholes, flat-felled seams, boning channels, laced closures, and fabrics that match the historical record. It's slower, more demanding, and deeply satisfying when you get it right.
Your finished garment is a period-accurate piece (corset, stays, bodice, full dress, coat, or ensemble) that's constructed using appropriate techniques for its era. Depending on what you're building and the level of accuracy, this is a 10-week project. A simple pair of stays takes less time. A full 18th-century robe a la francaise takes considerably more.
Research is not optional, it's the foundation. Historical sewing requires understanding how garments were constructed in your target period, what fabrics were available, how closures worked, and what the undergarment structure looked like. A Victorian bodice without proper corsetry underneath drapes wrong because the garment was designed to fit over a corset. The undergarments shape the body, and the outer garments are cut to fit that shaped silhouette.
Pattern sourcing determines your accuracy. Commercial "historical" patterns from Big 4 companies are often modernized silhouettes with historical-looking details. For real accuracy, use patterns drafted from extant garments (Laughing Moon, Reconstructing History, Scroop Patterns) or draft your own from period pattern books (Janet Arnold's "Patterns of Fashion" series is the gold standard).
Research
Study your target era's construction methods, not just the finished look. Primary sources include museum garment databases (the V&A, the Met's Costume Institute), Janet Arnold's books, and Norah Waugh's "The Cut of Women's Clothes" or "The Cut of Men's Clothes." The historical sewing community on YouTube (Bernadette Banner, Morgan Donner, Prior Attire, Nicole Rudolph) provides excellent technique walkthroughs.
Pattern and Materials
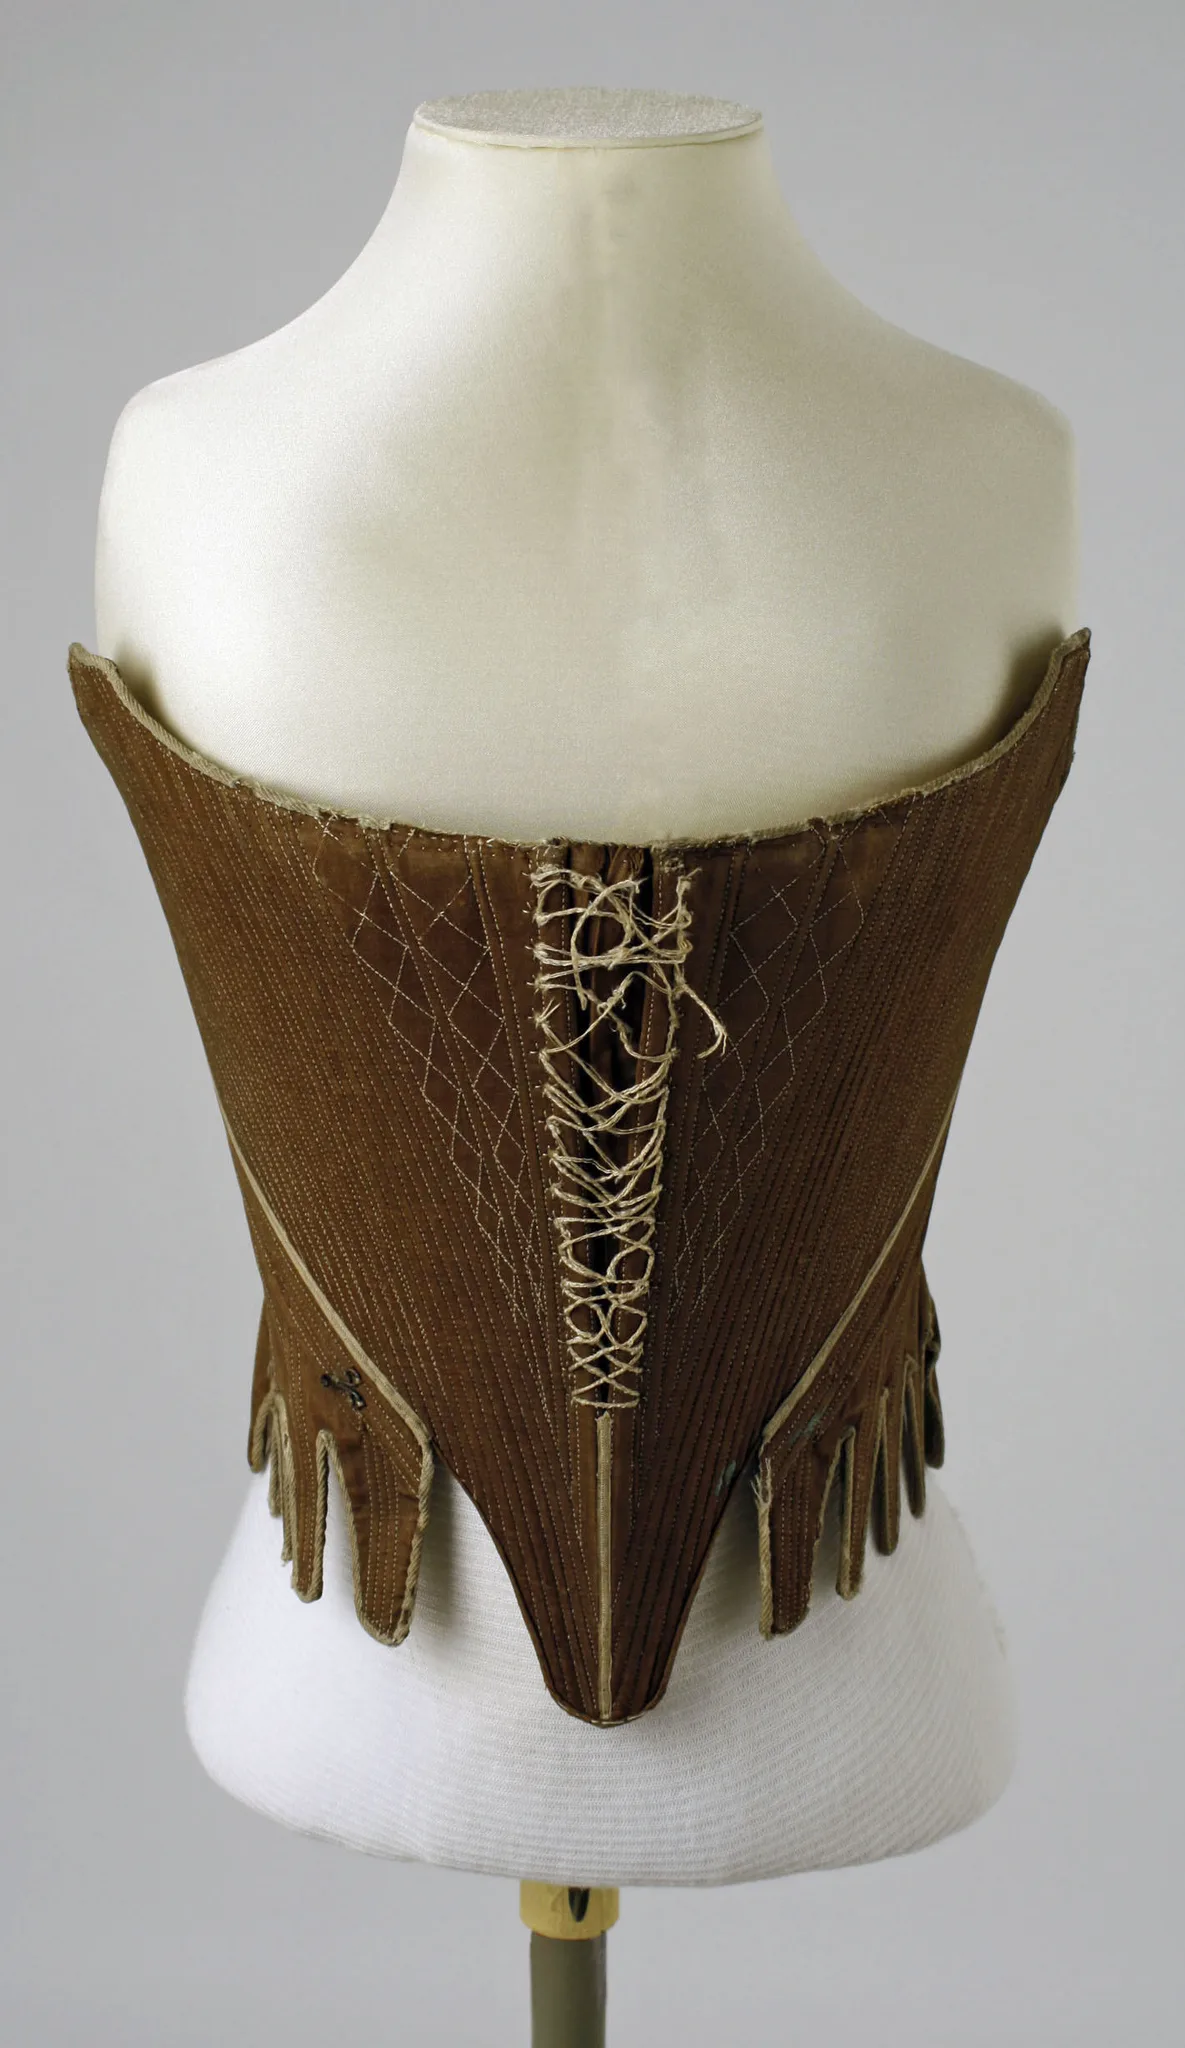
Source or draft a pattern from an accurate source. Select period-appropriate fabrics: linen, wool, silk, and cotton are the four historical fabric categories. Synthetic fabrics didn't exist before the 20th century. For undergarments like stays and corsets, you'll need boning (steel or synthetic), boning channel/casing, grommets or eyelets, and lacing cord. For outer garments, closures are typically hooks and eyes, buttons (covered or bone), or lacing.
Muslin
Even with historical patterns, a muslin is essential. Period garment fit is different from modern fit. Stays and corsets fit with compression. Bodices fit with almost zero ease. Cut a muslin, sew it up, and try it on over the correct undergarments (if you're building a bodice, you need the stays done first). Adjust and transfer corrections.
Structural Construction
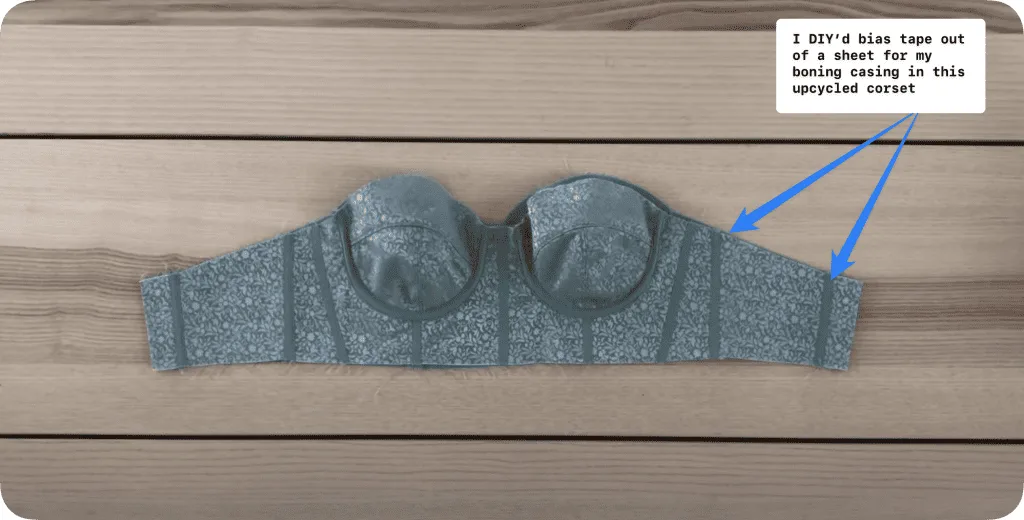
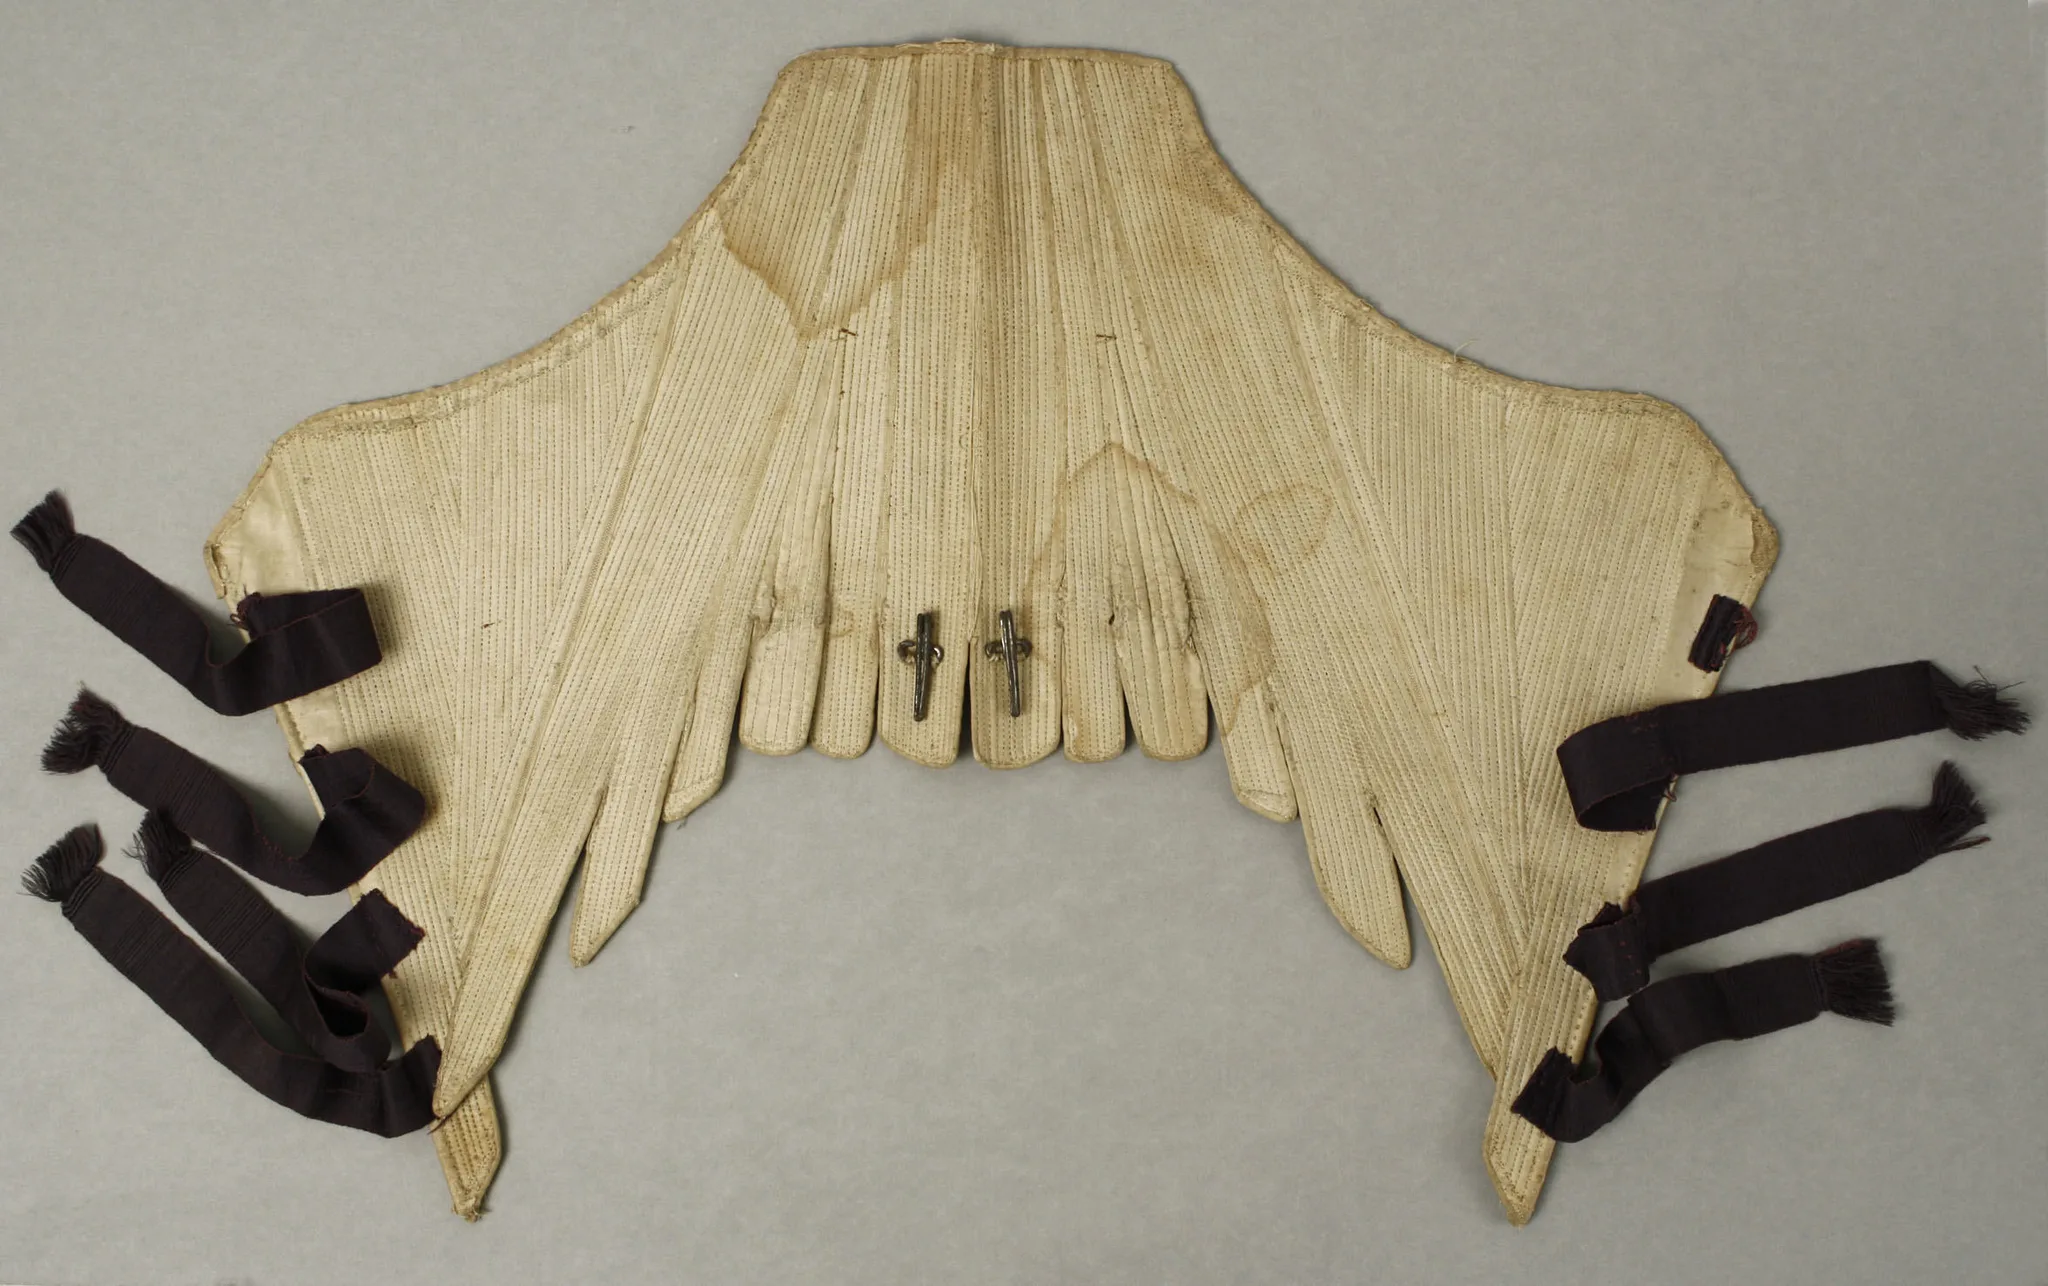
If you're building stays, a corset, or any boned garment: sew the boning channels, insert boning, and fit. Steel boning (spiral or flat) holds its shape better than synthetic in corsets. Synthetic (Rigilene or cable ties) is fine for light bodice boning. Sew channels accurately because crooked channels mean crooked boning, and crooked boning means uncomfortable, poorly-fitting garments.
Assembly
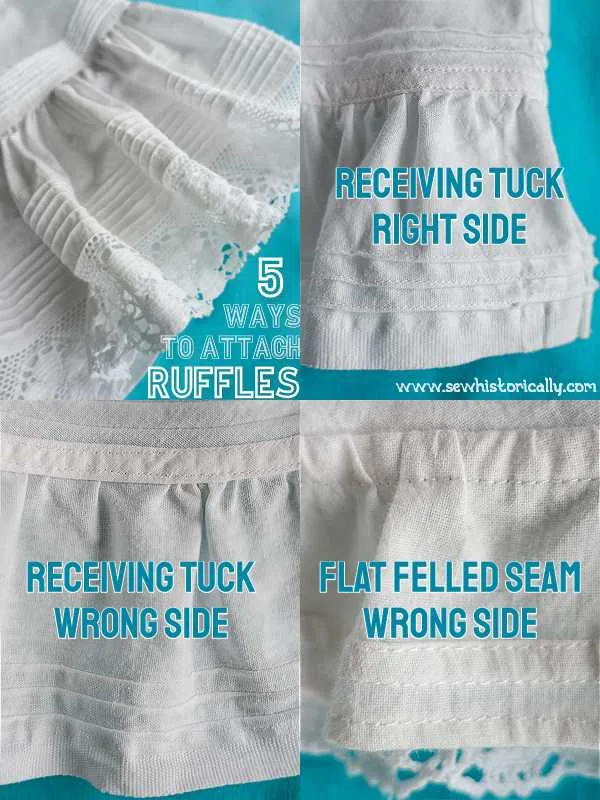
Assemble the main garment following period-appropriate methods. This often means flat-felled seams (no raw edges), hand-finished necklines, and set-in sleeves with specific historical shapes. Work slowly and accurately. Historical garments expose their construction more than modern garments because they're frequently laced open, showing seams and interior structure.
Hand-Finishing
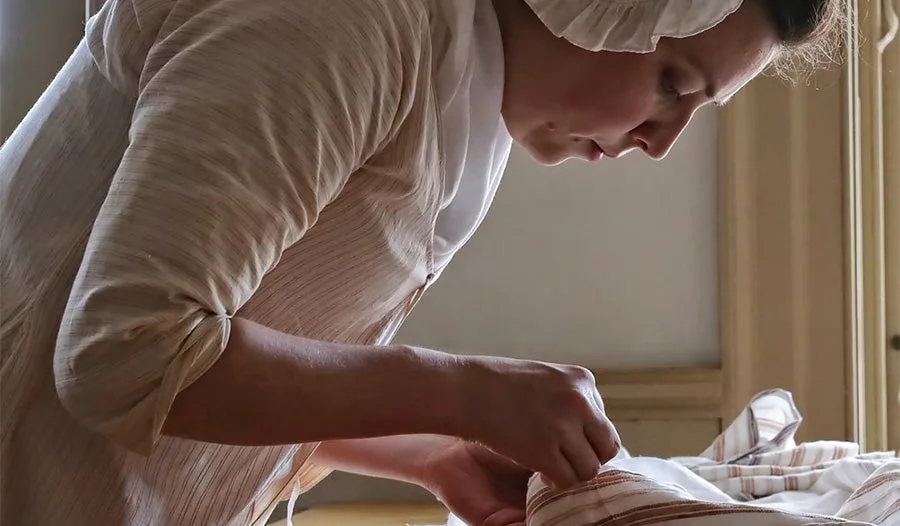
Period garments use extensive hand-sewing: bound buttonholes, hand-picked stitches, catch-stitched hems, and hand-sewn closures. This is slow work. A single hand-bound buttonhole takes 20-30 minutes. There are no shortcuts that look right. Accept the pace and enjoy the handwork.
Closures
Install closures appropriate to your period. Spiral lacing, cross lacing, or ladder lacing for stays and corsets. Hooks and bars for Victorian bodices. Buttons (hand-bound buttonholes, not machine-stitched) for coats and jackets. Install grommets with a proper grommet setter and hammer, not the cheap plier-style setters that deform the grommets.
Fitting
Fit the garment over all appropriate undergarments. A historical bodice fitted over modern underwear instead of period stays will look wrong. The full silhouette requires the full foundation. Make final adjustments.
Finishing
Press carefully with appropriate heat for your fabric. If you're aging or distressing the garment for ren faire or LARP use, do this as the final step. Tea-staining, selective wear, and light sanding on edges create believable age.
Common mistakes
- Building the outer garment without the undergarment structure. A period bodice fitted over a modern bra sits differently than over stays. Build the foundation layers first.
- Using modern fabrics for "historical" garments. Polyester satin, stretch fabrics, and synthetic brocades are visibly different from historical fabrics in how they drape, reflect light, and age. Natural fibers are worth the cost for accuracy.
- Machine-sewing visible elements. Machine stitching is visible and reads as modern. Any visible closure, hem, or finishing element should be hand-sewn for period accuracy.
- Wrong boning type. Cheap plastic boning warps and bends permanently. Steel spiral boning or flat spring steel holds corset and stays shapes correctly. The cost difference ($15-30 total) is worth it.
Historical garments connect you to centuries of craftsmanship. It's slow, it's precise, and every finished piece teaches you something you can't learn any other way.
Components
Structural undergarment
Outer garment
Accessories
Materials list
9 itemsEstimated total cost
$60 - $300
Milestone timeline
10 weeks- 1
Research period and garment construction
planning
- 2
Source historical references and patterns
planning
- 3
Select period-appropriate fabrics
planning
- 4
Take measurements for period fit
pattern
- 5
Draft or trace pattern
pattern
- 6
Sew muslin mockup
muslin
- 7
Fit and adjust muslin
muslin
- 8
Cut fashion fabric
cutting
- 9
Sew structural elements (boning channels, stays)
sewing
- 10
Assemble main garment
sewing
- 11
Hand-finish details (buttonholes, hems)
Finishing
- 12
Install closures (lacing, hooks, buttons)
Finishing
- 13
Fitting with undergarments
Fitting
- 14
Final pressing and aging (if desired)
pressing
Frequently
asked questions.
Related tools and guides
Plan your build, estimate costs, and get ready.
Budget Calculator
Estimate your build cost before you start buying materials.
Convention Checklist
88-item packing checklist. Check off items as you pack.
Prop Scaling Calculator
Scale reference images to your body measurements.
How Much Does a Sewing Project Cost?
Real build budgets with specific products and dollar amounts.
Fabric Yardage Calculator for Cosplay
Real build budgets with specific products and dollar amounts.
Sewing on Costumary
Templates, tools, and workspace built for sewing makers.
Browse all templates
Explore build plans across 10 craft verticals.
Start this build free
Clone this template into your workspace. Track materials, milestones, budget, and build progress in one place.
Related templates
Commission Garment
8 weeks · 15 milestones
Build a garment for a client with measurements, muslin fittings, approval checkpoints, and professional handoff. Covers client briefs, quoting, remote fitting strategies, progress communication, and shipping finished garments safely.
Sweet Lolita JSK
4 weeks · 18 milestones
A sweet lolita jumperskirt: fitted bodice, gathered or pleated skirt with shirring or lace-edged waistband, tiered ruffles, lace trim everywhere. The bodice is the technical core, the lace application is where precision shows, and the skirt needs serious volume without looking limp. 6 components, 12 materials, ~4 weeks, $70-180.
Layered Petticoat
2 weeks · 14 milestones
A multi-layered petticoat or crinoline for historical dresses, lolita coords, or cosplay skirts. The fullness comes from gathering long fabric strips and stacking them in tiers, building volume without a rigid frame. Choose between cotton voile for light fluff or organza for structure and visible iridescence. 4 components, 11 materials, ~2 weeks, $30-80.
Cottagecore Dress
3 weeks · 13 milestones
A prairie-inspired cottagecore dress with puffed sleeves, gathered skirt, and delicate finishing. The puffed sleeves are the focal point, requiring careful sleeve cap sizing and gathering. This is a forgiving first garment project for sewers who want something wearable and romantic. 4 components, 11 materials, ~3 weeks, $50-140.
Regency Day Dress
5 weeks · 13 milestones
An empire-waist dress with gathered skirt and puffed sleeves, grounded in Regency-era silhouettes (1811-1820). The high waistline and tailored bodice define the build; the challenge is matching the delicate fabric drape and hand-finishing details that period gowns demanded. 5 components, 11 materials, ~5 weeks, $100-280.
Renaissance Bodice
4 weeks · 15 milestones
A structured renaissance faire bodice with boned channels and lace-up front or back closure. The boning is the make-or-break detail: it holds the silhouette and prevents slumping after hours of wear. Choose between an overbust or underbust style, pick your lacing direction, and layer it over a chemise for authentic drape. 5 components, 12 materials, ~4 weeks, $80-200.
Hooded Cloak
3 weeks · 11 milestones
A full-length hooded cloak lined and finished—the weekend project that reads like you spent months on it. This is a beginner-friendly build that teaches you the fundamentals: cutting large pieces, sewing clean seams, drafting a hood that fits, and installing a functional clasp. 4 components, 10 materials, ~3 weeks, $60-150.
Underbust Corset
5 weeks · 13 milestones
A steel-boned underbust corset with proper construction technique: laced front, structured channels for spiral and flat bones, reinforced grommets, and a sturdy busk closure. This is a real garment, not a costume shortcut. Learning to build one teaches you about structured sewing, pattern grading, and how precision seaming carries the whole piece. 5 components, 13 materials, ~4-5 weeks, $120-280.