
Quilt
Plan and piece a quilt from fabric selection through binding. Covers yardage calculation, cutting with a rotary cutter, block assembly, quilting sandwich construction, quilting (free motion or walking foot), and hand-stitched binding.
8 weeks
15
10
3
See the whole look before you start.
References, materials, budget, and build order for Quilt.
Timeline
8 weeks
Color refs
Materials
10 items
Budget
$80 - $300
save the visual refs
Full reference board
The preview above is curated for scanning. This is the working board you clone into your own build, with notes, colors, product images, and extra references intact.
Images are sourced from around the internet to help you get started. Use the web clipper to build your own reference library.
Reference images are gathered from around the web and belong to their original creators. We link back to where we found each one. If something here is yours and you want it taken down, email us and it is gone.
Build guide
Quilting looks complicated from the outside. Hundreds of pieces, precise cutting, matching seams, sandwich assembly, actual quilting. But every quilt, even the most intricate one, is just small shapes sewn together in a specific order. If you can sew a straight line and cut accurately, you can quilt. The patience is the hard part, not the technique.
Your finished product is a complete quilt: pieced top, batting, backing, quilted through all layers, and bound. Depending on the pattern complexity and size, this is an 8-week project with evening and weekend sessions, roughly 40-80 hours of total work. A simple throw quilt is on the shorter end. A queen-size bed quilt with complex piecing is on the longer end.
Fabric selection sets the tone for the entire project. Choose a color palette before you buy anything. Three to five coordinating prints plus one or two solids is a sweet spot. Fabric lines (collections from the same designer) are pre-coordinated, which removes the guesswork. Pre-cuts (jelly rolls, layer cakes, charm packs) save cutting time but limit your design options. For your first quilt, 100% quilting cotton is the only choice. It's stable, presses well, and forgives small errors.
Accuracy in cutting and quarter-inch seam allowance are everything. Quilting lives and dies by precision. If your cuts are off by 1/8 inch, that error compounds across dozens of seams and your blocks won't match, your rows won't align, and the finished top will ripple. A rotary cutter, self-healing mat, and acrylic ruler are non-negotiable tools. A quarter-inch presser foot for your machine is a $10 investment that pays off immediately.
Planning
Choose your pattern and calculate yardage. Quilt pattern books and online calculators help with yardage math. Buy 10-15% extra fabric for squaring up and cutting mistakes. Note the finished quilt size and work backward: total size, number of blocks, block size, number of cuts per fabric.
Fabric Selection
Select fabrics in person if possible. Online fabric photos can be color-inaccurate. You want a mix of scales (small prints, medium prints, one large-scale print or focus fabric) and values (light, medium, dark). Pull bolts and stack them together at the store to check that the combination works. Pre-wash all fabric when you get home. Cotton shrinks 3-5% on the first wash, and you want that to happen before your quilt is assembled.
Cutting
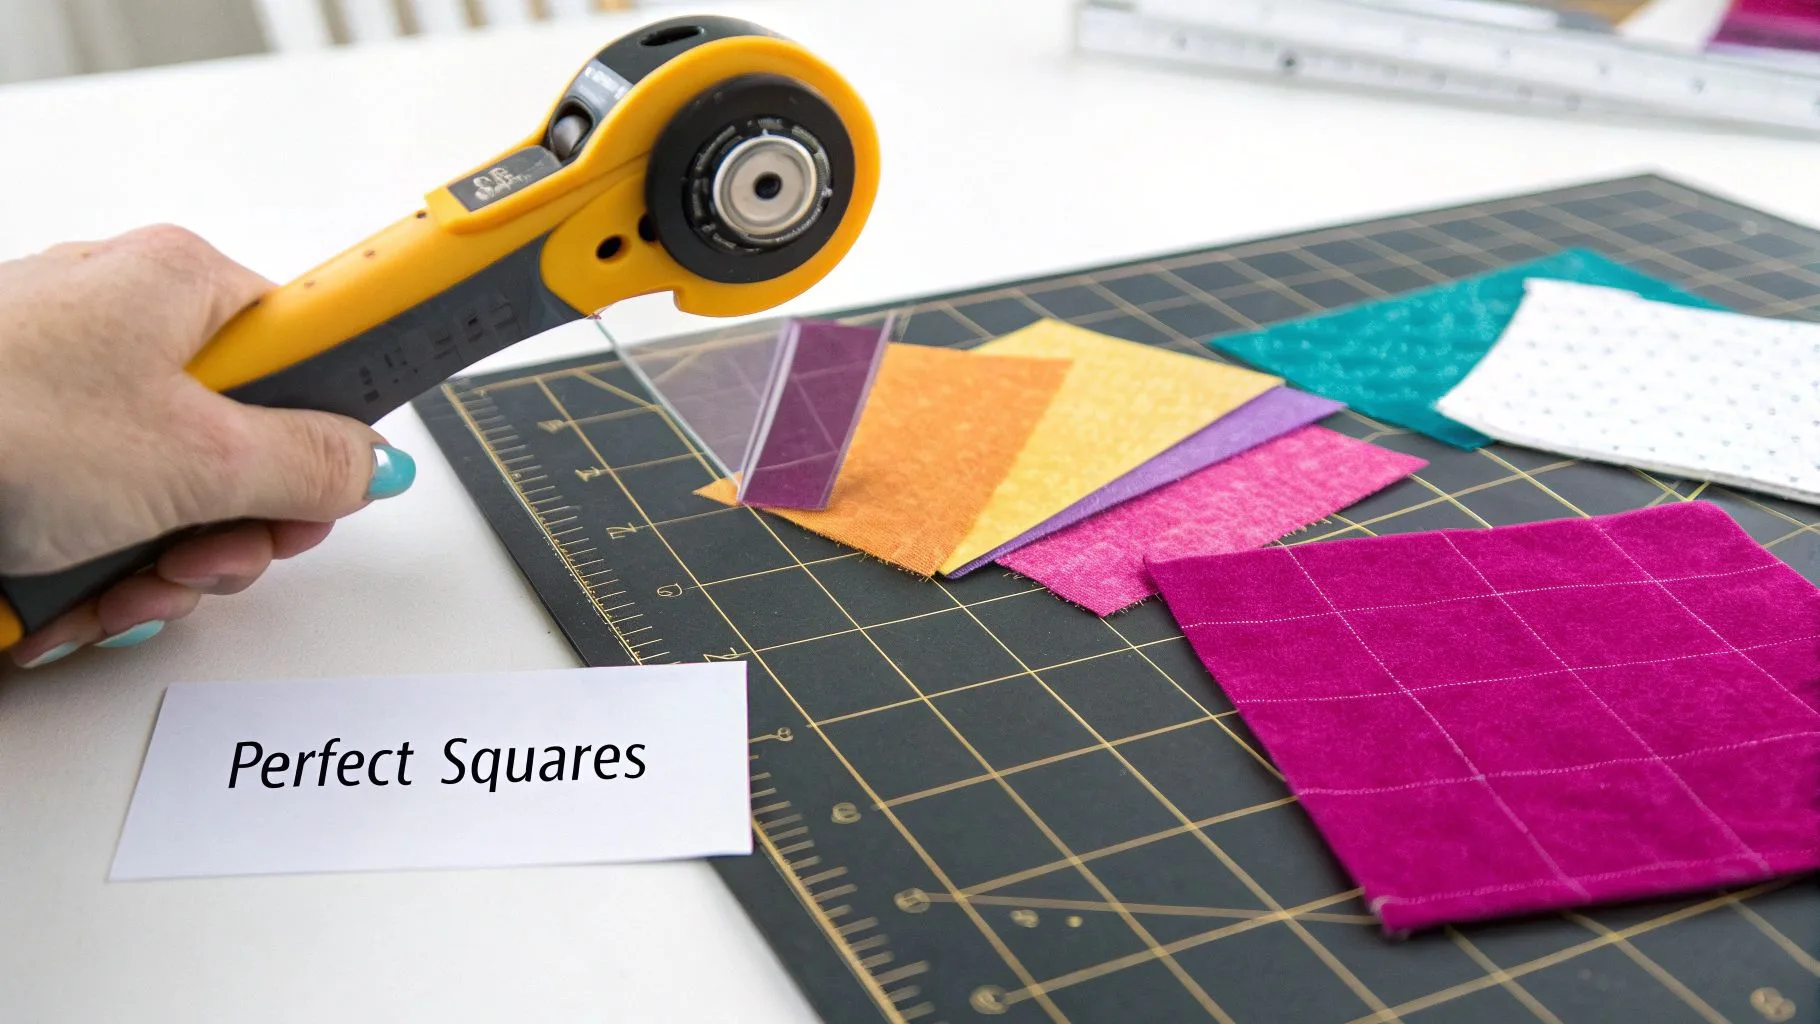
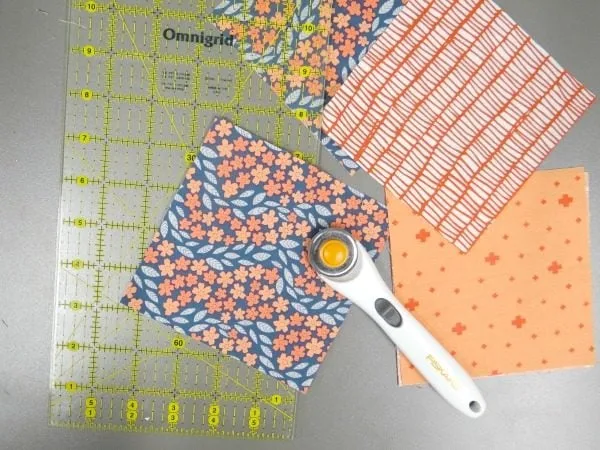
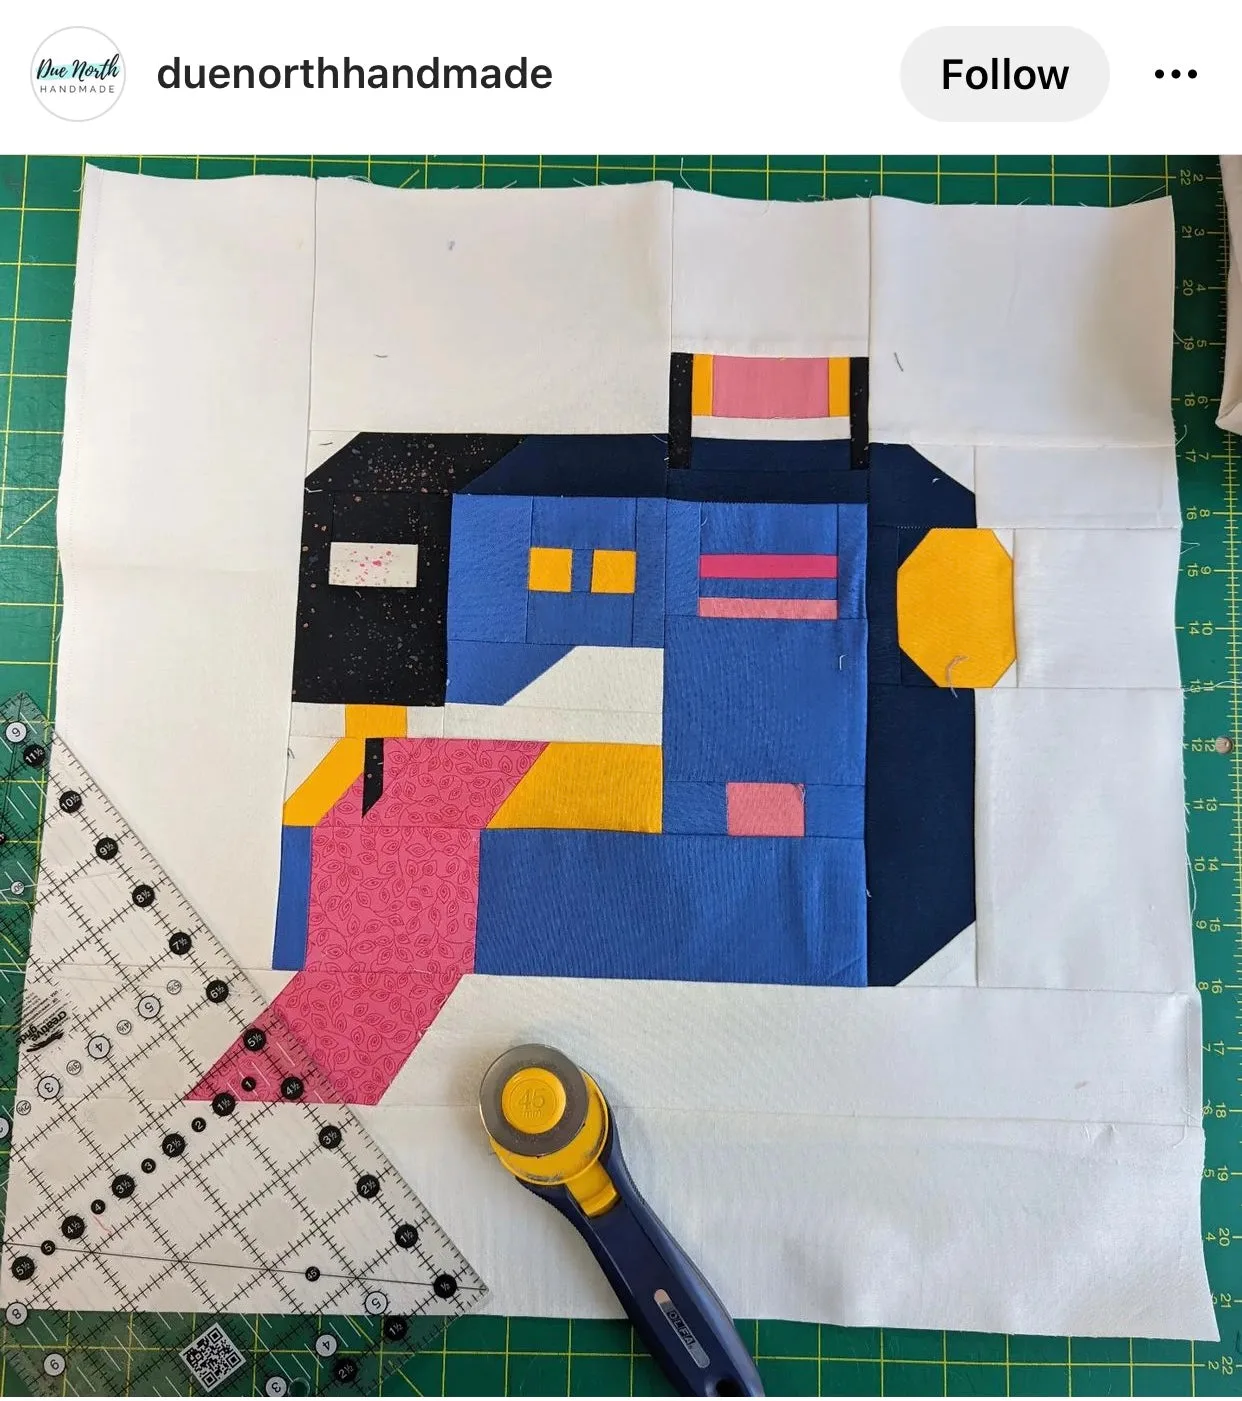
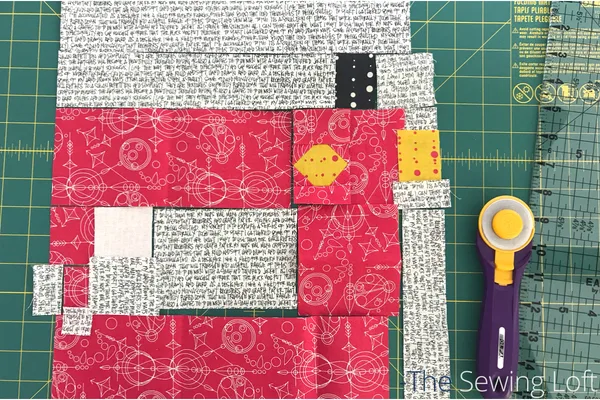
Press all fabric, then cut with a rotary cutter on a self-healing mat using an acrylic ruler. Cut strips first, then sub-cut strips into squares, rectangles, or triangles. Measure twice, cut once. Organize cut pieces by fabric and block position. Label bags or piles if your pattern has many different cuts.
Block Assembly
Arrange your blocks on a design wall (a flannel sheet pinned to the wall works great) before sewing anything. Step back and look at the overall color balance. Move blocks around until you're happy with the distribution. Then piece blocks together: sew pairs, press, sew pairs into rows, press, join rows.
Quilt Top Assembly
Sew completed blocks into rows, then sew rows together. Press seam allowances in alternating directions on alternating rows so they nest when you join rows. This is how you get matching seam intersections without pinning every one. Press the completed quilt top and square up the edges.
Quilting Sandwich
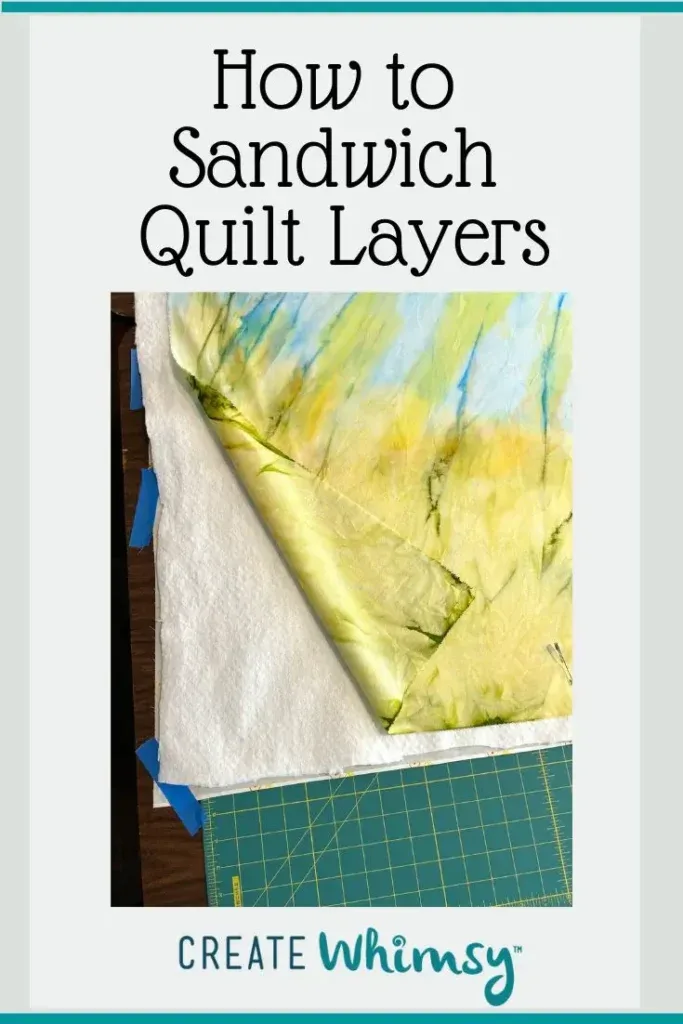
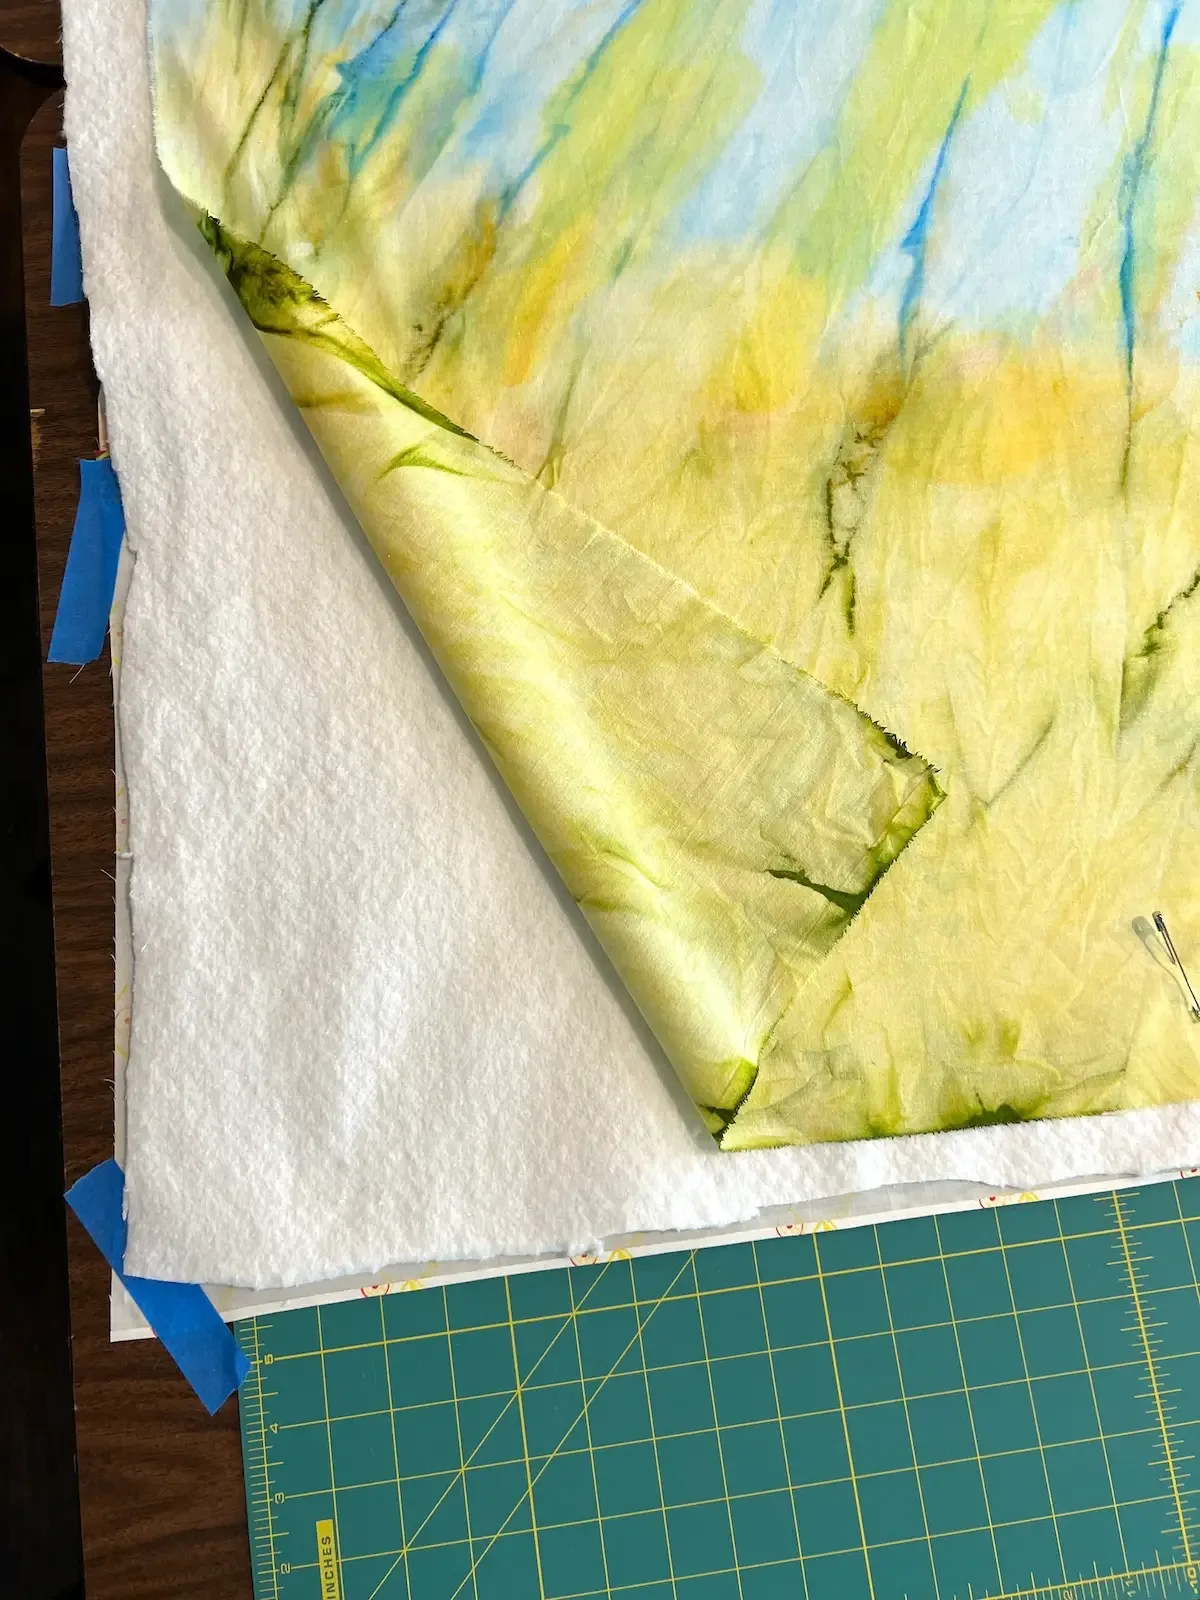
Layer your backing (right side down), batting, and quilt top (right side up). Baste all three layers together with curved safety pins every 4-6 inches, or use basting spray (505 Spray and Fix is the community standard). The layers must stay aligned during quilting. Insufficient basting causes shifting, puckers, and pleats on the back.
Quilting
Quilt through all three layers. A walking foot handles straight-line quilting (stitch-in-the-ditch along seam lines, or parallel lines). Free-motion quilting (FMQ) with a darning foot handles curves, stippling, and custom motifs. For a first quilt, straight lines with a walking foot are the safest bet. FMQ has a learning curve that deserves practice on sample sandwiches before you touch your real quilt.
Binding
Square up and trim the quilt edges. Cut binding strips (2.5 inches wide for standard binding), sew strips together on the bias, press in half lengthwise. Machine-sew the binding to the front of the quilt with a 3/8-inch seam allowance, miter the corners, fold to the back, and hand-stitch with a ladder stitch. This is the slowest step but hand-stitched binding looks significantly better than machine-stitched.
Label
Add a fabric label to the back with your name, the date, and the quilt's name or recipient. This is your work. Sign it.
Common mistakes
- Inaccurate cutting. Even 1/8-inch errors compound across a quilt top. Use a rotary cutter and ruler, not scissors. Check your ruler alignment before every cut.
- Inconsistent seam allowance. Quilting uses a scant 1/4-inch seam allowance. Test yours on two 3.5-inch squares. Sewn together and pressed, they should measure exactly 6.5 inches. If not, adjust your needle position.
- Not pressing seam direction. Press seams to one side (toward the darker fabric usually), and alternate direction on alternating rows. This makes row joining clean and creates thinner intersections.
- Insufficient basting. Pin or spray every 4-6 inches. Skimping on basting means the layers shift during quilting, creating puckers on the back that are impossible to fix after quilting.
- Rushing the binding. Machine binding on the back is faster but shows. Hand-stitched binding is the professional finish. Put on a podcast and enjoy the meditative handwork.
A finished quilt is one of the most satisfying things you can make. It takes time, but it lasts decades.
Components
Quilt top
Quilting sandwich
Binding
Materials list
10 itemsEstimated total cost
$80 - $300
Milestone timeline
8 weeks- 1
Choose pattern and calculate fabric yardage
planning
- 2
Select and purchase fabrics
planning
- 3
Pre-wash all fabrics
cutting
- 4
Cut all pieces with rotary cutter
cutting
- 5
Arrange blocks on design wall
sewing
- 6
Piece blocks together
sewing
- 7
Assemble quilt top rows
sewing
- 8
Press all seams
pressing
- 9
Prepare backing and batting
sewing
- 10
Baste quilting sandwich
sewing
- 11
Quilt (free motion or walking foot)
sewing
- 12
Square up and trim edges
Finishing
- 13
Attach binding
Finishing
- 14
Hand-stitch binding to back
Finishing
- 15
Add label
Finishing
Frequently
asked questions.
Related tools and guides
Plan your build, estimate costs, and get ready.
Budget Calculator
Estimate your build cost before you start buying materials.
Convention Checklist
88-item packing checklist. Check off items as you pack.
Prop Scaling Calculator
Scale reference images to your body measurements.
How Much Does a Sewing Project Cost?
Real build budgets with specific products and dollar amounts.
Fabric Yardage Calculator for Cosplay
Real build budgets with specific products and dollar amounts.
Sewing on Costumary
Templates, tools, and workspace built for sewing makers.
Browse all templates
Explore build plans across 10 craft verticals.
Start this build free
Clone this template into your workspace. Track materials, milestones, budget, and build progress in one place.
Related templates
Commission Garment
8 weeks · 15 milestones
Build a garment for a client with measurements, muslin fittings, approval checkpoints, and professional handoff. Covers client briefs, quoting, remote fitting strategies, progress communication, and shipping finished garments safely.
Sweet Lolita JSK
4 weeks · 18 milestones
A sweet lolita jumperskirt: fitted bodice, gathered or pleated skirt with shirring or lace-edged waistband, tiered ruffles, lace trim everywhere. The bodice is the technical core, the lace application is where precision shows, and the skirt needs serious volume without looking limp. 6 components, 12 materials, ~4 weeks, $70-180.
Layered Petticoat
2 weeks · 14 milestones
A multi-layered petticoat or crinoline for historical dresses, lolita coords, or cosplay skirts. The fullness comes from gathering long fabric strips and stacking them in tiers, building volume without a rigid frame. Choose between cotton voile for light fluff or organza for structure and visible iridescence. 4 components, 11 materials, ~2 weeks, $30-80.
Cottagecore Dress
3 weeks · 13 milestones
A prairie-inspired cottagecore dress with puffed sleeves, gathered skirt, and delicate finishing. The puffed sleeves are the focal point, requiring careful sleeve cap sizing and gathering. This is a forgiving first garment project for sewers who want something wearable and romantic. 4 components, 11 materials, ~3 weeks, $50-140.
Regency Day Dress
5 weeks · 13 milestones
An empire-waist dress with gathered skirt and puffed sleeves, grounded in Regency-era silhouettes (1811-1820). The high waistline and tailored bodice define the build; the challenge is matching the delicate fabric drape and hand-finishing details that period gowns demanded. 5 components, 11 materials, ~5 weeks, $100-280.
Renaissance Bodice
4 weeks · 15 milestones
A structured renaissance faire bodice with boned channels and lace-up front or back closure. The boning is the make-or-break detail: it holds the silhouette and prevents slumping after hours of wear. Choose between an overbust or underbust style, pick your lacing direction, and layer it over a chemise for authentic drape. 5 components, 12 materials, ~4 weeks, $80-200.
Hooded Cloak
3 weeks · 11 milestones
A full-length hooded cloak lined and finished—the weekend project that reads like you spent months on it. This is a beginner-friendly build that teaches you the fundamentals: cutting large pieces, sewing clean seams, drafting a hood that fits, and installing a functional clasp. 4 components, 10 materials, ~3 weeks, $60-150.
Underbust Corset
5 weeks · 13 milestones
A steel-boned underbust corset with proper construction technique: laced front, structured channels for spiral and flat bones, reinforced grommets, and a sturdy busk closure. This is a real garment, not a costume shortcut. Learning to build one teaches you about structured sewing, pattern grading, and how precision seaming carries the whole piece. 5 components, 13 materials, ~4-5 weeks, $120-280.