
Simple Garment
Make a one-piece garment from a commercial pattern. Skirt, simple top, or pajama pants. A great first sewing project with a clear path from cutting to finished garment in a weekend or two.
3 weeks
9
6
1
See the whole look before you start.
References, materials, budget, and build order for Simple Garment.
Timeline
3 weeks
Color refs
Materials
6 items
Budget
$15 - $50
save the visual refs
Full reference board
The preview above is curated for scanning. This is the working board you clone into your own build, with notes, colors, product images, and extra references intact.
Images are sourced from around the internet to help you get started. Use the web clipper to build your own reference library.
Reference images are gathered from around the web and belong to their original creators. We link back to where we found each one. If something here is yours and you want it taken down, email us and it is gone.
Build guide
Your first real sewing project should be something you'll actually wear. Not a tote bag, not a pillowcase, but a real garment that goes on your body. A simple skirt, a pull-on top, or pajama pants are all achievable for a first project, and finishing one gives you the confidence (and the skills) to tackle everything after.
You're making a complete garment from a commercial sewing pattern. The finished piece will have sewn seams, a closure (zipper or elastic waist), a hemmed bottom edge, and pressed seams. It will look like clothing, not a craft project. Budget about 3 weeks if you're learning as you go, or a single weekend if you've done this before.
Pattern choice is your first decision. For a first project, pick a pattern rated "Easy" or "Beginner" from McCall's, Simplicity, or Butterick. Indie patterns from companies like Tilly and the Buttons, Helen's Closet, or Cashmerette tend to have better instructions than Big 4 patterns and include more fitting guidance. A skirt with an elastic waist is probably the simplest first garment. Pajama pants are a close second.
Fabric choice matters more than technique at this stage. Cotton quilting fabric (broadcloth, poplin) is the most forgiving material for beginners. It doesn't slip, it presses well, it's cheap ($6-12/yard at JoAnn), and it tells you immediately if your seam is straight. Stay away from knits, silk, slippery synthetics, and anything stretchy until you've got a few projects under your belt.
Planning
Read the entire pattern instructions before you cut anything. Seriously, front to back. Then read them again. Note any techniques you don't recognize and look them up. Understanding the construction order before you start prevents "oh, I was supposed to do that first" backtracking.
Measurements
Take your body measurements: bust, waist, hips, and desired length. Compare them to the pattern's size chart (not your ready-to-wear size, pattern sizes are different). If you're between sizes, go up. You can always take in; letting out is harder.
Cutting
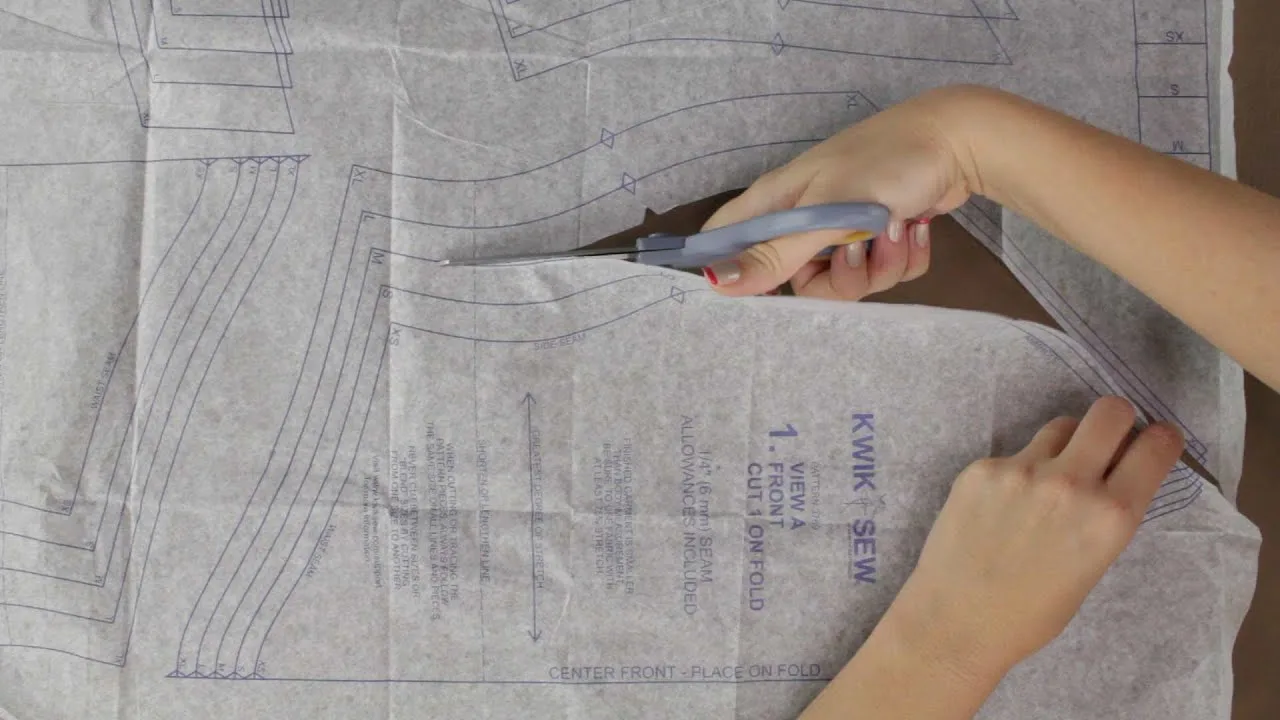
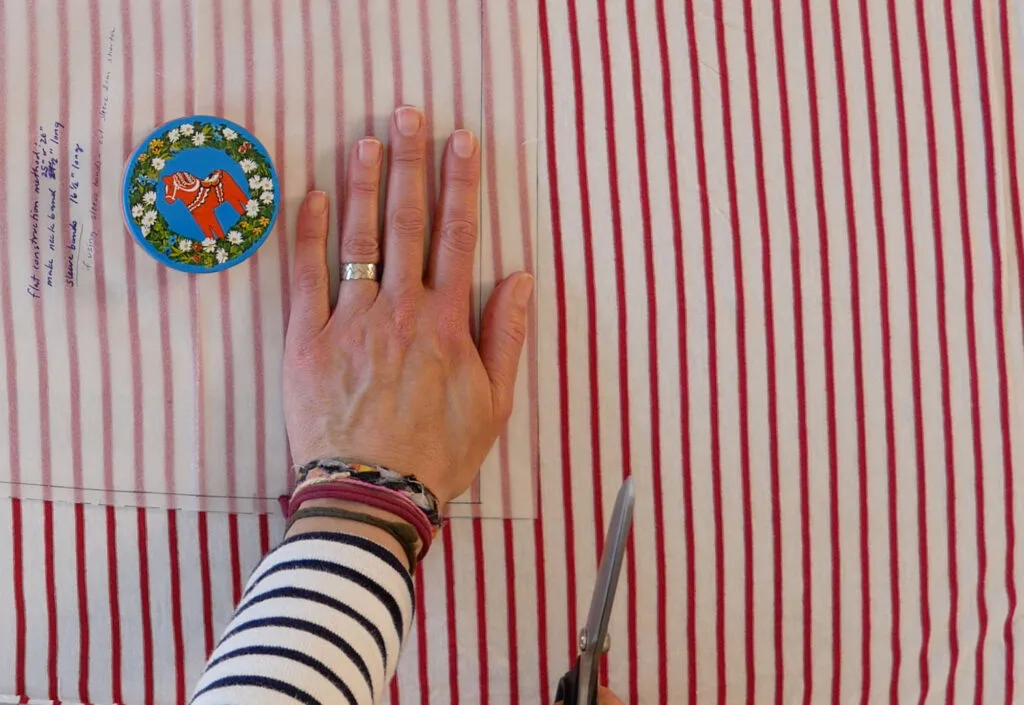
Pre-wash your fabric (it will shrink 2-5% on the first wash). Press it flat. Lay out your pattern pieces following the cutting layout diagram in the instructions. Pay attention to grainline arrows. Pin or weight the pattern pieces to the fabric and cut with sharp fabric scissors. Transfer all markings (notches, dots, darts) from the pattern to your fabric.
Sewing
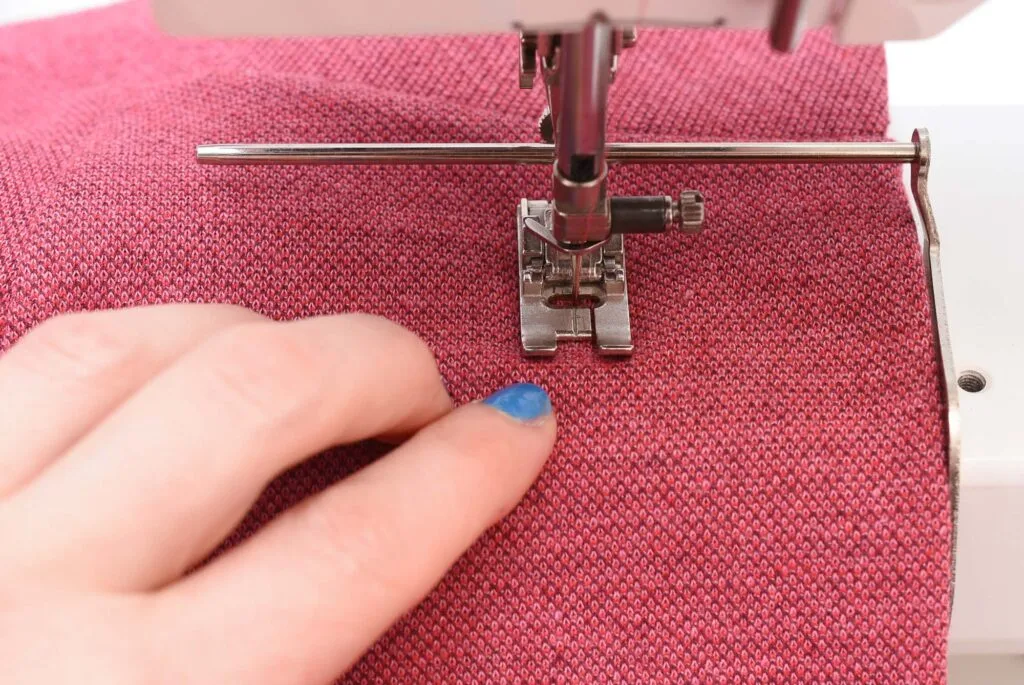
Sew the main seams following the pattern instructions. Use a 5/8-inch seam allowance unless the pattern says otherwise. Backstitch at the start and end of every seam. Press each seam open or to one side before crossing it with another seam. This is the single habit that separates clean sewing from messy sewing.
Closures
Install your closure. For a beginner garment, this is usually an elastic waistband (fold, sew a casing, thread elastic through) or a simple zipper. Invisible zippers are actually easier than regular zippers for beginners because the teeth hide in the seam. YouTube tutorials for "invisible zipper installation" are extremely helpful here.
Fitting
Try the garment on and mark the hem. Hemming looks best when someone else marks it for you while you wear it, but you can do it solo with a mirror and pins. Pin the hem, take the garment off, and sew.
Finishing
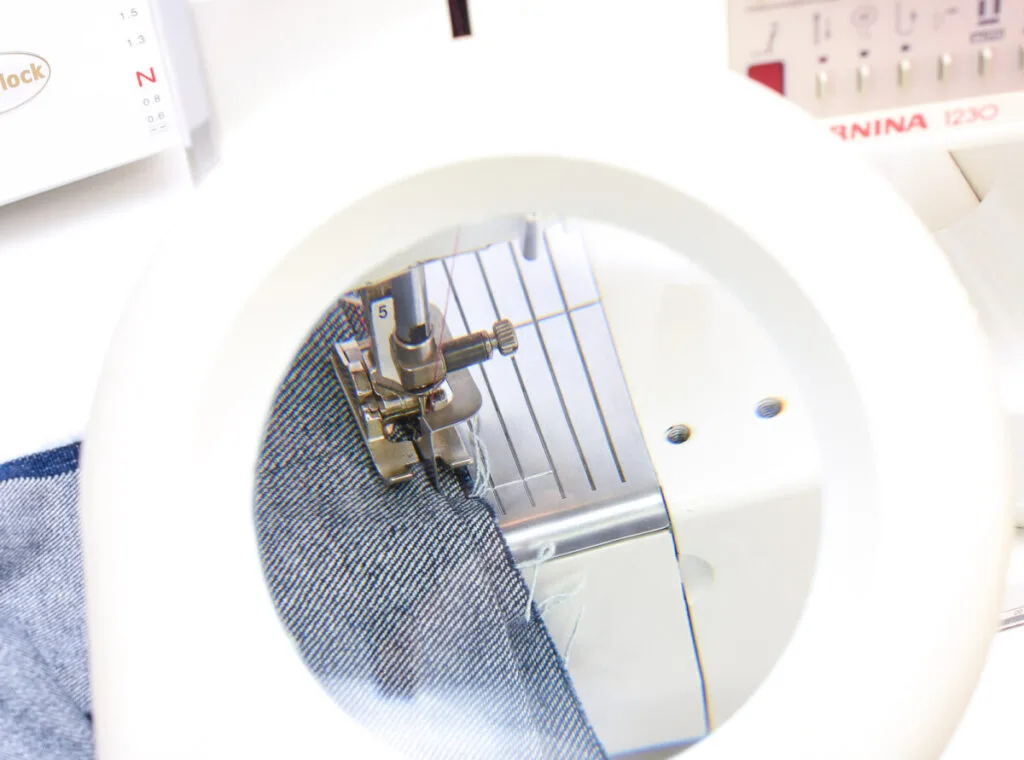
Finish all raw edges. A zigzag stitch along raw seam edges prevents fraying and is the simplest finish. Pinking shears work in a pinch. Serged edges are cleanest but require a serger. Hem using a folded hem (fold once, fold again, sew).
Final Press
Press the entire finished garment. Pressing is what makes home-sewn garments look intentional. Hit every seam, press the hem flat, and iron the body panels smooth.
Common mistakes
- Not reading the instructions first. Pattern instructions assume you follow them in order. Skipping ahead and sewing pieces in the wrong sequence creates problems that are hard to undo.
- Skipping pressing. Every. Single. Seam. Press it. This is the difference between "I made this" and "I made this and it looks great."
- Wrong fabric for the pattern. A heavy denim for a flowy blouse or a lightweight voile for structured pants won't work regardless of your sewing skill. Match fabric weight to pattern recommendations.
- Pulling fabric through the machine. Let the feed dogs do the work. Pulling creates uneven stitches and wavy seams. Guide the fabric gently; don't push or pull.
Your first finished garment will have imperfections. Wear it anyway. You made clothes. That's legitimately impressive.
Components
Main garment
Materials list
6 itemsEstimated total cost
$15 - $50
Milestone timeline
3 weeks- 1
Choose pattern and read instructions
planning
- 2
Take body measurements
planning
- 3
Pre-wash and press fabric
cutting
- 4
Lay out and cut pattern pieces
cutting
- 5
Sew main seams
sewing
- 6
Install closure (zipper or elastic waist)
sewing
- 7
Try on and mark hem
Fitting
- 8
Hem and finish raw edges
Finishing
- 9
Final press
pressing
Frequently
asked questions.
Related tools and guides
Plan your build, estimate costs, and get ready.
Budget Calculator
Estimate your build cost before you start buying materials.
Convention Checklist
88-item packing checklist. Check off items as you pack.
Prop Scaling Calculator
Scale reference images to your body measurements.
How Much Does a Sewing Project Cost?
Real build budgets with specific products and dollar amounts.
Fabric Yardage Calculator for Cosplay
Real build budgets with specific products and dollar amounts.
Sewing on Costumary
Templates, tools, and workspace built for sewing makers.
Browse all templates
Explore build plans across 10 craft verticals.
Start this build free
Clone this template into your workspace. Track materials, milestones, budget, and build progress in one place.
Related templates
Commission Garment
8 weeks · 15 milestones
Build a garment for a client with measurements, muslin fittings, approval checkpoints, and professional handoff. Covers client briefs, quoting, remote fitting strategies, progress communication, and shipping finished garments safely.
Sweet Lolita JSK
4 weeks · 18 milestones
A sweet lolita jumperskirt: fitted bodice, gathered or pleated skirt with shirring or lace-edged waistband, tiered ruffles, lace trim everywhere. The bodice is the technical core, the lace application is where precision shows, and the skirt needs serious volume without looking limp. 6 components, 12 materials, ~4 weeks, $70-180.
Layered Petticoat
2 weeks · 14 milestones
A multi-layered petticoat or crinoline for historical dresses, lolita coords, or cosplay skirts. The fullness comes from gathering long fabric strips and stacking them in tiers, building volume without a rigid frame. Choose between cotton voile for light fluff or organza for structure and visible iridescence. 4 components, 11 materials, ~2 weeks, $30-80.
Cottagecore Dress
3 weeks · 13 milestones
A prairie-inspired cottagecore dress with puffed sleeves, gathered skirt, and delicate finishing. The puffed sleeves are the focal point, requiring careful sleeve cap sizing and gathering. This is a forgiving first garment project for sewers who want something wearable and romantic. 4 components, 11 materials, ~3 weeks, $50-140.
Regency Day Dress
5 weeks · 13 milestones
An empire-waist dress with gathered skirt and puffed sleeves, grounded in Regency-era silhouettes (1811-1820). The high waistline and tailored bodice define the build; the challenge is matching the delicate fabric drape and hand-finishing details that period gowns demanded. 5 components, 11 materials, ~5 weeks, $100-280.
Renaissance Bodice
4 weeks · 15 milestones
A structured renaissance faire bodice with boned channels and lace-up front or back closure. The boning is the make-or-break detail: it holds the silhouette and prevents slumping after hours of wear. Choose between an overbust or underbust style, pick your lacing direction, and layer it over a chemise for authentic drape. 5 components, 12 materials, ~4 weeks, $80-200.
Hooded Cloak
3 weeks · 11 milestones
A full-length hooded cloak lined and finished—the weekend project that reads like you spent months on it. This is a beginner-friendly build that teaches you the fundamentals: cutting large pieces, sewing clean seams, drafting a hood that fits, and installing a functional clasp. 4 components, 10 materials, ~3 weeks, $60-150.
Underbust Corset
5 weeks · 13 milestones
A steel-boned underbust corset with proper construction technique: laced front, structured channels for spiral and flat bones, reinforced grommets, and a sturdy busk closure. This is a real garment, not a costume shortcut. Learning to build one teaches you about structured sewing, pattern grading, and how precision seaming carries the whole piece. 5 components, 13 materials, ~4-5 weeks, $120-280.