
3D Printing Build
Build costume pieces from 3D-printed parts using FDM or resin printers. Covers file sourcing, slicing, printing, support removal, progressive sanding, gap filling, assembly, painting, and finishing to a smooth, professional surface.
6 weeks
14
10
4
See the whole look before you start.
References, materials, budget, and build order for 3D Printing Build.
Timeline
6 weeks
Color refs
Materials
10 items
Budget
$50 - $300
save the visual refs
Full reference board
The preview above is curated for scanning. This is the working board you clone into your own build, with notes, colors, product images, and extra references intact.
Images are sourced from around the internet to help you get started. Use the web clipper to build your own reference library.
Reference images are gathered from around the web and belong to their original creators. We link back to where we found each one. If something here is yours and you want it taken down, email us and it is gone.
Build guide
3D printing changed cosplay forever. Helmets that used to take 80 hours of foam work now come off a printer in a day. Complex shapes that would be impossible to hand-carve are just STL files waiting to be sliced. But printing is only 30% of the work. Post-processing (sanding, filling, priming, painting) is the other 70%, and that's where most builders underestimate the effort.
Your finished product is one or more 3D-printed costume pieces (helmets, armor plates, weapons, or detail parts) sanded smooth, assembled if multi-part, and painted to a finish where nobody can tell they were printed. Layer lines are the enemy. Your entire post-processing workflow is about eliminating them.
File sourcing is step one. Thingiverse, MyMiniFactory, Cults3D, and Etsy all have cosplay-ready STL files. Many are free, though premium files from creators like Nikko Industries or 3D Print Guy typically have better fit, cleaner geometry, and include test-fit pieces. If you're modeling your own files, Blender (free) or Fusion 360 handle cosplay geometry well. Always check that files are scaled correctly for your body before committing to a 40-hour print.
Material choice matters. PLA is the easiest to print and cheapest ($15-25 per kg), but it's brittle and warps in heat (bad for con-floor wear in summer). PETG is slightly harder to print but more flexible and heat-resistant. For helmets and armor that might see warm environments, PETG is worth the learning curve. Resin prints give the smoothest surface but are more expensive and require safety precautions during printing (ventilation, gloves).
Research and File Prep
Source or model your STL files. Import into your slicer (Cura, PrusaSlicer, or Bambu Studio) and check fitment. Print test-fit pieces at 10% infill first. A helmet brim or armor edge printed quickly tells you whether the scale is right before you commit to the full print.
Slicing
Configure your slicer settings for cosplay: 3-4 wall lines, 15-20% infill (gyroid pattern for strength-to-weight), 0.2mm layer height for a balance of speed and quality. If the piece is too large for your build plate, split it in your slicer or in Meshmixer. Plan split lines where seams will be least visible (along existing detail lines or edges).
Printing
Print all parts batched by size. Large pieces overnight, small details during the day when you can monitor. Watch the first few layers of every print. Most failures happen in the first 30 minutes due to bed adhesion issues. Keep spare filament rolls on hand because running out mid-print is a special kind of frustration.
Cleanup
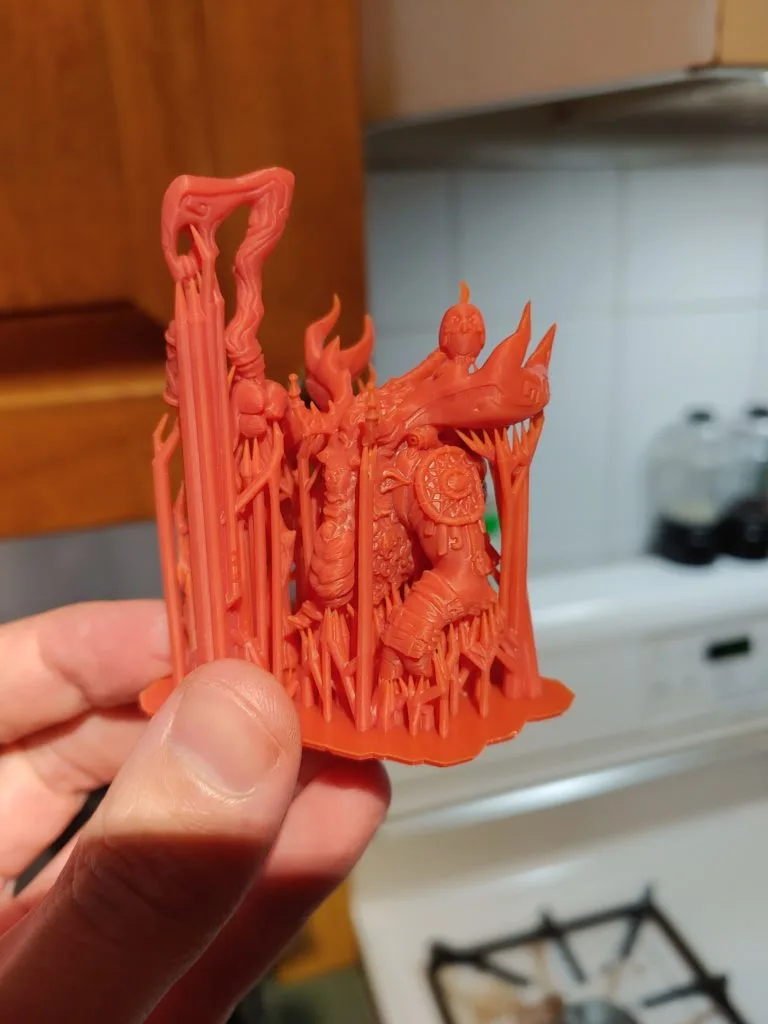
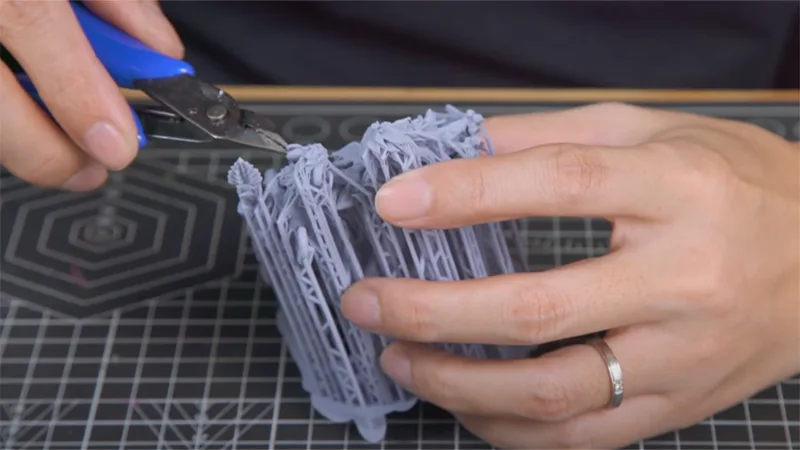
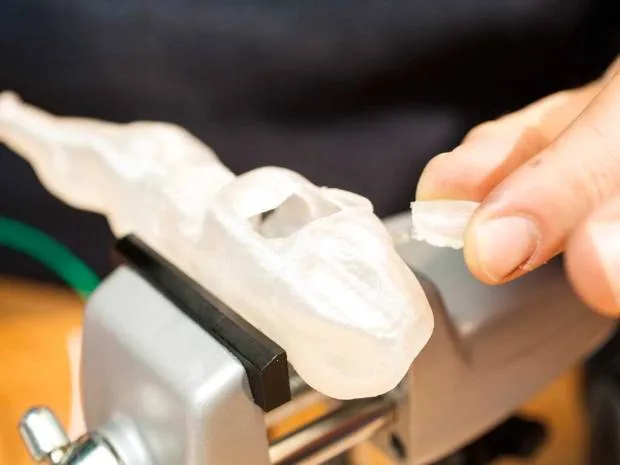
Remove supports carefully with flush cutters and a craft knife. Don't rush this step. Ripping supports leaves scars in the surface that are hard to sand out. For tricky internal supports, needle-nose pliers work better than fingers.
Sanding
Progressive sanding is what separates printed-looking parts from professional-looking parts. Start with 180 grit to knock down layer lines and support scars. Move to 320 grit for smoothing. Finish with 600 grit for a paintable surface. Wet sanding at 600 grit (with a spray bottle and waterproof sandpaper) gives the smoothest result. This takes hours per piece. There's no shortcut.
Assembly
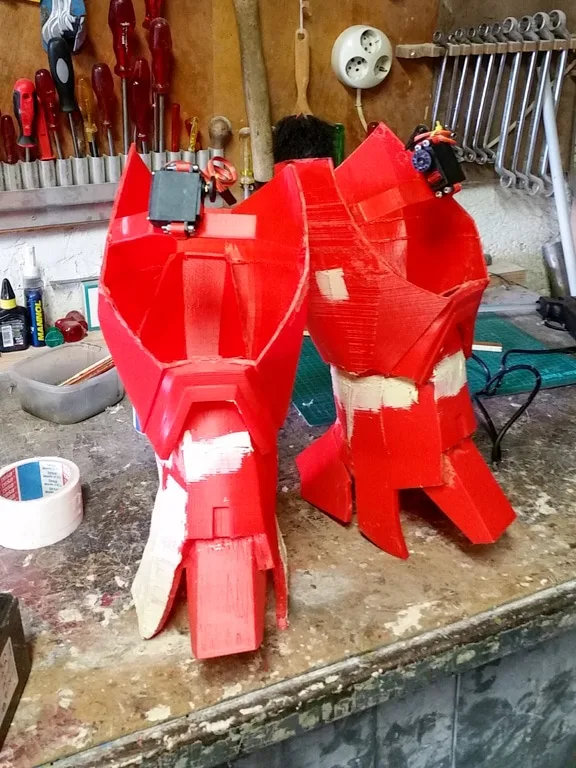
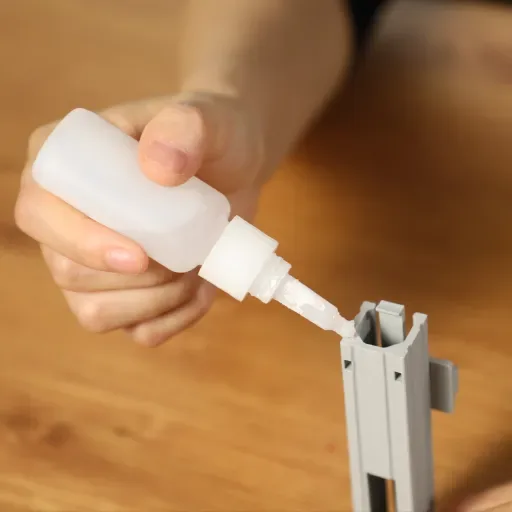
Glue multi-part pieces with CA glue (super glue). Apply to one surface, press together, and hold for 30 seconds. CA glue bonds PLA and PETG solidly. For large structural joins, reinforce from the inside with more CA glue and baking soda (instant rock-hard filler) or epoxy. Fill seams between parts with Bondo Spot Putty, let dry, and sand flush.
Priming and Filling
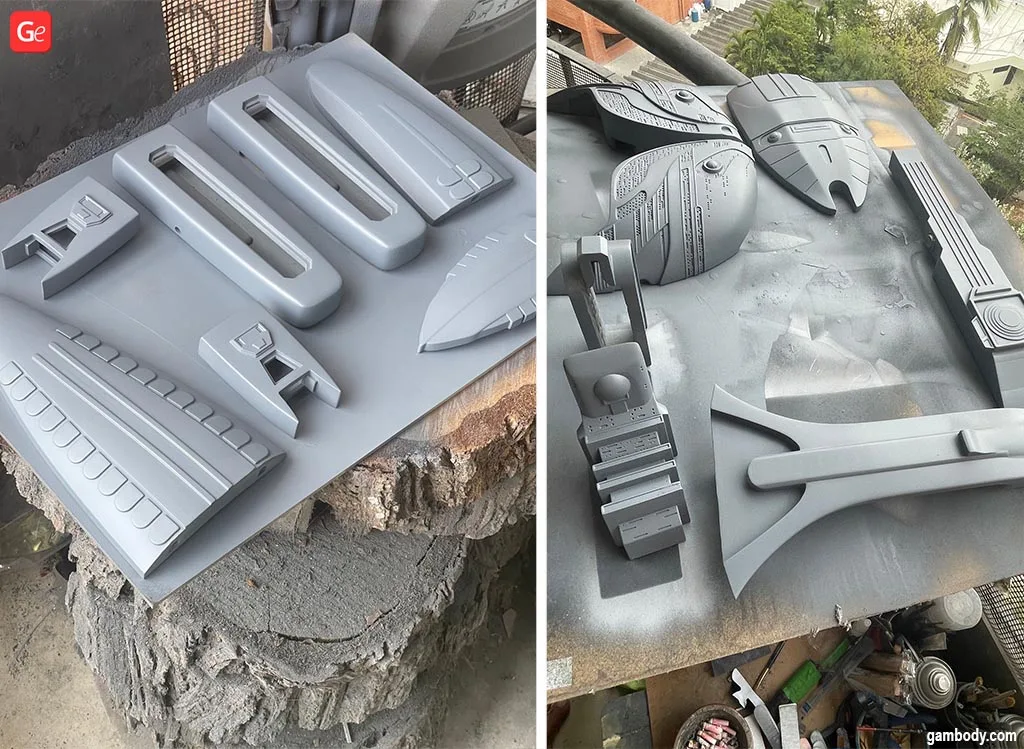
Spray filler primer (Rust-Oleum 2-in-1 Filler & Sandable Primer) over the entire piece. This coat reveals every imperfection you missed. Sand again with 320-400 grit. Fill any remaining divots with spot putty. Prime again. This prime-sand-fill cycle typically takes 2-3 passes before the surface is truly smooth.
Painting
Spray a final primer coat, then paint with acrylics (brush or airbrush) or spray paint. Thin coats build up better than thick ones. Masking tape creates clean color divisions. Dry-brush metallic highlights on edges for a worn look. Clear coat with a matte or satin finish to protect the paint and unify the surface sheen.
Fitting
Add strapping, elastic, or foam padding for wearable pieces. EVA foam strips glued inside helmets create a comfortable, adjustable fit. Magnets (neodymium, 6mm x 3mm) are great for attaching removable armor plates and detail pieces. Alignment pins prevent multi-part assemblies from shifting during wear.
Common mistakes
- Skipping test prints. A 40-hour print that doesn't fit your head is a waste of filament and time. Print a test section first.
- Not enough sanding. If you can still see layer lines after priming, you stopped too early. Sand more, prime again.
- Thick paint coats. Thick coats run, drip, and obscure detail. Multiple thin coats always beat one thick one.
- PLA in hot environments. PLA starts warping around 140F/60C. Convention halls with poor AC and outdoor cons in summer can reach those temperatures. Use PETG for pieces you'll wear in heat.
- Ignoring seam lines on multi-part prints. If you can see where two printed pieces meet, your audience can too. Fill and sand every seam until it vanishes.
3D printing is a multiplier for cosplay. It lets you build shapes that no other technique can match. Just don't skip the post-processing.
Components
Helmet or headpiece
Armor plates
Weapon or prop body
Detail pieces
Materials list
10 itemsEstimated total cost
$50 - $300
Milestone timeline
6 weeks- 1
Source or model STL files
Research
- 2
Test-print fitment pieces
Patterning
- 3
Slice and configure print settings
Patterning
- 4
Print all parts (batch by size)
Construction
- 5
Remove supports and clean
Construction
- 6
Progressive sanding (180 → 320 → 600 grit)
Finishing
- 7
Filler primer and re-sand cycles
Finishing
- 8
Assemble multi-part pieces with CA glue
Construction
- 9
Fill seams and gaps with putty
Finishing
- 10
Prime all assembled pieces
Finishing
- 11
Paint and detail
Finishing
- 12
Clear coat and seal
Finishing
- 13
Add strapping or attachment hardware
Fitting
- 14
Wear test and final adjustments
Wear test
Frequently
asked questions.
Related tools and guides
Plan your build, estimate costs, and get ready.
Budget Calculator
Estimate your build cost before you start buying materials.
Convention Checklist
88-item packing checklist. Check off items as you pack.
Prop Scaling Calculator
Scale reference images to your body measurements.
How Much Does EVA Foam Armor Cost?
Real build budgets with specific products and dollar amounts.
Cosplay Commission Cost Breakdown
Real build budgets with specific products and dollar amounts.
Cosplay on Costumary
Templates, tools, and workspace built for cosplay makers.
Browse all templates
Explore build plans across 10 craft verticals.
Debut your cosplay build
Upcoming conventions where you could wear this. Dates, checklists, and budget tools included.
New York Comic Con 2026
Oct 8-11 · New York, NY
The East Coast's largest pop culture convention, with major panels, artist alley, and cosplay showcases.
Anime USA 2026
Oct 9-11 · Washington, DC
A mid-size anime convention in the DC metro area, offering panels, cosplay, and Japanese cultural programming.
Tsubasacon 2026
Oct 9-11 · Charleston, WV
Sekaicon 2026
Oct 9-11 · Newark, OH
Start this build free
Clone this template into your workspace. Track materials, milestones, budget, and build progress in one place.
Related templates
Qifrey Cosplay
5 weeks · 12 milestones
Qifrey's elegant white-robed silhouette is built around three signature elements: the tall pointed hat with the bent tip and black ribbon, the flowing white cape with the brass brooch closure, and the asymmetrical pince-nez glasses with one dark lens hiding his scarred eye. This is an intermediate build that needs more structural crafting than sewing. The hat and glasses demand the most attention, while the cape is a manageable garment project. The glasses and the hat are the make-or-break details, and this template walks you through both. Includes 7 components, 15 materials with cost estimates, a 12-step build plan, and a realistic 5-week, $95 to $280 budget.
Coco Cosplay
6 weeks · 12 milestones
Witch Hat Atelier's apprentice witch in her full outfit: the tall pointed hat with ornamental band, a dark cloak with decorative hem trim, a layered tunic-dress, boots, and her drawing implements. The hat is the signature piece and the hardest to get right. 7 components, 13 materials, ~6 weeks at $120-280.
Sung Jinwoo Cosplay
7 weeks · 15 milestones
Solo Leveling's Shadow Monarch in his iconic default hunter outfit: a long black coat with purple inner lining, structured shoulder armor, fitted pants, and dual daggers. This is an intermediate hybrid build that combines garment sewing with foam armor crafting for the shoulder details, plus prop work for the daggers. The coat and its glowing purple lining are the make-or-break detail. Includes 7 components, 19 materials with cost estimates, a 15-step build plan, and a realistic 5-7 week, $120 to $320 budget.
Gojo Satoru Cosplay
5 weeks · 11 milestones
Jujutsu Kaisen's strongest sorcerer, built around three signature details: the black high-collar uniform jacket, the blindfold, and the white spiked hair. This is an intermediate build that leans on one well-made garment plus wig styling, so it reads instantly on the con floor without months of work. The collar and the wig are the make-or-break details, and this template walks you through both. Includes 6 components, 11 materials with cost estimates, an 11-step build plan, and a realistic 5-week, $90 to $240 budget.
Deadpool Suit Cosplay
5 weeks · 12 milestones
The Merc with a Mouth in full red and black: a head-to-toe spandex bodysuit with diamond-textured fabric, a face shell mask with white magnetic lenses, dual katanas on a concealed back harness, and a utility belt with pouches and holsters. An intermediate build that rewards patience with fit and details. Covers 7 components, 12 materials with cost estimates, a 12-step build plan across 5 phases, and a 5-week timeline at $120 to $350.
Yuta Okkotsu Cosplay
6 weeks · 12 milestones
Jujutsu Kaisen 0's tragic sorcerer bound to Rika's curse: the black school uniform, textured black wig, cursed arm markings, and luminous katana. A balanced build across uniform tailoring, prop construction, and wig styling. 4 components, 11 materials, ~6 weeks, $120-280.
Captain America Cosplay
6 weeks · 12 milestones
The star-spangled Avenger in his Endgame suit: scaled chest armor over a tactical blue base, a white star emblem, red gauntlets and boot details, a foam cowl helmet with ear wings, and the iconic round shield. This is an intermediate build with repetitive detail work on the scales and some prop-making for the shield. Covers 7 components, 12 materials with cost estimates, a 12-step plan across 5 phases, and a realistic 6-week, $150 to $400 budget.
Arlecchino Cosplay
7 weeks · 17 milestones
Arlecchino (The Knave) is Genshin Impact's most cosplay-demanding Fatui Harbinger: a layered suit jacket, structured long coat with back chains, multi-color ombre wig, character-specific X-pupil contacts, and a full accessories set that runs 12+ pieces. This is an advanced build for cosplayers who can sew structured garments, handle prop accessories, and plan a full character makeup look. The make-or-break details are the coat's lapel structure and the wig's silver-black-red color work. Includes 8 components, 14 materials with cost estimates, a 12-step build plan, and a realistic 7-week, $180 to $420 budget.