
Armor Set
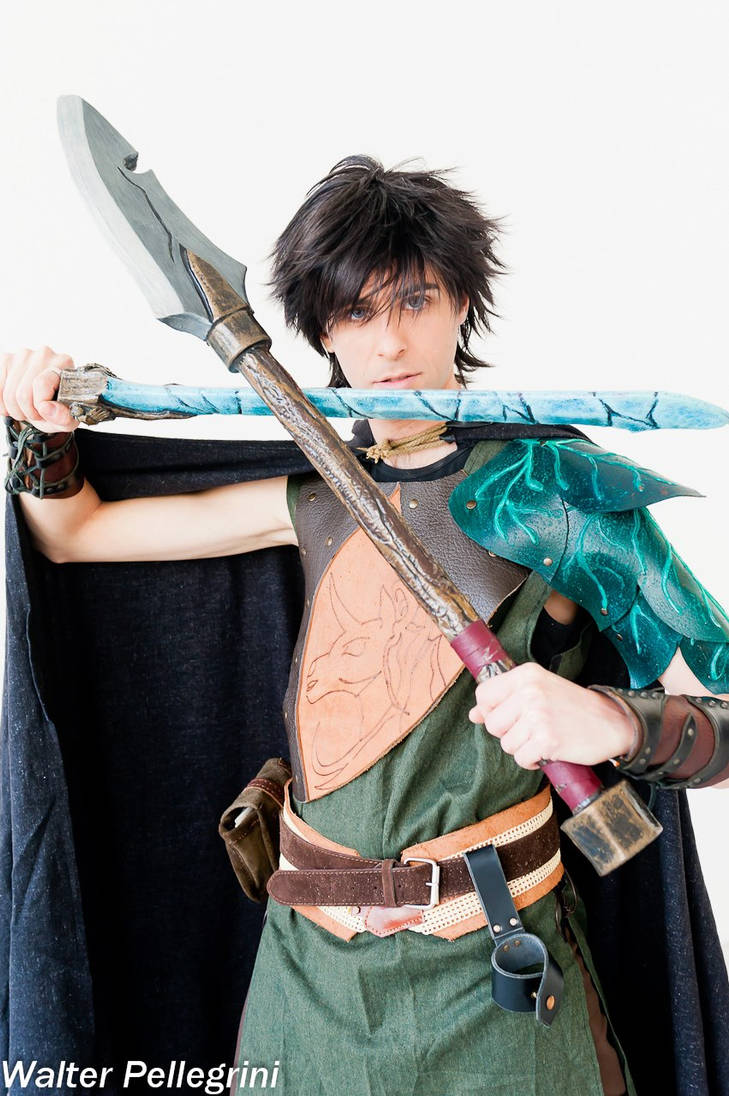
LARP-safe armor built from leather, foam, or thermoplastic. Covers patterning, shaping, riveting, finishing, and the strapping system that keeps it all in place during combat. Designed to survive event wear, not just photos.
6 weeks
9
6
3
See the whole look before you start.
References, materials, budget, and build order for Armor Set.
Timeline
6 weeks
Color refs
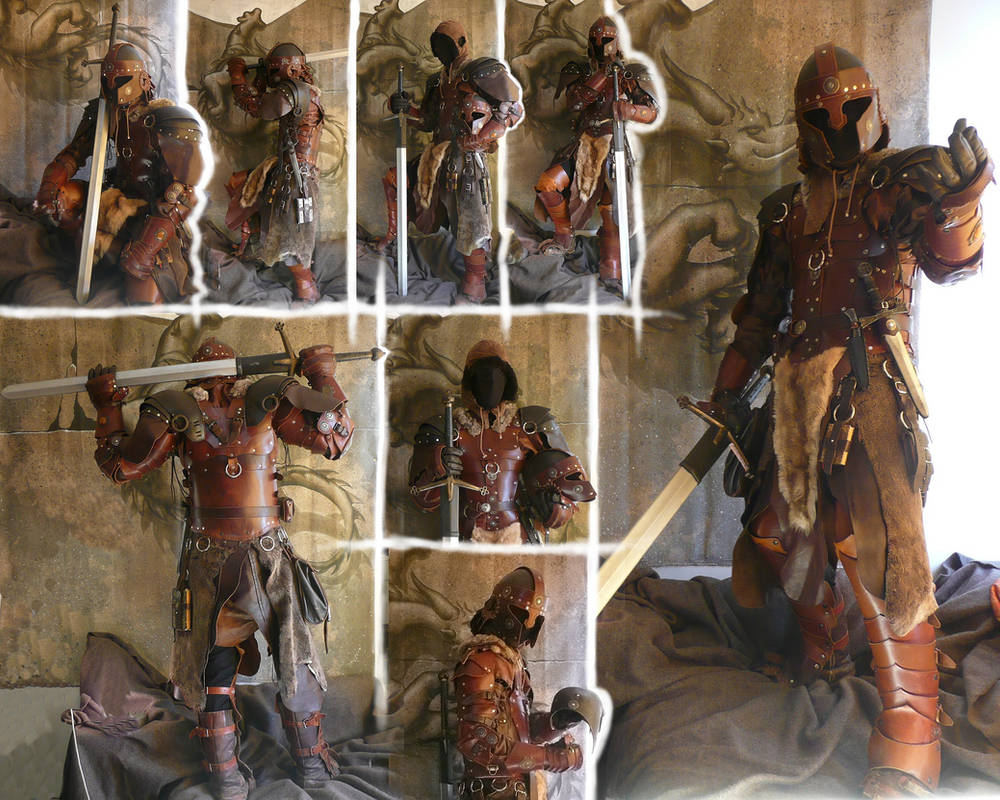
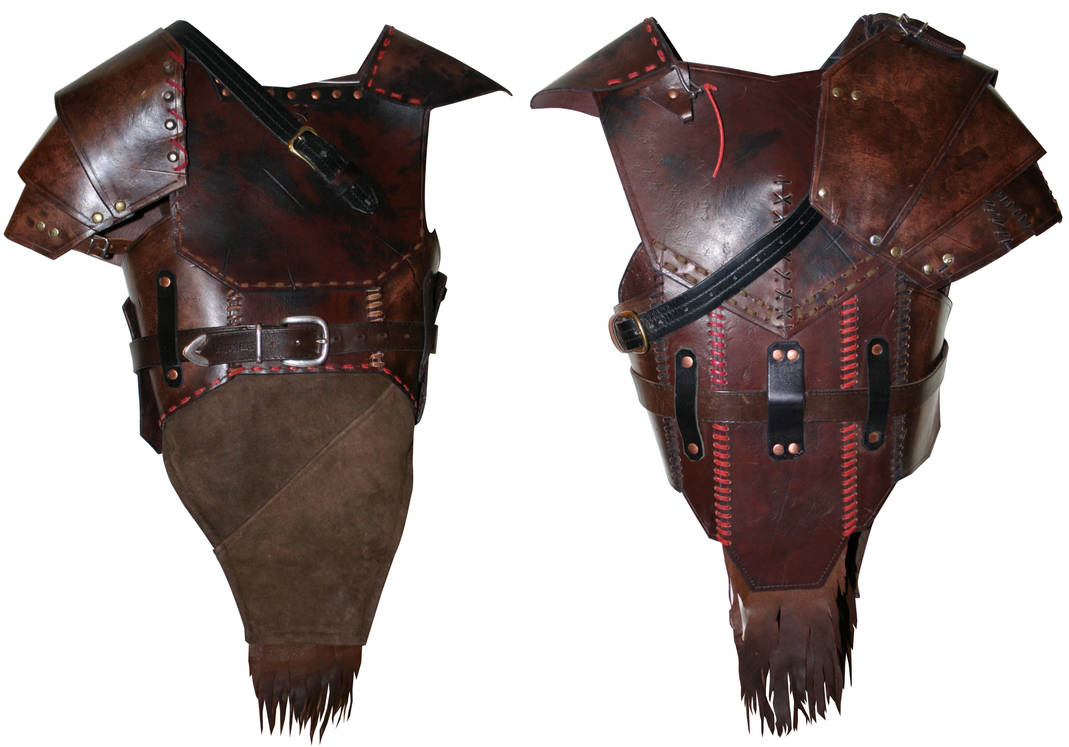
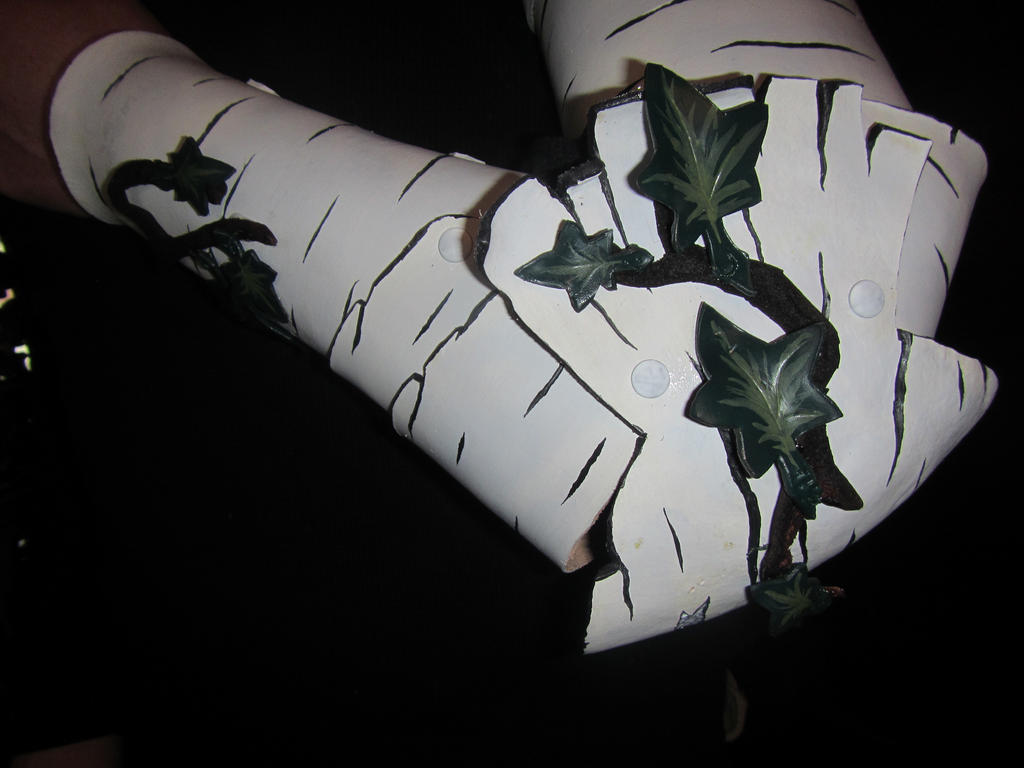
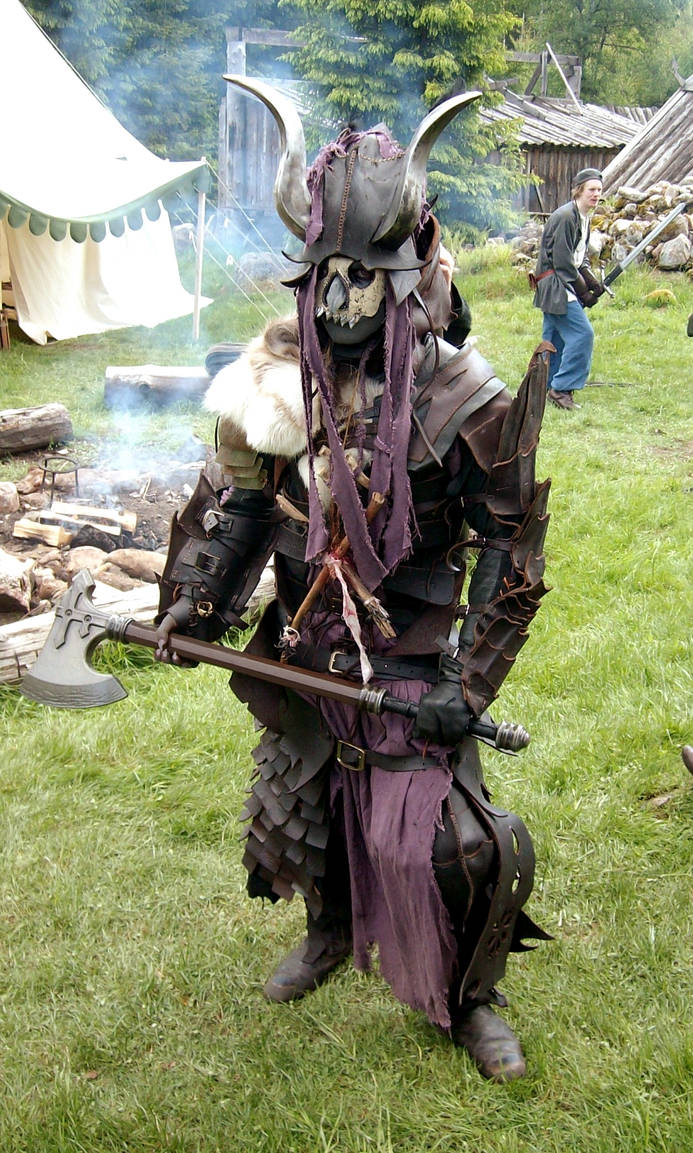

Materials
6 items
Budget
$50 - $350
save the visual refs
Full reference board
The preview above is curated for scanning. This is the working board you clone into your own build, with notes, colors, product images, and extra references intact.
Images are sourced from around the internet to help you get started. Use the web clipper to build your own reference library.
Reference images are gathered from around the web and belong to their original creators. We link back to where we found each one. If something here is yours and you want it taken down, email us and it is gone.
Build guide
There's a moment at every LARP event where someone in full armor walks across the field and every new player thinks "I want that." Then they Google "LARP armor" and find prices ranging from $200 for a basic leather cuirass to $1,500+ for a full plate harness. The good news is you can build your own armor set for a fraction of that, and it'll fit better than anything off the rack.
You're building a combat-ready armor set: chest piece, shoulder or arm protection, and the strapping system that holds it together. The template works for leather, EVA foam, or thermoplastic (Worbla, Wonderflex). Each material has trade-offs, and your game's rules will narrow the choice.
Key Decisions
Material choice matters more than design. Check your event's armor rules first. Some systems give full armor points only to real leather or metal. Others count foam equally. If your system rewards leather, don't build in foam just because it's easier. You'll end up rebuilding the whole set.
Vegetable-tanned leather (7-9 oz) is the workhorse of LARP armor. It's rigid enough to hold shape, flexible enough to move in, and takes tooling, dyeing, and riveting well. A shoulder-to-shoulder chest piece uses about 8-12 square feet. At $8-12 per square foot from Tandy or Springfield Leather, you're looking at $65-140 for the leather alone. EVA foam (10mm) is cheaper ($15-25 in foam mats) and faster to shape but degrades after 1-2 seasons of heavy combat. Thermoplastic like Worbla costs more ($50-80 for a large sheet) but molds to your body with a heat gun and takes detail work beautifully.
Strapping is half the build. I've seen gorgeous armor rendered useless by bad straps. Plan your strapping system before you cut your first piece. Use 3/4" or 1" nylon webbing with roller buckles for main attachment points. Elastic webbing at the sides accommodates breathing and movement. Every strap needs to be adjustable, because you'll wear this over different garb layers in different seasons.
Phase-by-Phase Walkthrough
Research and rules check (Week 1). Read your game's armor construction standards. Note minimum thickness requirements, approved materials, edge treatment rules, and how armor points are calculated by coverage area. Some systems require a minimum number of attachment points.
Design and patterning (Week 1-2). Sketch your armor coverage. For a first set, focus on the chest and either shoulders (pauldrons) or forearms (bracers). Don't try to armor everything at once. Use cling wrap and masking tape on your torso to create a body form, then draw your panel lines directly on the tape. Cut the tape off and flatten it. That's your pattern.
Sourcing (Week 2). For leather: order from Tandy, Springfield Leather, or a local leather supplier. Buy 15% extra for mistakes. You'll also need rivets (rapid rivets for non-structural joins, copper or steel rivets for straps), buckles, strap material, leather dye, and Resolene or Tan-Kote sealer. For foam: 10mm EVA floor mats from Harbor Freight, contact cement (Barge is the standard), and Plastidip for sealing. For thermoplastic: Worbla Black Art is the easiest to work with.
Construction (Week 2-4). Cut all panels with a sharp rotary cutter (leather) or utility knife (foam). For leather, wet the pieces and form them over a body form, mannequin, or your own torso wrapped in plastic. Clamp and let dry 24-48 hours. For foam, use a heat gun to shape curves and contact cement to laminate layers for thickness. Bevel edges at 45 degrees for a cleaner look. For thermoplastic, heat with a heat gun until pliable and press directly to your body (wear a base layer).
Rivets and strapping (Week 4-5). Install rivets with a setter tool, not a hammer. Hammered rivets work loose faster. Set strap attachment points at natural body landmarks: over each shoulder, at each side seam, and at center back if it's a two-piece design. Test buckle placement while wearing a garb layer underneath.
Finishing (Week 5-6). Leather: dye, let dry fully (24 hours), apply 2-3 coats of Resolene, then weather with Rub n Buff or dry-brushed acrylic. Foam: 4-5 coats of Plastidip, prime with black acrylic, then paint and weather. Thermoplastic: prime with filler primer, sand, then paint. All materials: check every edge. Sand, bevel, or fold any sharp spots. LARP armor that cuts people doesn't pass safety.
Safety and field test (Week 6). Put on the full set over your garb. Raise both arms overhead. Bend at the waist. Kneel. Swing your weapon. Have a friend grab and tug each piece. Check for sharp edges, pinch points, and pieces that shift during movement. Take it to a practice session before your event.
Common Mistakes
- Skipping the body form. Flat armor doesn't sit right on a curved body. Always pattern from your actual measurements, not from a flat template you found online.
- Using hot glue on structural joints. Hot glue fails in heat and under stress. Use contact cement for foam, rivets for leather. No exceptions.
- Ignoring edge treatment. Raw leather edges and cut foam edges look unfinished and can scratch skin. Bevel leather edges with an edge beveler. Sand or heat-seal foam edges.
- Building too heavy. A full leather cuirass with pauldrons can weigh 8-12 lbs. That's manageable for a few hours, brutal for a full day. Err on the side of lighter until you know your endurance.
- Forgetting ventilation. Armor traps heat. Build in gaps at the armpits and lower back, or use grommets along the sides for airflow.
Start with chest and one pair of limb armor. Wear it for a full season. Then decide what to add next.
Components
Chest armor
Shoulders or bracers
Strapping system
Materials list
6 itemsEstimated total cost
$50 - $350
Milestone timeline
6 weeks- 1
Check event armor material rules
Research
- 2
Sketch armor coverage and silhouette
design
- 3
Pattern chest, shoulders, or bracers
design
- 4
Source leather, foam, or thermoplastic
sourcing
- 5
Cut and shape armor pieces
Construction
- 6
Install rivets, buckles, and straps
Construction
- 7
Paint, dye, seal, or weather
Finishing
- 8
Check edges, flexibility, and snag points
safety_check
- 9
Field test over garb
field_test
Frequently
asked questions.
Related tools and guides
Plan your build, estimate costs, and get ready.
Budget Calculator
Estimate your build cost before you start buying materials.
Convention Checklist
88-item packing checklist. Check off items as you pack.
Prop Scaling Calculator
Scale reference images to your body measurements.
How Much Does Ren Faire Garb Cost?
Real build budgets with specific products and dollar amounts.
LARP on Costumary
Templates, tools, and workspace built for larp makers.
Browse all templates
Explore build plans across 10 craft verticals.
Debut your larp build
Upcoming conventions where you could wear this. Dates, checklists, and budget tools included.
Start this build free
Clone this template into your workspace. Track materials, milestones, budget, and build progress in one place.
Related templates
Weapon / Shield
2 weeks · 8 milestones
A LARP-safe foam weapon or shield built from an approved core, layered foam, and flexible coating. Covers core selection, foam shaping, coating, painting, and the safety inspection that determines if you can actually use it on the field.
Full Character Kit
8 weeks · 10 milestones
A complete, cohesive character build for campaign play. Garb layers, armor or protective accents, belt gear, accessories, weapon, and a packing system that gets you from car to field in 15 minutes. Built to survive a full season.
Camp / Immersion Gear
4 weeks · 8 milestones
Period-appropriate camp setup that hides the modern world. Tent dressing, drinking vessels, leather pouches, lanterns, table covers, and a packing system that gets your camp from "tailgate" to "tavern" in under 30 minutes.
First Kit
4 weeks · 9 milestones
Everything you need to show up to your first LARP event and actually play. A tunic, belt, one weapon, and the small stuff that keeps you comfortable and in-character for a full day of adventuring.