
Camp / Immersion Gear
Period-appropriate camp setup that hides the modern world. Tent dressing, drinking vessels, leather pouches, lanterns, table covers, and a packing system that gets your camp from "tailgate" to "tavern" in under 30 minutes.
4 weeks
8
6
4
See the whole look before you start.
References, materials, budget, and build order for Camp / Immersion Gear.
Timeline
4 weeks
Color refs
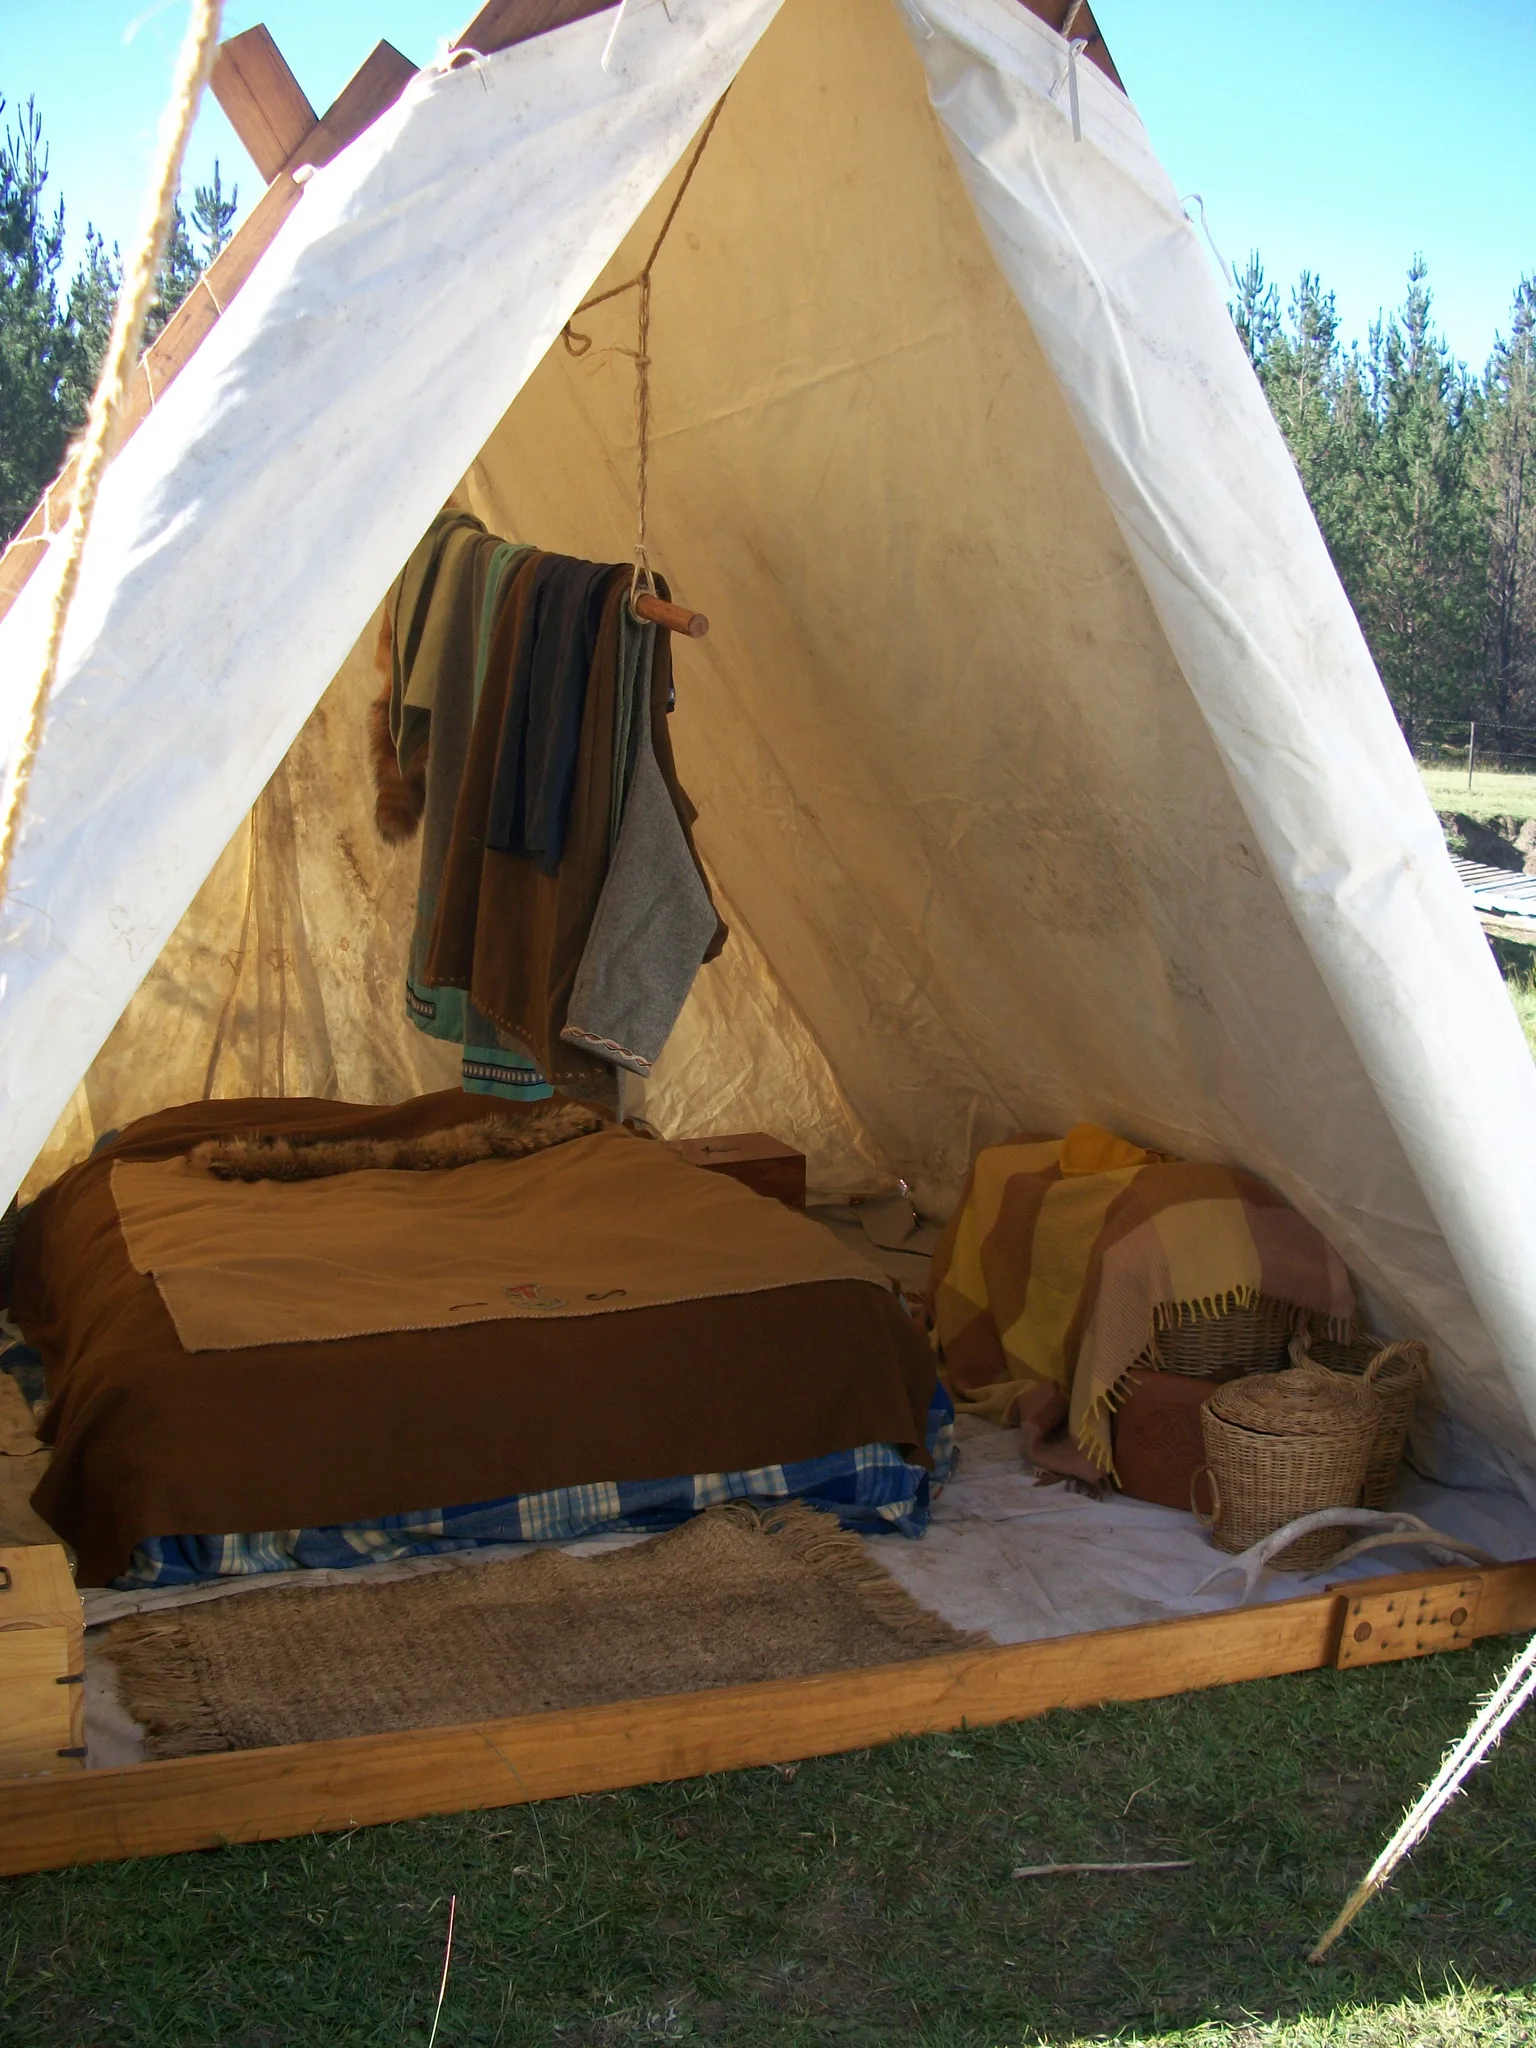
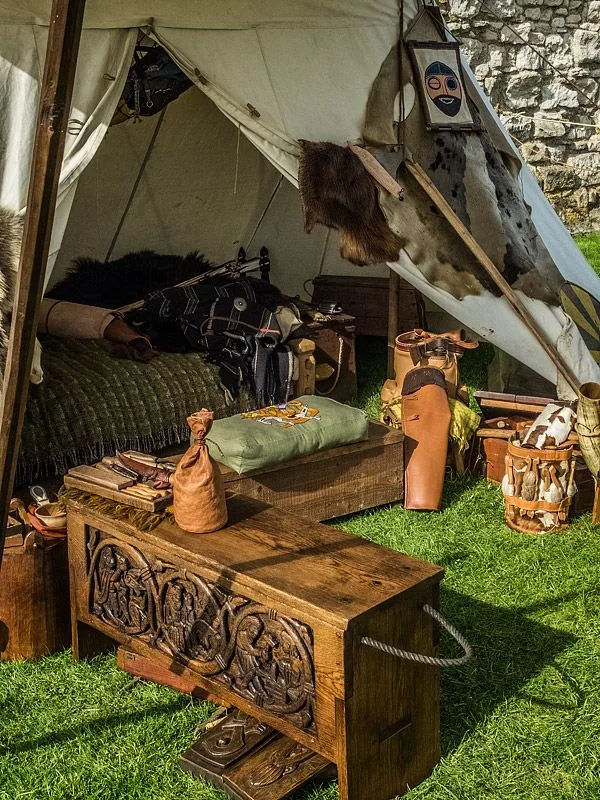
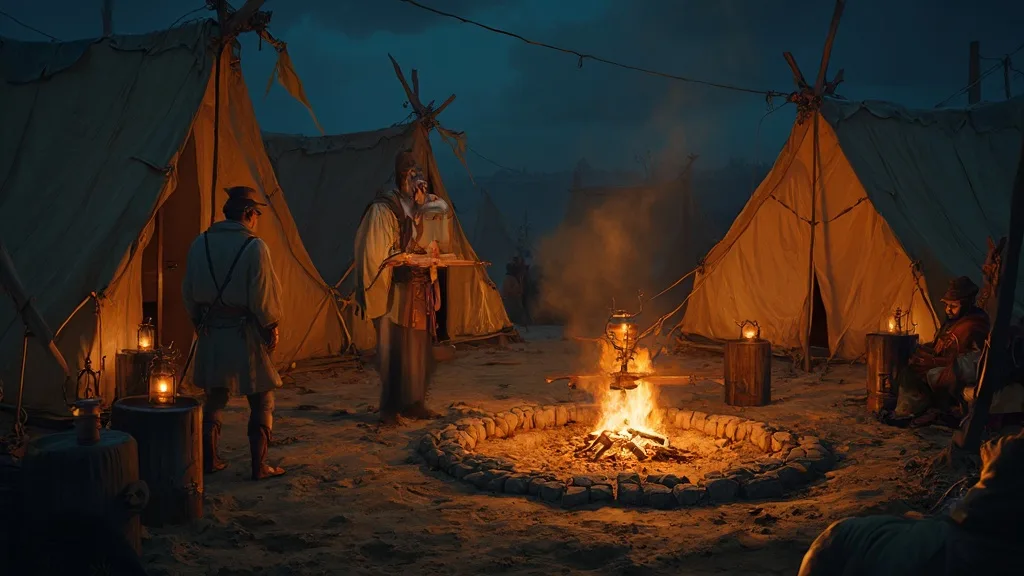
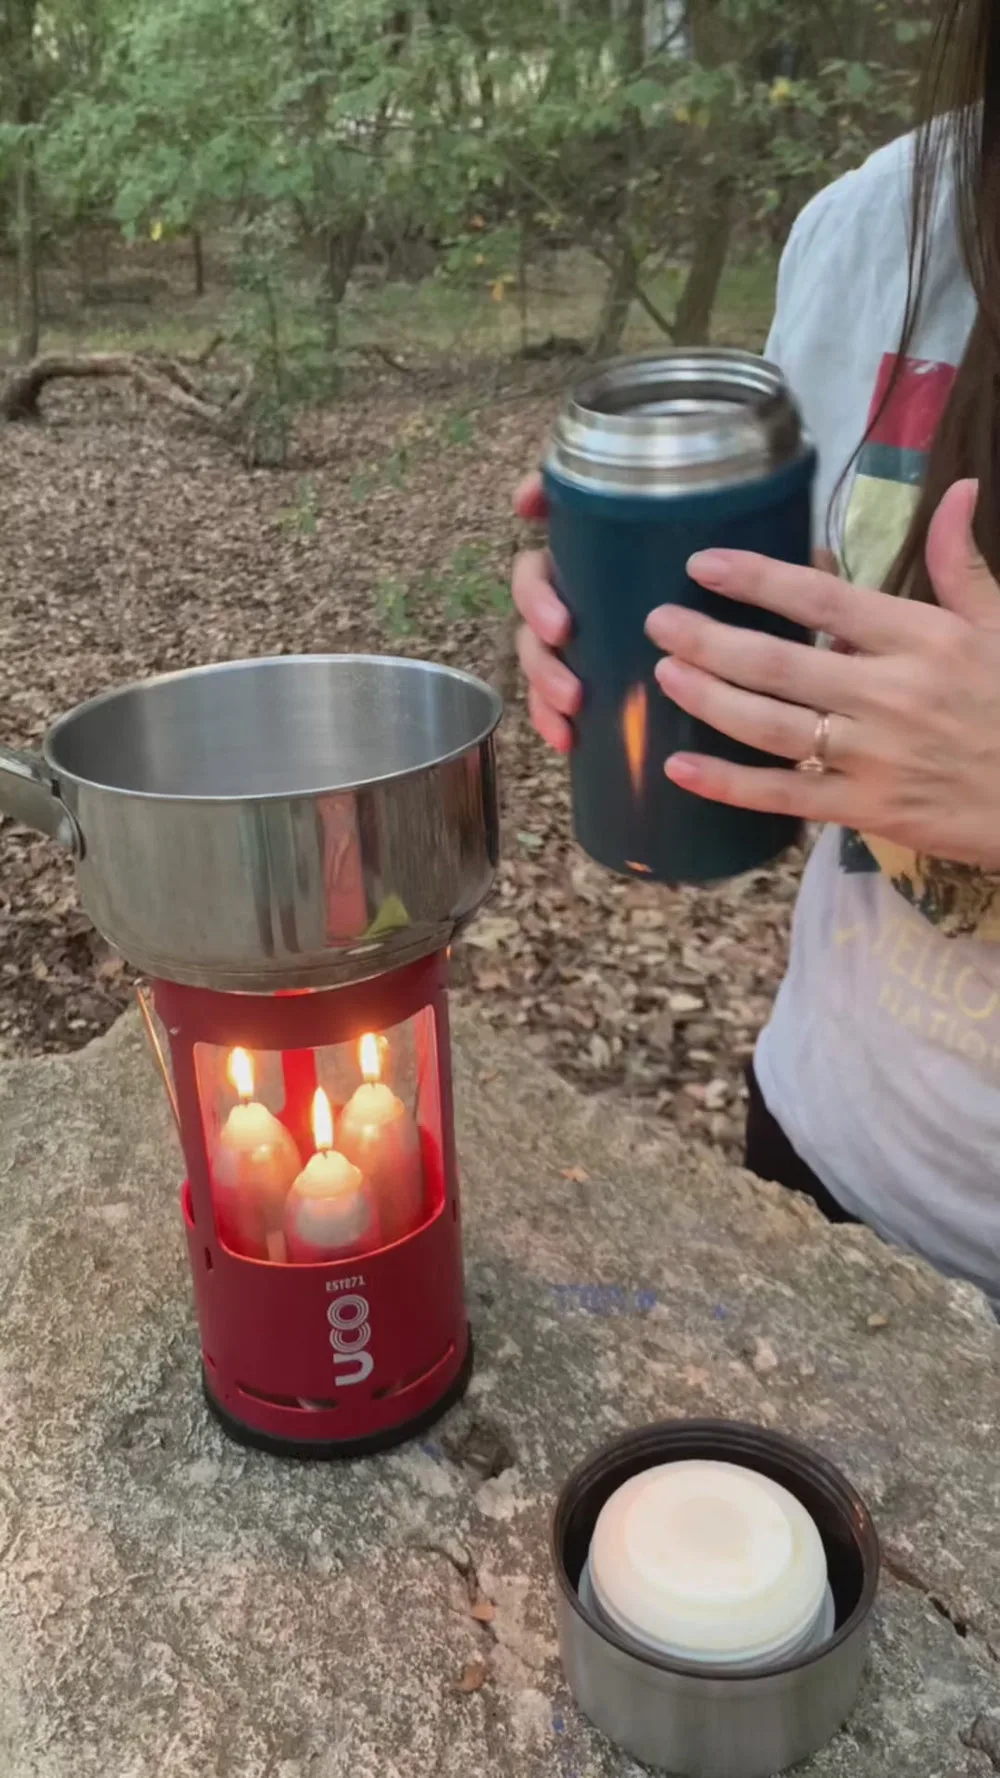
Materials
6 items
Budget
$60 - $300
save the visual refs
Full reference board
The preview above is curated for scanning. This is the working board you clone into your own build, with notes, colors, product images, and extra references intact.
Images are sourced from around the internet to help you get started. Use the web clipper to build your own reference library.
Reference images are gathered from around the web and belong to their original creators. We link back to where we found each one. If something here is yours and you want it taken down, email us and it is gone.
Build guide
You've got good garb. Your weapon passes every check. Then you walk back to camp and sit in a folding chair next to a Coleman cooler under a blue tarp. Nothing kills immersion faster than a camp that screams "parking lot." The thing is, good camp gear doesn't cost much. It just takes some planning and a willingness to hide your modern stuff behind canvas.
You're building a camp kit that covers the visible surfaces: tent dressing, table setup, drinking and eating vessels, lighting, and storage pouches. The goal isn't historical accuracy. It's making your camp space feel like it belongs in the game world.
Key Decisions
Know your event's camp rules first. Some games have strict "no visible modern items" rules. Others are relaxed about it. Some ban open flames entirely (LED candles only). Some require fire-safe materials within a certain distance of firepits. Some have designated camping areas with specific tent placement rules. Your build plan depends on what the game requires and what the site allows.
Canvas versus cheaper alternatives. Real canvas (10-12 oz cotton duck) looks amazing, breathes well, and lasts for years. It's also $10-15 per yard at 60" width. A simple tent panel that covers a 10' pop-up canopy front uses 5-6 yards. That's $50-90 in fabric alone. For a budget build, drop cloths from the hardware store are literally canvas and cost $10-20 for a 9'x12' piece. They look a little rougher, but once you dye and age them, nobody can tell. I've used dyed canvas drop cloths for three seasons and gotten compliments every event.
Lighting sets the mood more than anything else. Replace every modern light source you can. LED flickering candles in glass jars ($10-15 for a 12-pack) are the easiest upgrade. Battery-powered LED string lights with a warm white color temp work well behind fabric. Real beeswax candles in tin lanterns look incredible but check your event's fire rules first. Whatever you choose, avoid cool-white LEDs. They scream "modern" in a way that warm amber light doesn't.
Phase-by-Phase Walkthrough
Research and planning (Week 1). Walk through your current camp setup and note every visible modern item: tent, chairs, cooler, water jugs, lights, tables, food storage. Rank them by visibility. The tent is usually the biggest offender. Make a plan for each item: cover it, replace it, or hide it behind something period-appropriate.
Sourcing (Week 1-2). Canvas or drop cloth fabric for tent panels and table covers. Leather scraps for pouches (Tandy Leather sells scrap bags for $15-25 that contain enough for 3-4 small pouches). Wooden or ceramic drinking vessels (thrift stores, Renaissance faire vendors, or Amazon, $8-20 each). LED candles. Cord, toggles, and iron or wooden hooks for hanging. Aging supplies: watered-down brown and black acrylic paint, wood stain, leather dye.
Tent dressing (Week 2-3). If you use a modern pop-up canopy, build canvas panels that hang from the frame with grommets and ties. Front, sides, and back panels create a "tent" look. Sew simple channel hems at the top of each panel, thread a rope through, and tie to the canopy frame. For a standalone period tent (Viking A-frame, merchant pavilion), the build is bigger but the result is significantly more immersive. Budget $150-400 for a real canvas tent from Panther Primitives, Tentsmiths, or similar.
Table and surface covers (Week 2). Cut canvas or drop cloth to cover your folding tables. Hem the edges (or don't, unhemmed canvas looks more rustic). A burlap runner down the center adds texture for almost nothing. Cover coolers with a canvas drape that reaches the ground.
Pouches and storage (Week 3). Build simple drawstring pouches from leather scraps. A basic belt pouch uses one rectangle of leather, folded and riveted at the sides, with a flap and toggle closure. Make 2-3 in different sizes: one for your phone, one for game currency, one for snacks. For larger storage, wrap bins in canvas and hide them behind furniture.
Aging and finishing (Week 3-4). Everything new looks wrong. Age your canvas with watered-down brown acrylic paint sponged onto edges and seams. Tea-stain lighter fabrics by soaking in strong black tea for 30 minutes. Smoke wooden items over a candle or campfire (briefly). Rub leather pieces with mink oil and handle them a lot. The goal is a uniform "everything has been used" look.
Safety check and packing (Week 4). Check fire safety: are any fabric pieces too close to heat sources? Are candle lanterns stable? Are cords or stakes creating trip hazards in the dark? Pack your camp kit in labeled bins by setup order. First bin is tent panels and frame attachments. Second is table covers and surface items. Third is lighting and decoration. Label the bins so setup goes fast, because you'll be doing this at 9 PM in the dark.
Common Mistakes
- Covering everything in burlap. Burlap is cheap and looks period-appropriate, but it sheds fibers everywhere, smells when wet, and degrades fast. Use it as an accent, not a primary fabric. Canvas drop cloths are nearly the same price and last 10 times longer.
- Ignoring camp lighting. A beautifully dressed camp with a single bare LED lantern looks worse than an undressed camp in firelight. Invest in ambient lighting first. It's the highest-impact, lowest-cost upgrade.
- Buying expensive period reproductions. A $45 "medieval goblet" from a ren faire vendor holds the same amount of mead as a $5 wooden cup from a thrift store. Save the money for fabric and leather.
- No packing system. Beautiful camp gear that takes 2 hours to set up doesn't get used. Build a packing system with labeled bins so you can set up in 20-30 minutes. If setup is painful, you'll stop bringing the good stuff.
Your camp is where you rest, eat, and build relationships with other players. Making it feel like part of the game world is worth every minute of effort.
Components
Tent dressing
Table kit
Storage pouches
Lighting
Materials list
6 itemsEstimated total cost
$60 - $300
Milestone timeline
4 weeks- 1
Research camp aesthetic and event rules
Research
- 2
Plan visible modern-item covers
design
- 3
Source cups, pouches, lighting, and fabric
sourcing
- 4
Sew tent panels or table covers
Construction
- 5
Build pouches, tags, or storage wraps
Construction
- 6
Age, label, and finish camp pieces
Finishing
- 7
Check flame, tripping, and weather safety
safety_check
- 8
Pack camp bins by setup order
Packing
Frequently
asked questions.
Related tools and guides
Plan your build, estimate costs, and get ready.
Budget Calculator
Estimate your build cost before you start buying materials.
Convention Checklist
88-item packing checklist. Check off items as you pack.
Prop Scaling Calculator
Scale reference images to your body measurements.
How Much Does Ren Faire Garb Cost?
Real build budgets with specific products and dollar amounts.
LARP on Costumary
Templates, tools, and workspace built for larp makers.
Browse all templates
Explore build plans across 10 craft verticals.
Debut your larp build
Upcoming conventions where you could wear this. Dates, checklists, and budget tools included.
Start this build free
Clone this template into your workspace. Track materials, milestones, budget, and build progress in one place.
Related templates
Weapon / Shield
2 weeks · 8 milestones
A LARP-safe foam weapon or shield built from an approved core, layered foam, and flexible coating. Covers core selection, foam shaping, coating, painting, and the safety inspection that determines if you can actually use it on the field.
Full Character Kit
8 weeks · 10 milestones
A complete, cohesive character build for campaign play. Garb layers, armor or protective accents, belt gear, accessories, weapon, and a packing system that gets you from car to field in 15 minutes. Built to survive a full season.
Armor Set
6 weeks · 9 milestones
LARP-safe armor built from leather, foam, or thermoplastic. Covers patterning, shaping, riveting, finishing, and the strapping system that keeps it all in place during combat. Designed to survive event wear, not just photos.
First Kit
4 weeks · 9 milestones
Everything you need to show up to your first LARP event and actually play. A tunic, belt, one weapon, and the small stuff that keeps you comfortable and in-character for a full day of adventuring.