
Full Character Kit
A complete, cohesive character build for campaign play. Garb layers, armor or protective accents, belt gear, accessories, weapon, and a packing system that gets you from car to field in 15 minutes. Built to survive a full season.
8 weeks
10
6
4
See the whole look before you start.
References, materials, budget, and build order for Full Character Kit.
Timeline
8 weeks
Color refs
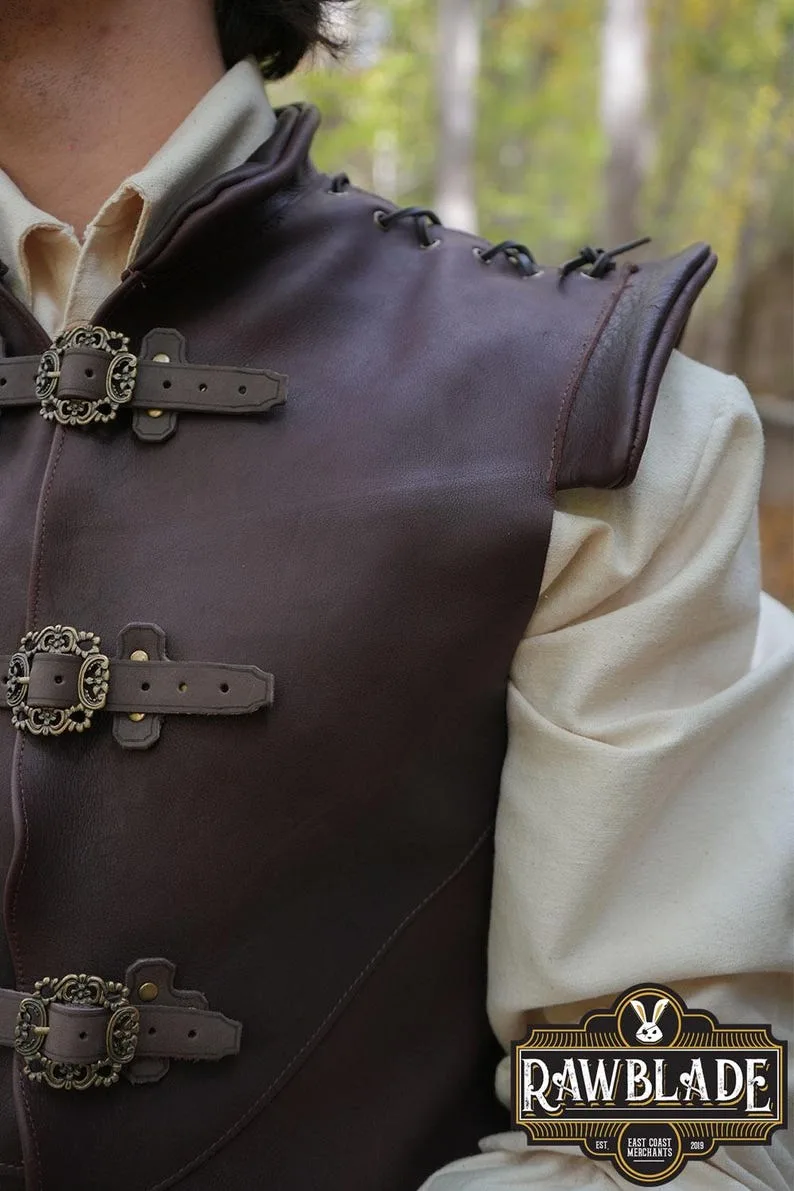
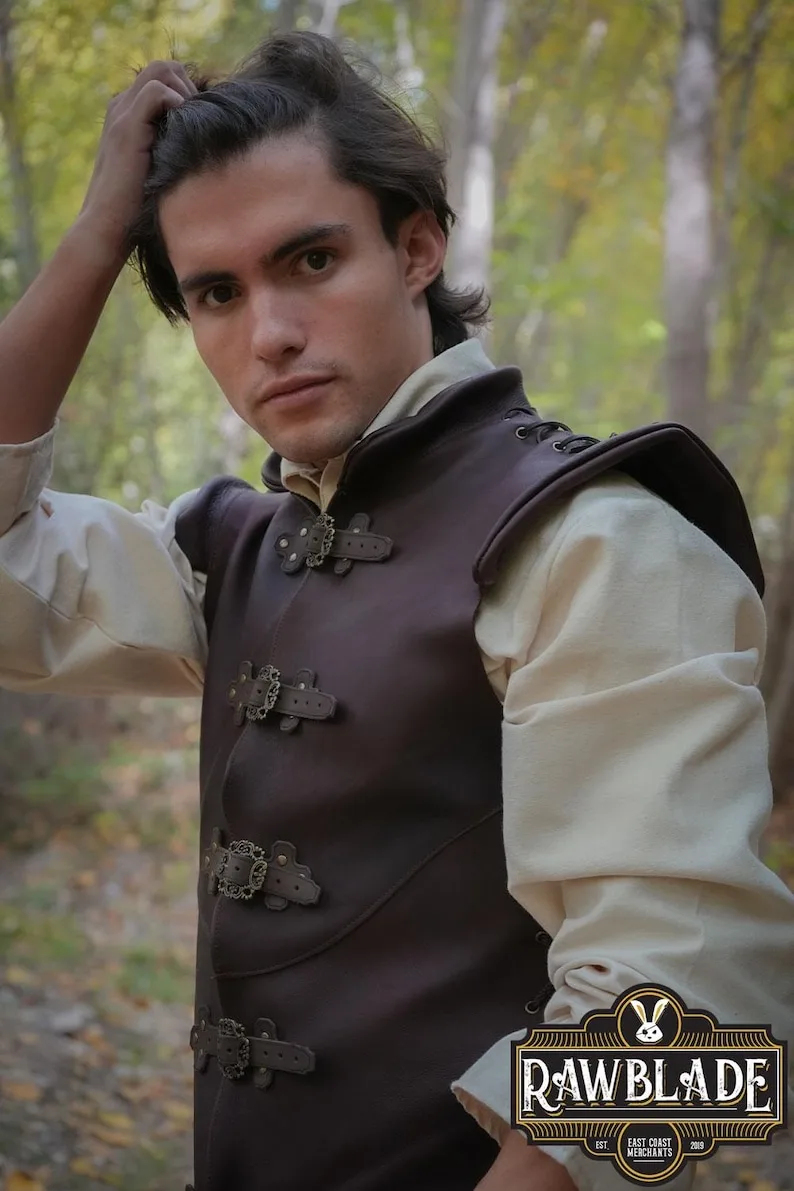
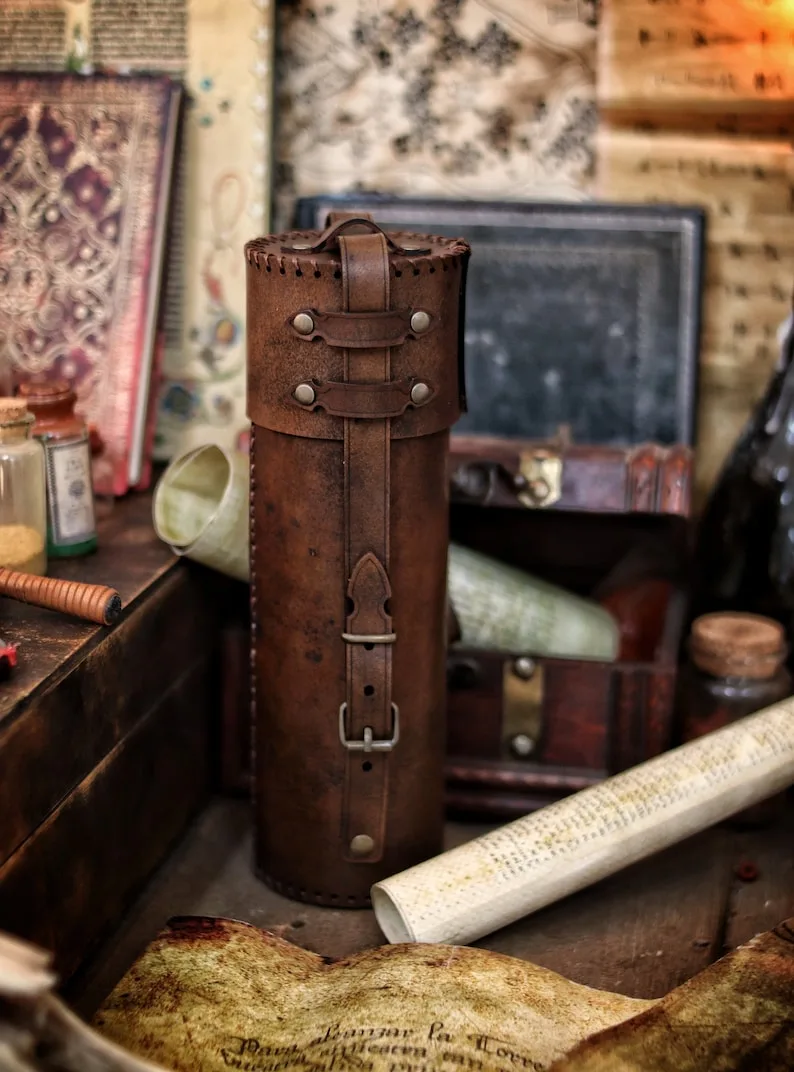

Materials
6 items
Budget
$300 - $600
save the visual refs
Full reference board
The preview above is curated for scanning. This is the working board you clone into your own build, with notes, colors, product images, and extra references intact.
Images are sourced from around the internet to help you get started. Use the web clipper to build your own reference library.
Reference images are gathered from around the web and belong to their original creators. We link back to where we found each one. If something here is yours and you want it taken down, email us and it is gone.
Build guide
You've done a few events in your starter garb and you know what you want now. The loaner sword is getting old, the thrift-store tunic has seen better days, and you're ready to build a character that people recognize across the field. This is the project where your kit goes from "someone who showed up" to "that player."
A full character kit is more than just nicer clothes. It's a layered system: base garb, armor or accents, belt gear, weapon, and the packing plan that keeps it all organized. You're building for a recurring character across multiple events, so durability and repairability matter as much as looks.
Key Decisions
Silhouette first, details later. Before you pick fabrics or leathers, sketch or reference the overall shape of your character. A narrow, layered rogue looks completely different from a broad-shouldered knight, even before you add any armor. I build reference boards with 10-15 images pulled from concept art, other LARPers, and historical reenactment photos. Pin down the silhouette, the faction palette, and 2-3 signature details that make your character readable at 50 feet.
Pick your armor lane. LARP armor broadly falls into three categories: leather (tooling and hardening), foam/thermoplastic (Worbla, craft foam layered with Plastidip), and metal (chainmail, plate). Each has different cost, weight, maintenance, and safety implications. Leather is the sweet spot for most intermediate builders. It's lighter than metal, more durable than foam, and forgiving to work with. A basic leather cuirass and bracers run $80-150 in materials if you cut and rivet yourself.
Budget the whole kit, not piece by piece. I've watched friends spend $200 on a gorgeous tabard and then have nothing left for a weapon. Allocate your budget across all categories before you start buying. A rough split for a $300-500 kit: 35% garb, 25% armor/accents, 20% weapon, 20% belt gear and accessories.
Phase-by-Phase Walkthrough
Reference and design (Week 1-2). Build a visual reference board. Define your character's faction, class, and color palette. Cross-reference with your game's rules for armor point values and weapon specs. Sketch a front and back view showing every visible piece.
Sourcing (Week 2-3). Garb fabrics: linen and cotton for base layers, wool or heavy cotton for outer layers. Buy 10-15% more than you think you need. For leather, Tandy Leather and Springfield Leather Company are reliable. Hardware (rivets, buckles, D-rings) from Tandy or Amazon. Don't forget thread that matches your palette.
Garb construction (Week 3-5). Build from the inside out. Base layer first (shirt, pants), then mid layer (gambeson, vest, or doublet), then outer layer (tabard, surcoat, cloak). Hem everything. Unhemmed edges fray after one event and look sloppy after two. Add belt loops and attachment points as you go rather than retrofitting later.
Armor and accents (Week 5-7). If you're working in leather, wet-form your pieces over a body form or mannequin. Rivet rather than glue for anything structural. For foam accents, contact cement holds better than hot glue in heat, and Plastidip seals the surface for painting. Install strapping with buckles, not ties. Ties loosen in combat. Buckles hold.
Belt gear and weapon (Week 6-7). Build or upgrade your belt rig with pouches sized for what you actually carry: phone, keys, snacks, coin pouch (if your game uses them), and a small repair kit. Your weapon should complement the character visually but also fit your fighting style. Test grip diameter and balance point before committing to a finish.
Finishing and field test (Week 7-8). Paint, dye, and weather everything together so the aging looks consistent. A brand-new tabard next to battle-scarred bracers looks like a costume, not a character. Wear the full kit for 2+ hours. Check mobility, weight distribution, and bathroom accessibility (seriously). Pack by category into labeled bins: garb, armor, belt gear, weapons, repair kit.
Common Mistakes
- No cohesive color palette. Mixing random colors from different purchases makes the kit look like a grab bag. Pick 2-3 colors and stick to them across every piece.
- Overbuilding armor weight. A full metal kit sounds cool until you've been wearing it for 6 hours in July. Start lighter than you think. You can always add pieces.
- Skipping strapping design. Beautiful armor with bad straps slides around in combat. Plan your strapping system on paper before you rivet anything.
- No repair kit at events. Rivets pop, seams tear, buckles bend. Bring a needle, heavy thread, spare rivets, pliers, and gaffer tape.
- Forgetting under-armor padding. Leather and metal armor over bare fabric chafes badly. A thin gambeson or padded shirt under armor saves your skin and your garb.
Your character kit is never really "done." It evolves as you play, upgrade, and figure out what works in the field. Build it to be modular, and you'll get years out of every piece.
Components
Garb layers
Armor
Belt kit
Weapon
Materials list
6 itemsEstimated total cost
$300 - $600
Milestone timeline
8 weeks- 1
Build character visual reference board
Research
- 2
Define silhouette, faction, and palette
design
- 3
Source fabrics, leather, and hardware
sourcing
- 4
Construct main garb layers
Construction
- 5
Build armor or protective accents
Construction
- 6
Assemble belt, pouches, and props
Construction
- 7
Paint, age, and finish pieces
Finishing
- 8
Check weapon and armor safety
safety_check
- 9
Field test full kit
field_test
- 10
Pack campaign loadout
Packing
Frequently
asked questions.
Related tools and guides
Plan your build, estimate costs, and get ready.
Budget Calculator
Estimate your build cost before you start buying materials.
Convention Checklist
88-item packing checklist. Check off items as you pack.
Prop Scaling Calculator
Scale reference images to your body measurements.
How Much Does Ren Faire Garb Cost?
Real build budgets with specific products and dollar amounts.
LARP on Costumary
Templates, tools, and workspace built for larp makers.
Browse all templates
Explore build plans across 10 craft verticals.
Debut your larp build
Upcoming conventions where you could wear this. Dates, checklists, and budget tools included.
Start this build free
Clone this template into your workspace. Track materials, milestones, budget, and build progress in one place.
Related templates
Weapon / Shield
2 weeks · 8 milestones
A LARP-safe foam weapon or shield built from an approved core, layered foam, and flexible coating. Covers core selection, foam shaping, coating, painting, and the safety inspection that determines if you can actually use it on the field.
Armor Set
6 weeks · 9 milestones
LARP-safe armor built from leather, foam, or thermoplastic. Covers patterning, shaping, riveting, finishing, and the strapping system that keeps it all in place during combat. Designed to survive event wear, not just photos.
Camp / Immersion Gear
4 weeks · 8 milestones
Period-appropriate camp setup that hides the modern world. Tent dressing, drinking vessels, leather pouches, lanterns, table covers, and a packing system that gets your camp from "tailgate" to "tavern" in under 30 minutes.
First Kit
4 weeks · 9 milestones
Everything you need to show up to your first LARP event and actually play. A tunic, belt, one weapon, and the small stuff that keeps you comfortable and in-character for a full day of adventuring.