
Closet Cosplay
Build a recognizable cosplay from everyday clothing and thrift finds. Covers analyzing a character's key visual elements, sourcing pieces on a budget, making targeted alterations, and styling the final look for maximum recognition with minimum spend.
2 weeks
10
8
3
See the whole look before you start.
References, materials, budget, and build order for Closet.
Timeline
2 weeks
Color refs
Materials
8 items
Budget
$15 - $75
save the visual refs
Full reference board
The preview above is curated for scanning. This is the working board you clone into your own build, with notes, colors, product images, and extra references intact.
Images are sourced from around the internet to help you get started. Use the web clipper to build your own reference library.
Reference images are gathered from around the web and belong to their original creators. We link back to where we found each one. If something here is yours and you want it taken down, email us and it is gone.
Build guide
Closet cosplay gets a bad rap in some circles, and those circles are wrong. A closet cosplay that nails the silhouette, colors, and one key accessory is more recognizable than a built-from-scratch costume with the wrong proportions. Some of the most photographed cosplays at every con are "simple" looks that just absolutely nailed the vibe.
Your finished product is a character-recognizable outfit assembled from existing clothes, thrift finds, and minimal modifications. The goal isn't perfection. It's instant recognition. When someone across the convention hall sees you and says "oh, that's [character]," you've won.
The secret is identifying the character's 2-3 non-negotiable visual elements. Every recognizable character has a few things that make them them. Spike Spiegel is a blue suit and messy hair. Marceline is a gray tank top, jeans, boots, and red. Toga Himiko is a cardigan, pleated skirt, and messy buns. Nail those specific elements and the rest fills in automatically. Getting distracted by minor details while missing the key elements is the most common closet cosplay mistake.
Color accuracy matters more than garment accuracy. The exact shade of blue, the right red, the correct tone of brown. People recognize characters by color before they register construction details. A slightly-wrong-style shirt in the perfect color reads better than a perfectly-cut shirt in the wrong shade.
Research
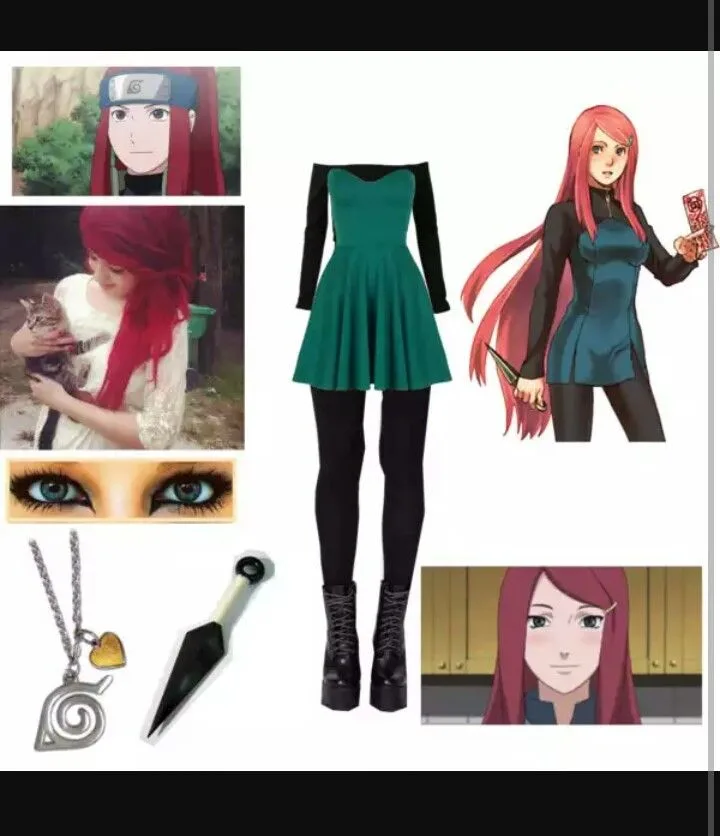
Study your character and make a list of their visual anchors. What makes them instantly recognizable? Usually it's 2-3 elements: a color combination, a distinctive garment shape, and one accessory or detail. Rank these from most important to least. Your sourcing should prioritize the top items.
Sourcing
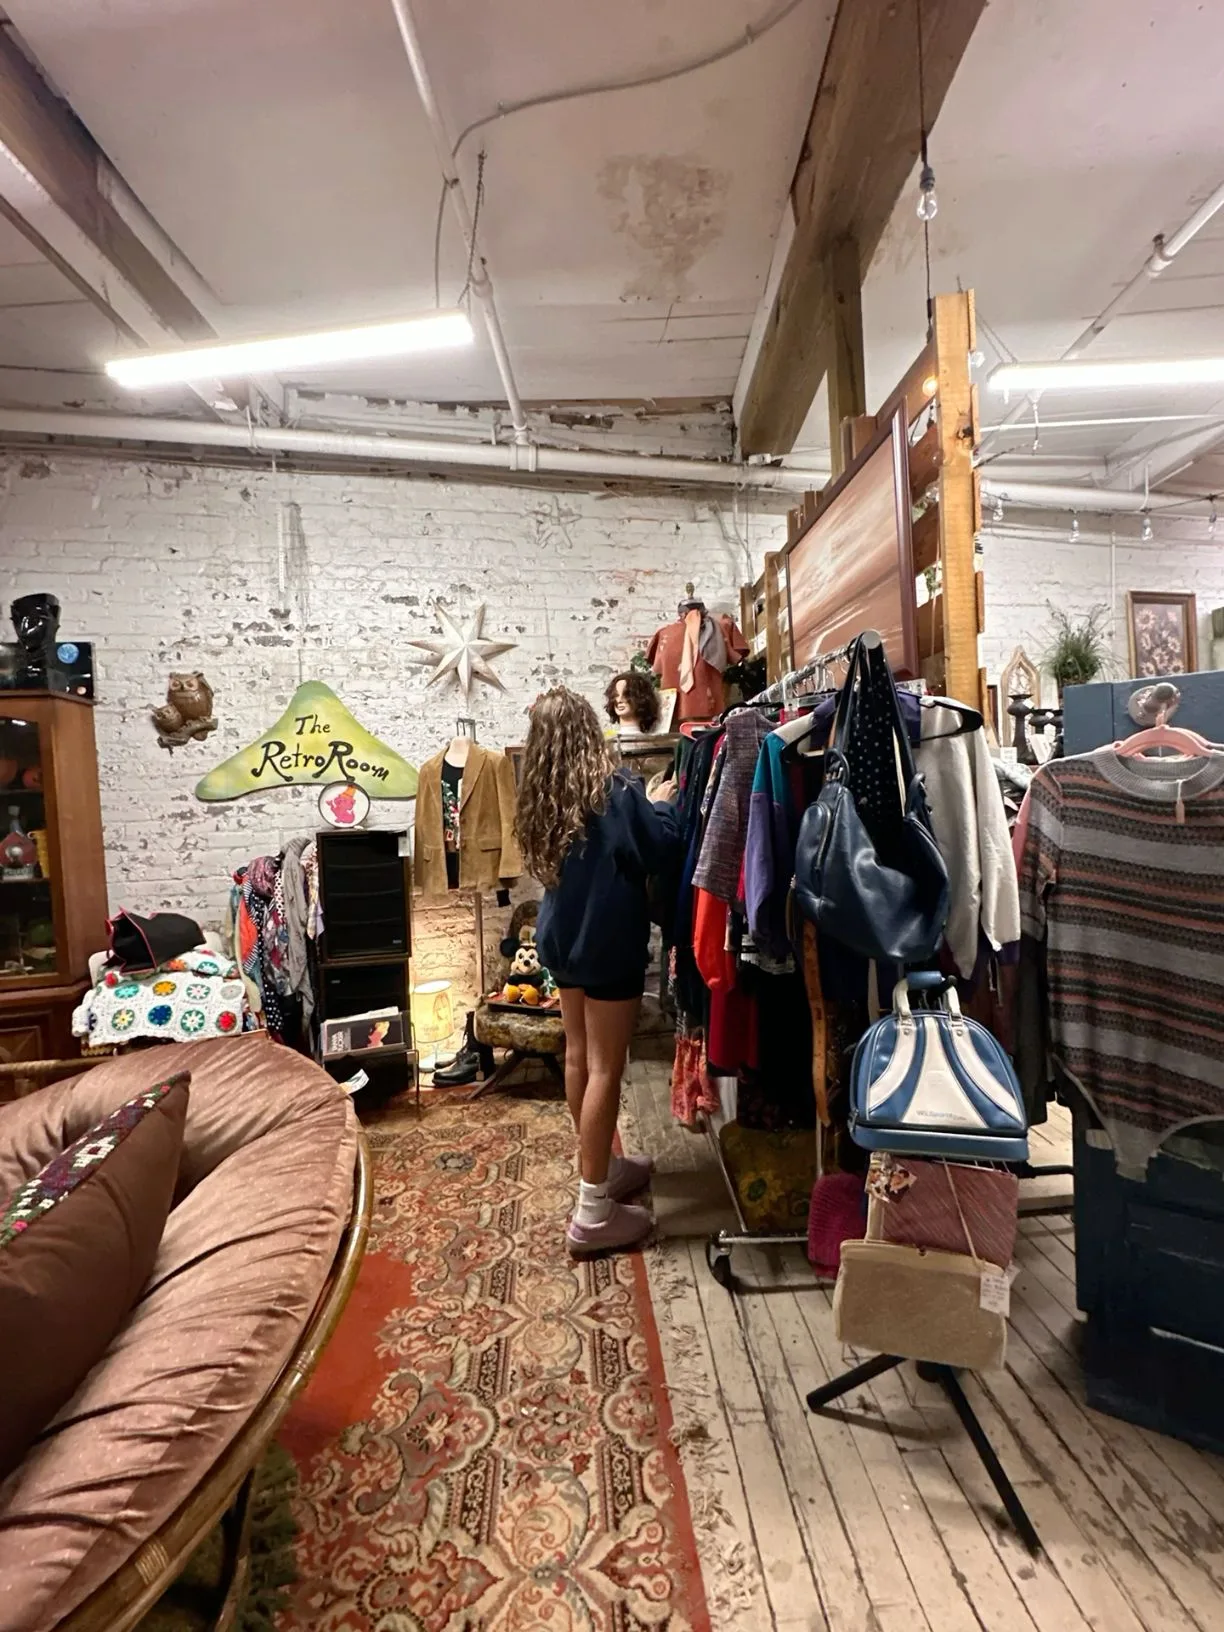
Set a budget before you start shopping. Closet cosplays should be cheap ($15-50 total). Check your own closet first for base pieces. Then hit thrift stores (Goodwill, Savers, local thrift shops) looking specifically for the right colors and silhouettes. Don't buy something that's "close enough" in color. It won't read right. Online, Amazon and Shein have cheap basics in specific colors when thrift doesn't come through.
Alterations
Simple modifications turn generic clothing into character-specific pieces. Hem a skirt to the right length. Dye a white shirt the exact color you need (RIT DyeMore for synthetics, regular RIT for cotton). Add iron-on patches or fabric paint for logos and insignias. Cut and distress pieces that need a worn look. A hot glue gun handles trim and non-structural embellishments.
Details
Add the character-specific touches that push it from "outfit" to "cosplay." Pins, patches, belts, specific jewelry, colored nail polish, temporary hair color, or a quick prop. These small details signal intentionality. They tell people "this is a cosplay" rather than "this is just clothes."
Finishing
Style the complete look as a unit. Try everything on together and check it against your reference images. Adjust proportions (roll sleeves, tuck or untuck shirts, adjust belt position) until the overall silhouette matches. Sometimes the difference between "random outfit" and "cosplay" is how you wear it.
Wear Test
Walk around in the full look. Make sure everything stays in place, nothing rides up or falls down, and you're comfortable for a full day. Closet cosplay should be the most comfortable cosplay category. If it's not comfortable, something's wrong.
Common mistakes
- Trying to include every detail. A closet cosplay with ten mediocre details looks worse than one with three perfect details. Prioritize the essentials and skip the rest.
- Wrong color temperature. A warm red when the character wears cool red is jarring. Use reference images on a color-calibrated screen and compare against your clothing in daylight.
- No key accessory. The one character-specific item (a signature prop, a specific hat, distinctive jewelry) is often what pushes a closet cosplay from "outfit" to "cosplay." This is the one thing worth buying or making.
- Over-modifying thrift finds. Sometimes the right thrift find just needs to be the right color and fit. Don't add embellishments that aren't on the character.
Closet cosplay is valid cosplay. Full stop. And it's the best way to get into cosplay without spending a fortune or learning new skills first.
Components
Base outfit
Character accessories
Styling details
Materials list
8 itemsEstimated total cost
$15 - $75
Milestone timeline
2 weeks- 1
Analyze character's key visual elements
Research
- 2
Identify must-have silhouette and color pieces
Research
- 3
Set sourcing budget
Materials
- 4
Thrift store and closet sourcing trip
Materials
- 5
Online sourcing for missing pieces
Materials
- 6
Garment alterations (hem, dye, modify)
Construction
- 7
Add character-specific details (patches, paint, pins)
Details
- 8
Style accessories and finishing touches
Finishing
- 9
Assemble and test full look cohesion
Wear test
- 10
Pack outfit for event
Packing
Frequently
asked questions.
Related tools and guides
Plan your build, estimate costs, and get ready.
Budget Calculator
Estimate your build cost before you start buying materials.
Convention Checklist
88-item packing checklist. Check off items as you pack.
Prop Scaling Calculator
Scale reference images to your body measurements.
How Much Does EVA Foam Armor Cost?
Real build budgets with specific products and dollar amounts.
Cosplay Commission Cost Breakdown
Real build budgets with specific products and dollar amounts.
Cosplay on Costumary
Templates, tools, and workspace built for cosplay makers.
Browse all templates
Explore build plans across 10 craft verticals.
Debut your cosplay build
Upcoming conventions where you could wear this. Dates, checklists, and budget tools included.
New York Comic Con 2026
Oct 8-11 · New York, NY
The East Coast's largest pop culture convention, with major panels, artist alley, and cosplay showcases.
Anime USA 2026
Oct 9-11 · Washington, DC
A mid-size anime convention in the DC metro area, offering panels, cosplay, and Japanese cultural programming.
Tsubasacon 2026
Oct 9-11 · Charleston, WV
Sekaicon 2026
Oct 9-11 · Newark, OH
Start this build free
Clone this template into your workspace. Track materials, milestones, budget, and build progress in one place.
Related templates
Qifrey Cosplay
5 weeks · 12 milestones
Qifrey's elegant white-robed silhouette is built around three signature elements: the tall pointed hat with the bent tip and black ribbon, the flowing white cape with the brass brooch closure, and the asymmetrical pince-nez glasses with one dark lens hiding his scarred eye. This is an intermediate build that needs more structural crafting than sewing. The hat and glasses demand the most attention, while the cape is a manageable garment project. The glasses and the hat are the make-or-break details, and this template walks you through both. Includes 7 components, 15 materials with cost estimates, a 12-step build plan, and a realistic 5-week, $95 to $280 budget.
Coco Cosplay
6 weeks · 12 milestones
Witch Hat Atelier's apprentice witch in her full outfit: the tall pointed hat with ornamental band, a dark cloak with decorative hem trim, a layered tunic-dress, boots, and her drawing implements. The hat is the signature piece and the hardest to get right. 7 components, 13 materials, ~6 weeks at $120-280.
Sung Jinwoo Cosplay
7 weeks · 15 milestones
Solo Leveling's Shadow Monarch in his iconic default hunter outfit: a long black coat with purple inner lining, structured shoulder armor, fitted pants, and dual daggers. This is an intermediate hybrid build that combines garment sewing with foam armor crafting for the shoulder details, plus prop work for the daggers. The coat and its glowing purple lining are the make-or-break detail. Includes 7 components, 19 materials with cost estimates, a 15-step build plan, and a realistic 5-7 week, $120 to $320 budget.
Gojo Satoru Cosplay
5 weeks · 11 milestones
Jujutsu Kaisen's strongest sorcerer, built around three signature details: the black high-collar uniform jacket, the blindfold, and the white spiked hair. This is an intermediate build that leans on one well-made garment plus wig styling, so it reads instantly on the con floor without months of work. The collar and the wig are the make-or-break details, and this template walks you through both. Includes 6 components, 11 materials with cost estimates, an 11-step build plan, and a realistic 5-week, $90 to $240 budget.
Deadpool Suit Cosplay
5 weeks · 12 milestones
The Merc with a Mouth in full red and black: a head-to-toe spandex bodysuit with diamond-textured fabric, a face shell mask with white magnetic lenses, dual katanas on a concealed back harness, and a utility belt with pouches and holsters. An intermediate build that rewards patience with fit and details. Covers 7 components, 12 materials with cost estimates, a 12-step build plan across 5 phases, and a 5-week timeline at $120 to $350.
Yuta Okkotsu Cosplay
6 weeks · 12 milestones
Jujutsu Kaisen 0's tragic sorcerer bound to Rika's curse: the black school uniform, textured black wig, cursed arm markings, and luminous katana. A balanced build across uniform tailoring, prop construction, and wig styling. 4 components, 11 materials, ~6 weeks, $120-280.
Captain America Cosplay
6 weeks · 12 milestones
The star-spangled Avenger in his Endgame suit: scaled chest armor over a tactical blue base, a white star emblem, red gauntlets and boot details, a foam cowl helmet with ear wings, and the iconic round shield. This is an intermediate build with repetitive detail work on the scales and some prop-making for the shield. Covers 7 components, 12 materials with cost estimates, a 12-step plan across 5 phases, and a realistic 6-week, $150 to $400 budget.
Arlecchino Cosplay
7 weeks · 17 milestones
Arlecchino (The Knave) is Genshin Impact's most cosplay-demanding Fatui Harbinger: a layered suit jacket, structured long coat with back chains, multi-color ombre wig, character-specific X-pupil contacts, and a full accessories set that runs 12+ pieces. This is an advanced build for cosplayers who can sew structured garments, handle prop accessories, and plan a full character makeup look. The make-or-break details are the coat's lapel structure and the wig's silver-black-red color work. Includes 8 components, 14 materials with cost estimates, a 12-step build plan, and a realistic 7-week, $180 to $420 budget.