
Detailed Build
Elevate a stock kit with aftermarket photo-etch, resin upgrades, full paint, and realistic weathering. Covers installation of precision detail parts, advanced painting techniques, and multi-layer finishing. For modelers ready to push past out-of-box into competition-level work.
5 weeks
9
7
3
See the whole look before you start.
References, materials, budget, and build order for Detailed Build.
Timeline
5 weeks
Color refs
Materials
7 items
Budget
$50 - $250
save the visual refs
Full reference board
The preview above is curated for scanning. This is the working board you clone into your own build, with notes, colors, product images, and extra references intact.
Images are sourced from around the internet to help you get started. Use the web clipper to build your own reference library.
Reference images are gathered from around the web and belong to their original creators. We link back to where we found each one. If something here is yours and you want it taken down, email us and it is gone.
Build guide
You built a few OOB kits and they look solid, but you keep noticing the difference between your work and the builds that win awards at IPMS shows. The gap isn't talent. It's detail. Aftermarket photo-etch, resin replacements, and multi-layer weathering transform a good kit into something that makes people lean in and ask "is that real?"
A detailed build starts with a stock kit and adds precision. Photo-etch brass parts replace thick plastic railings, grilles, and handles with scale-accurate thin metal. Resin upgrades replace soft kit details (wheels, turrets, figures) with crisply cast alternatives. Then you paint, weather, and finish to a standard that rewards close inspection.
Choosing your aftermarket is the first big decision. Eduard makes the most widely available photo-etch sets ($10-30 depending on complexity), with clear instructions and color-coding for different metals. Aber and Voyager make more detailed (and more challenging) sets. For resin, DEF Model, Legend Productions, and Panzer Art offer replacement parts that dramatically improve kit accuracy. Don't buy everything at once. Pick one or two upgrades that make the biggest visual impact: turret basket mesh for a tank, cockpit detail for a plane, railings for a ship.
Choose aftermarket and reference photos. Research the specific variant you're building. Walkaround photos on sites like Prime Portal and Walk Around series books show real-world details that aftermarket sets replicate. Knowing what the real thing looks like helps you decide which upgrades are worth the investment and which are invisible at shelf distance.
Dry fit kit and detail parts. Build the kit dry (no glue) to understand the assembly sequence and identify where aftermarket parts replace stock parts. Some PE sets require removing molded-on details before installation. Mark those parts now. Don't glue the fuselage shut only to realize you needed to install cockpit PE first.
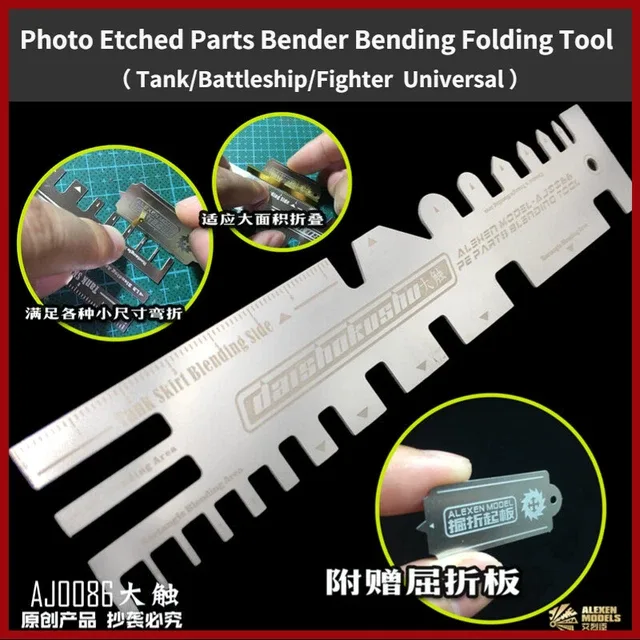
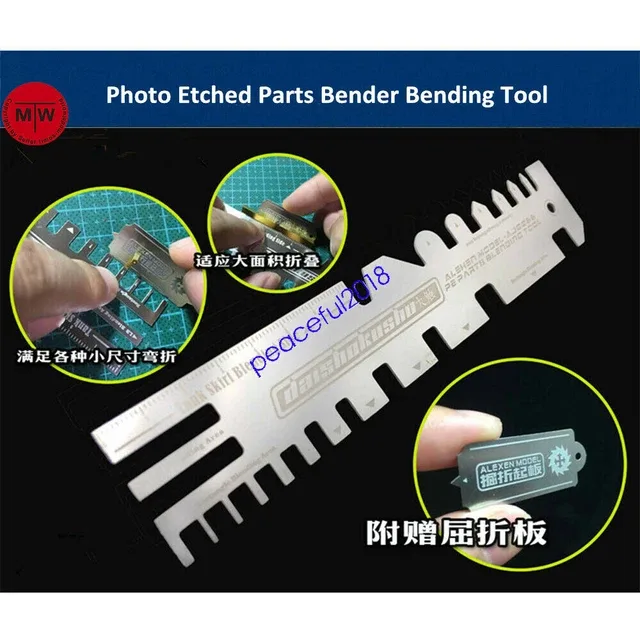
Install photo-etch or resin upgrades. Photo-etch requires specific tools: a dedicated PE bending tool ($10-15) or a small metal ruler and smooth pliers. Score fold lines with the back of your blade, then bend precisely. Glue PE with CA glue (superglue), not plastic cement. Plastic cement won't bond metal. Apply CA in tiny amounts with a toothpick or fine wire applicator. Too much CA blooms white fogging around the joint.
Fill seams and correct surface flaws. Standard seam work plus additional attention to the joints between resin/PE parts and the kit plastic. Resin parts often have a pour block that needs sawing and sanding. Test fit resin parts before gluing. They rarely drop in perfectly. File, sand, and adjust for a seamless transition.
Prime and inspect surfaces. Mr. Surfacer 1500 in gray or Vallejo Surface Primer through an airbrush. Prime everything, including PE parts. Primer gives paint adhesion on metal and reveals any gaps between aftermarket and kit plastic. Fix flaws now, not after base color.
Paint base colors and details. Research accurate colors for your subject. Tamiya, Mr. Color, and Vallejo all publish accurate military and vehicle color matches. Modulation (lightening the center of panels, darkening edges) creates visual depth at scale. Black-basing or preshading panel lines before the base color adds subtle shadows that read as realistic surface variation.
Apply decals and setting solution. Aftermarket decals from Cartograf or Techmod ($8-15) are often sharper and more accurate than kit decals. Same technique as OOB: gloss coat first, Micro Set, position, Micro Sol. For heavily riveted or detailed surfaces, multiple applications of Micro Sol conform the decal film into every surface detail.
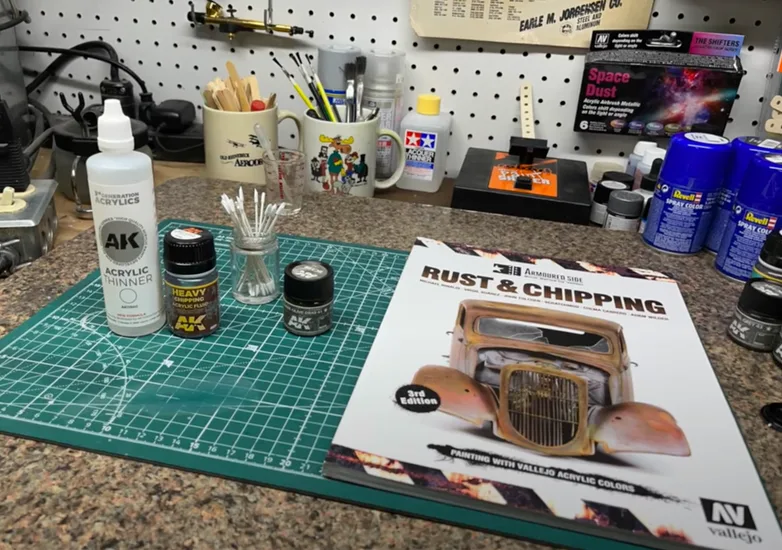
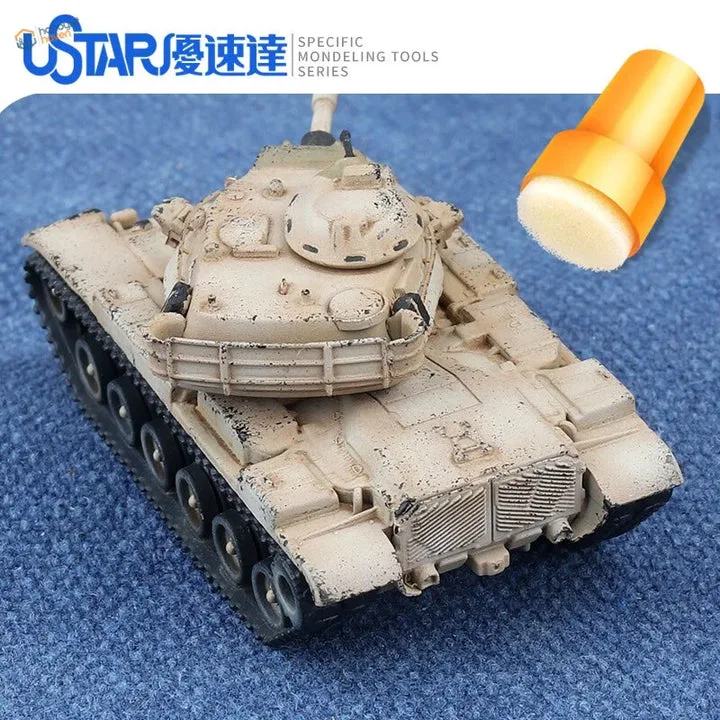
Add washes, chips, and weathering. This is where the detail build separates from OOB. Enamel washes (AK Interactive, Ammo by Mig) in the panel lines. Oil dot filters on large flat surfaces for color variation. Sponge chipping along edges with dark brown and silver. Streaking with oil paint. Pigments for accumulated dust and mud. Each layer is subtle on its own but they compound into a convincing, lived-in finish.
Seal and prepare display. Final matte coat unifies all the weathering layers. Mount on a simple plinth or base. A finished detailed build deserves better than sitting bare on a shelf. A painted wood plinth ($5-10) with a small nameplate ($3-5 from an engraving service) makes a huge presentation difference.
Common mistakes
- Overloading a kit with too much aftermarket. Not every PE fret needs to be used. If a detail is invisible at normal viewing distance, skip it. Photo-etch engine wiring hidden behind closed cowling panels is wasted effort.
- Using plastic cement on photo-etch. It doesn't work. PE is brass or steel, not polystyrene. CA glue (superglue) is the only option. Apply sparingly with a fine applicator to avoid white fogging.
- Bending PE without a proper tool. Bending photo-etch with fingers or pliers creates uneven folds and kinks. A Hold & Fold or Etch Mate bending tool ($12-15) pays for itself on the first set.
- Painting before installing all PE. Some PE parts need to be painted on the fret before installation (interior details, for example). Read the PE instructions completely before starting the build sequence.
- Applying weathering without a plan. Random washes and chips look random. Study your references. Where does rain streak? Where does crew access cause wear? Where does exhaust deposit soot? Let the real thing guide your weathering placement.
A detailed build takes three to four times longer than an OOB build of the same kit. Every hour shows in the finished product.
Components
Kit assembly
Aftermarket details
Weathered finish
Materials list
7 itemsEstimated total cost
$50 - $250
Milestone timeline
5 weeks- 1
Choose aftermarket and reference photos
planning
- 2
Dry fit kit and detail parts
assembly
- 3
Install photo-etch or resin upgrades
assembly
- 4
Fill seams and correct surface flaws
filling
- 5
Prime and inspect surfaces
priming
- 6
Paint base colors and details
painting
- 7
Apply decals and setting solution
decals
- 8
Add washes, chips, and weathering
weathering
- 9
Seal and prepare display
display
Frequently
asked questions.
Related tools and guides
Plan your build, estimate costs, and get ready.
Budget Calculator
Estimate your build cost before you start buying materials.
Convention Checklist
88-item packing checklist. Check off items as you pack.
Prop Scaling Calculator
Scale reference images to your body measurements.
How Much Does Scale Modeling Cost?
Real build budgets with specific products and dollar amounts.
Scale Models on Costumary
Templates, tools, and workspace built for scale models makers.
Browse all templates
Explore build plans across 10 craft verticals.
Start this build free
Clone this template into your workspace. Track materials, milestones, budget, and build progress in one place.
Related templates
Ship / Large Vehicle
12 weeks · 11 milestones
A marathon build for large-scale ships, aircraft carriers, or oversized vehicle kits. Covers subassembly planning for hundreds of parts, hull work, rigging, photo-etch railings, long paint sessions, and display mounting. For modelers who want a centerpiece project and aren't afraid of a 3-month timeline.
Out of Box
2 weeks · 8 milestones
A clean out-of-box scale model build with proper cement technique, seam filling, basic paint, decals, and a sealed display finish. No aftermarket, no major modifications. Perfect for learning fundamentals or enjoying a relaxing build without the pressure of perfection.