
Out of Box
A clean out-of-box scale model build with proper cement technique, seam filling, basic paint, decals, and a sealed display finish. No aftermarket, no major modifications. Perfect for learning fundamentals or enjoying a relaxing build without the pressure of perfection.
2 weeks
8
7
3
See the whole look before you start.
References, materials, budget, and build order for Out of Box.
Timeline
2 weeks
Color refs
Materials
7 items
Budget
$25 - $100
save the visual refs
Full reference board
The preview above is curated for scanning. This is the working board you clone into your own build, with notes, colors, product images, and extra references intact.
Images are sourced from around the internet to help you get started. Use the web clipper to build your own reference library.
Reference images are gathered from around the web and belong to their original creators. We link back to where we found each one. If something here is yours and you want it taken down, email us and it is gone.
Build guide
There's something deeply satisfying about building a model kit exactly as the manufacturer intended. No aftermarket detailing, no multi-step weathering campaign, just you, the sprues, and the instructions. An out-of-box (OOB) build is where every modeler starts, and honestly, it's where many experienced builders return when they want to enjoy the process without the pressure.
An OOB build covers clean assembly, seam work, basic painting (hand brush or rattle can), decal application, and a final seal coat. The result is a display-ready model that represents the kit's engineering at its best. Modern kits from Tamiya, Airfix, Revell, and Eduard snap together with remarkable precision, so the bar for a "good" OOB finish is higher than it used to be.
Your cement choice matters more than you'd think. Tamiya Extra Thin ($7) is the community default for polystyrene kits. It works by chemically welding the plastic, not just sticking surfaces together. Apply it with the brush applicator to the joint, capillary action pulls it in, and in 30 seconds you have a bond stronger than the surrounding plastic. For parts that need repositioning, regular Tamiya Cement (the orange cap, thicker) gives you a few seconds of working time. Never use CA glue (superglue) on standard polystyrene joints unless you're bonding dissimilar materials. It dries brittle and leaves white fogging.
Inventory sprues, decals, and instructions. Check every sprue against the parts map. Look for broken parts, short shots (incompletely molded pieces), or damaged decals. Contact the manufacturer early if anything is missing. Read through the entire instruction sheet before building. Knowing what comes later prevents "oh no, I should have painted that before gluing" moments.
Wash parts and plan subassemblies. Soak sprues in warm water with a drop of dish soap for 10 minutes, then let them air dry. This removes mold release agent, which is an invisible film that makes paint and cement work poorly. It takes minutes and prevents hours of troubleshooting adhesion issues.
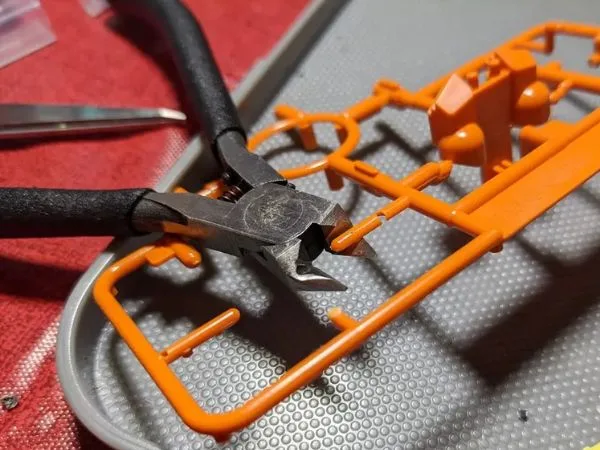
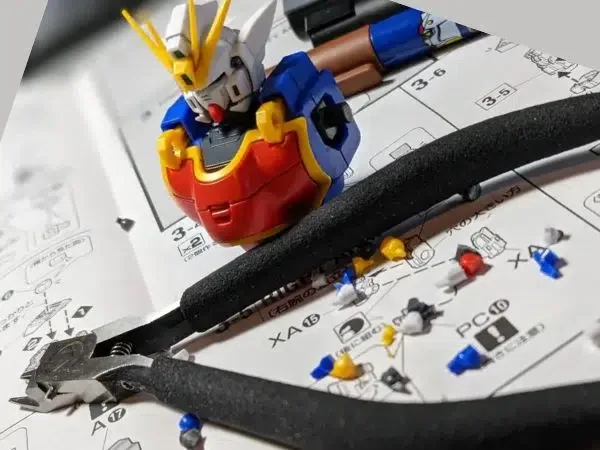
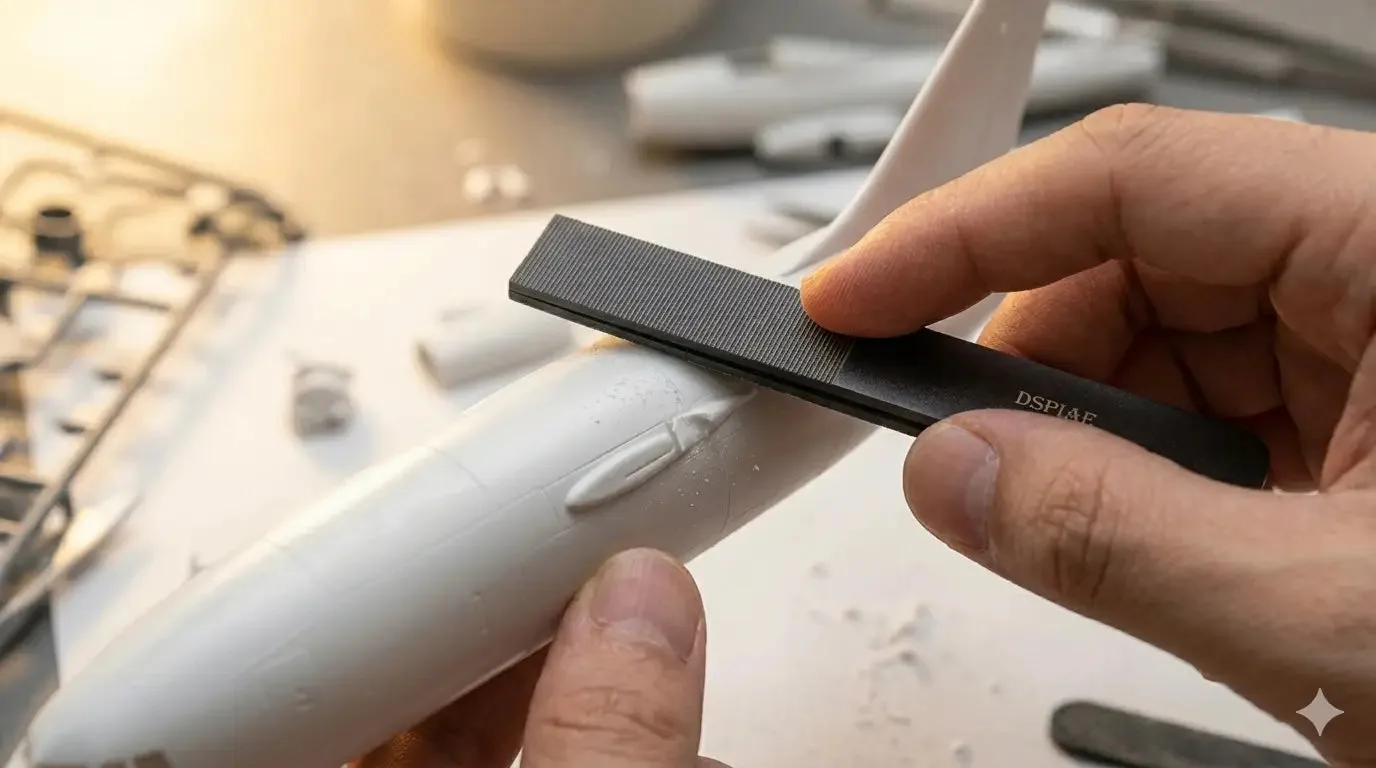
Remove parts and clean nubs. Cut parts from the sprue with flush cutters or a hobby knife, leaving a small gate. Trim flush with a fresh blade, then sand with 400 and 600 grit. On visible surfaces, take it to 800. Sprue cutters from Tamiya ($15-20) or Xuron ($12) handle this cleanly.
Glue major assemblies. Work in subassembly order: fuselage halves or hull sections first, then smaller detail assemblies. Apply Tamiya Extra Thin to the seam, press firmly for 10-15 seconds, then set aside to cure. Don't handle joints for at least 30 minutes.
Fill visible seams. After cement cures (ideally overnight), seam lines will still be visible. Apply Tamiya Basic Putty with a sculpting tool or old brush, let it cure 2-4 hours, then sand smooth through 400, 600, 800 grit. For hairline seams, a swipe of Mr. Surfacer 500 (liquid putty) fills the gap and sands beautifully.
Prime or base paint. Even on an OOB build, primer transforms the result. Tamiya Surface Primer in gray or white ($8 spray can) gives paint something to grip and reveals any seam work you missed. For basic painting, Tamiya spray cans in the correct colors (check the instructions for paint callouts) produce an even finish with minimal skill. Hand brush detail areas with Vallejo or Tamiya acrylics.
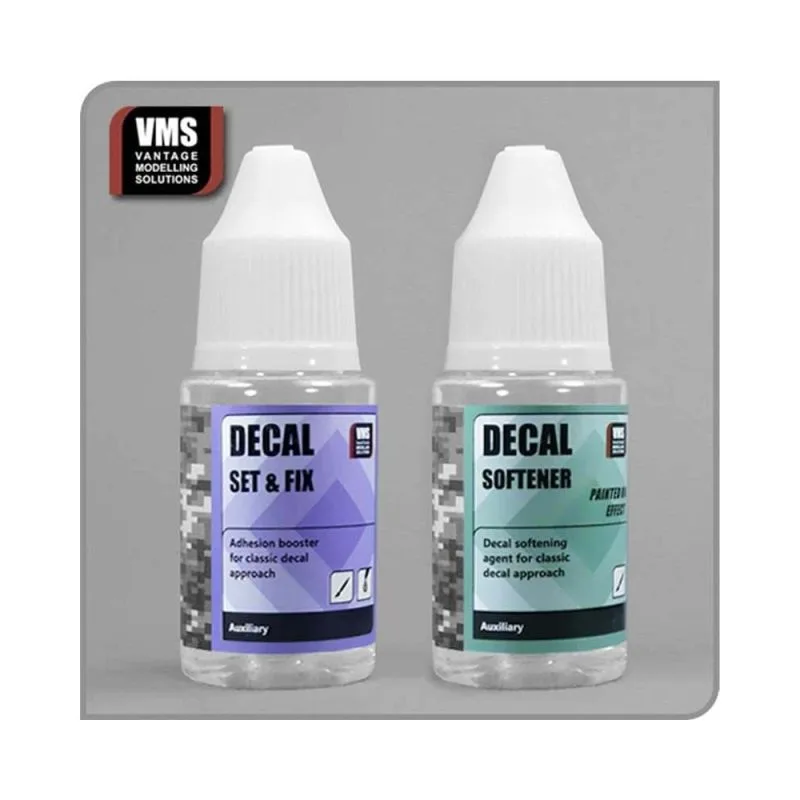
Apply decals. Soak decals in warm water for 15-20 seconds (follow the sheet's instructions). Slide onto the model and position with a damp brush. Apply Micro Set before placing the decal to improve adhesion, then Micro Sol over the top to soften the decal film and conform it to surface detail. This prevents silvering (trapped air under the decal that shows as a silver haze).
Seal and photograph finished model. A clear coat protects your work and unifies the finish. Tamiya TS-80 Flat Clear for military subjects, TS-79 Semi-Gloss for civilian vehicles, TS-13 Clear for glossy finishes like cars and aircraft in natural metal. Two light coats from 10 inches away. Let cure overnight before handling.
Common mistakes
- Skipping the parts wash. Mold release agent is invisible but it makes paint bead up and cement bonds weak. Two minutes of washing prevents real headaches later.
- Using too much cement. Extra Thin is potent. Too much melts the surrounding plastic and creates a mess. One brush-load along the seam is enough. Capillary action distributes it.
- Not waiting for putty to fully cure. Sanding partially cured putty tears it out of the seam. Give it the full cure time listed on the tube. Patience here saves a rework cycle.
- Applying decals over matte paint. Decals silver (trap air) on matte or semi-gloss surfaces. Always apply decals over a gloss coat, then matte coat over the decals if you want a flat finish.
- Handling the model too soon after clear coating. Fingerprints in fresh clear coat are permanent. Wait a full 24 hours before touching the finished model. Seriously.
An OOB build isn't a lesser build. It's a focused exercise in fundamentals that makes every future project better.
Components
Main body
Detail parts
Decals
Materials list
7 itemsEstimated total cost
$25 - $100
Milestone timeline
2 weeks- 1
Inventory sprues, decals, and instructions
planning
- 2
Wash parts and plan subassemblies
assembly
- 3
Remove parts and clean nubs
assembly
- 4
Glue major assemblies
assembly
- 5
Fill visible seams
filling
- 6
Prime or base paint
priming
- 7
Apply decals
decals
- 8
Seal and photograph finished model
display
Frequently
asked questions.
Related tools and guides
Plan your build, estimate costs, and get ready.
Budget Calculator
Estimate your build cost before you start buying materials.
Convention Checklist
88-item packing checklist. Check off items as you pack.
Prop Scaling Calculator
Scale reference images to your body measurements.
How Much Does Scale Modeling Cost?
Real build budgets with specific products and dollar amounts.
Scale Models on Costumary
Templates, tools, and workspace built for scale models makers.
Browse all templates
Explore build plans across 10 craft verticals.
Start this build free
Clone this template into your workspace. Track materials, milestones, budget, and build progress in one place.
Related templates
Ship / Large Vehicle
12 weeks · 11 milestones
A marathon build for large-scale ships, aircraft carriers, or oversized vehicle kits. Covers subassembly planning for hundreds of parts, hull work, rigging, photo-etch railings, long paint sessions, and display mounting. For modelers who want a centerpiece project and aren't afraid of a 3-month timeline.
Detailed Build
5 weeks · 9 milestones
Elevate a stock kit with aftermarket photo-etch, resin upgrades, full paint, and realistic weathering. Covers installation of precision detail parts, advanced painting techniques, and multi-layer finishing. For modelers ready to push past out-of-box into competition-level work.