
Ship / Large Vehicle
A marathon build for large-scale ships, aircraft carriers, or oversized vehicle kits. Covers subassembly planning for hundreds of parts, hull work, rigging, photo-etch railings, long paint sessions, and display mounting. For modelers who want a centerpiece project and aren't afraid of a 3-month timeline.
12 weeks
11
7
4
See the whole look before you start.
References, materials, budget, and build order for Ship / Large Vehicle.
Timeline
12 weeks
Color refs
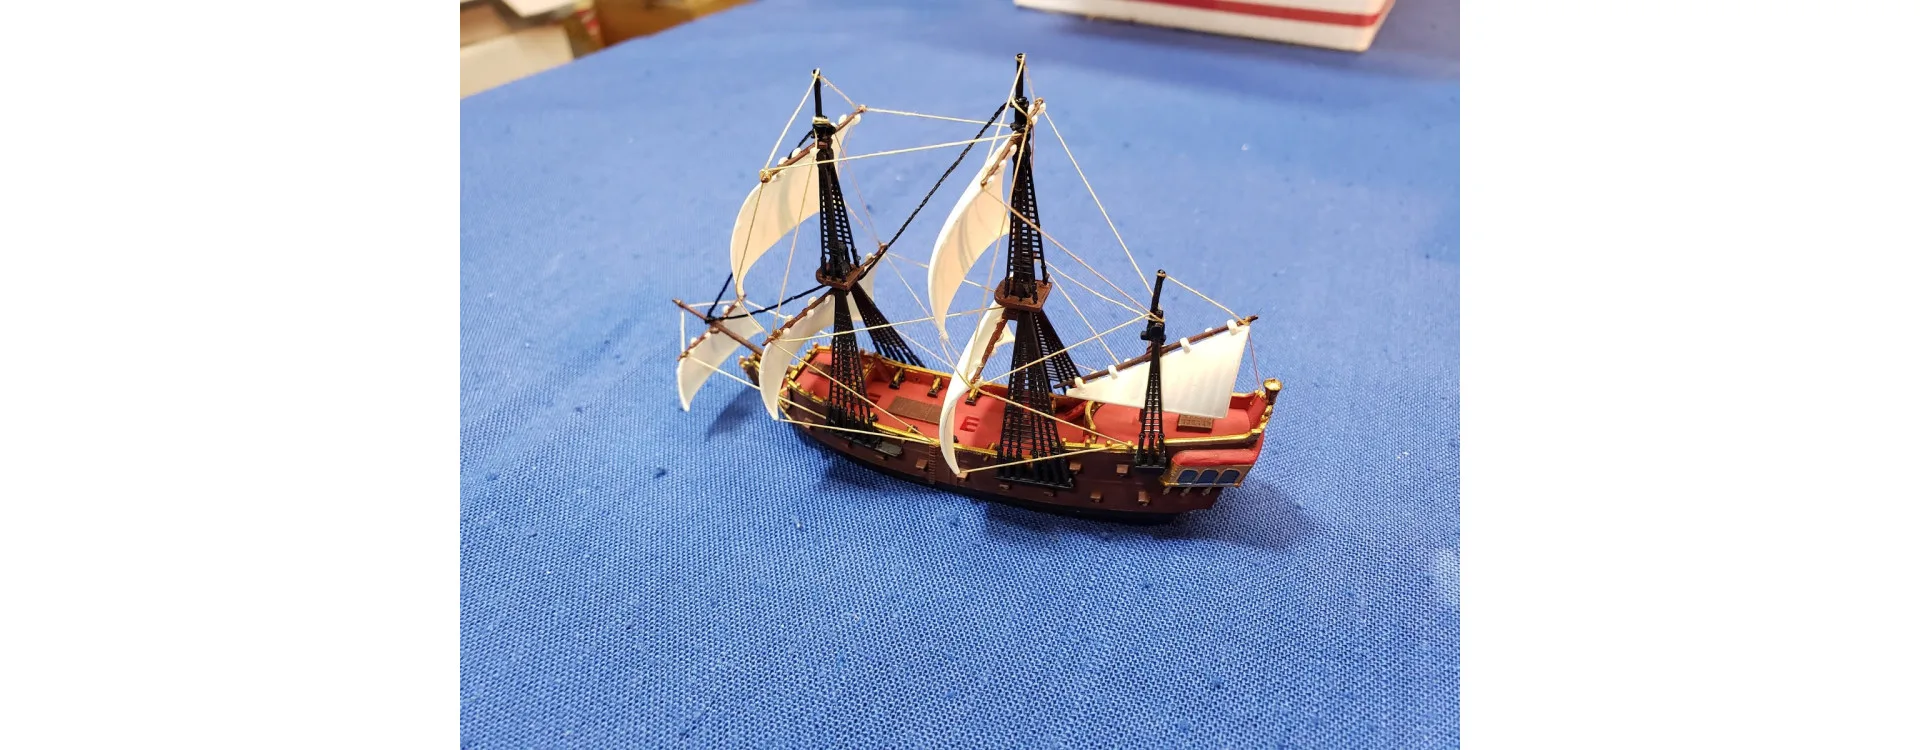
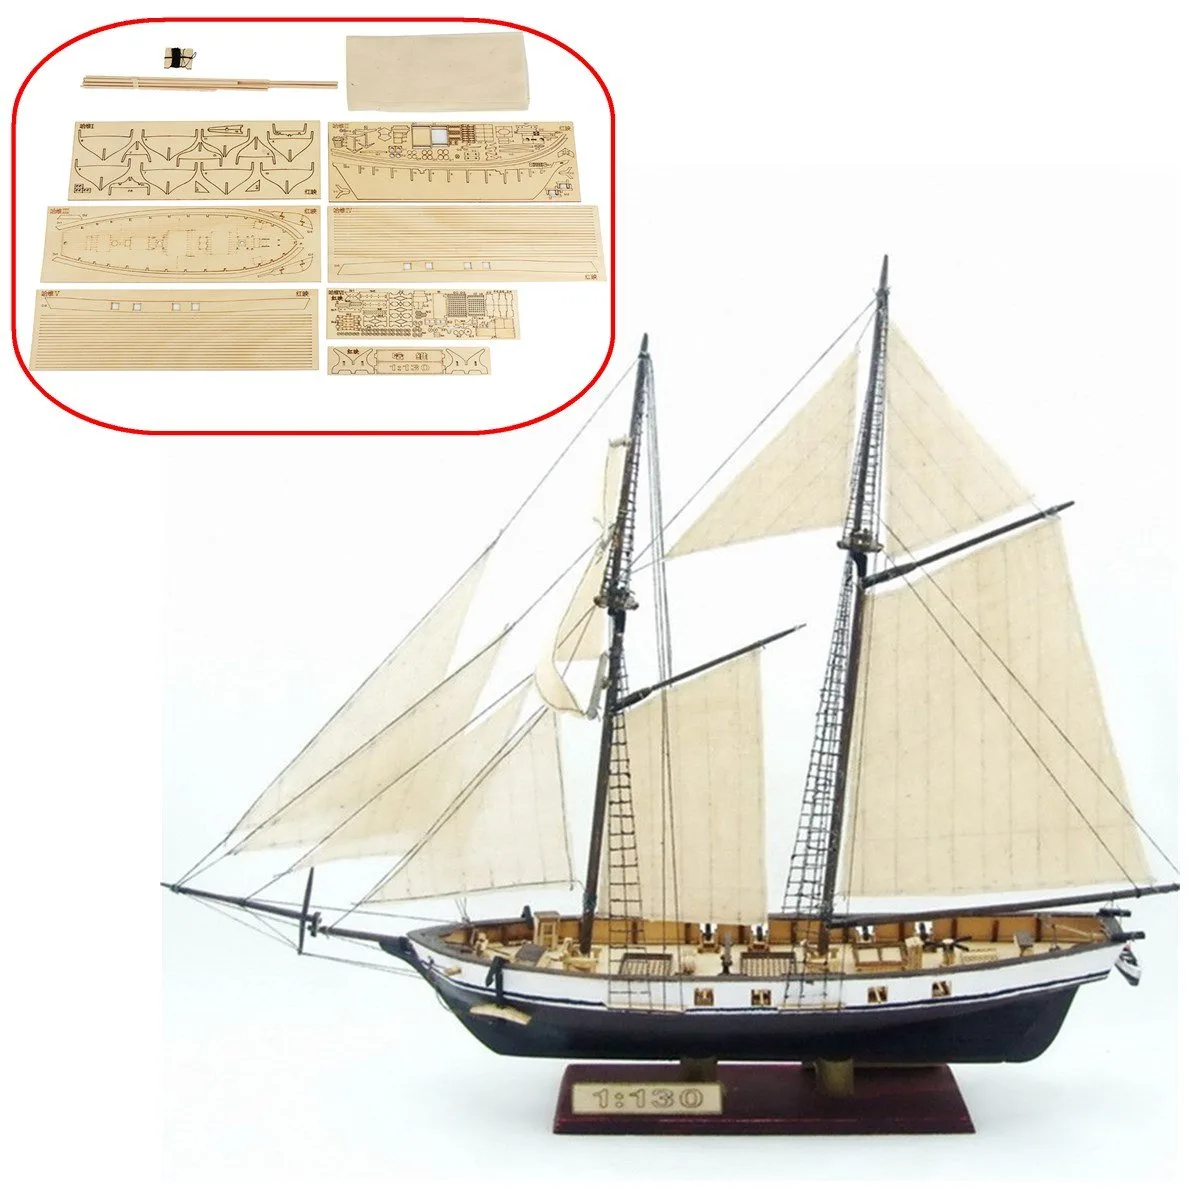
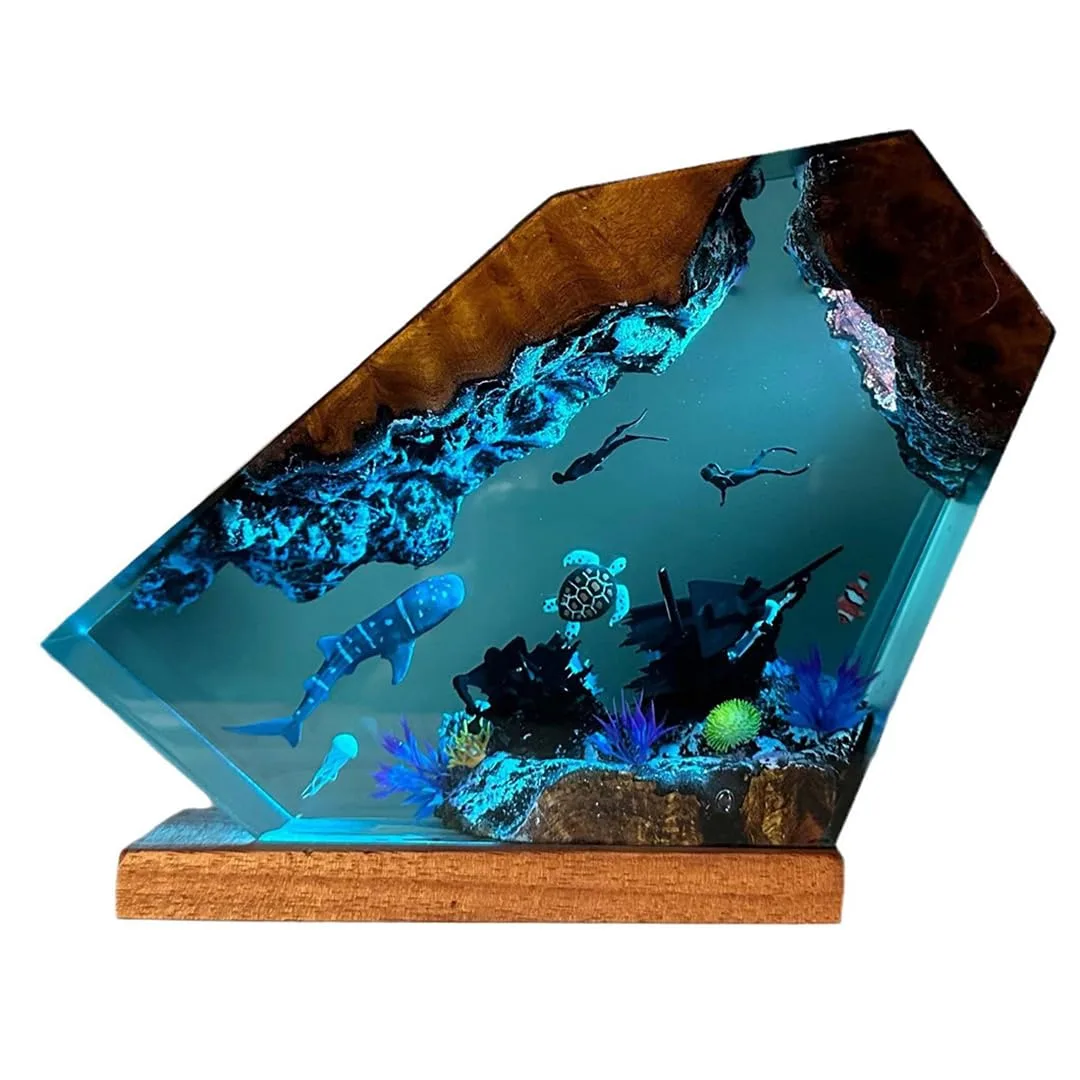
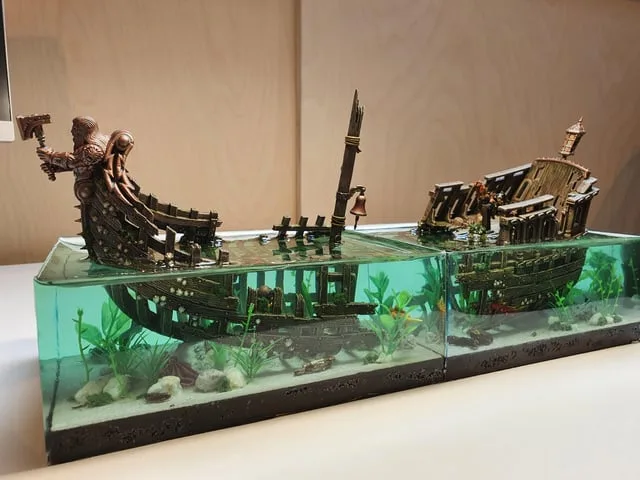
Materials
7 items
Budget
$60 - $400
save the visual refs
Full reference board
The preview above is curated for scanning. This is the working board you clone into your own build, with notes, colors, product images, and extra references intact.
Images are sourced from around the internet to help you get started. Use the web clipper to build your own reference library.
Reference images are gathered from around the web and belong to their original creators. We link back to where we found each one. If something here is yours and you want it taken down, email us and it is gone.
Build guide
A large ship or vehicle kit isn't harder than a smaller kit. It's just more. More sprues, more subassemblies, more paint, more time. A 1/350 destroyer has 400+ parts. A 1/200 battleship can push past 1,000. If that sounds intimidating, it should, a little. But if you've done a few OOB or detailed builds, you already have every skill you need. The challenge is organization and patience.
Large kits are endurance projects. A 1/350 warship takes 80-120 hours across 8-12 weeks. You won't finish in a weekend. Accepting that timeline upfront prevents the frustration that makes builders abandon kits halfway through. Set a pace you can sustain (2-3 sessions per week, 1-2 hours each) and you'll get there.
Study instructions and mark subassemblies. Before you touch the sprues, read through the entire instruction booklet. Mark which steps can be done as independent subassemblies and which require sequential work. For ships: hull, superstructure, main turrets, secondary armament, deck fittings, and masts are usually independent until final assembly. Plan your build order to maximize parallel work.
Gather historical or technical references. For military subjects, reference photos and documentation transform accuracy. Shipbucket drawings, naval history books, and walkaround photo galleries show details that kit instructions simplify or omit. For a specific vessel in a specific time period, references tell you which radar arrays, camouflage patterns, and deck configurations are correct. Even if you're not chasing historical accuracy, references help you understand what "right" looks like.
Build hull, chassis, or main body. The hull is the foundation. For waterline models, the hull halves need a dead-flat bottom edge. Sand on a flat surface (glass plate or granite tile) with 120 grit until the seam is level. For full-hull displays, the keel line needs to be straight. Warp is common in large styrene hulls. Warm the hull gently with a hair dryer and clamp it straight while cooling. Fill the hull seam with Tamiya putty, let cure overnight, then sand through 320, 400, 600.
Assemble major deck or vehicle sections. Work in modules. Superstructure levels, turret assemblies, bridge, and mast sections can all be built and painted separately, then attached to the hull at the end. This approach lets you paint interior surfaces and hard-to-reach areas before they become inaccessible. Label storage bags or containers for each module.
Fill, sand, and rescribe surfaces. Large kits often have panel lines and plating details that cross seam lines. After filling seams, you'll need to rescribe lost detail. A scribing tool (Mr. Line Chisel, $12, or Tamiya Scriber, $15) with a metal straightedge re-cuts panel lines cleanly. Use Dymo tape as a flexible guide for curved scribing. Practice on scrap styrene first. A confident, single-pass scribe is cleaner than multiple tentative scratches.
Prime large assemblies. Priming a 20-inch hull takes more paint than priming a 1/48 airplane. Buy two cans of primer or use an airbrush to conserve material. Mr. Surfacer 1500 through an airbrush at 20-25 PSI covers evenly. For large flat surfaces, start at one end and sweep continuously to avoid overlap marks.
Paint main colors and markings. Ship hulls and large vehicle bodies need even, consistent coverage over big areas. Thin your paint more than usual (60-40 paint to thinner for lacquers) and spray at lower pressure (12-15 PSI) with a larger needle airbrush (0.5mm) if you have one. Multiple light passes prevent runs. For two-tone hulls (boot topping, waterline), mask with Tamiya tape along the waterline and spray the below-waterline color first.
Apply decals and detail painting. Large ships have minimal decals (flag, hull numbers) but extensive hand-painted details: life rafts, anchor chains, boat davits, and deck markings. Work at a comfortable pace. A magnifying visor ($15-25) saves your eyes and your sanity when painting 1/350 scale portholes.
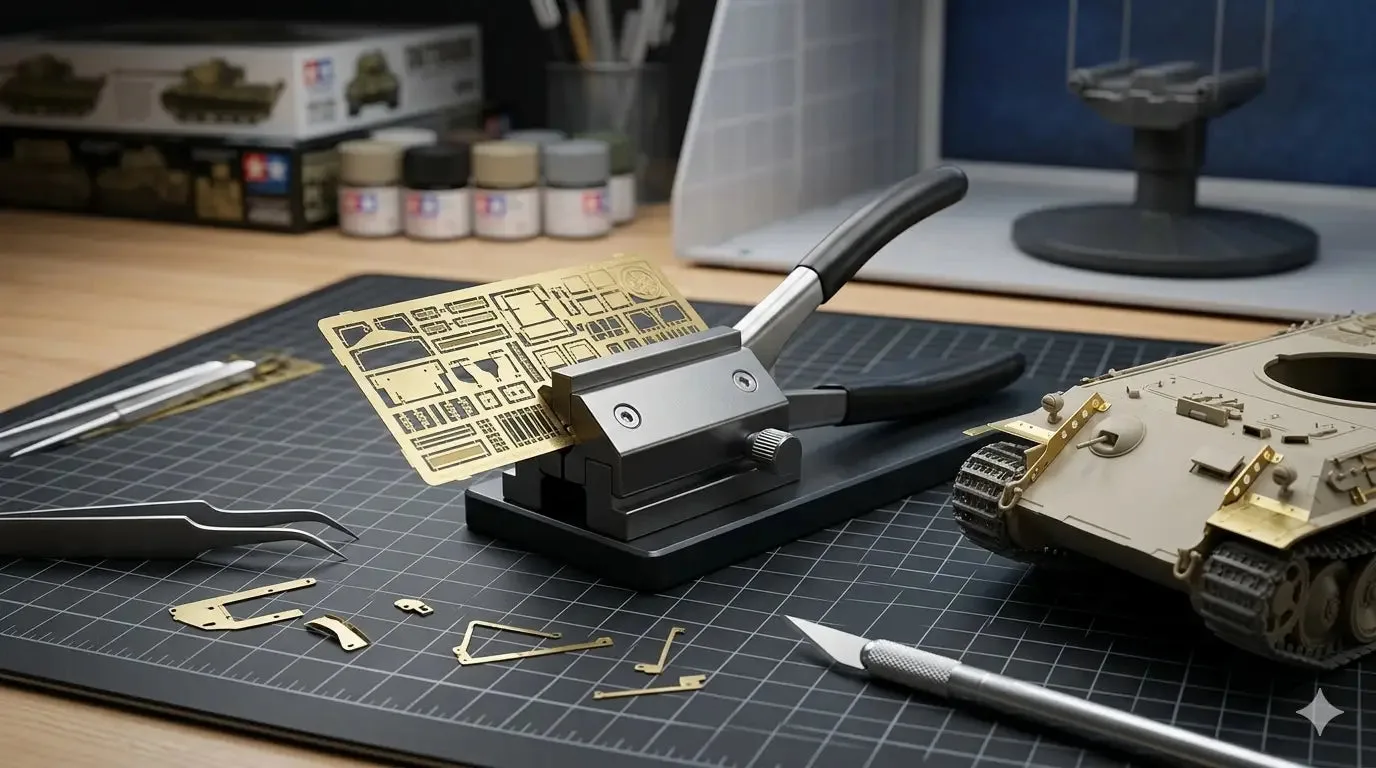
Add rigging, rails, or fragile parts. This is the phase most builders dread. Photo-etch railings from Gold Medal Models, Tom's Modelworks, or Eduard ($15-30 per set) replace chunky molded plastic with scale-thin metal. Install railings with gel CA glue and tweezers. For rigging (antenna wires, halyards, shrouds), stretched sprue is free but inconsistent. EZ Line elastic thread ($8-10) is stretchy, consistent, and won't sag. Attach with tiny dots of CA glue. Work from the inside out: mast cross-trees first, then vertical halyards, then horizontal stays.
Weather and seal final finish. Ships weather differently than armor. Hull sides show vertical rust streaks from scuppers and anchor chains. Decks accumulate foot traffic wear along walkways. Exhaust stacks have soot trails. Use AK Interactive streaking products or oil paint dots with downward thinner drags. Seal with matte topcoat.
Mount to base or display case. Large models need proper display support. For waterline models, a sea base cut from blue-green tinted resin or textured plaster creates a waterline display. For full-hull models, turned wood pedestals or brass cradles ($15-30) support the keel. A display case ($30-80 for acrylic, more for glass) protects your investment of time from dust and curious hands.
Common mistakes
- Not dry-fitting the hull halves before gluing. Warp, short shots, and alignment issues are common in large hulls. Dry-fit with rubber bands, identify problem areas, and plan your clamping strategy before applying cement.
- Gluing the superstructure to the hull too early. Paint the deck, superstructure interior, and hull sides while they're separate. Once glued, you can't reach the areas where they meet.
- Ignoring the rigging until the last step. Some rigging attachment points need to be drilled before painting. Plan rigging anchor points during the assembly phase, not after topcoat.
- Rushing photo-etch railings. Bent railings look worse than no railings. Take your time. One railing section per session is a sustainable pace. If you kink one, start over with a fresh piece.
- Building without a display plan. A 24-inch model needs shelf space, a base, and ideally a case. Figure this out before you finish, not after, when you're trying to find room on an already full shelf.
Large builds are a commitment. But nothing else in the hobby matches the feeling of stepping back from a finished ship model that took three months of your evenings and seeing a miniature vessel that looks ready to sail.
Components
Main hull or body
Detail assemblies
Rigging
Display base
Materials list
7 itemsEstimated total cost
$60 - $400
Milestone timeline
12 weeks- 1
Study instructions and mark subassemblies
planning
- 2
Gather historical or technical references
planning
- 3
Build hull, chassis, or main body
assembly
- 4
Assemble major deck or vehicle sections
assembly
- 5
Fill, sand, and rescribe surfaces
filling
- 6
Prime large assemblies
priming
- 7
Paint main colors and markings
painting
- 8
Apply decals and detail painting
decals
- 9
Add rigging, rails, or fragile parts
rigging
- 10
Weather and seal final finish
weathering
- 11
Mount to base or display case
display
Frequently
asked questions.
Related tools and guides
Plan your build, estimate costs, and get ready.
Budget Calculator
Estimate your build cost before you start buying materials.
Convention Checklist
88-item packing checklist. Check off items as you pack.
Prop Scaling Calculator
Scale reference images to your body measurements.
How Much Does Scale Modeling Cost?
Real build budgets with specific products and dollar amounts.
Scale Models on Costumary
Templates, tools, and workspace built for scale models makers.
Browse all templates
Explore build plans across 10 craft verticals.
Start this build free
Clone this template into your workspace. Track materials, milestones, budget, and build progress in one place.
Related templates
Detailed Build
5 weeks · 9 milestones
Elevate a stock kit with aftermarket photo-etch, resin upgrades, full paint, and realistic weathering. Covers installation of precision detail parts, advanced painting techniques, and multi-layer finishing. For modelers ready to push past out-of-box into competition-level work.
Out of Box
2 weeks · 8 milestones
A clean out-of-box scale model build with proper cement technique, seam filling, basic paint, decals, and a sealed display finish. No aftermarket, no major modifications. Perfect for learning fundamentals or enjoying a relaxing build without the pressure of perfection.