
Spider-Man Suit Cosplay
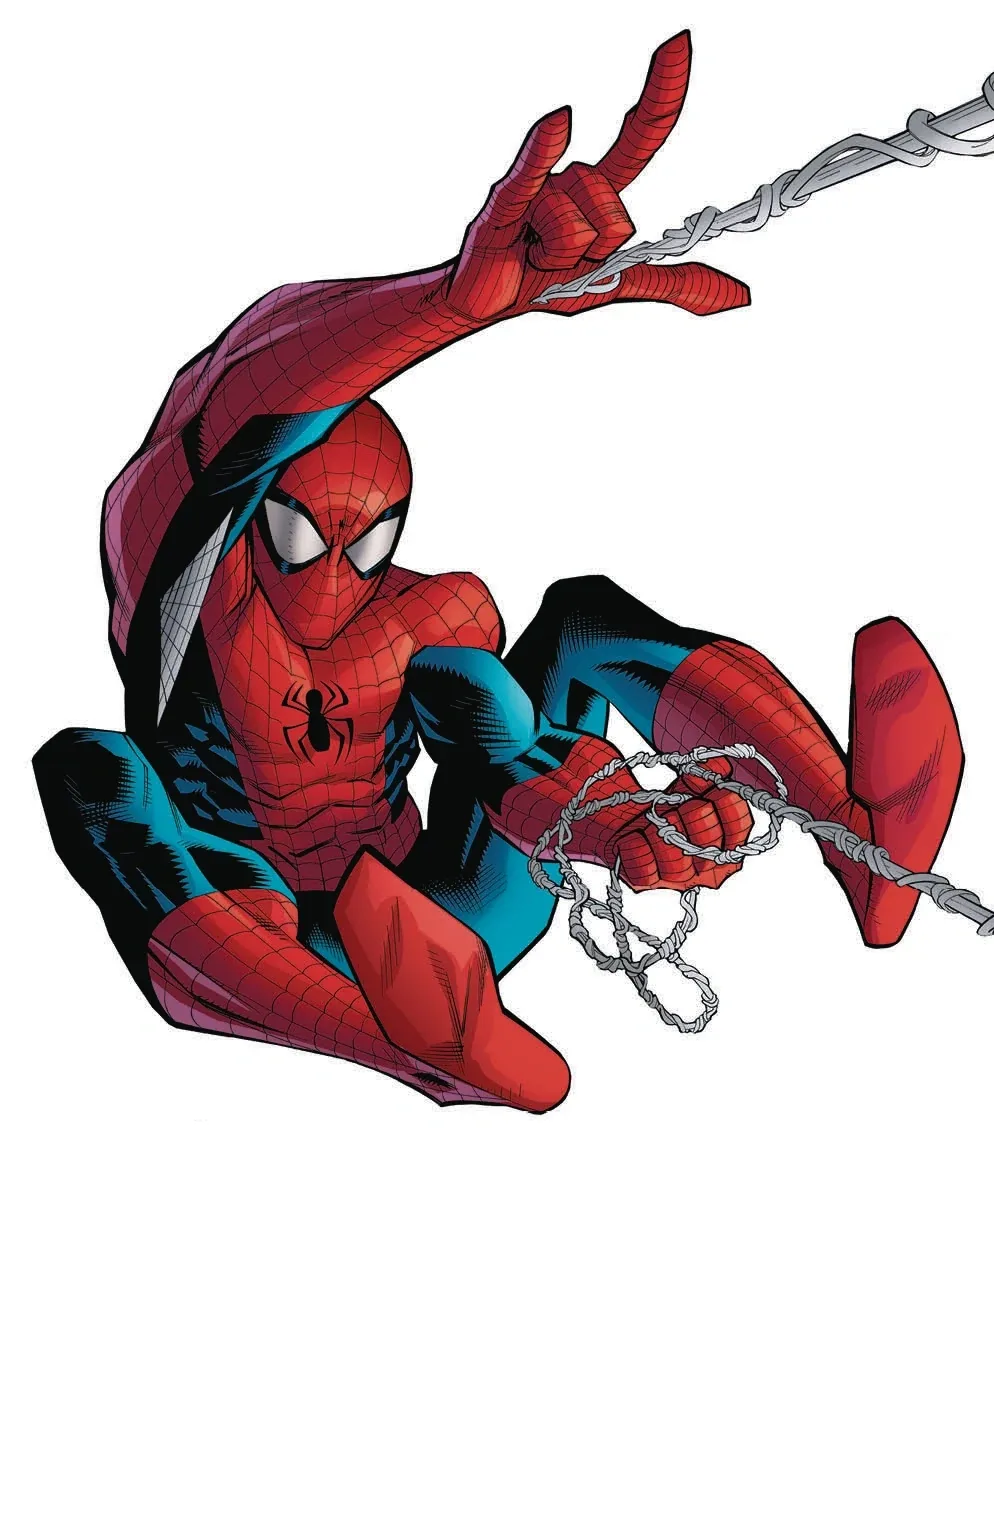
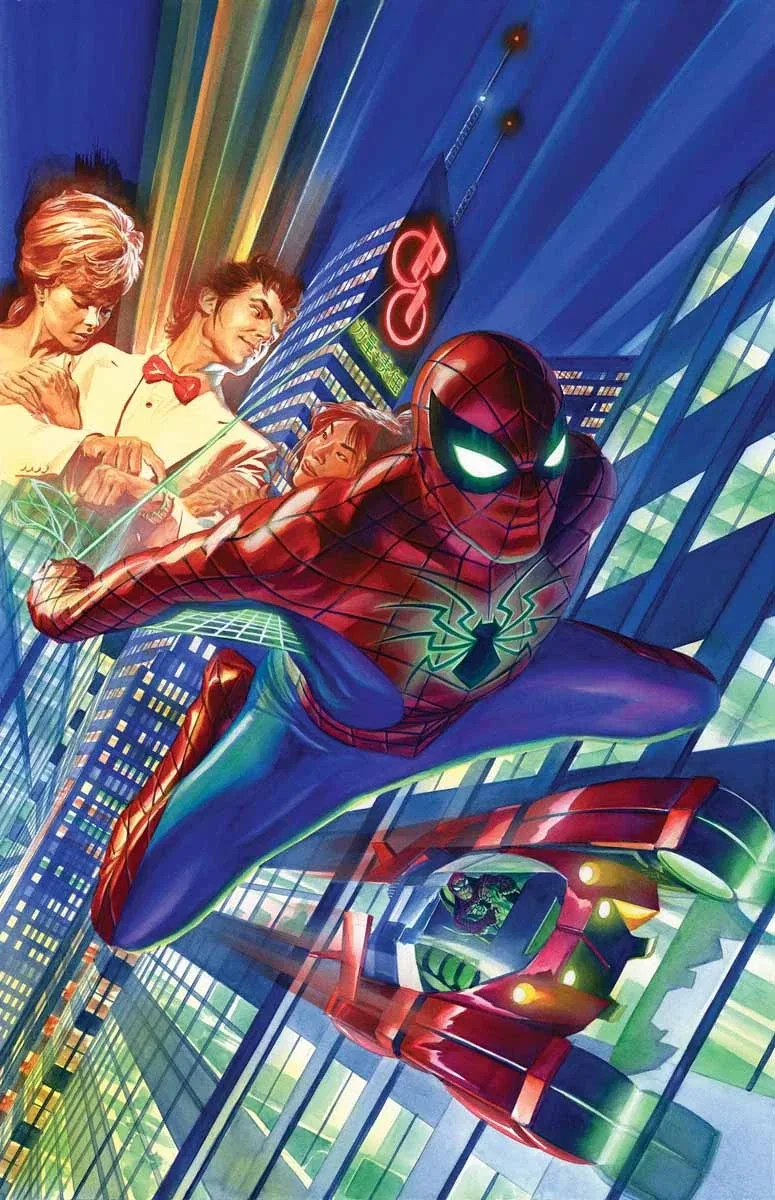
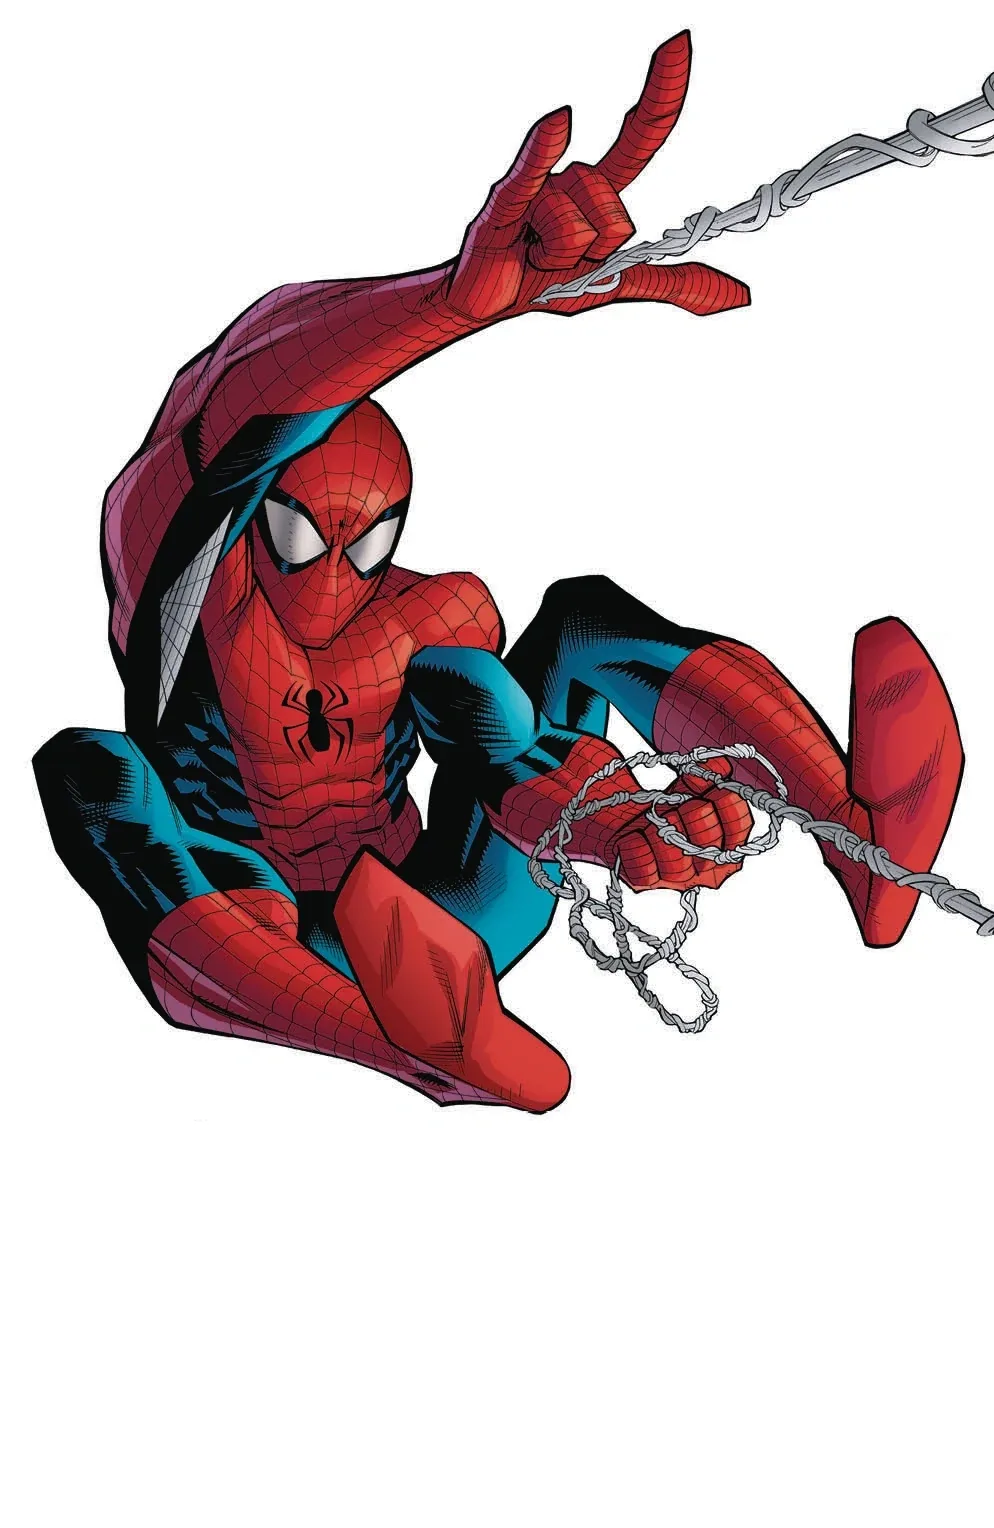
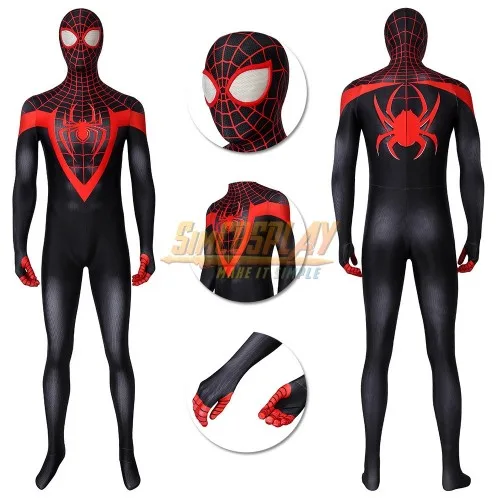
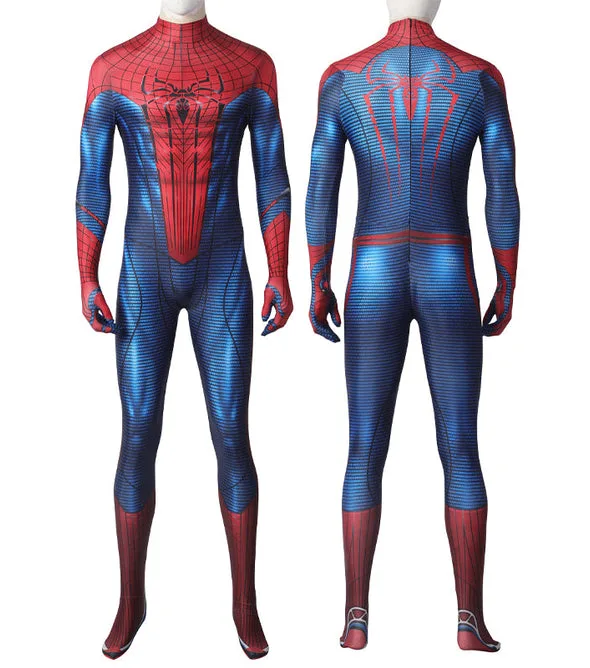
The classic red and blue web-slinger: a 4-way stretch spandex bodysuit with raised web lines, front and back spider emblems, white framed lenses, and wrist-mounted web shooters. This is an intermediate build. Spandex is forgiving if you use a dress form and take your time on the web lines. Covers 7 components, 11 materials with cost estimates, a 12-step build plan spread across 5 phases, and a realistic 5-week, $80 to $250 budget.
5 weeks
14
11
7
See the whole look before you start.
References, materials, budget, and build order for Spider-Man.
Timeline
5 weeks
Color refs
Materials
11 items
Budget
$80 - $250
save the visual refs
Full reference board
The preview above is curated for scanning. This is the working board you clone into your own build, with notes, colors, product images, and extra references intact.
Images are sourced from around the internet to help you get started. Use the web clipper to build your own reference library.
Reference images are gathered from around the web and belong to their original creators. We link back to where we found each one. If something here is yours and you want it taken down, email us and it is gone.
Build guide
A Spider-Man suit feels like a big project, but it is really one garment with two colors, a web pattern you trace on, and a few accessories that sell the look.
Start with the dress form and the face shell. Those two things determine how the suit fits and how the mask reads in photos. Everything else follows from them.
This is an intermediate build, but spandex is more forgiving than woven fabric. It stretches, so small fitting mistakes disappear. The hard parts are patience with the web lines and getting the mask to look like Spider-Man instead of a painted balaclava. If you have sewn a t-shirt or anything with knits, you can handle spandex. If you have not, buy a pre-made suit and put your energy into upgrading the lenses and web shooters. You will still get stopped for photos.
Build the duct tape dress form first. It takes two hours and two rolls of tape, and it is the difference between a suit that fits and a sack with a zipper. Then source your spandex: matte 4-way stretch in a red and blue that look right together under natural light, not under store fluorescents. Order swatches. The front spider emblem centers on the chest, and the back spider is larger. Trust the pattern for placement.
The web lines are what most people get wrong. Draw the full pattern on the dress form with a washable marker. Step back. Fix the spacing. Then trace with black Tulip puffy paint. Apply it with the suit on the form, not flat, because flat paint stretches unevenly when the suit goes on a body. Let it cure a full 24 hours before you even think about handling it.
A $15 plastic face shell is the single best money you will spend on this build. It holds the mask shape off your face and gives the lenses something to mount on. White mesh stretched over the shell eye holes reads solid white from outside while you can still see.
Budget runs about $80 to $250. The low end is budget spandex, puffy paint webs, and craft foam lenses. The high end is matte spandex, urethane emblems from Etsy, a 3D printed face shell and web shooters, and a pro sewing pattern. The face shell and the web line spacing are what sell the suit, not how much you spent on fabric.
Give yourself five weeks. Week one is references and supplies. Week two is the dress form and pattern. Week three is sewing the suit body. Week four is web lines and emblems. Week five is the mask, web shooters, and a full suit-up mobility test.
Components
Red and blue spandex bodysuit
Web pattern lines
Spider emblems (front and back)
Mask with framed lenses
Web shooters
Attached gloves
Attached boot soles
Materials list
11 itemsEstimated total cost
$80 - $250
Milestone timeline
5 weeks- 1
Pick your Spider-Man version and gather references
Research
- 2
Source spandex, test stretch and color match
Materials
- 3
Create a duct tape dress form for fitting
Patterning
- 4
Draft or buy a Spider-Man sewing pattern
Patterning
- 5
Cut spandex pieces
Construction
- 6
Sew red bodysuit panels
Construction
- 7
Sew blue side and back panels
Construction
- 8
Install center back invisible zipper
Construction
- 9
Draw web pattern guidelines on the suit
Details
- 10
Apply puffy paint web lines and let cure
Details
- 11
Attach front and back spider emblems
Details
- 12
Build face shell, cut and install white mesh lenses
Finishing
- 13
3D print or assemble web shooters, paint and attach
Finishing
- 14
Full suit-up, photos, and mobility test
Wear test
Frequently
asked questions.
Related tools and guides
Plan your build, estimate costs, and get ready.
Budget Calculator
Estimate your build cost before you start buying materials.
Convention Checklist
88-item packing checklist. Check off items as you pack.
Prop Scaling Calculator
Scale reference images to your body measurements.
How Much Does EVA Foam Armor Cost?
Real build budgets with specific products and dollar amounts.
Cosplay Commission Cost Breakdown
Real build budgets with specific products and dollar amounts.
Cosplay on Costumary
Templates, tools, and workspace built for cosplay makers.
Browse all templates
Explore build plans across 10 craft verticals.
Debut your cosplay build
Upcoming conventions where you could wear this. Dates, checklists, and budget tools included.
New York Comic Con 2026
Oct 8-11 · New York, NY
The East Coast's largest pop culture convention, with major panels, artist alley, and cosplay showcases.
Anime USA 2026
Oct 9-11 · Washington, DC
A mid-size anime convention in the DC metro area, offering panels, cosplay, and Japanese cultural programming.
Tsubasacon 2026
Oct 9-11 · Charleston, WV
Sekaicon 2026
Oct 9-11 · Newark, OH
Start this build free
Clone this template into your workspace. Track materials, milestones, budget, and build progress in one place.
More from this series
Deadpool Suit Cosplay
5 weeks · 12 milestones
The Merc with a Mouth in full red and black: a head-to-toe spandex bodysuit with diamond-textured fabric, a face shell mask with white magnetic lenses, dual katanas on a concealed back harness, and a utility belt with pouches and holsters. An intermediate build that rewards patience with fit and details. Covers 7 components, 12 materials with cost estimates, a 12-step build plan across 5 phases, and a 5-week timeline at $120 to $350.
Captain America Cosplay
6 weeks · 12 milestones
The star-spangled Avenger in his Endgame suit: scaled chest armor over a tactical blue base, a white star emblem, red gauntlets and boot details, a foam cowl helmet with ear wings, and the iconic round shield. This is an intermediate build with repetitive detail work on the scales and some prop-making for the shield. Covers 7 components, 12 materials with cost estimates, a 12-step plan across 5 phases, and a realistic 6-week, $150 to $400 budget.
Doctor Doom Cosplay
7 weeks · 15 milestones
Marvel's greatest villain in his iconic green cloak and metal mask: a full armor build with a custom EVA foam mask, sculpted chest and shoulder plates, structured green hood, and gold gauntlets. This is an advanced project spanning foam shaping, armor attachment systems, and precision painting. 6 components, 14 materials, ~7 weeks, $180-420 budget.
Iron Man Mark III Armor Cosplay
8 weeks · 14 milestones
The iconic red and gold Mark III armor: full EVA foam plate construction with a hinged faceplate helmet, glowing arc reactor, and metallic automotive paint finish. This is an advanced build with 7 major components spanning foam shaping, basic electronics, and multi-layer painting. Covers materials, a 14-step build plan across 5 phases, and a realistic 8-week, $200 to $550 budget.
Qifrey Cosplay
5 weeks · 12 milestones
Qifrey's elegant white-robed silhouette is built around three signature elements: the tall pointed hat with the bent tip and black ribbon, the flowing white cape with the brass brooch closure, and the asymmetrical pince-nez glasses with one dark lens hiding his scarred eye. This is an intermediate build that needs more structural crafting than sewing. The hat and glasses demand the most attention, while the cape is a manageable garment project. The glasses and the hat are the make-or-break details, and this template walks you through both. Includes 7 components, 15 materials with cost estimates, a 12-step build plan, and a realistic 5-week, $95 to $280 budget.
Coco Cosplay
6 weeks · 12 milestones
Witch Hat Atelier's apprentice witch in her full outfit: the tall pointed hat with ornamental band, a dark cloak with decorative hem trim, a layered tunic-dress, boots, and her drawing implements. The hat is the signature piece and the hardest to get right. 7 components, 13 materials, ~6 weeks at $120-280.
Sung Jinwoo Cosplay
7 weeks · 15 milestones
Solo Leveling's Shadow Monarch in his iconic default hunter outfit: a long black coat with purple inner lining, structured shoulder armor, fitted pants, and dual daggers. This is an intermediate hybrid build that combines garment sewing with foam armor crafting for the shoulder details, plus prop work for the daggers. The coat and its glowing purple lining are the make-or-break detail. Includes 7 components, 19 materials with cost estimates, a 15-step build plan, and a realistic 5-7 week, $120 to $320 budget.
Gojo Satoru Cosplay
5 weeks · 11 milestones
Jujutsu Kaisen's strongest sorcerer, built around three signature details: the black high-collar uniform jacket, the blindfold, and the white spiked hair. This is an intermediate build that leans on one well-made garment plus wig styling, so it reads instantly on the con floor without months of work. The collar and the wig are the make-or-break details, and this template walks you through both. Includes 6 components, 11 materials with cost estimates, an 11-step build plan, and a realistic 5-week, $90 to $240 budget.