
Mixed Media
Build a full costume combining fabric garments, foam armor, wig styling, props, and accessories in one project. For experienced builders tackling a multi-technique build that needs careful planning and integration across different crafting disciplines.
12 weeks
15
10
6
See the whole look before you start.
References, materials, budget, and build order for Mixed Media.
Timeline
12 weeks
Color refs
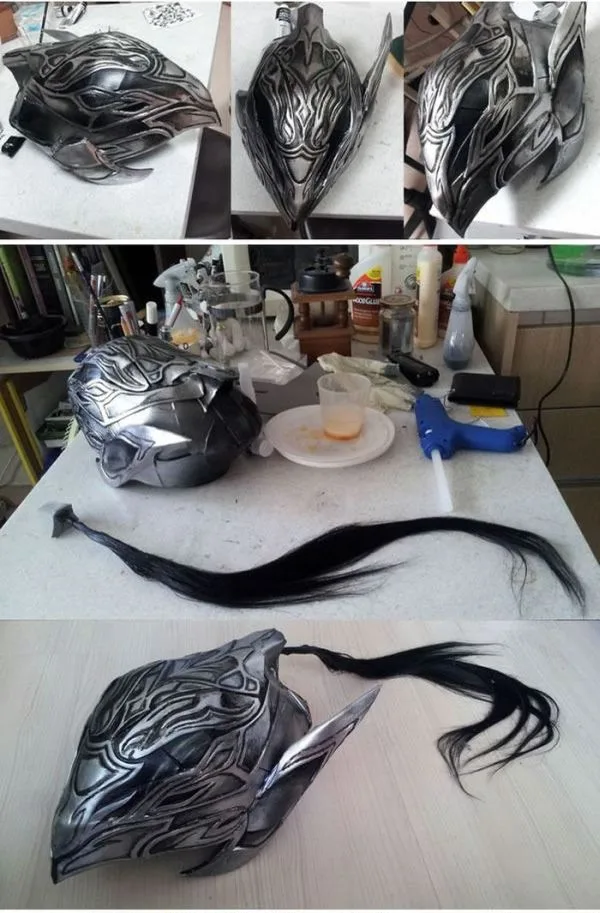
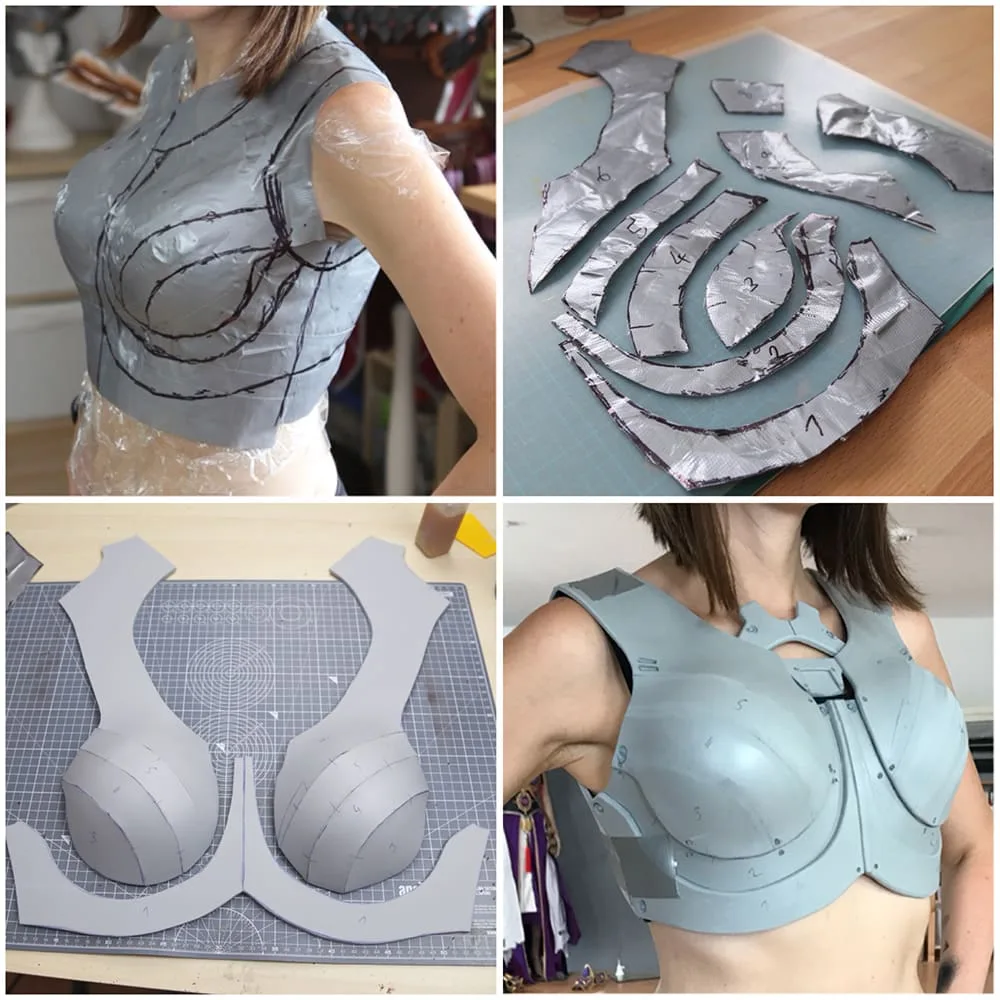
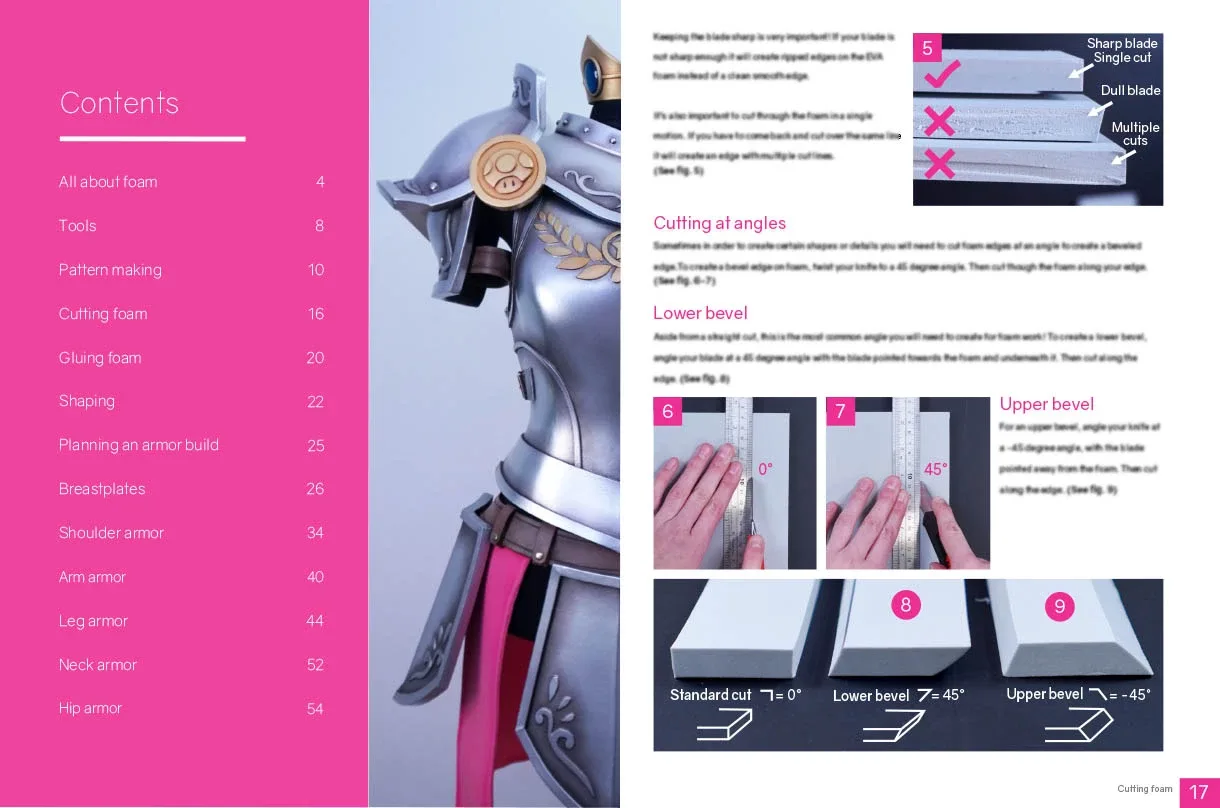
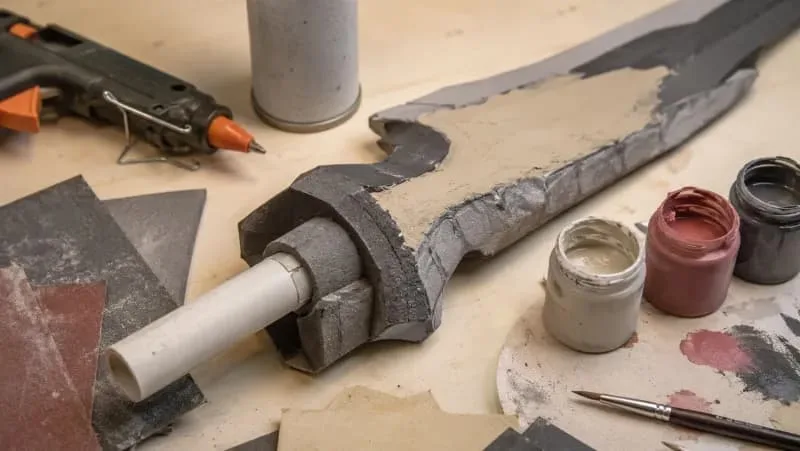
Materials
10 items
Budget
$300 - $800
save the visual refs
Full reference board
The preview above is curated for scanning. This is the working board you clone into your own build, with notes, colors, product images, and extra references intact.
Images are sourced from around the internet to help you get started. Use the web clipper to build your own reference library.
Reference images are gathered from around the web and belong to their original creators. We link back to where we found each one. If something here is yours and you want it taken down, email us and it is gone.
Build guide
A mixed media build is the boss fight of cosplay. You're not just sewing a garment or foamsmithing armor. You're doing both, plus a wig, plus props, plus accessories, and everything needs to work together as a single coherent costume. The challenge isn't any individual technique. It's the project management of juggling five different builds that all need to finish at the same time.
Your finished costume will include a sewn base garment, foam armor sections, styled wig, one or more props, boots or modified footwear, and accessories. This is a 12-week project working evenings and weekends, approximately 100-150 hours depending on complexity.
Planning is everything on a mixed build. Break the character design into a component list first. Which pieces are fabric? Which are foam? What's the wig situation? Are there electronics? You need to know every component before you start building because some depend on others. Armor straps attach to the garment. The wig needs to work with a helmet. The gloves need to fit over gauntlet edges.
Build order matters. Start with the base garment because everything attaches to or fits over it. Build armor second since you need the garment as a fitting reference. Props and wig work can happen in parallel since they're independent. Save accessories for last because they fill in gaps you didn't notice until the main pieces are together.
Research
Build a full reference board with every piece of the costume identified and categorized. Mark which pieces are sewn, which are foam, which are purchased, and which are modified. Note where pieces overlap or interface with each other (armor over garment, wig under helmet, gauntlets over gloves). This component breakdown is your project roadmap.
Patterning
Draft patterns for fabric pieces and armor separately. Your sewing patterns need to account for the armor going over them (you might need extra ease in shoulders and torso). Armor patterns need to account for the fabric underneath. Mock up both in cheap materials. Cardboard for armor shapes, muslin for garments. Check them together before committing to real materials.
Materials
Source everything at once if budget allows. You'll need fabric and sewing notions for the garment, EVA foam and contact cement for armor, paint supplies that work on both foam and any prop materials, a wig, and hardware like buckles, snaps, and elastic. Buying everything upfront prevents mid-build delays waiting for shipping.
Construction (Garment)
Sew the base garment first. Fit it to your body with room for armor attachment points. Don't finish the areas where armor straps will attach until the armor is shaped and you know exactly where the connection points fall.
Construction (Armor)
Build armor sections using the garment as your fitting reference. Wear the garment during armor test fits so proportions are accurate. Cut, heat-form, and assemble each armor piece following the same process as a standalone armor build, but check frequently that pieces don't interfere with each other or restrict movement at joints.
Construction (Props and Wig)
These can happen in parallel with armor construction since they're independent builds. Style the wig on a head form. Build props following your blueprint. Check that the wig works with any helmet or headpiece before you finalize the style.
Details
Detail work across all components. Trim and embellishments on the garment, raised details and foam clay work on the armor, surface details on props. Use a consistent color palette across all pieces so they look like they belong together.
Finishing
Seal and paint armor and props. Press and finish the garment. The key with mixed media is making different materials look like they belong in the same world. Consistent weathering, matching paint tones, and unified color temperature across all pieces sell the illusion.
Full Assembly and Fitting
Put everything on at once. This is the moment of truth. Check: can you sit? Can you use the bathroom without fully disassembling? Can you reach your phone? Are there any pieces that pinch, poke, or restrict breathing? Can you put the whole thing on in under 20 minutes? Adjust, adjust, adjust.
Wear Test and Packing
Wear the full costume for at least 2 hours at home. Walk around, climb stairs, sit in a chair. Identify pain points and fix them. Pack everything in labeled bags or bins, grouped by how you put them on (garment first, then armor, then accessories). Bring a repair kit with hot glue, safety pins, and touch-up paint.
Common mistakes
- Building pieces in isolation. Armor built without the garment underneath will fit wrong. Test pieces together throughout the build, not just at the end.
- Inconsistent weathering. If the armor is battle-damaged but the fabric looks brand new, the costume reads as incoherent. Weather everything to the same degree.
- No dressing order plan. Figure out the exact sequence you put the costume on before the con. Some builds require specific layering, and discovering this at 7 AM in a hotel bathroom is not ideal.
- Underestimating the timeline. A mixed build takes longer than the sum of its parts because integration and fitting eat time. Pad your timeline by 20%.
Mixed media builds are how you win masquerade competitions. They're hard, they're time-consuming, and they're deeply satisfying when all the pieces come together.
Components
Base garment
Armor set
Props & weapons
Wig
Boots / footwear
Accessories
Materials list
10 itemsEstimated total cost
$300 - $800
Milestone timeline
12 weeks- 1
Full character reference board
Research
- 2
Break down costume into component list
Research
- 3
Draft patterns for sewn pieces
Patterning
- 4
Draft patterns for armor pieces
Patterning
- 5
Source all materials
Materials
- 6
Sew base garment
Construction
- 7
Build armor sections
Construction
- 8
Build props and accessories
Construction
- 9
Style wig
Construction
- 10
Detail work on all components
Details
- 11
Paint and seal armor and props
Finishing
- 12
Finish and press garment
Finishing
- 13
Full assembly and fitting
Fitting
- 14
Complete wear test with all pieces
Wear test
- 15
Pack all components for transport
Packing
Frequently
asked questions.
Related tools and guides
Plan your build, estimate costs, and get ready.
Budget Calculator
Estimate your build cost before you start buying materials.
Convention Checklist
88-item packing checklist. Check off items as you pack.
Prop Scaling Calculator
Scale reference images to your body measurements.
How Much Does EVA Foam Armor Cost?
Real build budgets with specific products and dollar amounts.
Cosplay Commission Cost Breakdown
Real build budgets with specific products and dollar amounts.
Cosplay on Costumary
Templates, tools, and workspace built for cosplay makers.
Browse all templates
Explore build plans across 10 craft verticals.
Debut your cosplay build
Upcoming conventions where you could wear this. Dates, checklists, and budget tools included.
New York Comic Con 2026
Oct 8-11 · New York, NY
The East Coast's largest pop culture convention, with major panels, artist alley, and cosplay showcases.
Anime USA 2026
Oct 9-11 · Washington, DC
A mid-size anime convention in the DC metro area, offering panels, cosplay, and Japanese cultural programming.
Tsubasacon 2026
Oct 9-11 · Charleston, WV
Sekaicon 2026
Oct 9-11 · Newark, OH
Start this build free
Clone this template into your workspace. Track materials, milestones, budget, and build progress in one place.
Related templates
Qifrey Cosplay
5 weeks · 12 milestones
Qifrey's elegant white-robed silhouette is built around three signature elements: the tall pointed hat with the bent tip and black ribbon, the flowing white cape with the brass brooch closure, and the asymmetrical pince-nez glasses with one dark lens hiding his scarred eye. This is an intermediate build that needs more structural crafting than sewing. The hat and glasses demand the most attention, while the cape is a manageable garment project. The glasses and the hat are the make-or-break details, and this template walks you through both. Includes 7 components, 15 materials with cost estimates, a 12-step build plan, and a realistic 5-week, $95 to $280 budget.
Coco Cosplay
6 weeks · 12 milestones
Witch Hat Atelier's apprentice witch in her full outfit: the tall pointed hat with ornamental band, a dark cloak with decorative hem trim, a layered tunic-dress, boots, and her drawing implements. The hat is the signature piece and the hardest to get right. 7 components, 13 materials, ~6 weeks at $120-280.
Sung Jinwoo Cosplay
7 weeks · 15 milestones
Solo Leveling's Shadow Monarch in his iconic default hunter outfit: a long black coat with purple inner lining, structured shoulder armor, fitted pants, and dual daggers. This is an intermediate hybrid build that combines garment sewing with foam armor crafting for the shoulder details, plus prop work for the daggers. The coat and its glowing purple lining are the make-or-break detail. Includes 7 components, 19 materials with cost estimates, a 15-step build plan, and a realistic 5-7 week, $120 to $320 budget.
Gojo Satoru Cosplay
5 weeks · 11 milestones
Jujutsu Kaisen's strongest sorcerer, built around three signature details: the black high-collar uniform jacket, the blindfold, and the white spiked hair. This is an intermediate build that leans on one well-made garment plus wig styling, so it reads instantly on the con floor without months of work. The collar and the wig are the make-or-break details, and this template walks you through both. Includes 6 components, 11 materials with cost estimates, an 11-step build plan, and a realistic 5-week, $90 to $240 budget.
Deadpool Suit Cosplay
5 weeks · 12 milestones
The Merc with a Mouth in full red and black: a head-to-toe spandex bodysuit with diamond-textured fabric, a face shell mask with white magnetic lenses, dual katanas on a concealed back harness, and a utility belt with pouches and holsters. An intermediate build that rewards patience with fit and details. Covers 7 components, 12 materials with cost estimates, a 12-step build plan across 5 phases, and a 5-week timeline at $120 to $350.
Yuta Okkotsu Cosplay
6 weeks · 12 milestones
Jujutsu Kaisen 0's tragic sorcerer bound to Rika's curse: the black school uniform, textured black wig, cursed arm markings, and luminous katana. A balanced build across uniform tailoring, prop construction, and wig styling. 4 components, 11 materials, ~6 weeks, $120-280.
Captain America Cosplay
6 weeks · 12 milestones
The star-spangled Avenger in his Endgame suit: scaled chest armor over a tactical blue base, a white star emblem, red gauntlets and boot details, a foam cowl helmet with ear wings, and the iconic round shield. This is an intermediate build with repetitive detail work on the scales and some prop-making for the shield. Covers 7 components, 12 materials with cost estimates, a 12-step plan across 5 phases, and a realistic 6-week, $150 to $400 budget.
Arlecchino Cosplay
7 weeks · 17 milestones
Arlecchino (The Knave) is Genshin Impact's most cosplay-demanding Fatui Harbinger: a layered suit jacket, structured long coat with back chains, multi-color ombre wig, character-specific X-pupil contacts, and a full accessories set that runs 12+ pieces. This is an advanced build for cosplayers who can sew structured garments, handle prop accessories, and plan a full character makeup look. The make-or-break details are the coat's lapel structure and the wig's silver-black-red color work. Includes 8 components, 14 materials with cost estimates, a 12-step build plan, and a realistic 7-week, $180 to $420 budget.