
Prop Build
Build a cosplay weapon, staff, shield, or accessory from foam, PVC, wood, or 3D-printed parts. Covers blueprinting with measurements, armature construction, shaping, detailing, painting, and convention weapon-check compliance.
4 weeks
12
8
3
See the whole look before you start.
References, materials, budget, and build order for Prop Build.
Timeline
4 weeks
Color refs
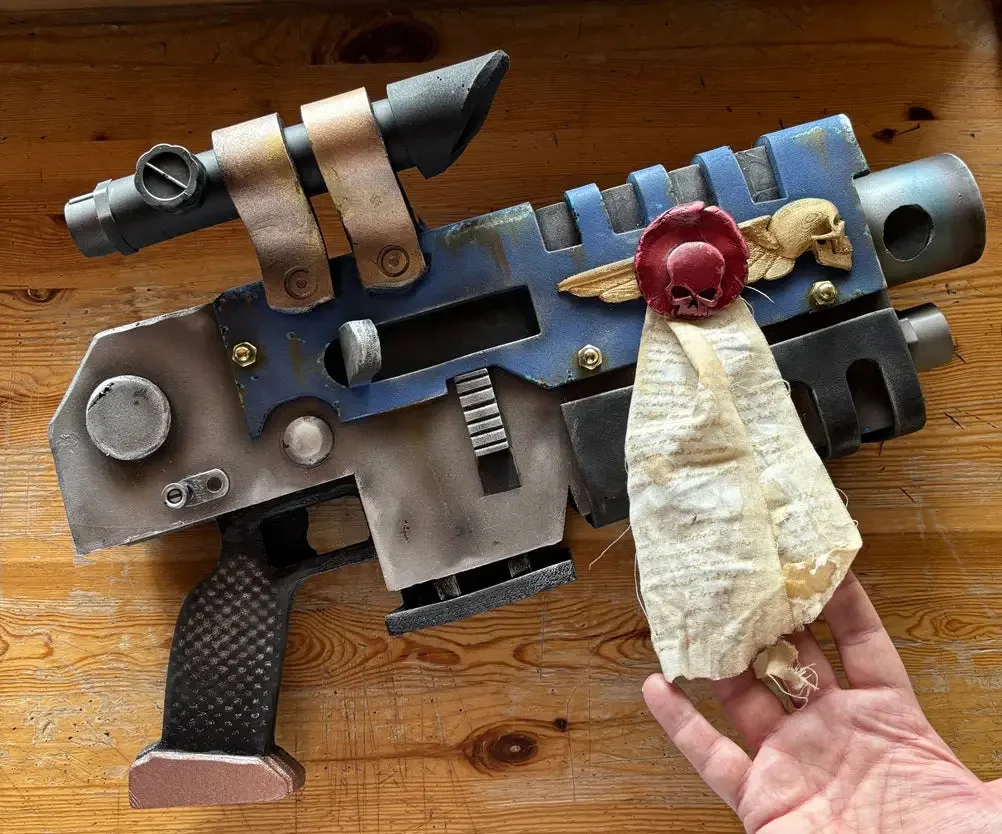
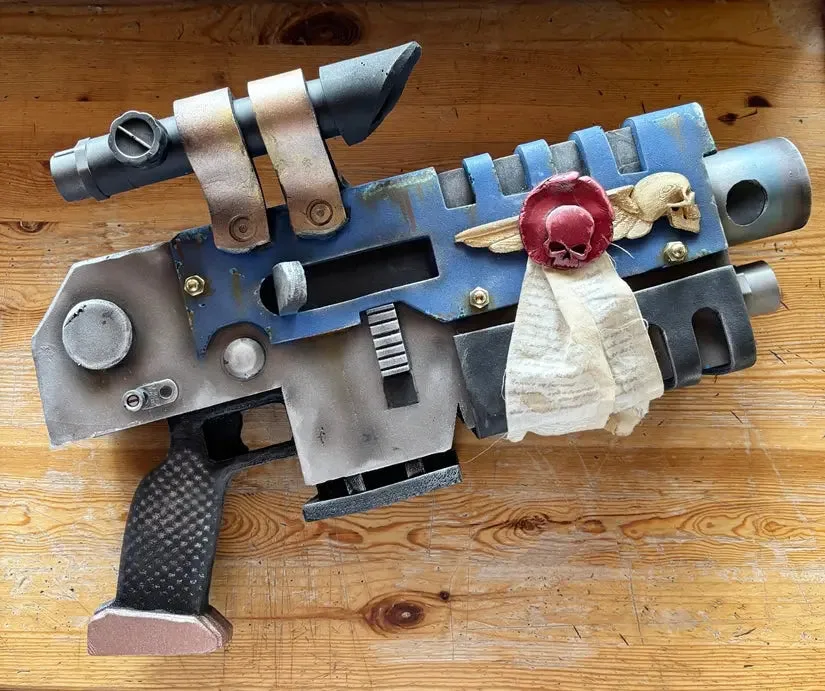
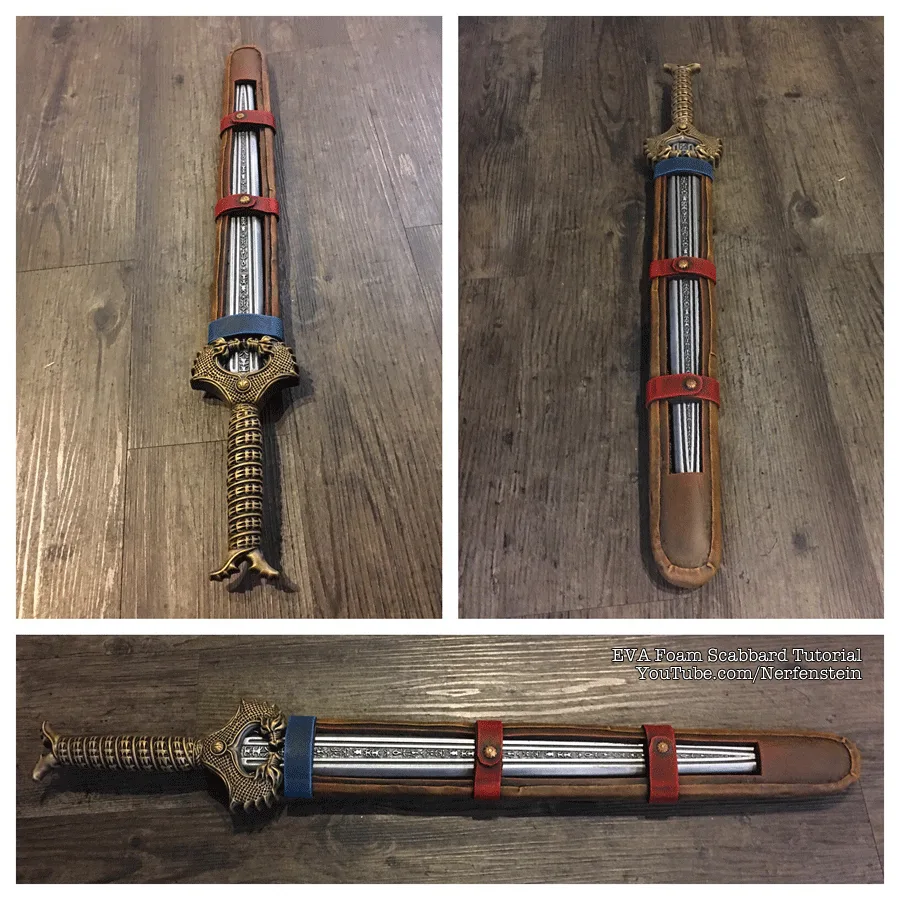
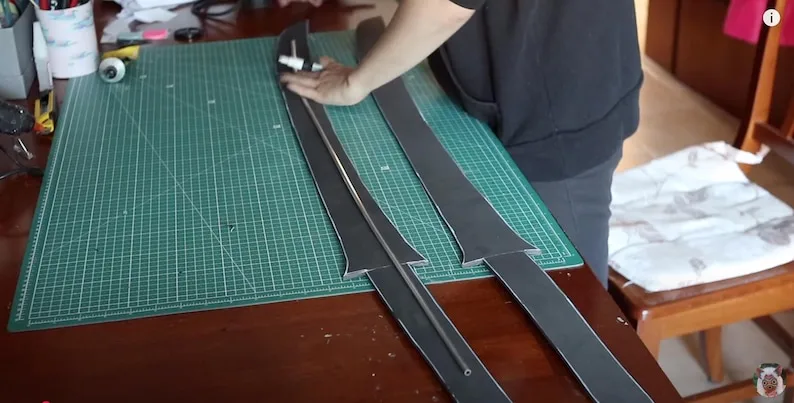
Materials
8 items
Budget
$25 - $150
save the visual refs
Full reference board
The preview above is curated for scanning. This is the working board you clone into your own build, with notes, colors, product images, and extra references intact.
Images are sourced from around the internet to help you get started. Use the web clipper to build your own reference library.
Reference images are gathered from around the web and belong to their original creators. We link back to where we found each one. If something here is yours and you want it taken down, email us and it is gone.
Build guide
A good prop makes a costume. You can have the most accurate armor in the building, but hand someone a recognizable weapon and suddenly every photographer in the hall wants a shot. Props are also one of the best first builds for new cosplayers because the stakes are lower. If the sword looks a little rough, nobody's measuring it against your body proportions.
You're building a weapon, staff, shield, or accessory that's lightweight enough to carry all day and sturdy enough to survive being set down, picked up, and bumped into other con-goers approximately 400 times. The finished product needs to pass convention weapon checks (no sharp edges, no metal cores visible, peace-bonded if required).
Your core material choice shapes the entire build. EVA foam is the most forgiving option for beginners. It's cheap, easy to shape, lightweight, and passes weapon checks without issues. Insulation foam (pink or blue XPS boards from Home Depot) carves beautifully for blades and larger shapes. PVC pipe makes great internal armatures for staffs and polearms. You can combine all three in one prop.
Size matters more than you think. Measure your reference images against the character's body proportions, then scale to your own height. A sword that's accurate to the game model might be 5 feet long, which is unwieldy and might not pass con size limits. Most conventions cap prop weapons at 6 feet. Sketch your blueprint with measurements before cutting anything.
Research
Gather reference images and note dimensions relative to the character's body. If the sword reaches from hip to ground on the character, measure that distance on yourself. Write down every measurement on your blueprint. Check your target convention's weapon policy now, not the week before.
Patterning
Sketch the prop at full scale on craft paper or cardboard. This is your template. Include cross-sections showing thickness at different points. For a sword, you need the blade profile, guard shape, handle length, and pommel. Tape the template to your foam or core material and trace before cutting.
Materials
A basic foam prop needs EVA foam or insulation foam, a PVC pipe or wooden dowel for the core, hot glue for assembly, wood filler or Bondo for smoothing, sandpaper in 100-220 grit, primer, and acrylic paint. Budget $25-60 for materials depending on the prop's size.
Construction
Build the internal armature first. A PVC pipe core keeps long props from flexing and breaking. Slide the pipe through the handle area and glue it in place. Shape the main body around the core with layers of foam, carving the profile with a craft knife and sanding curves smooth. For insulation foam, a hot wire cutter gives clean cuts but isn't necessary.
Details
Surface details make a prop look real instead of like a foam rectangle. Use craft foam (2mm) for raised edges and panel lines. Foam clay works for organic shapes like vines, skulls, or runes. Score lines into EVA foam with a soldering iron or wood burner for engraved details.
Finishing
Sand everything smooth, then fill gaps and divots with wood filler. Let it dry, sand again. This fill-and-sand cycle might take 2-3 passes. Prime with spray primer (Rust-Oleum 2x works well). Paint with acrylics, working from base colors to highlights. Weathering (dry-brushed metallics, brown washes in crevices) takes a prop from craft project to screen-accurate.
Fitting and Weapon Check
Wrap the handle with leather cord, tennis racket grip tape, or EVA foam strips. Test the grip and balance. If the prop is top-heavy, add weight to the handle end. Check that nothing rattles or flexes. Look up your convention's peace-bonding policy. Bring zip ties to the con just in case.
Common mistakes
- No internal support. A foam sword without a PVC or dowel core will bend and eventually snap. Always build an armature for props longer than 18 inches.
- Painting before sealing. Foam drinks paint. Seal with Mod Podge, Flexbond, or Plasti Dip first, then prime, then paint.
- Making it too heavy. You're carrying this all day. Hollow out solid sections where possible and choose lightweight core materials.
- Ignoring weapon check rules. Some cons require all props to be peace-bonded, some ban projectile-shaped props entirely. Check the policy before you build.
A good prop is the fastest way to level up a cosplay. Start simple, nail the paint job, and you'll have photographers lining up.
Components
Prop body
Handle / grip
Blade / head
Materials list
8 itemsEstimated total cost
$25 - $150
Milestone timeline
4 weeks- 1
Gather reference images and dimensions
Research
- 2
Sketch prop blueprint with measurements
Patterning
- 3
Order core materials
Materials
- 4
Build internal structure or armature
Construction
- 5
Shape and carve prop body
Construction
- 6
Add surface details and textures
Details
- 7
Sand, fill, and smooth
Finishing
- 8
Prime and paint
Finishing
- 9
Add weathering or LED effects
Finishing
- 10
Handle wrap and grip test
Fitting
- 11
Convention weapon check compliance
Wear test
- 12
Wrap and pack for transport
Packing
Frequently
asked questions.
Related tools and guides
Plan your build, estimate costs, and get ready.
Budget Calculator
Estimate your build cost before you start buying materials.
Convention Checklist
88-item packing checklist. Check off items as you pack.
Prop Scaling Calculator
Scale reference images to your body measurements.
How Much Does EVA Foam Armor Cost?
Real build budgets with specific products and dollar amounts.
Cosplay Commission Cost Breakdown
Real build budgets with specific products and dollar amounts.
Cosplay on Costumary
Templates, tools, and workspace built for cosplay makers.
Browse all templates
Explore build plans across 10 craft verticals.
Debut your cosplay build
Upcoming conventions where you could wear this. Dates, checklists, and budget tools included.
New York Comic Con 2026
Oct 8-11 · New York, NY
The East Coast's largest pop culture convention, with major panels, artist alley, and cosplay showcases.
Anime USA 2026
Oct 9-11 · Washington, DC
A mid-size anime convention in the DC metro area, offering panels, cosplay, and Japanese cultural programming.
Tsubasacon 2026
Oct 9-11 · Charleston, WV
Sekaicon 2026
Oct 9-11 · Newark, OH
Start this build free
Clone this template into your workspace. Track materials, milestones, budget, and build progress in one place.
Related templates
Qifrey Cosplay
5 weeks · 12 milestones
Qifrey's elegant white-robed silhouette is built around three signature elements: the tall pointed hat with the bent tip and black ribbon, the flowing white cape with the brass brooch closure, and the asymmetrical pince-nez glasses with one dark lens hiding his scarred eye. This is an intermediate build that needs more structural crafting than sewing. The hat and glasses demand the most attention, while the cape is a manageable garment project. The glasses and the hat are the make-or-break details, and this template walks you through both. Includes 7 components, 15 materials with cost estimates, a 12-step build plan, and a realistic 5-week, $95 to $280 budget.
Coco Cosplay
6 weeks · 12 milestones
Witch Hat Atelier's apprentice witch in her full outfit: the tall pointed hat with ornamental band, a dark cloak with decorative hem trim, a layered tunic-dress, boots, and her drawing implements. The hat is the signature piece and the hardest to get right. 7 components, 13 materials, ~6 weeks at $120-280.
Sung Jinwoo Cosplay
7 weeks · 15 milestones
Solo Leveling's Shadow Monarch in his iconic default hunter outfit: a long black coat with purple inner lining, structured shoulder armor, fitted pants, and dual daggers. This is an intermediate hybrid build that combines garment sewing with foam armor crafting for the shoulder details, plus prop work for the daggers. The coat and its glowing purple lining are the make-or-break detail. Includes 7 components, 19 materials with cost estimates, a 15-step build plan, and a realistic 5-7 week, $120 to $320 budget.
Gojo Satoru Cosplay
5 weeks · 11 milestones
Jujutsu Kaisen's strongest sorcerer, built around three signature details: the black high-collar uniform jacket, the blindfold, and the white spiked hair. This is an intermediate build that leans on one well-made garment plus wig styling, so it reads instantly on the con floor without months of work. The collar and the wig are the make-or-break details, and this template walks you through both. Includes 6 components, 11 materials with cost estimates, an 11-step build plan, and a realistic 5-week, $90 to $240 budget.
Deadpool Suit Cosplay
5 weeks · 12 milestones
The Merc with a Mouth in full red and black: a head-to-toe spandex bodysuit with diamond-textured fabric, a face shell mask with white magnetic lenses, dual katanas on a concealed back harness, and a utility belt with pouches and holsters. An intermediate build that rewards patience with fit and details. Covers 7 components, 12 materials with cost estimates, a 12-step build plan across 5 phases, and a 5-week timeline at $120 to $350.
Yuta Okkotsu Cosplay
6 weeks · 12 milestones
Jujutsu Kaisen 0's tragic sorcerer bound to Rika's curse: the black school uniform, textured black wig, cursed arm markings, and luminous katana. A balanced build across uniform tailoring, prop construction, and wig styling. 4 components, 11 materials, ~6 weeks, $120-280.
Captain America Cosplay
6 weeks · 12 milestones
The star-spangled Avenger in his Endgame suit: scaled chest armor over a tactical blue base, a white star emblem, red gauntlets and boot details, a foam cowl helmet with ear wings, and the iconic round shield. This is an intermediate build with repetitive detail work on the scales and some prop-making for the shield. Covers 7 components, 12 materials with cost estimates, a 12-step plan across 5 phases, and a realistic 6-week, $150 to $400 budget.
Arlecchino Cosplay
7 weeks · 17 milestones
Arlecchino (The Knave) is Genshin Impact's most cosplay-demanding Fatui Harbinger: a layered suit jacket, structured long coat with back chains, multi-color ombre wig, character-specific X-pupil contacts, and a full accessories set that runs 12+ pieces. This is an advanced build for cosplayers who can sew structured garments, handle prop accessories, and plan a full character makeup look. The make-or-break details are the coat's lapel structure and the wig's silver-black-red color work. Includes 8 components, 14 materials with cost estimates, a 12-step build plan, and a realistic 7-week, $180 to $420 budget.