Qifrey Cosplay
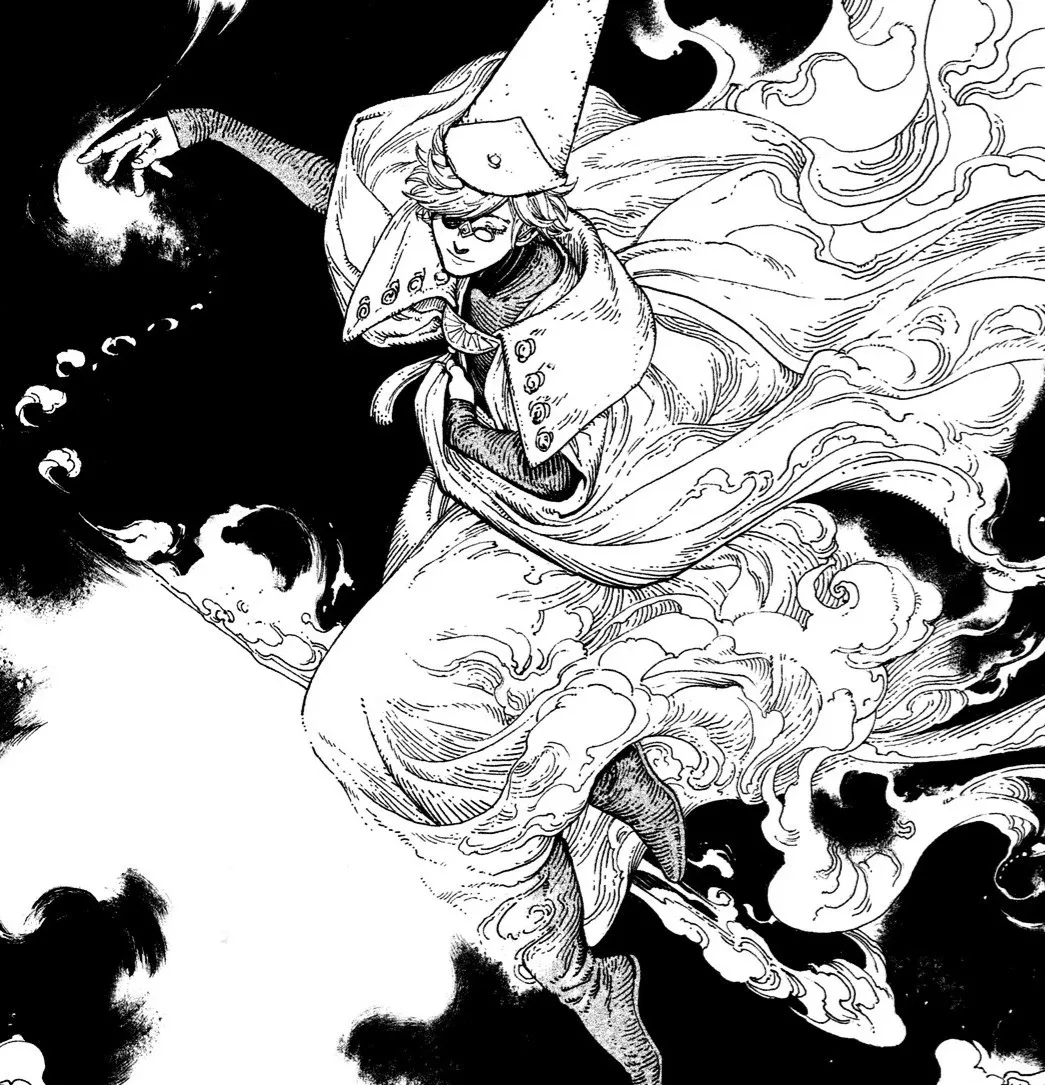
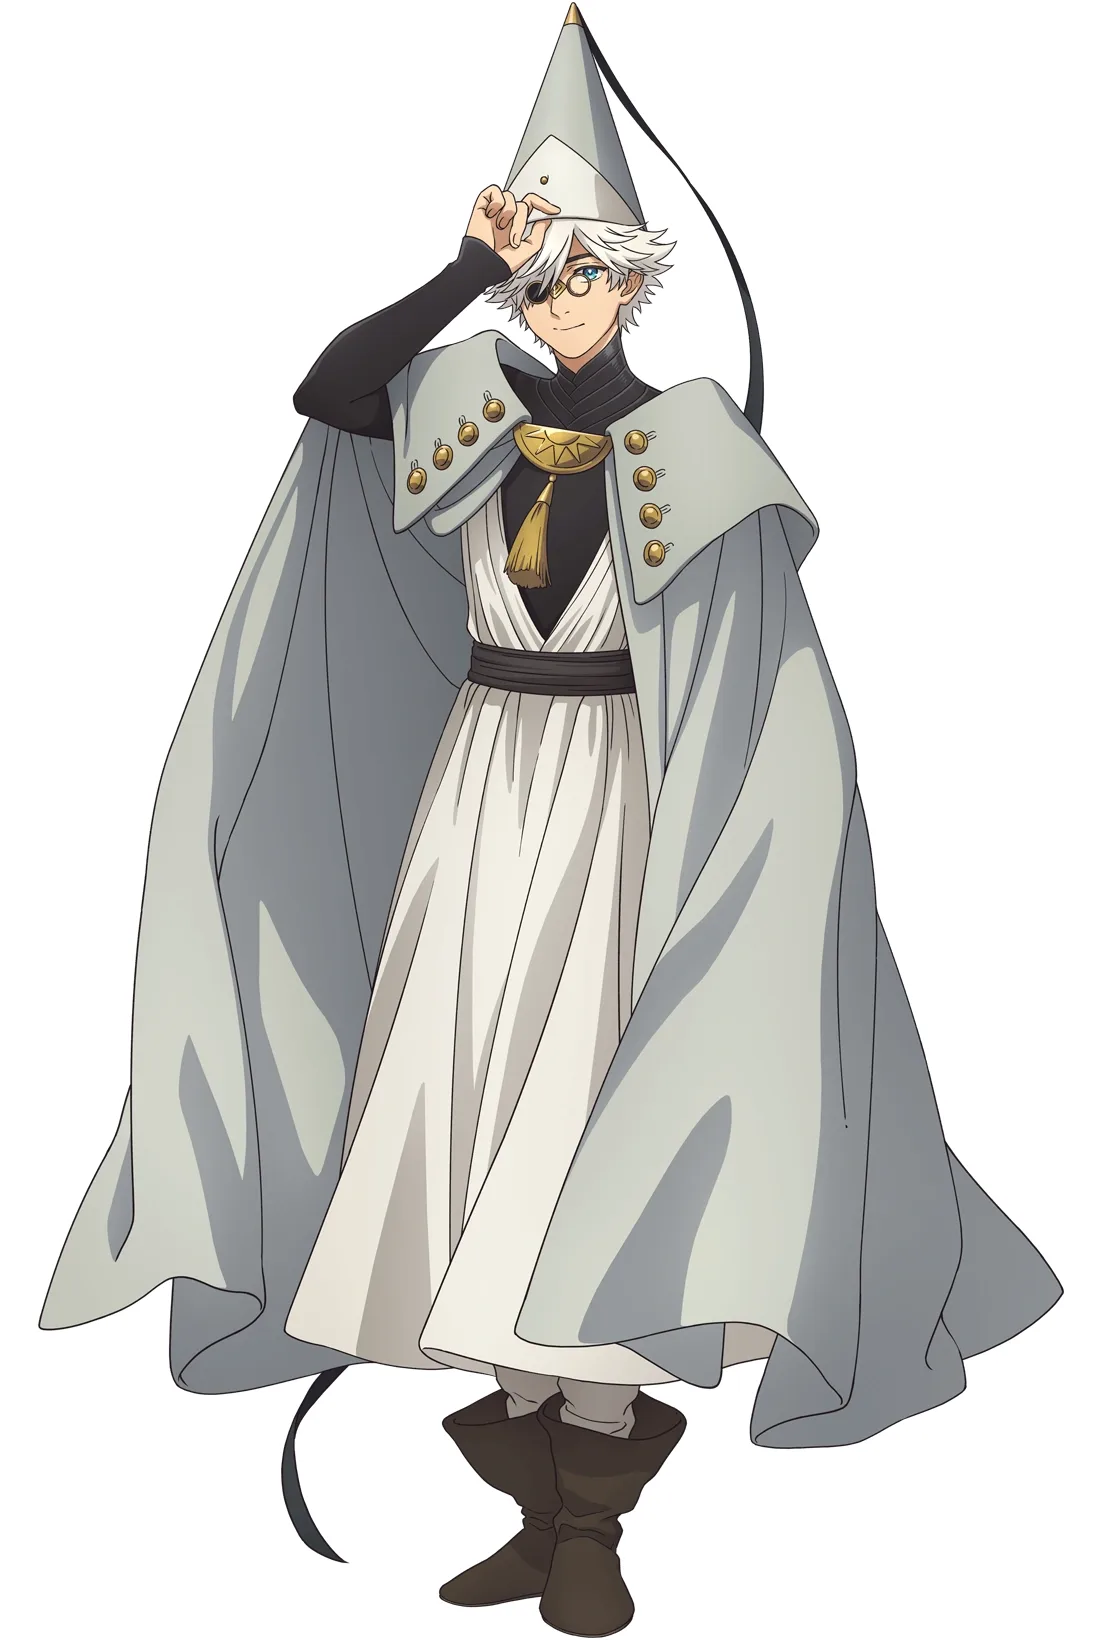
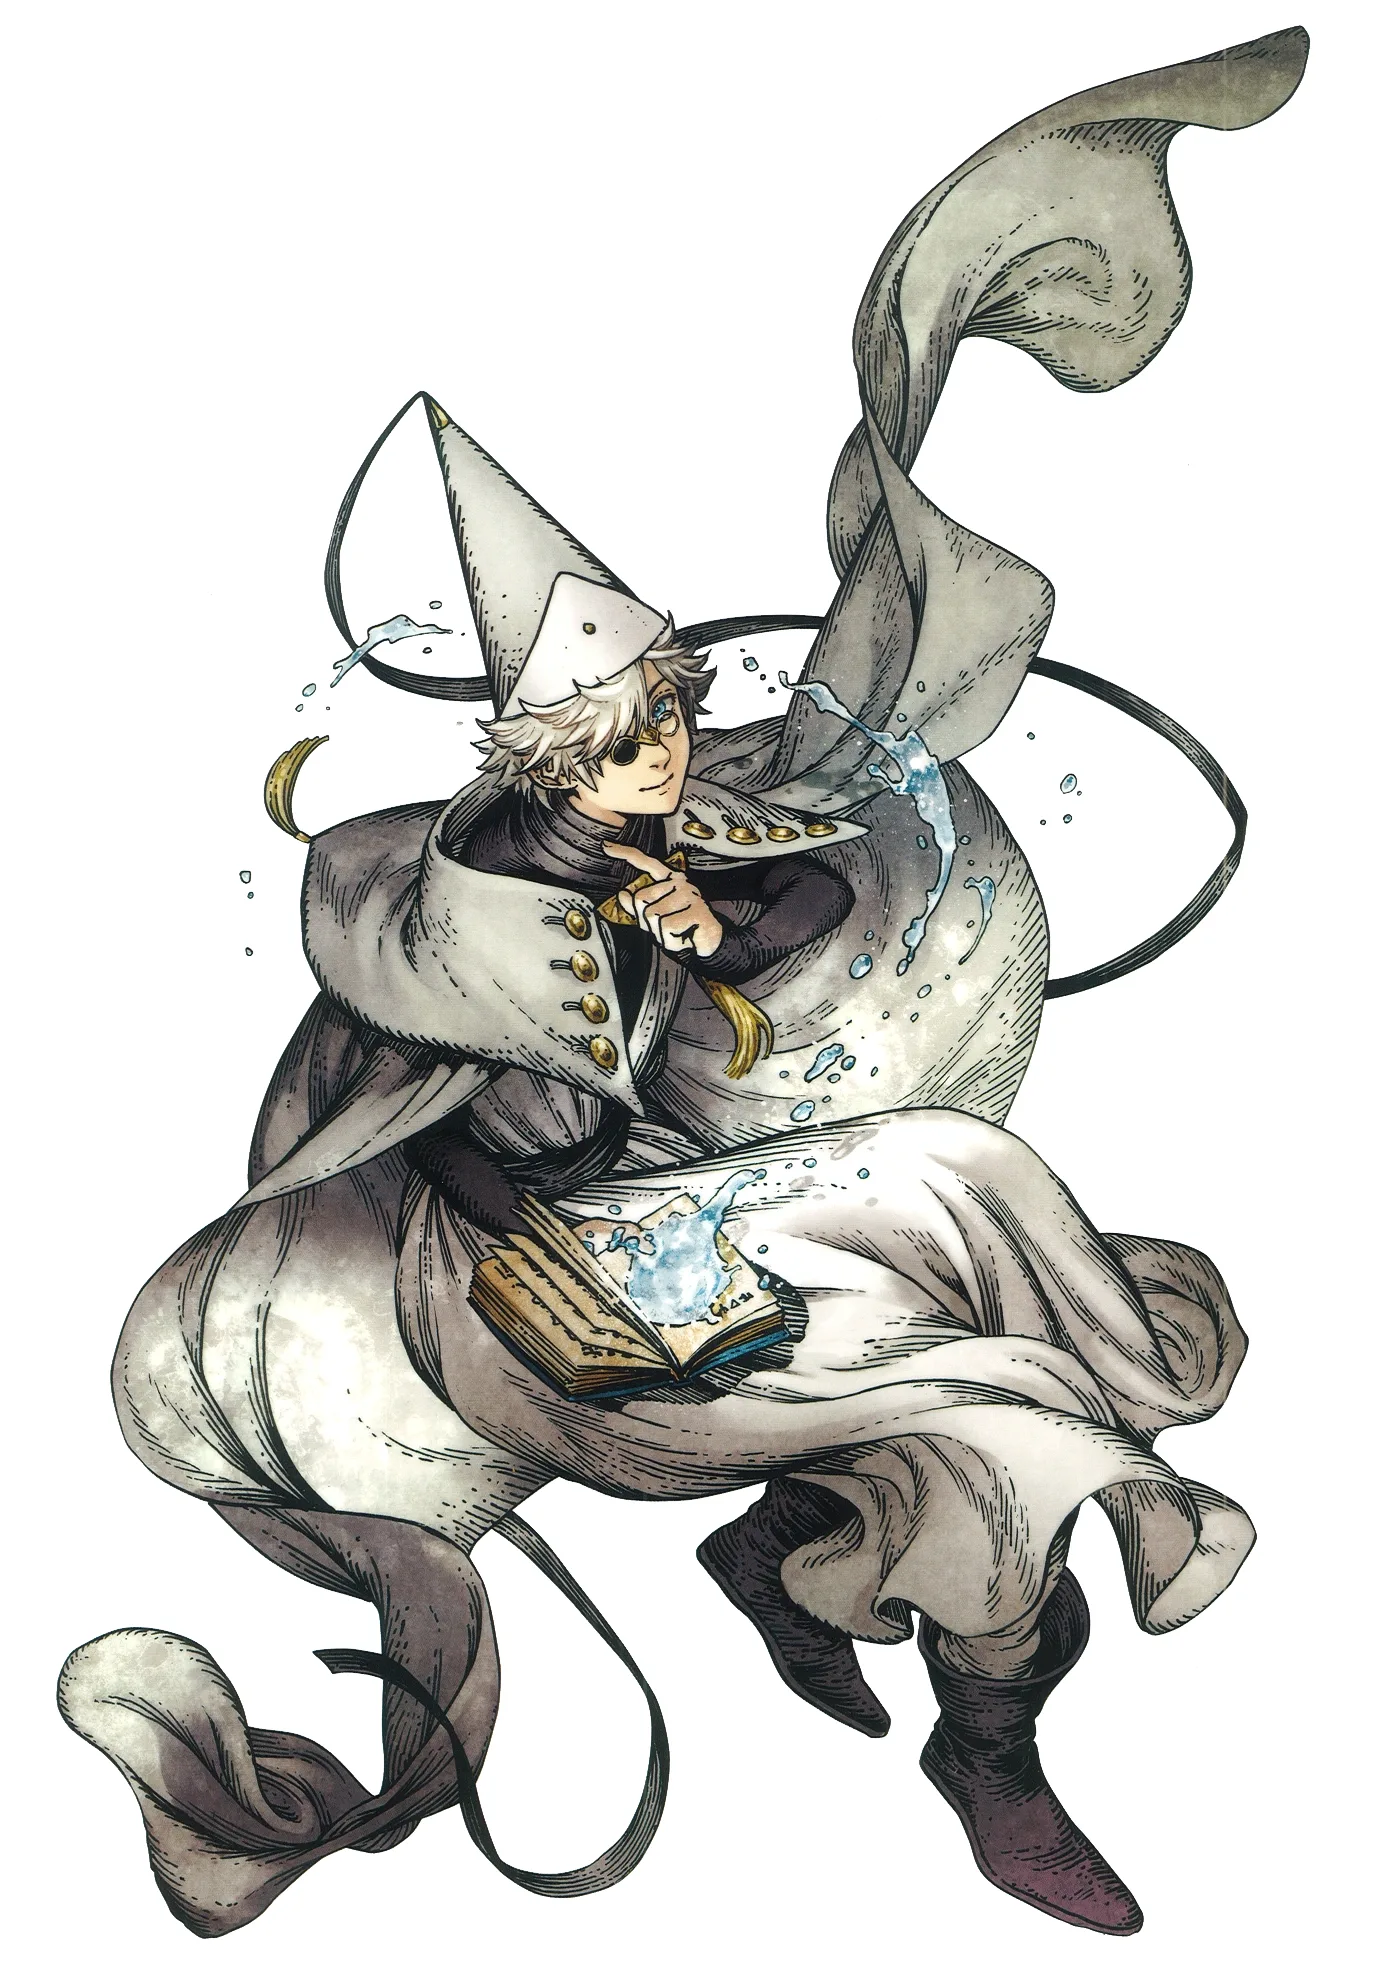
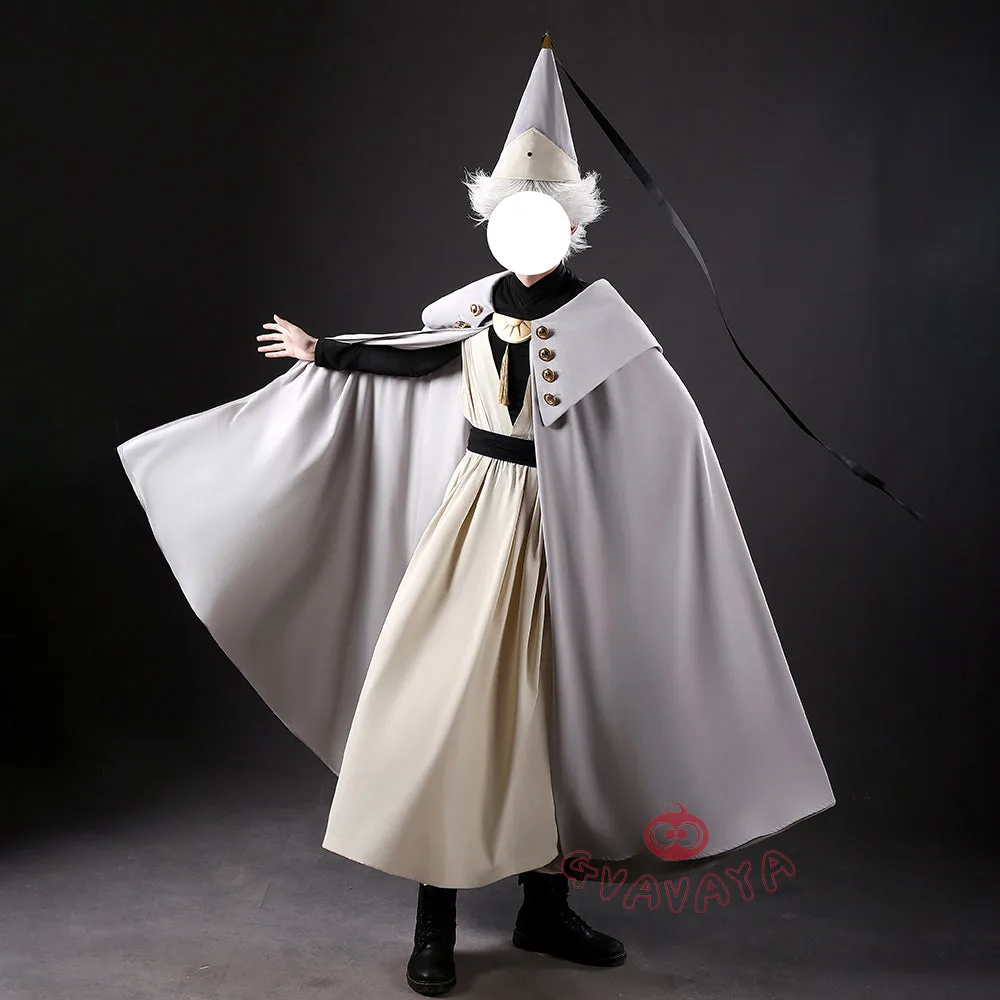
Qifrey's elegant white-robed silhouette is built around three signature elements: the tall pointed hat with the bent tip and black ribbon, the flowing white cape with the brass brooch closure, and the asymmetrical pince-nez glasses with one dark lens hiding his scarred eye. This is an intermediate build that needs more structural crafting than sewing. The hat and glasses demand the most attention, while the cape is a manageable garment project. The glasses and the hat are the make-or-break details, and this template walks you through both. Includes 7 components, 15 materials with cost estimates, a 12-step build plan, and a realistic 5-week, $95 to $280 budget.
5 weeks
12
15
7
See the whole look before you start.
References, materials, budget, and build order for Qifrey.
Timeline
5 weeks
Color refs

Materials
15 items
Budget
$95 - $280
save the visual refs
Full reference board
The preview above is curated for scanning. This is the working board you clone into your own build, with notes, colors, product images, and extra references intact.
Images are sourced from around the internet to help you get started. Use the web clipper to build your own reference library.
Build guide
Qifrey looks like a simple white witch cosplay until you start building. Then you realize the hat needs to stand tall with a bent tip that will not collapse, the pince-nez glasses have to be asymmetrical with one dark lens, and the white cape has to drape like fabric, not costume polyester.
Start with the hat and the glasses. Those two pieces are what make people recognize you as Qifrey instead of a generic witch.
This is an intermediate build. If you have worked with EVA foam for props or sewn an unlined garment with French seams, nothing here is out of reach. If you are a first-timer, buy the cape and hat base, then focus your energy on the glasses and wig. Either way, do not waste money on a pre-made set from a mass costume site. That $80 polyester robe will go translucent under convention lights and the plastic brooch will snap before lunch.
Buy the wig first and confirm the white reads silver-cool, not warm yellow. For the hat, skip buckram and use EVA foam with an aluminum wire sewn along the cone seam. It is lighter on your head all day, and the wire lets you shape the bent tip exactly how you want. Heat-shape the cone with a heat gun, wrap it in white fabric, add the black grosgrain ribbon at the base, and finish with a decorative button on the cap. That ribbon wrap is the detail that separates Qifrey's hat from a Halloween witch hat.
For the cape, use a heavy suiting or cotton-linen blend in cool white. Three quarter-circle panels assembled with French seams give it the right drape and volume. Reinforce the yoke with fusible interfacing before attaching the panels, or the shoulder seams will pull by mid-afternoon. The brass brooch at the neck is the closure and the focal point. Find a vintage brass piece on Etsy or at an antique store. The brass buttons on the collar need to match the brooch.
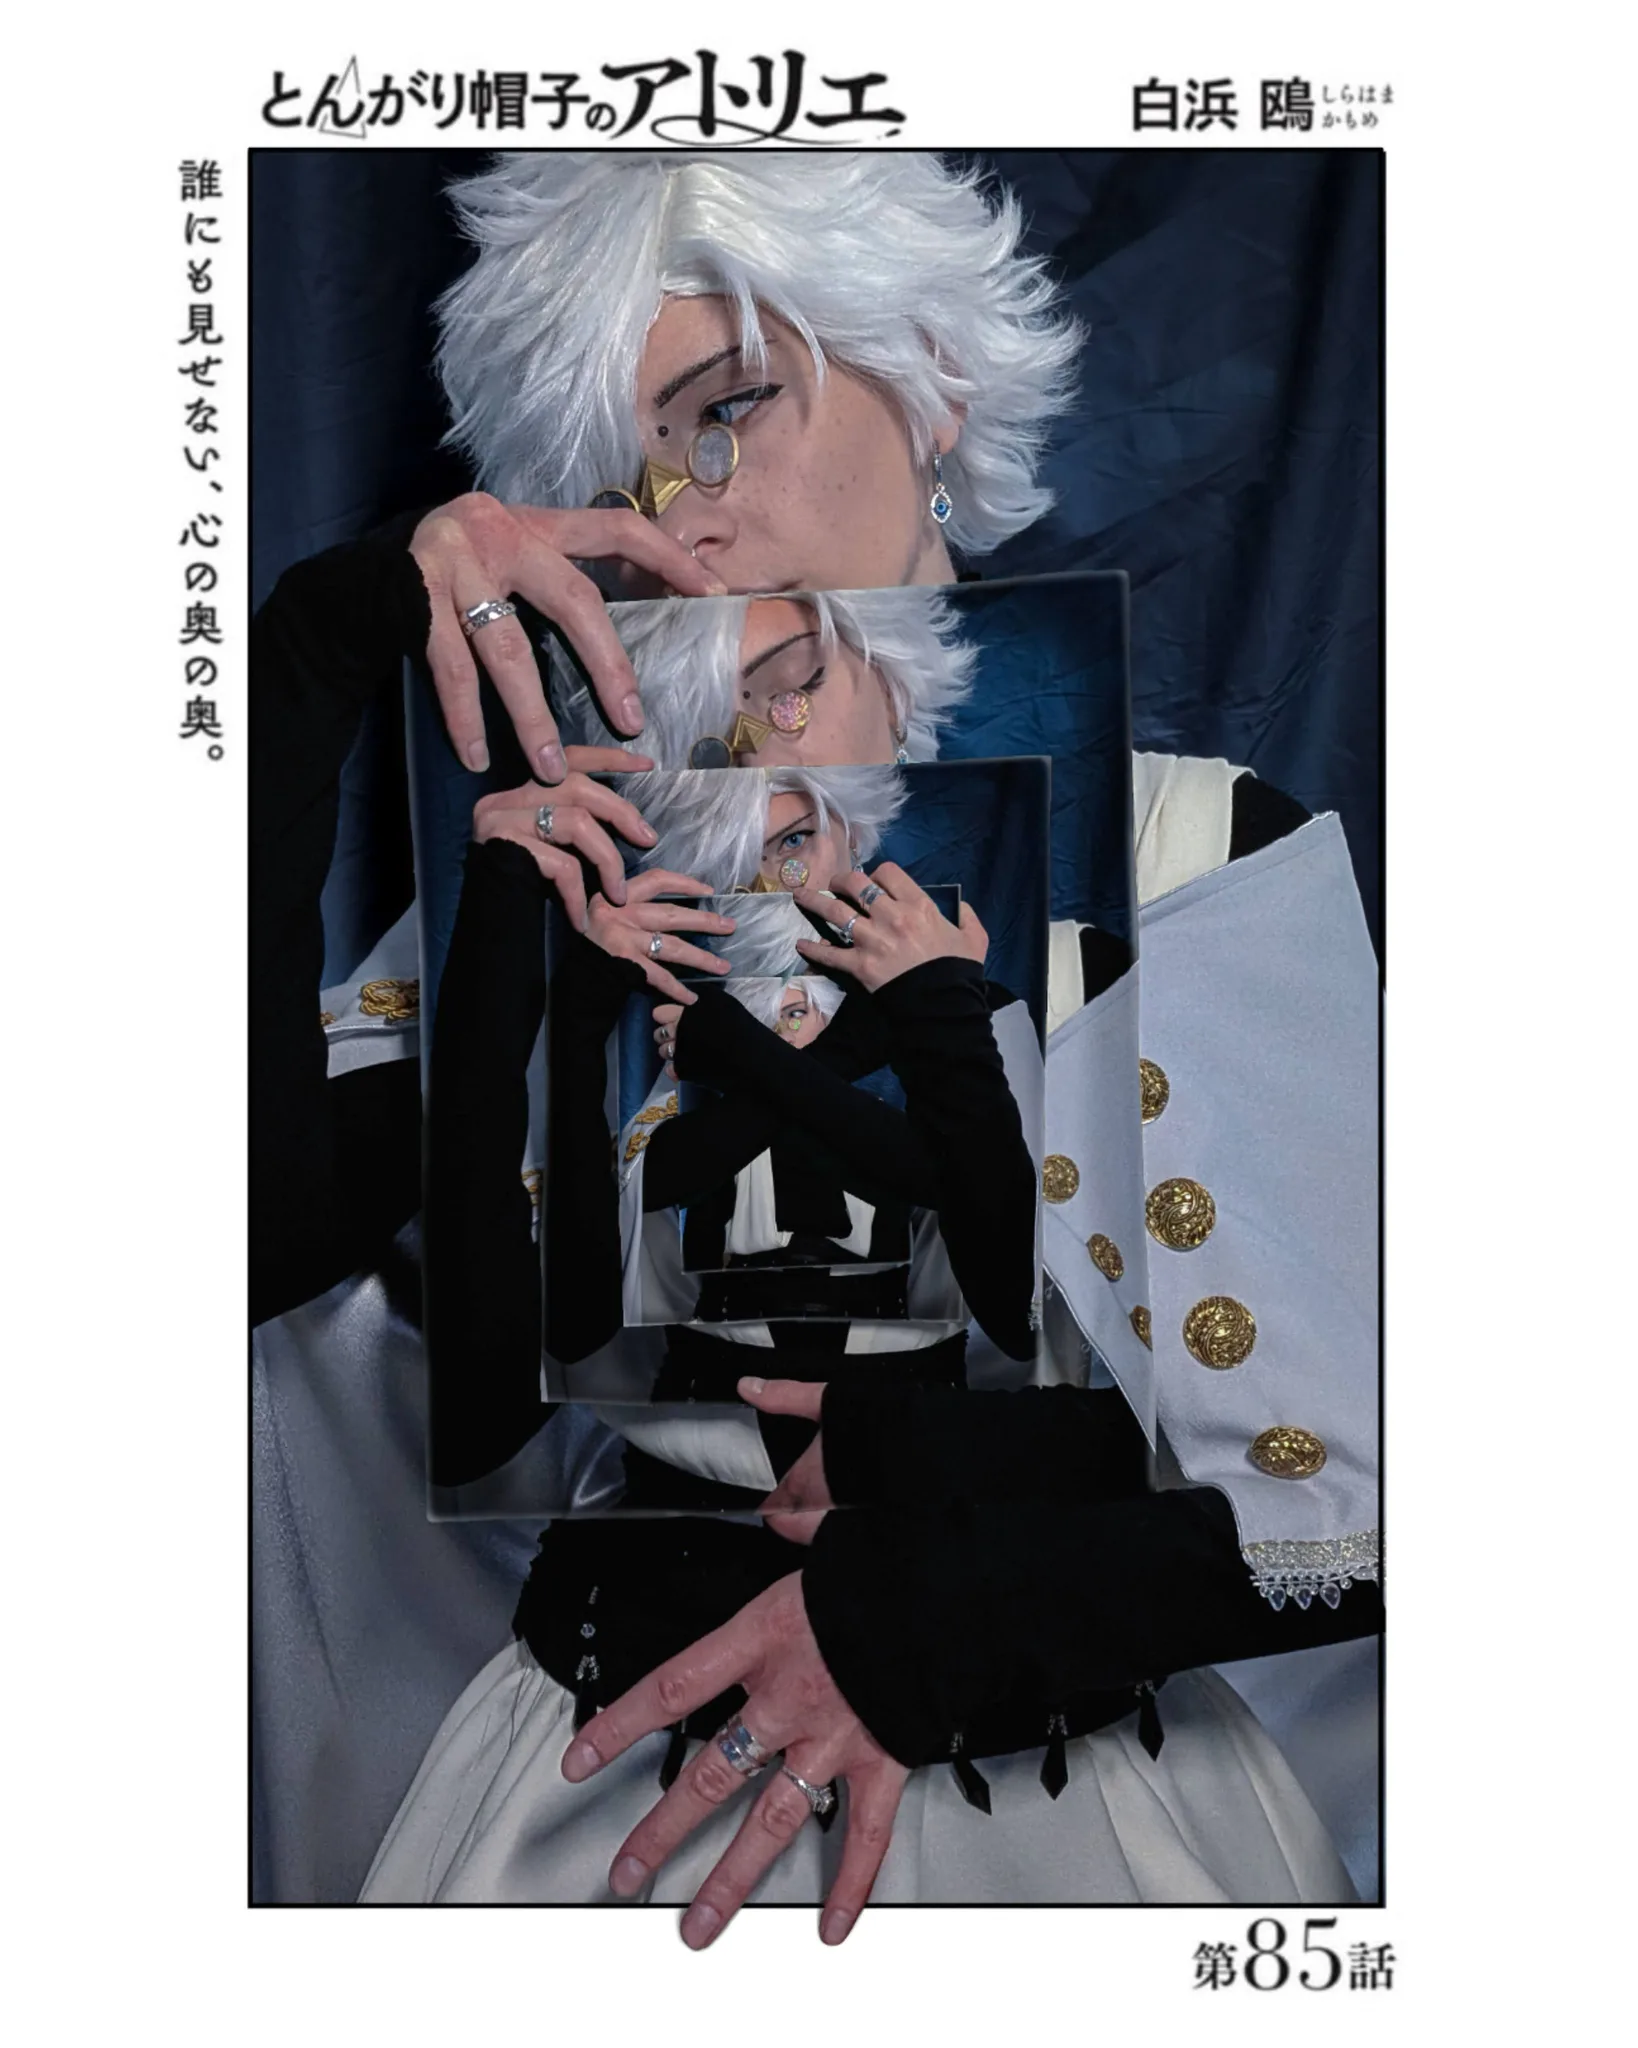
The glasses are the one detail everyone gets wrong. Qifrey's pince-nez has a clear left lens and an opaque dark right lens to hide his scarred eye. If both lenses are clear, you just look like someone in costume glasses. If both are dark, you lose the character accuracy. Get the 3D-printable frame from the Cults3D accessory pack by Eufiemoon, paint it brass, fit a clear acetate sheet on the left and a dark opaque on the right, and attach with spirit gum at the nose bridge with a chain safety catch.
Budget runs about $95 to $280 depending on whether you find a thrifted brooch and boots or go all-in on custom pieces. Give yourself five weeks if you are building from scratch. The wig and the hat base are the two things to start with, because both take the most drying and curing time.
Components
Tall pointed witch hat with bent tip
Flowing white cape/robe
Black turtleneck underlayer
Asymmetrical pince-nez glasses
Short white styled wig
Black boots
Optional: Water magic circle prop
Materials list
15 itemsEstimated total cost
$95 - $280
Milestone timeline
5 weeks- 1
Gather references and study Qifrey's design details
Research
- 2
Buy and test the wig, confirm color and heat resistance
Materials
- 3
Source or 3D print the pince-nez glasses frame
Materials
- 4
Build the hat base: pattern, buckram or foam, wire brim
Construction
- 5
Draft the cape pattern: three quarter-circle back panels
Patterning
- 6
Cut and sew the cape body with French seams
Construction
- 7
Reinforce the yoke and attach the brass brooch closure
Construction
- 8
Cover the hat with fabric and assemble the lining
Construction
- 9
Style the wig: point-cut layers for the messy look
Finishing
- 10
Cut and fit lenses, paint the frame and assemble glasses
Details
- 11
Add hat details: ribbon wrap, button cap, bent tip shaping
Finishing
- 12
Full suit-up and walking practice with hat clearance
Wear test
Frequently
asked questions.
Related tools and guides
Plan your build, estimate costs, and get ready.
Budget Calculator
Estimate your build cost before you start buying materials.
Convention Checklist
88-item packing checklist. Check off items as you pack.
Prop Scaling Calculator
Scale reference images to your body measurements.
How Much Does EVA Foam Armor Cost?
Real build budgets with specific products and dollar amounts.
Cosplay on Costumary
Templates, tools, and workspace built for cosplay makers.
Browse all templates
Explore build plans across 10 craft verticals.
Debut your cosplay build
Upcoming conventions where you could wear this. Dates, checklists, and budget tools included.
Start this build free
Clone this template into your workspace. Track materials, milestones, budget, and build progress in one place.
More from this series
Gojo Satoru Cosplay
5 weeks · 11 milestones
Jujutsu Kaisen's strongest sorcerer, built around three signature details: the black high-collar uniform jacket, the blindfold, and the white spiked hair. This is an intermediate build that leans on one well-made garment plus wig styling, so it reads instantly on the con floor without months of work. The collar and the wig are the make-or-break details, and this template walks you through both. Includes 6 components, 11 materials with cost estimates, an 11-step build plan, and a realistic 5-week, $90 to $240 budget.
Coco Cosplay
6 weeks · 12 milestones
Witch Hat Atelier's apprentice witch in her full outfit: the tall pointed hat with ornamental band, a dark cloak with decorative hem trim, a layered tunic-dress, boots, and her drawing implements. The hat is the signature piece and the hardest to get right. 7 components, 13 materials, ~6 weeks at $120-280.
Wonder Woman Cosplay
8 weeks · 12 milestones
The DCEU Gal Gadot warrior: a sculpted Worbla breastplate over a red corset base, layered leather tasset skirt, gold bracers, knee-high armored greaves, a forehead tiara, and the Lasso of Truth. This is an intermediate-advanced build combining thermoplastic armor shaping with leather work and metallic finishing. Covers 7 components, 12 materials with cost estimates, a 12-step plan across 5 phases, and a realistic 8-week, $180 to $450 budget.
Hatsune Miku Cosplay
5 weeks · 14 milestones
Vocaloid's iconic digital diva, built around four instantly recognizable details: the floor-length teal twin-tail wig, the grey school-uniform top and pleated skirt, the detached black sleeves, and the headset with mic. This is an intermediate build where the wig is the star component, and every garment has a signature teal trim. Includes 7 components, 16 materials with cost estimates, a 14-step build plan, and a realistic 5-week, $100 to $300 budget.