
Army Project
Plan and execute a full army build without losing your paint recipes, forgetting what's primed, or burning out halfway through. This template breaks a massive backlog into playable milestones with scheme tests, batch sequencing, centerpiece scheduling, and storage planning.
12 weeks
11
8
4
See the whole look before you start.
References, materials, budget, and build order for Army Project.
Timeline
12 weeks
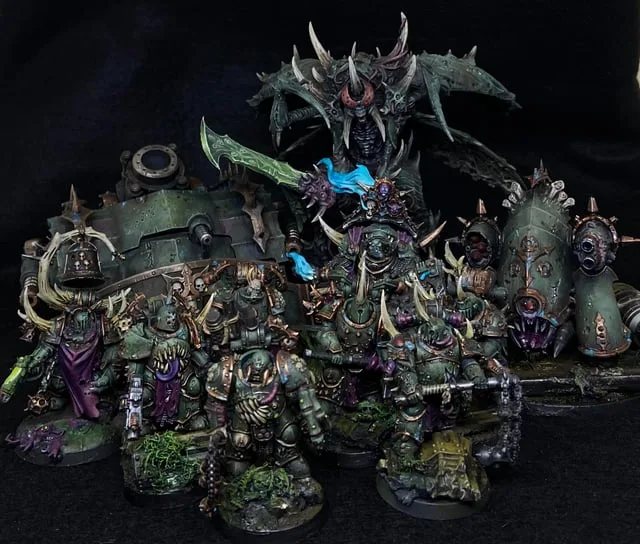
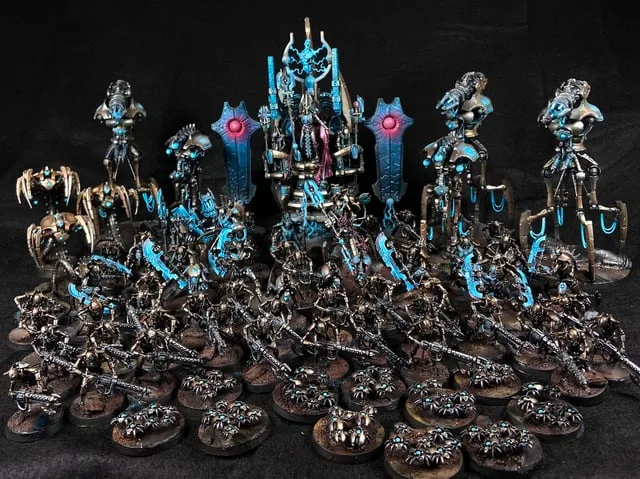
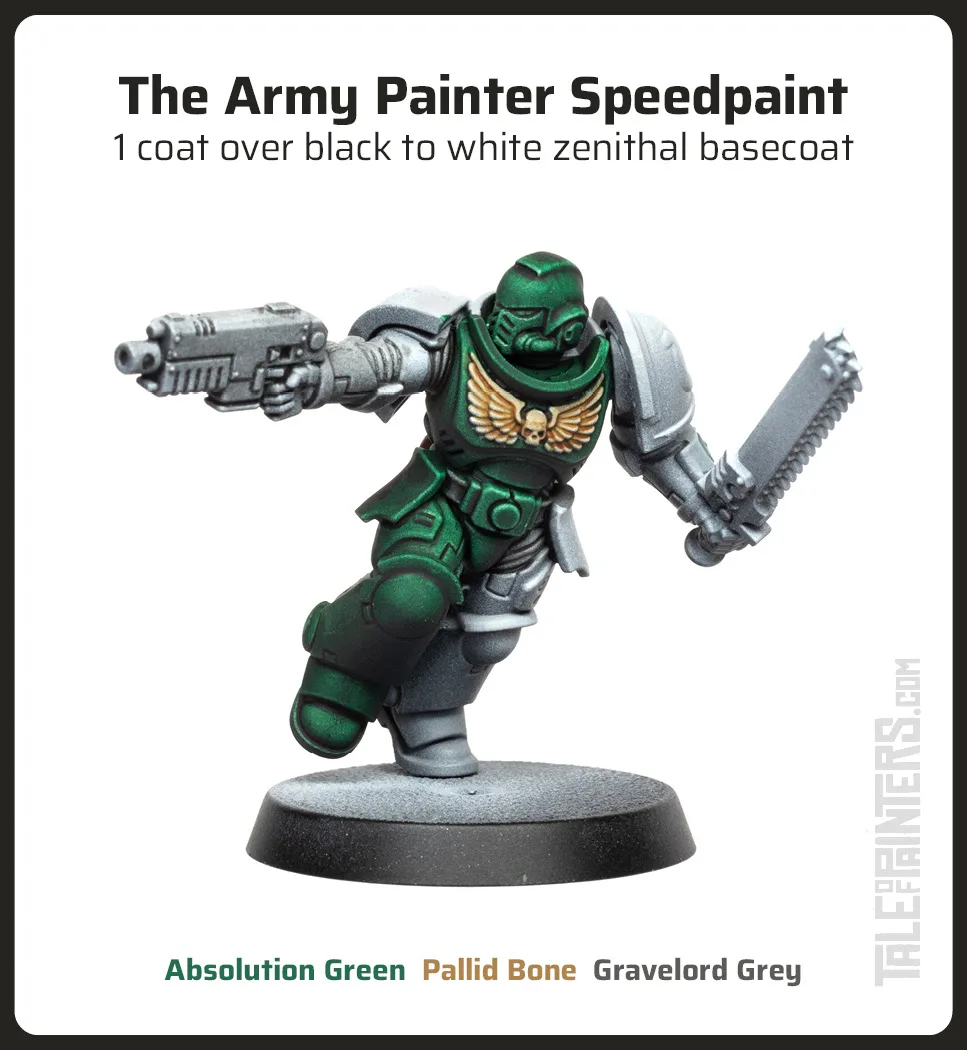
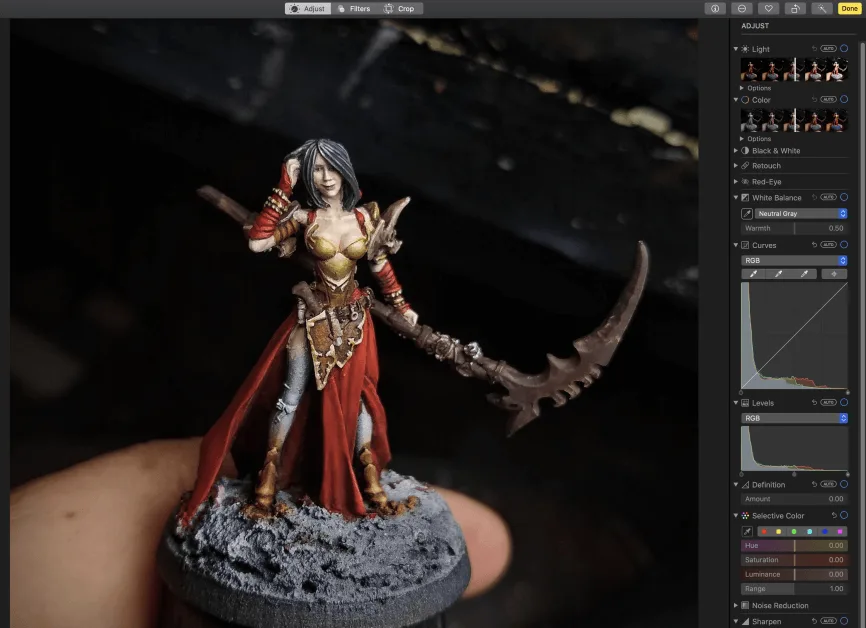
Color refs
Materials
8 items
Budget
$200 - $800
save the visual refs
Full reference board
The preview above is curated for scanning. This is the working board you clone into your own build, with notes, colors, product images, and extra references intact.
Images are sourced from around the internet to help you get started. Use the web clipper to build your own reference library.
Reference images are gathered from around the web and belong to their original creators. We link back to where we found each one. If something here is yours and you want it taken down, email us and it is gone.
Build guide
A pile of grey plastic is not an army. It's a source of guilt that stares at you from the shelf. The difference between a finished army and a pile of boxes is project management, and that's exactly what this template gives you.
You'll plan an entire army (1,000-2,000+ points) from inventory through fully painted and based, broken into playable milestones so you can actually use the models while you're still painting the rest. No more "I'll play when it's all done." You play as you go.
Inventory and Goal Setting
Lay out every kit you own for this army. Every box, every sprue, every loose model in a bag. Count them. Write them down. This is the honest reckoning. I've started army projects thinking I had "about 40 models" and counted 73. You need to know the real number.
Set your army goal: a specific point value and list. 2,000 points of Aeldari for matched play. 1,500 points of Stormcast for local league. A concrete target prevents scope creep, which is the number one army project killer.
The Test Model
Never batch paint 50 models in a scheme you haven't tested. Paint one trooper to completion (base, shade, highlight, based, varnished) and live with it for a day. Look at it under different lighting. Show it to someone. This is the model that locks your recipe.
Write down every single paint and step. "Armor: Vallejo Model Color German Grey base, Nuln Oil recess shade, Vallejo Neutral Grey edge highlight." Record thinning ratios and brush sizes if you can. Changing your recipe on model 30 means repainting models 1-29 or accepting a mismatched army.
Batch Sequencing
Break your army into batches of 5-10 models. Each batch should be a playable addition: a Troops choice, a squad of elites, a character. This way you hit the table with a legal list as early as batch two or three.
Sequence your batches from most to least essential. Core troops first (you need them to play), then support units, then characters, then the centerpiece. Save the big exciting model for later because it's the carrot that pulls you through the infantry grind.
The Infantry Grind
Batch painting 30-50 infantry is where army projects live or die. Set a sustainable pace and stick to it. Three models a night beats 20 in one weekend followed by a month of burnout.
Use every speed technique: zenithal priming, contrast paints, drybrushing, slapchop. Rank-and-file troops are viewed from 3 feet away. Tabletop standard is the goal. Assembly-line each color across the batch. A 10-model batch with 5 colors takes about 2 evenings of painting.
Characters and Centerpieces
Once troops are done, switch gears. Characters and centerpieces get 4-8 hours compared to 1-2 per trooper. This is where you break out the wet blending, tight edge highlighting, painted eyes, and freehand symbols. These models are your army's personality.
Basing and Varnish
Base the entire army in one marathon session. Same technique, same materials, same colors on every single base. Matching bases unify your army visually, even if your painting improved between batch one and batch five (and it will).
Varnish in batches with matte spray. Do this outdoors or in a well-ventilated area, in low humidity. High humidity causes frosting on matte varnish, which looks like you dipped your models in milk. If that happens, a coat of gloss varnish fixes it, then hit it with matte again.
Storage
Don't paint an army and then toss it in a shoebox. Magnetize bases (small neodymium magnets from Amazon, about $8 for 100) and use a metal-lined case or a cheap toolbox from Harbor Freight with a steel insert. KR Multicase and Feldherr make foam trays sized for specific model ranges if you prefer pluck foam.
Common Mistakes
- No test model. Changing your scheme mid-army means repainting everything or accepting visible inconsistency. One test model saves you dozens of hours.
- Starting with the centerpiece. It's the most exciting model, but painting it first means your best paintjob is done before your skills have sharpened on 30 troops. Save it for last.
- No playable milestones. If you can't field the army until it's all done, you'll burn out. Structure batches so you can play after every 2-3 batches.
- Going too fast. Painting 6 hours every night for a week, then not touching your models for a month. Steady pacing beats sprint-and-crash every time.
- Not labeling paint recipes. "I think it was some kind of brown" when you're on batch four is a disaster. Write everything down.
An army is a long-haul project. The goal isn't to paint it all at once. The goal is to never stop making progress.
Components
Infantry
Characters
Vehicles or monsters
Display/storage
Materials list
8 itemsEstimated total cost
$200 - $800
Milestone timeline
12 weeks- 1
Inventory kits and define army goal
planning
- 2
Paint a scheme test model
testing
- 3
Lock recipes and basing standard
planning
- 4
Build first playable batch
prep
- 5
Prime and basecoat first batch
basecoat
- 6
Finish first playable batch
Finishing
- 7
Build and paint support units
batch
- 8
Paint characters or command models
characters
- 9
Paint centerpiece or vehicle
centerpiece
- 10
Complete basing across the army
basing
- 11
Varnish, label storage, and photograph
Finishing
Frequently
asked questions.
Related tools and guides
Plan your build, estimate costs, and get ready.
Budget Calculator
Estimate your build cost before you start buying materials.
Convention Checklist
88-item packing checklist. Check off items as you pack.
Prop Scaling Calculator
Scale reference images to your body measurements.
How Much Does Miniature Painting Cost?
Real build budgets with specific products and dollar amounts.
Miniature Painting Commission Pricing
Real build budgets with specific products and dollar amounts.
Miniature Painting on Costumary
Templates, tools, and workspace built for miniature painting makers.
Browse all templates
Explore build plans across 10 craft verticals.
Debut your miniature painting build
Upcoming conventions where you could wear this. Dates, checklists, and budget tools included.
AdeptiCon 2027
Apr 7-11 · Milwaukee, WI
Five days of Warhammer, Infinity and historicals tournaments, with hobby seminars for people who'd rather paint than play. The 2027 event moves to the Baird Center in Milwaukee, so book travel around the new city and not Schaumburg.
NOVA Open 2027
Sep 1-5 · Arlington, VA
A five-day competitive miniature wargaming event near DC, built around tournaments and hobby seminars. If you paint more than you play, the seminar track is the reason to come.
Start this build free
Clone this template into your workspace. Track materials, milestones, budget, and build progress in one place.
Related templates
Unit / Squad
4 weeks · 10 milestones
Paint a cohesive squad or warband using a batch painting workflow that keeps your color scheme consistent across every model. This template covers scheme planning, batch priming, assembly-line basecoating, shared washes, individual details, decals, and unified basing.
Commission Batch
6 weeks · 9 milestones
Manage a client painting commission from intake to shipping with clear approval checkpoints, documented paint recipes, batch progress tracking, and professional packing. This template keeps client expectations aligned at every stage so there are no surprises at handoff.
Kitbash / Conversion
5 weeks · 8 milestones
Build a unique miniature by combining parts from multiple kits, sculpting custom details with greenstuff or Milliput, and painting the result into a cohesive model. This template covers concept sketches, donor kit sourcing, pinning, gap filling, sculpting, and painting a conversion that looks intentional rather than cobbled together.
Terrain / Basing
3 weeks · 7 milestones
Build and paint terrain pieces, scatter, or a full set of matching bases for your army. This template covers theme selection, foam and cork construction, texture application, priming, drybrushing, foliage, and durable sealing so your table or bases survive regular game nights.
Display Piece
6 weeks · 9 milestones
Push a single miniature to its absolute best for a shelf, competition, or portfolio piece. This template covers mood references, subassembly planning, display base construction, value sketching, advanced blending, face and eye detail, and final photography for a model that's meant to be studied up close.
Single Miniature
2 weeks · 8 milestones
Take one model from sprue to shelf with a clear, repeatable workflow. This template walks you through mold line cleanup, priming, basecoats, washes, highlights, basing, and varnish so nothing gets skipped and every paint recipe is saved for next time.