
Terrain / Basing
Build and paint terrain pieces, scatter, or a full set of matching bases for your army. This template covers theme selection, foam and cork construction, texture application, priming, drybrushing, foliage, and durable sealing so your table or bases survive regular game nights.
3 weeks
7
7
2
See the whole look before you start.
References, materials, budget, and build order for Terrain / Basing.
Timeline
3 weeks
Color refs
Materials
7 items
Budget
$20 - $100
save the visual refs
Full reference board
The preview above is curated for scanning. This is the working board you clone into your own build, with notes, colors, product images, and extra references intact.
Images are sourced from around the internet to help you get started. Use the web clipper to build your own reference library.
Reference images are gathered from around the web and belong to their original creators. We link back to where we found each one. If something here is yours and you want it taken down, email us and it is gone.
Build guide
Terrain transforms a game. Two armies on a bare table is just pushing models around. Two armies fighting through ruined buildings and rocky outcrops is a story. And terrain is the most forgiving thing in the hobby to paint.
You'll build and finish terrain pieces or matching bases using drybrush-heavy techniques that look great and forgive mistakes.
Theme and Construction
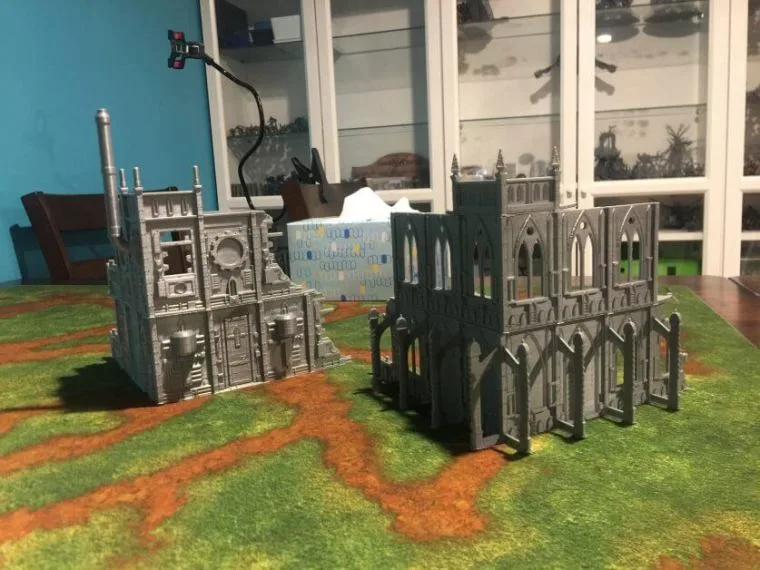
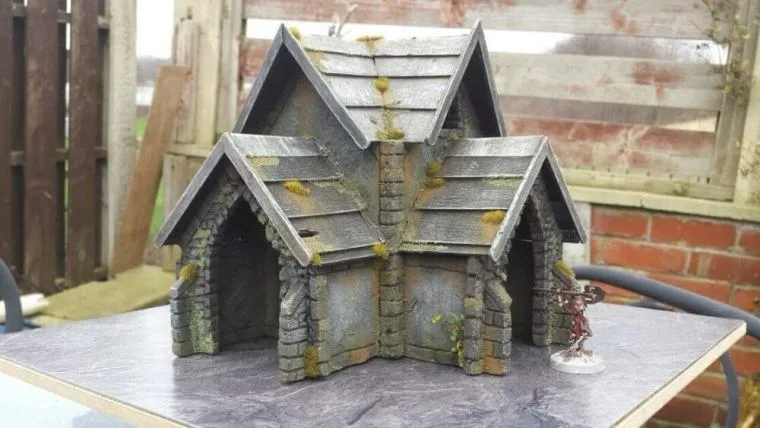
Pick one theme and commit. Desert wasteland, gothic ruins, alien jungle, dungeon flagstone. Mixing themes on the same table looks like a yard sale.
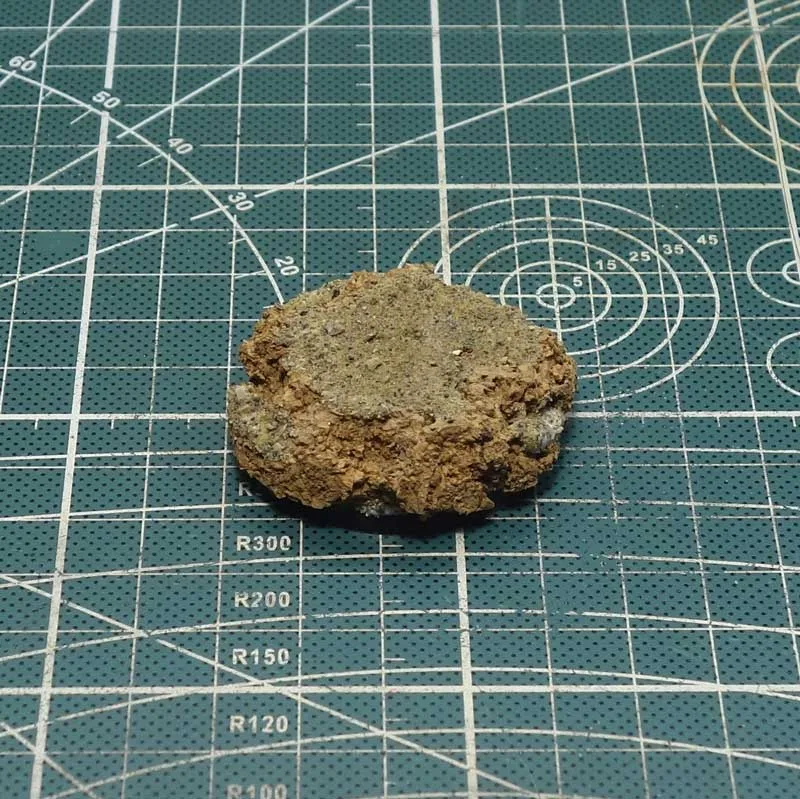
XPS foam (insulation board from the hardware store, about $10 for a large sheet) is the workhorse material. Cut with a hobby knife, carve brick patterns with a ballpoint pen. Cork sheet ($5) breaks into great rocky outcrops. A hill is stacked foam circles with beveled edges. Ruins are foam walls on MDF bases. Don't overthink it. Functional terrain doesn't need to be architecturally accurate.
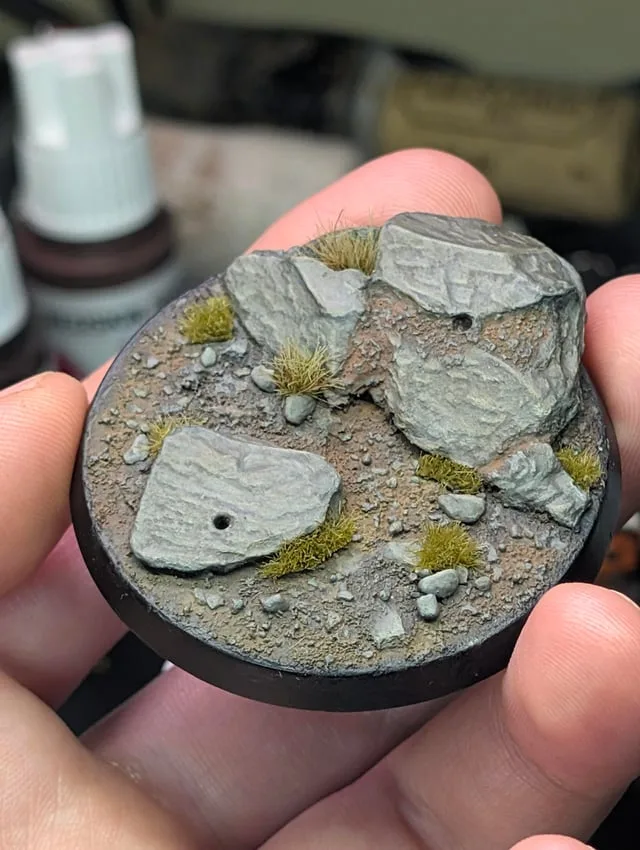
For army bases, MDF rounds in bulk from eBay or Litko give a consistent platform. Texture paste (Vallejo Dark Earth, Citadel Astrogranite, or spackle mixed with sand) spread with a palette knife gives instant ground texture. Basing 50 army bases at once? PVA, dip in sand, tap off excess, dry overnight.
Priming and Drybrushing
Prime with cheap rattle cans. Terrain eats primer, so use $4 Rust-Oleum flat black instead of $15 Citadel spray. Two cans prime a full table. For XPS foam, seal with watered-down PVA first to prevent solvent-based sprays from melting it.
Drybrushing is where terrain painting shines. Start with a dark basecoat (Mechanicus Standard Grey for stone, Dryad Bark for dirt), then drybrush progressively lighter:
- Heavy drybrush with mid-tone (Dawnstone or Mournfang Brown)
- Medium drybrush lighter (Administratum Grey or Zandri Dust)
- Light drybrush on edges (Longbeard Grey or Screaming Skull)
Three passes, 5 minutes per piece. Texture catches paint on raised areas while basecoat stays in recesses. Use a big cheap brush. A 1-inch flat from the hardware store works perfectly. Never use your detail brushes for drybrushing.
Foliage and Effects
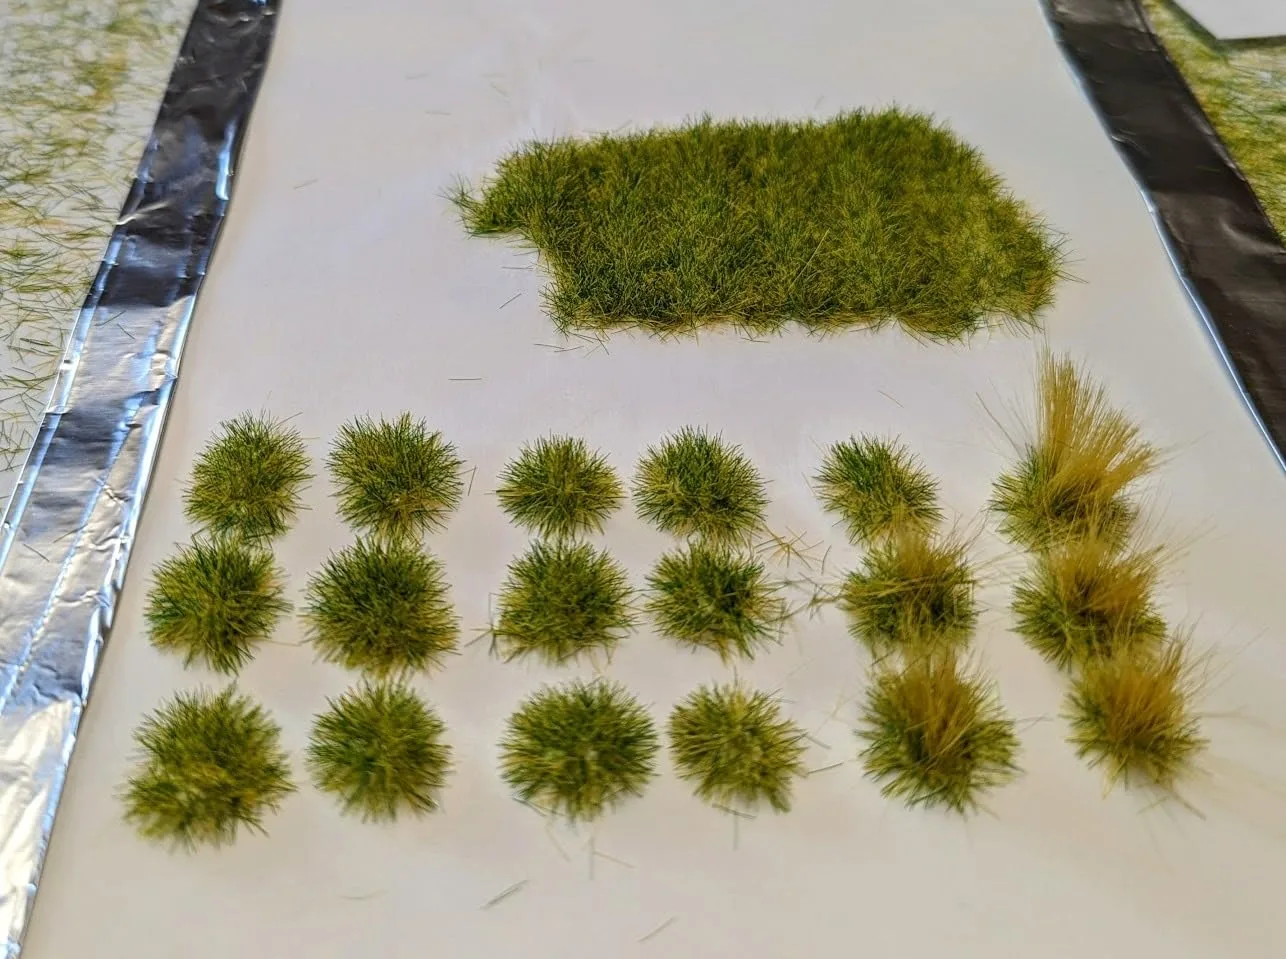
Army Painter tufts, Woodland Scenics clump foliage, static grass, and flock add life. Apply with PVA or super glue. For water effects, Woodland Scenics Realistic Water or Vallejo Still Water works. For snow, PVA mixed with baking soda or Citadel Valhallan Blizzard. Pigment powders from AK Interactive add dust and soot.
Sealing
Terrain gets handled constantly. Seal with matte varnish spray or brush-on polyurethane. High-traffic pieces need two coats minimum. A final spray of diluted PVA (50/50 with water) locks down flock and tufts. Let it dry overnight before playing.
Common Mistakes
- Melting foam with solvent spray. Seal XPS with PVA before priming, or use water-based primers only.
- Over-detailing terrain. Terrain is a backdrop. Clean drybrushing and a few accent details are enough.
- Mismatched terrain and bases. Coordinate your basing scheme with your terrain theme so models look like they belong on the table.
- Skipping the seal coat. Unsealed terrain sheds flock, chips, and shows fingerprints. Five minutes of varnish saves hours of repair.
- Building too tall. Mix heights for good gameplay: LOS-blocking ruins, half-walls, and low scatter.
Good terrain makes every game better and every army look more impressive. It's the best return on time in the whole hobby.
Components
Terrain pieces
Basing details
Materials list
7 itemsEstimated total cost
$20 - $100
Milestone timeline
3 weeks- 1
Choose terrain theme and scale
planning
- 2
Build forms and attach texture
Construction
- 3
Prime terrain pieces
priming
- 4
Basecoat ground and structures
basecoat
- 5
Drybrush texture layers
highlighting
- 6
Add pigments, foliage, and effects
Details
- 7
Seal for handling
Finishing
Frequently
asked questions.
Related tools and guides
Plan your build, estimate costs, and get ready.
Budget Calculator
Estimate your build cost before you start buying materials.
Convention Checklist
88-item packing checklist. Check off items as you pack.
Prop Scaling Calculator
Scale reference images to your body measurements.
How Much Does Miniature Painting Cost?
Real build budgets with specific products and dollar amounts.
Miniature Painting Commission Pricing
Real build budgets with specific products and dollar amounts.
Miniature Painting on Costumary
Templates, tools, and workspace built for miniature painting makers.
Browse all templates
Explore build plans across 10 craft verticals.
Debut your miniature painting build
Upcoming conventions where you could wear this. Dates, checklists, and budget tools included.
AdeptiCon 2027
Apr 7-11 · Milwaukee, WI
Five days of Warhammer, Infinity and historicals tournaments, with hobby seminars for people who'd rather paint than play. The 2027 event moves to the Baird Center in Milwaukee, so book travel around the new city and not Schaumburg.
NOVA Open 2027
Sep 1-5 · Arlington, VA
A five-day competitive miniature wargaming event near DC, built around tournaments and hobby seminars. If you paint more than you play, the seminar track is the reason to come.
Start this build free
Clone this template into your workspace. Track materials, milestones, budget, and build progress in one place.
Related templates
Army Project
12 weeks · 11 milestones
Plan and execute a full army build without losing your paint recipes, forgetting what's primed, or burning out halfway through. This template breaks a massive backlog into playable milestones with scheme tests, batch sequencing, centerpiece scheduling, and storage planning.
Unit / Squad
4 weeks · 10 milestones
Paint a cohesive squad or warband using a batch painting workflow that keeps your color scheme consistent across every model. This template covers scheme planning, batch priming, assembly-line basecoating, shared washes, individual details, decals, and unified basing.
Commission Batch
6 weeks · 9 milestones
Manage a client painting commission from intake to shipping with clear approval checkpoints, documented paint recipes, batch progress tracking, and professional packing. This template keeps client expectations aligned at every stage so there are no surprises at handoff.
Kitbash / Conversion
5 weeks · 8 milestones
Build a unique miniature by combining parts from multiple kits, sculpting custom details with greenstuff or Milliput, and painting the result into a cohesive model. This template covers concept sketches, donor kit sourcing, pinning, gap filling, sculpting, and painting a conversion that looks intentional rather than cobbled together.
Display Piece
6 weeks · 9 milestones
Push a single miniature to its absolute best for a shelf, competition, or portfolio piece. This template covers mood references, subassembly planning, display base construction, value sketching, advanced blending, face and eye detail, and final photography for a model that's meant to be studied up close.
Single Miniature
2 weeks · 8 milestones
Take one model from sprue to shelf with a clear, repeatable workflow. This template walks you through mold line cleanup, priming, basecoats, washes, highlights, basing, and varnish so nothing gets skipped and every paint recipe is saved for next time.