
Kitbash / Conversion
Build a unique miniature by combining parts from multiple kits, sculpting custom details with greenstuff or Milliput, and painting the result into a cohesive model. This template covers concept sketches, donor kit sourcing, pinning, gap filling, sculpting, and painting a conversion that looks intentional rather than cobbled together.
5 weeks
8
7
3
See the whole look before you start.
References, materials, budget, and build order for Kitbash / Conversion.
Timeline
5 weeks
Color refs
Materials
7 items
Budget
$30 - $120
save the visual refs
Full reference board
The preview above is curated for scanning. This is the working board you clone into your own build, with notes, colors, product images, and extra references intact.
Images are sourced from around the internet to help you get started. Use the web clipper to build your own reference library.
Reference images are gathered from around the web and belong to their original creators. We link back to where we found each one. If something here is yours and you want it taken down, email us and it is gone.
Build guide
Every miniature range has gaps. The pose you want doesn't exist. The weapon loadout isn't in the kit. Your character's backstory doesn't match any official model. Kitbashing solves all of that, and the result is a model nobody else on the planet owns.
You'll plan, build, sculpt, and paint a converted miniature from concept through final photography, turning spare bits and sculpting putty into something that looks like it was always meant to exist.
Concept and Parts Planning
Start with a rough sketch. Stick figures with arrows ("this arm from kit X, torso from kit Y, custom shoulder pad sculpted") are fine. The sketch forces you to think about proportions and which parts you need before cutting expensive models.
Source bits from resellers (Hoard o' Bits, eBay lots, r/miniswap) or your own leftovers box. Proportions matter more than anything. A Space Marine arm on a Stormcast body looks off even with a clean connection. Stick within the same product range when possible. Mixing GW ranges (40k, AoS, Necromunda) works because they share proportional language. Mixing GW with Reaper requires more sculpting to bridge the style gap.
Dry Fit, Cut, and Pin
Dry fit every part with blue tac before glue touches anything. Evaluate the pose at arm's length. Photograph the dry fit. You'll catch problems in photos that you miss in person.
Cut with a razor saw (Citadel or Tamiya) for clean straight cuts, flush cutters off sprues. Pin every structural join: drill with a pin vise (0.8-1mm bit), insert brass rod, super glue one side, let cure, then attach the other part. Pinning prevents conversion arms from snapping off mid-game. For heavy metal or resin parts, use thicker 1.5mm rod.
Gorilla Gel or Loctite Gel super glue gives you 10-15 seconds of repositioning time. BSI activator spray speeds cure when you need an instant bond.
Sculpting Gaps
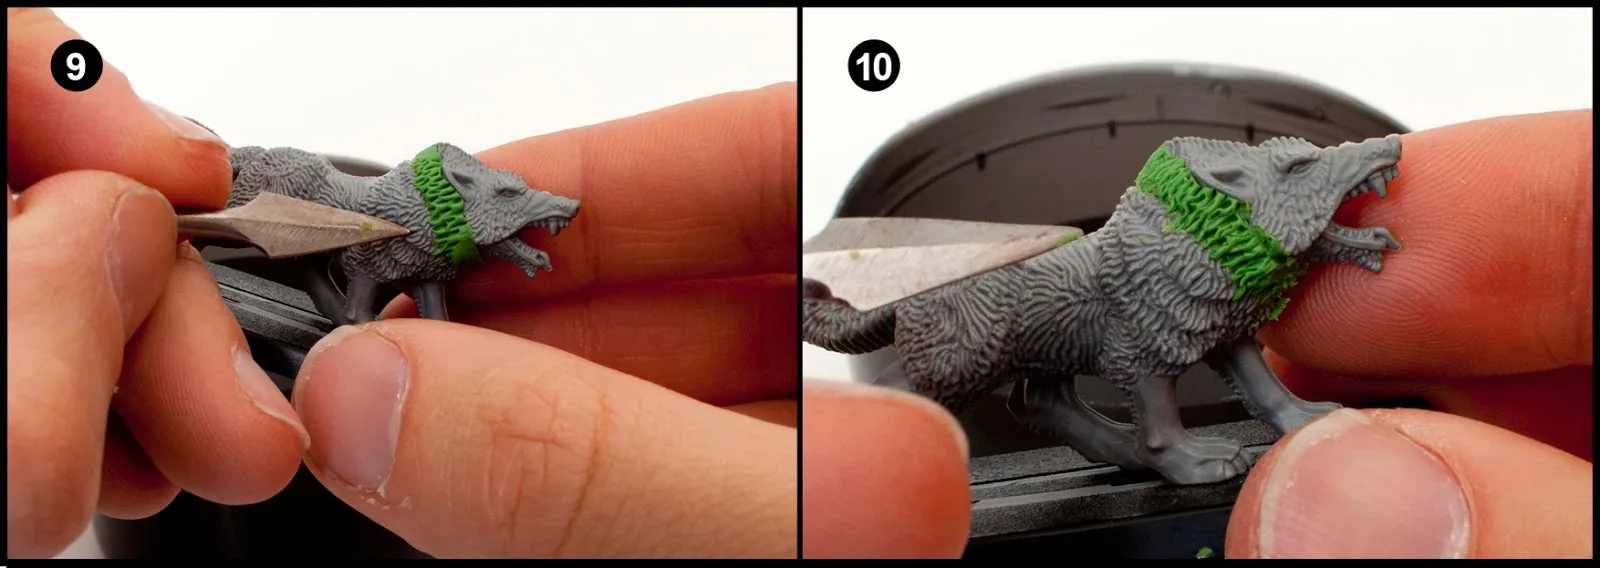
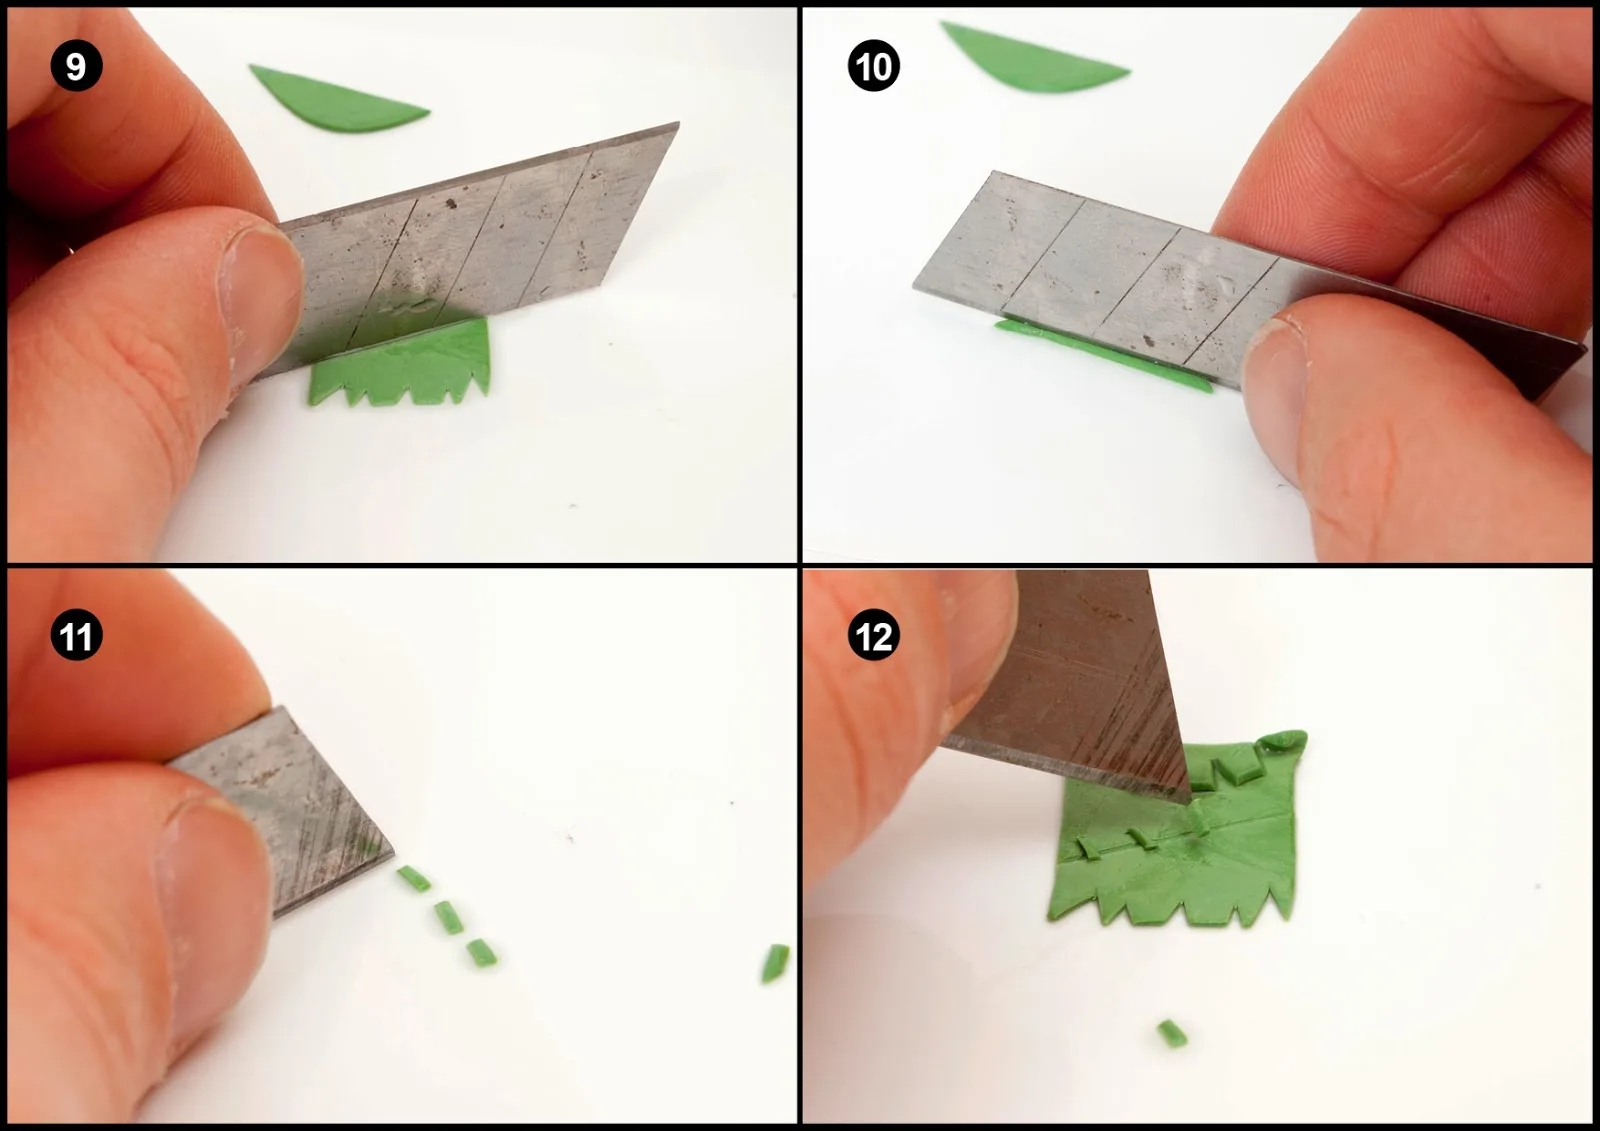
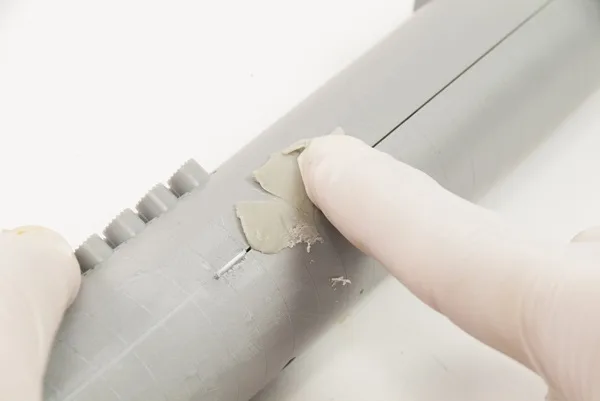
Every conversion has gaps where parts don't fit flush. Greenstuff (the yellow-blue epoxy putty) and Milliput handle this. Mix equal parts, let it firm up 10-15 minutes, then press into gaps with a silicone clay shaper or a water-dipped hobby knife.
Greenstuff holds fine detail (fur, rope, chainmail) and cures in about 4 hours. Milliput sands smooth after curing, making it better for flat surfaces and armor plates. I often mix both: Milliput for bulk shape, greenstuff for surface texture. Gap-filling doesn't require artistic talent. You're smoothing transitions, not sculpting faces.
Prime, Inspect, and Paint
Prime with grey and hold under a strong light. Primer reveals mold lines, unfilled gaps, and rough putty. Sand rough spots with 400-grit, fill remaining gaps, re-prime, and inspect again.
The painting challenge is making different source materials read as one model. Carry colors and textures across the joins. If the torso is from one kit and legs from another, paint them with the same armor color to unify. Basecoat, wash, highlight as normal. Greenstuff and Milliput accept paint slightly differently than plastic, but after primer the difference is minimal.
Basing and Story
A conversion's base reinforces the story. A running model on a debris-strewn base, a commander on a rocky outcrop, a rogue on a sewer grate. Build the base before final attachment so you can plan foot placement. Pin the model to the base for a secure connection, especially with dynamic poses.
Common Mistakes
- Ignoring proportions. Mixing parts across wildly different ranges produces models that look "off." Check proportions during dry fit.
- Skipping the pin. Super glue alone on a conversion join will break at the worst moment. Pin every structural join.
- Rushing sculpted gaps. A visible gap screams "kitbash" instead of "custom model." The primer inspection step catches anything you missed.
- Over-converting. Eight donor kits and three sculpted accessories looks busy. The best conversions make 2-3 changes that tell a clear story.
- Not documenting parts. Log every donor kit so you can answer "what bits did you use?" and replicate the work later.
A good conversion is invisible. When someone says "what kit is that from?" instead of "nice kitbash," you've nailed it.
Components
Converted body
Custom details
Base
Materials list
7 itemsEstimated total cost
$30 - $120
Milestone timeline
5 weeks- 1
Sketch conversion concept and parts list
planning
- 2
Dry fit donor kits and bits
prep
- 3
Cut, pin, and assemble conversion
Construction
- 4
Sculpt gaps and custom details
sculpting
- 5
Prime and inspect surfaces
priming
- 6
Paint converted model
painting
- 7
Finish base and story details
basing
- 8
Varnish and photograph angles
Finishing
Frequently
asked questions.
Related tools and guides
Plan your build, estimate costs, and get ready.
Budget Calculator
Estimate your build cost before you start buying materials.
Convention Checklist
88-item packing checklist. Check off items as you pack.
Prop Scaling Calculator
Scale reference images to your body measurements.
How Much Does Miniature Painting Cost?
Real build budgets with specific products and dollar amounts.
Miniature Painting Commission Pricing
Real build budgets with specific products and dollar amounts.
Miniature Painting on Costumary
Templates, tools, and workspace built for miniature painting makers.
Browse all templates
Explore build plans across 10 craft verticals.
Debut your miniature painting build
Upcoming conventions where you could wear this. Dates, checklists, and budget tools included.
AdeptiCon 2027
Apr 7-11 · Milwaukee, WI
Five days of Warhammer, Infinity and historicals tournaments, with hobby seminars for people who'd rather paint than play. The 2027 event moves to the Baird Center in Milwaukee, so book travel around the new city and not Schaumburg.
NOVA Open 2027
Sep 1-5 · Arlington, VA
A five-day competitive miniature wargaming event near DC, built around tournaments and hobby seminars. If you paint more than you play, the seminar track is the reason to come.
Start this build free
Clone this template into your workspace. Track materials, milestones, budget, and build progress in one place.
Related templates
Army Project
12 weeks · 11 milestones
Plan and execute a full army build without losing your paint recipes, forgetting what's primed, or burning out halfway through. This template breaks a massive backlog into playable milestones with scheme tests, batch sequencing, centerpiece scheduling, and storage planning.
Unit / Squad
4 weeks · 10 milestones
Paint a cohesive squad or warband using a batch painting workflow that keeps your color scheme consistent across every model. This template covers scheme planning, batch priming, assembly-line basecoating, shared washes, individual details, decals, and unified basing.
Commission Batch
6 weeks · 9 milestones
Manage a client painting commission from intake to shipping with clear approval checkpoints, documented paint recipes, batch progress tracking, and professional packing. This template keeps client expectations aligned at every stage so there are no surprises at handoff.
Terrain / Basing
3 weeks · 7 milestones
Build and paint terrain pieces, scatter, or a full set of matching bases for your army. This template covers theme selection, foam and cork construction, texture application, priming, drybrushing, foliage, and durable sealing so your table or bases survive regular game nights.
Display Piece
6 weeks · 9 milestones
Push a single miniature to its absolute best for a shelf, competition, or portfolio piece. This template covers mood references, subassembly planning, display base construction, value sketching, advanced blending, face and eye detail, and final photography for a model that's meant to be studied up close.
Single Miniature
2 weeks · 8 milestones
Take one model from sprue to shelf with a clear, repeatable workflow. This template walks you through mold line cleanup, priming, basecoats, washes, highlights, basing, and varnish so nothing gets skipped and every paint recipe is saved for next time.