
Commission Build
Manage a client Gunpla build from intake to delivery. Covers scope negotiation, approval checkpoints, paint recipe tracking, progress photography, and safe packing. For builders turning their skills into a side hustle or small business.
6 weeks
9
6
3
See the whole look before you start.
References, materials, budget, and build order for Commission Build.
Timeline
6 weeks
Color refs
Materials
6 items
Budget
$100 - $400
save the visual refs
Full reference board
The preview above is curated for scanning. This is the working board you clone into your own build, with notes, colors, product images, and extra references intact.
Images are sourced from around the internet to help you get started. Use the web clipper to build your own reference library.
Reference images are gathered from around the web and belong to their original creators. We link back to where we found each one. If something here is yours and you want it taken down, email us and it is gone.
Build guide
Somebody saw your work online and wants to pay you to build for them. That's exciting. It's also the moment where "fun hobby" meets "professional obligation," and the gap between those two things is where commission builders either thrive or burn out. This template keeps the work organized and the client happy.
A commission build is any build where someone else is paying for the result. It includes all the skills of a painted build plus project management, client communication, and documentation. The best commission builders aren't always the best painters. They're the ones who set clear expectations, hit deadlines, and send progress photos before the client has to ask.
Pricing is the first thing new commission builders get wrong. You need to cover materials, your time, and a margin for rework. A baseline: charge the kit's retail price plus $15-25 per hour of work. A full painted MG takes 20-35 hours. A weathered MG takes 30-45 hours. At $20/hour plus a $60 kit, a painted MG commission runs $460-760. That's not unreasonable. Undercutting yourself to $150 for a painted MG means you're making less than minimum wage and training clients to expect that price from everyone else.
Confirm scope, finish level, and deadline. Get this in writing. Is it a straight build, painted, weathered? What color scheme? Is the client providing the kit or are you sourcing it? When do they need it? I use a simple Google Form that captures all of this. A written scope prevents "oh I thought that was included" conversations later.
Inventory kit and note client requests. If the client sends their kit, check it immediately. Missing runners, damaged parts, or an incomplete decal sheet need to be flagged before you start. Photo document the kit as-received. If parts are missing, Bandai's parts replacement service (for Japan-market kits) or the retailer can help, but it takes time.
Send test fit or color plan for approval. Before you touch primer, send the client a photo of the test-fitted kit and your color plan. Digital mockups work. Physical test fits with blu-tack work better. Get explicit written approval. "Looks good" in a text message is your green light. Save that message.
Build and clean subassemblies. Standard build process. Cut, clean nubs, sand seams, fill gaps. Nothing commission-specific here except that your nub cleanup needs to be even more meticulous than your personal builds. Clients will inspect up close.
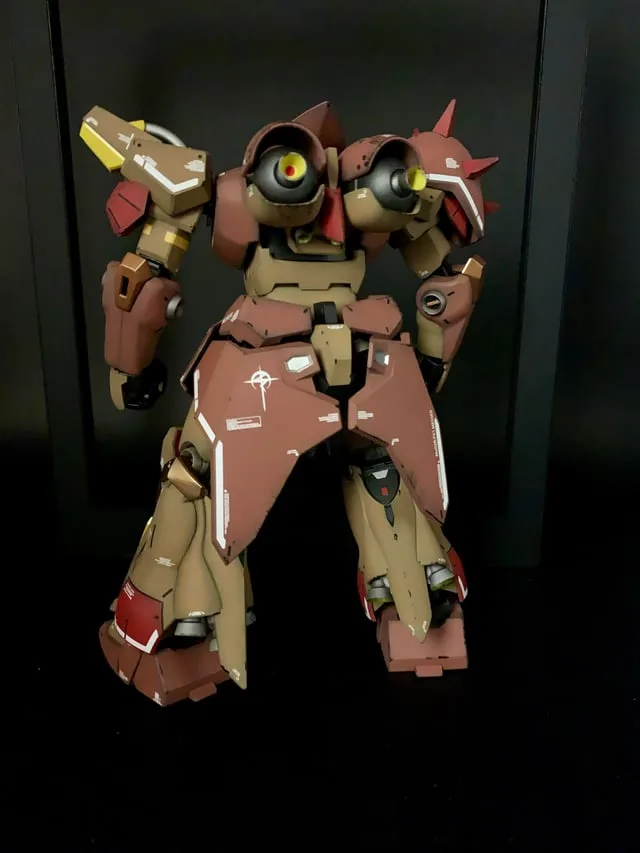
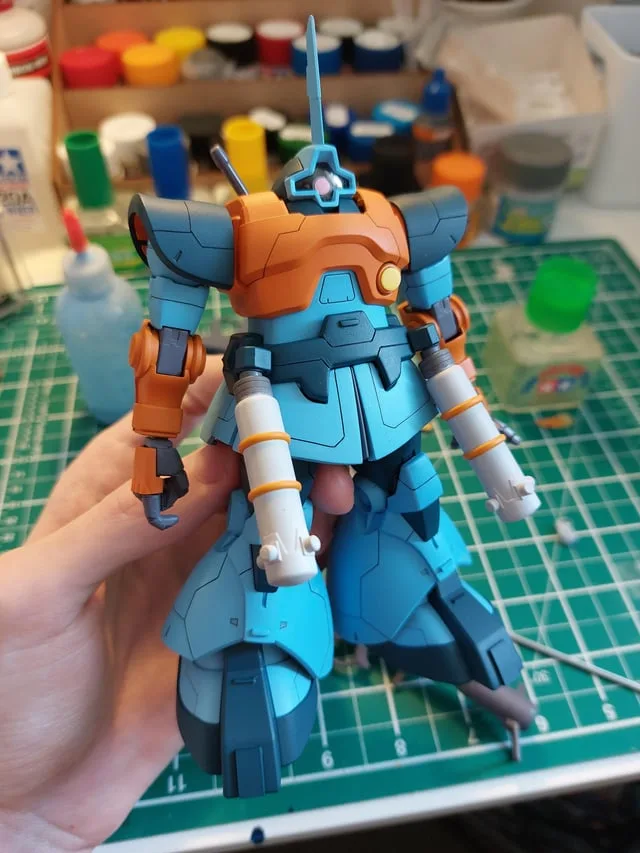
Prime and paint approved scheme. Document your paint recipes. Write down every color, brand, thinning ratio, and number of coats. If the client wants a touch-up in six months or orders a matching second kit, you need to reproduce the exact colors. I keep a paint log in a notebook: "shoulder armor: Mr. Color C326 (2 coats) over Mr. Surfacer 1500 gray."
Send progress photos for checkpoint. At the 50-60% mark (after base colors are done), send progress photos. This does two things: it proves you're working on it, and it catches color or direction issues before you apply weathering and topcoat. If the client wants changes, better to know now than after final seal.
Panel line, decal, and topcoat. Standard finishing. Gloss coat, panel line, decals, then final matte or satin topcoat. Document which decals you used and their placement in case you need to reproduce.
Final approval photos. Photograph the finished kit from every angle against a clean background. Send high-quality photos to the client for final sign-off. Include close-ups of details and weathering. This photo set also becomes your portfolio piece. Make them good.
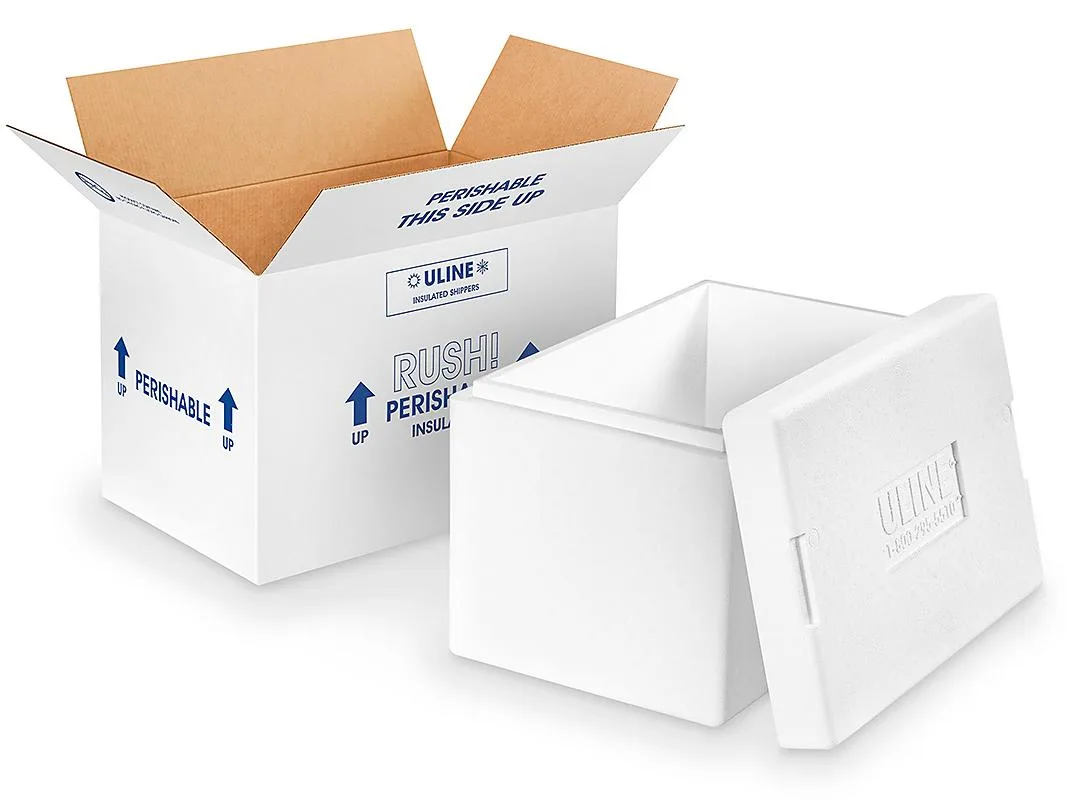
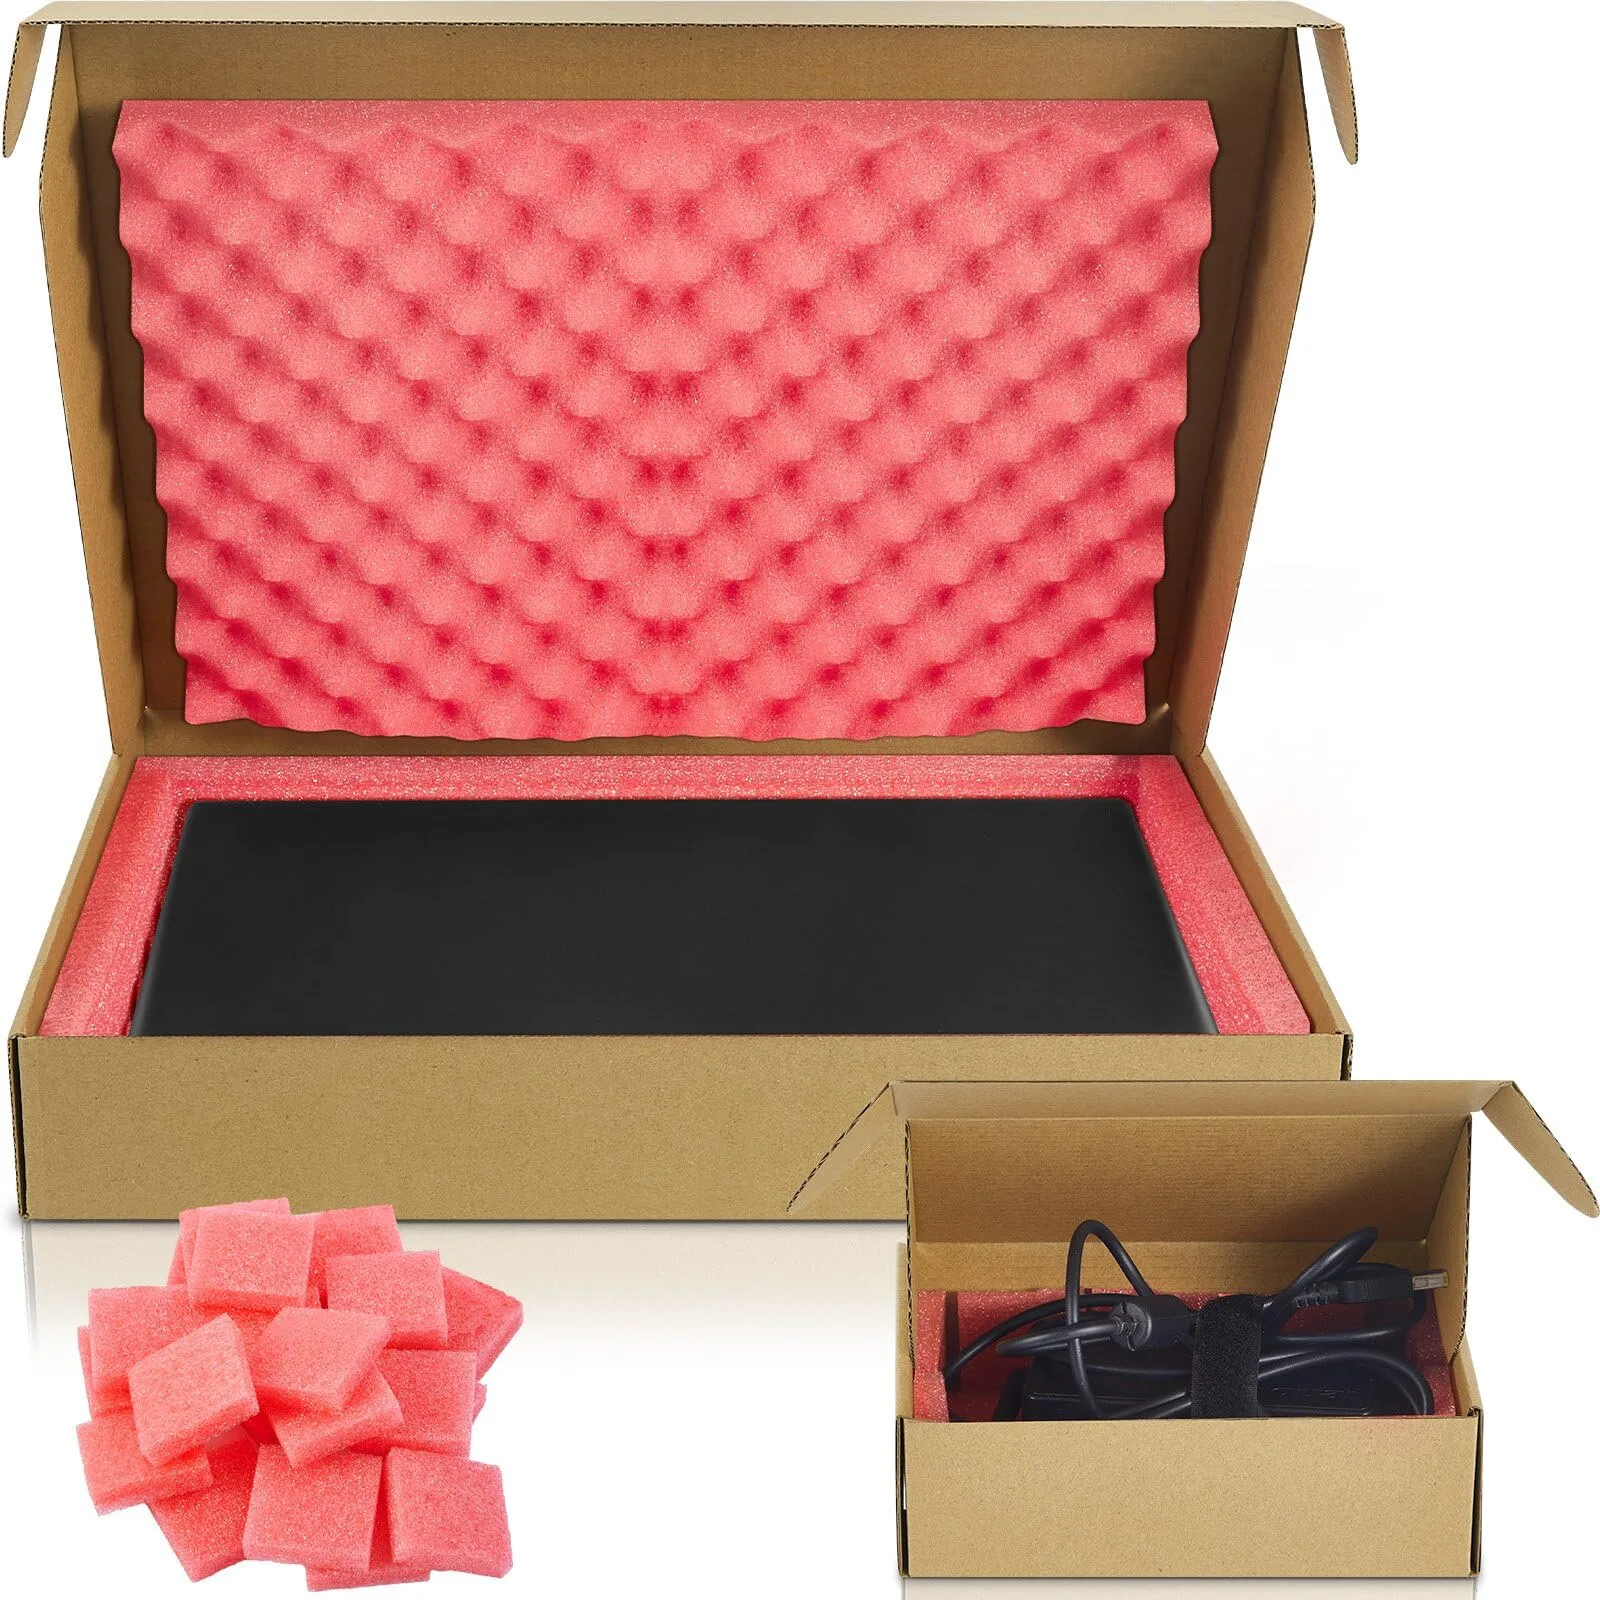
Pack safely and ship or hand off. Bubble wrap each subassembly individually. Separate weapons and loose parts into small zip bags. Use a box that gives 2+ inches of clearance on all sides, filled with packing peanuts or crumpled paper. For local delivery, a hard-shell case with foam inserts is ideal. Ship with insurance and tracking. Always.
Common mistakes
- Not getting scope approval in writing. Verbal agreements become "I never said that" disputes. Text messages, emails, or a simple contract. Get it written.
- Undercharging for your time. Track your hours for the first few commissions. If you're making under $10/hour after materials, raise your prices. The market will tell you if you're too high.
- Skipping progress updates. Radio silence makes clients anxious. Send a quick photo every 3-5 days even if it's just "primer done, starting colors tomorrow." Overcommunicate.
- Shipping without enough padding. Broken commissions are heartbreaking and expensive. Double-box fragile builds. Insure everything. A beam saber snapped off in transit costs you time and credibility.
- Not documenting paint recipes. "I mixed something that looked close to navy blue" doesn't help when the client wants a matching second kit. Write down every color used with brand and code.
Commission building is a legitimate small business for skilled modelers. The builders who sustain it long-term are the ones who treat communication and documentation as seriously as the building itself.
Components
Client kit
Approval photos
Shipping package
Materials list
6 itemsEstimated total cost
$100 - $400
Milestone timeline
6 weeks- 1
Confirm scope, finish level, and deadline
planning
- 2
Inventory kit and note client requests
intake
- 3
Send test fit or color plan for approval
approval
- 4
Build and clean subassemblies
assembly
- 5
Prime and paint approved scheme
painting
- 6
Send progress photos for checkpoint
approval
- 7
Panel line, decal, and topcoat
detailing
- 8
Final approval photos
approval
- 9
Pack safely and ship or hand off
delivery
Frequently
asked questions.
Related tools and guides
Plan your build, estimate costs, and get ready.
Budget Calculator
Estimate your build cost before you start buying materials.
Convention Checklist
88-item packing checklist. Check off items as you pack.
Prop Scaling Calculator
Scale reference images to your body measurements.
How Much Does It Cost to Build Gunpla?
Real build budgets with specific products and dollar amounts.
Gunpla on Costumary
Templates, tools, and workspace built for gunpla makers.
Browse all templates
Explore build plans across 10 craft verticals.
Start this build free
Clone this template into your workspace. Track materials, milestones, budget, and build progress in one place.
Related templates
Diorama
7 weeks · 8 milestones
Stage your Gunpla in a full scene with terrain, rubble, effects, and environmental storytelling. Covers base construction, terrain painting, model integration, and display photography. For builders who want their mobile suit to exist in a world, not just stand on a shelf.
Custom Kitbash
8 weeks · 8 milestones
Design and build a one-of-a-kind mobile suit from multiple donor kits, scratch-built details, and custom paint. This is the creative peak of the hobby. For builders who have the fundamentals down and want to make something nobody else has.
Weathered Realistic
6 weeks · 8 milestones
Turn a clean painted kit into a battle-worn machine with chipping, enamel washes, streaking grime, dry pigments, and storytelling through wear. This is where Gunpla meets military model techniques. For builders who want their mobile suit to look like it's been through a war.
Painted Build
5 weeks · 9 milestones
Take your Gunpla beyond snap-fit with a full custom paint job. Covers test fitting, surface prep, priming, color separation, masking, decals, and clear coats. Built for modelers stepping up from straight builds into airbrush territory.
Straight Build
2 weeks · 8 milestones
Your first clean Gunpla finish, no painting required. This template walks you through nub removal, panel lining, decals, and topcoat on any grade kit. Perfect if you want a display-ready model that looks way better than "just snapped together."