
Custom Kitbash
Design and build a one-of-a-kind mobile suit from multiple donor kits, scratch-built details, and custom paint. This is the creative peak of the hobby. For builders who have the fundamentals down and want to make something nobody else has.
8 weeks
8
7
3
See the whole look before you start.
References, materials, budget, and build order for Custom Kitbash.
Timeline
8 weeks
Color refs


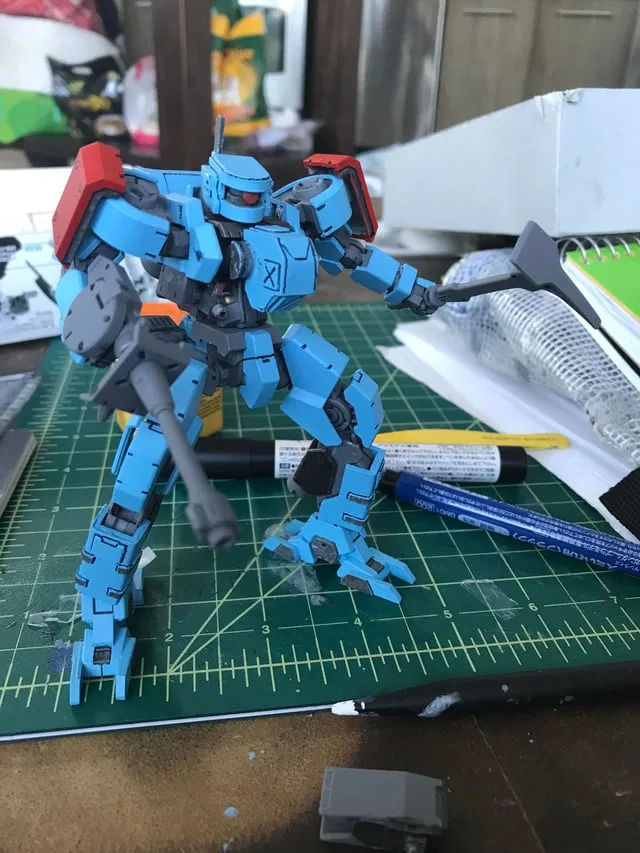
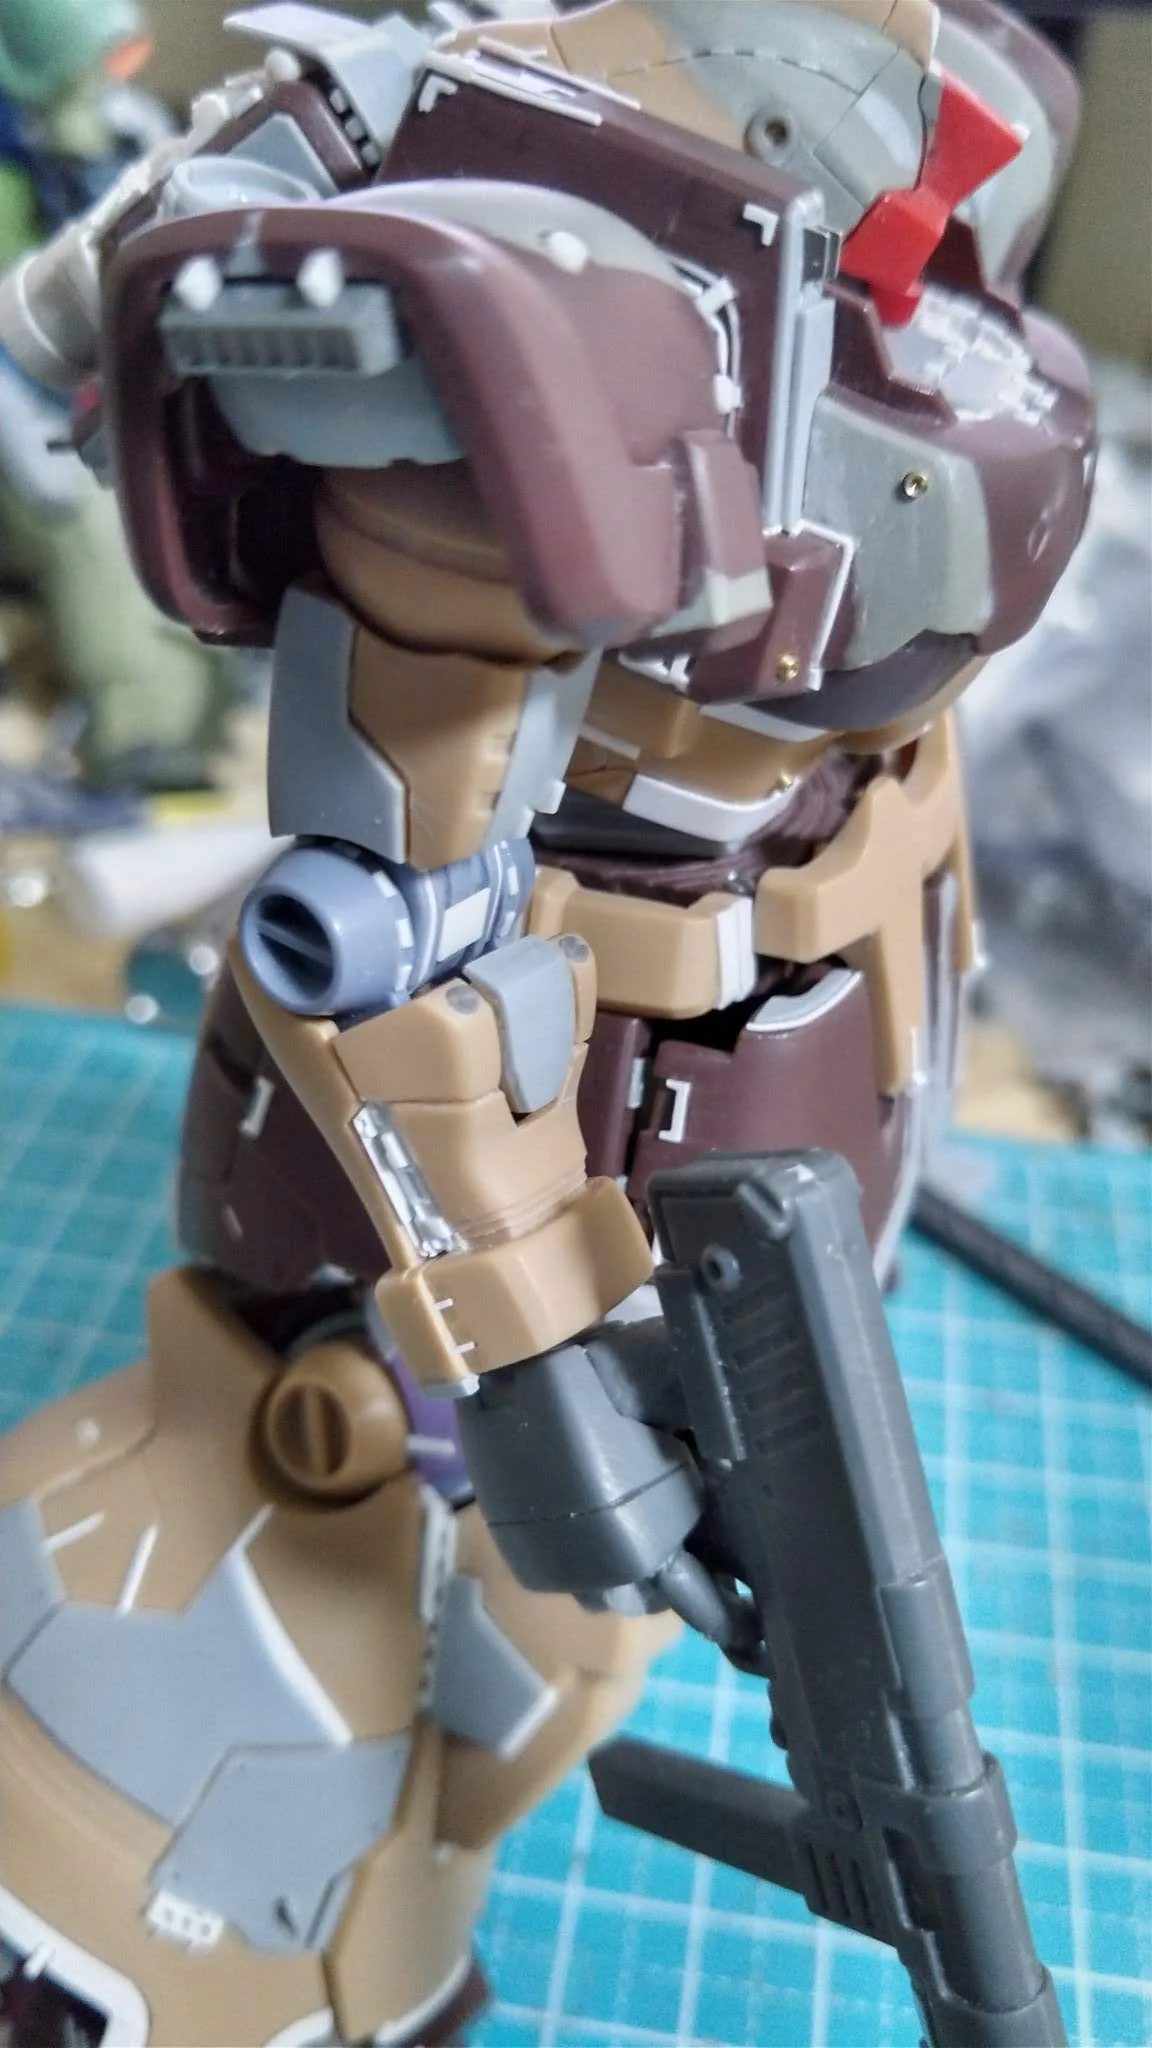
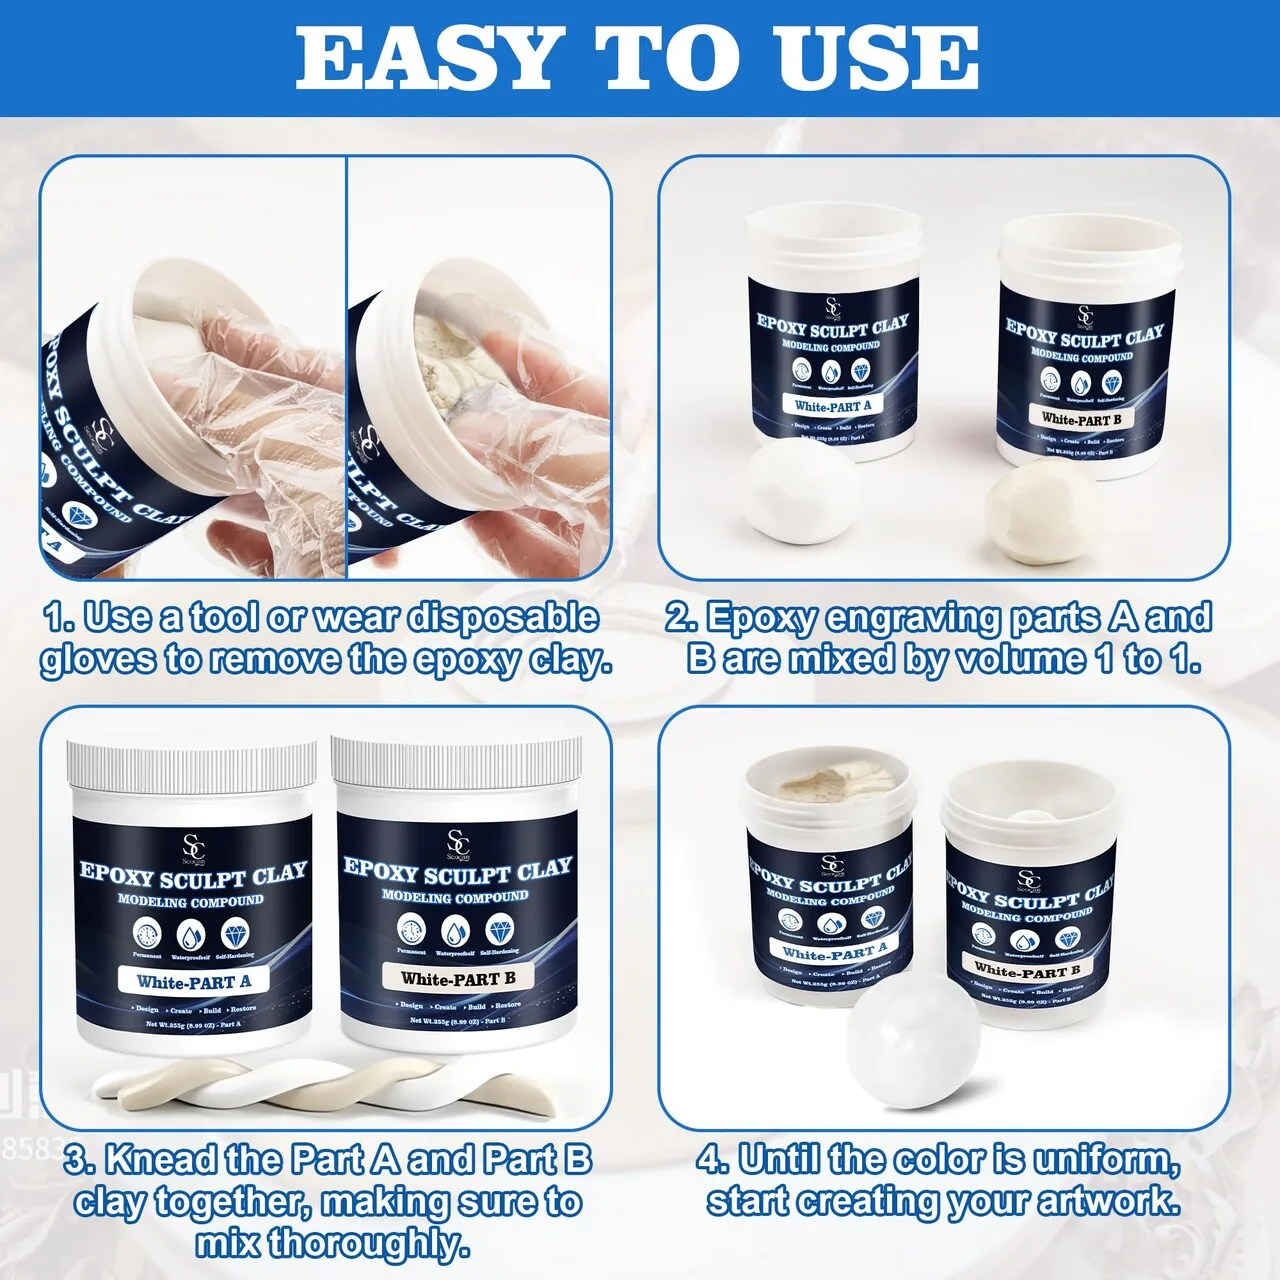
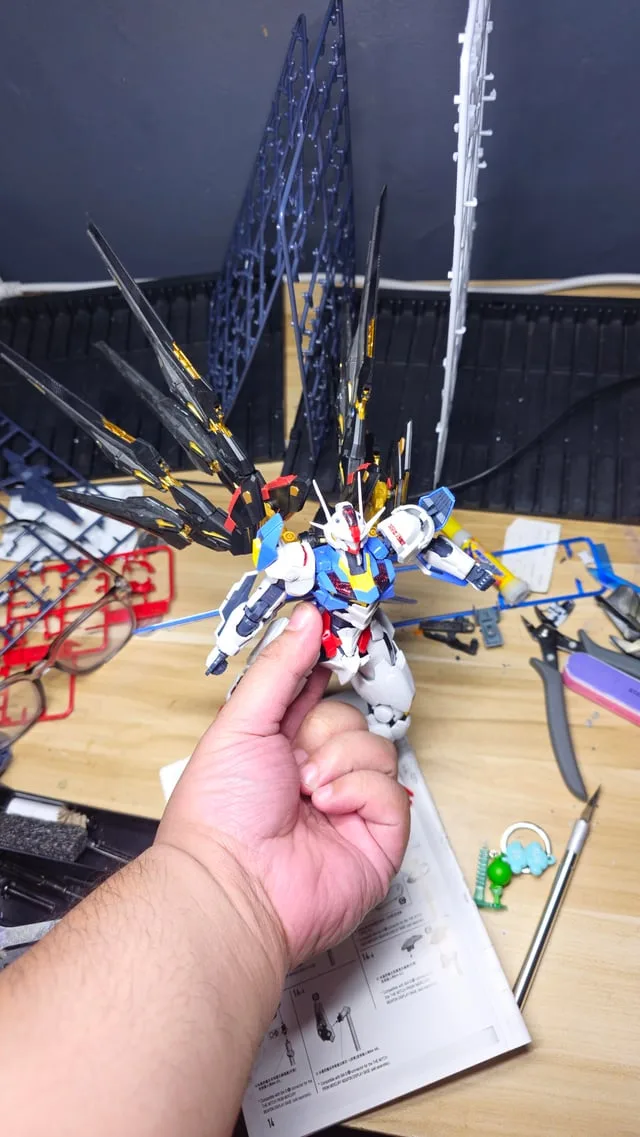
Materials
7 items
Budget
$80 - $350
save the visual refs
Full reference board
The preview above is curated for scanning. This is the working board you clone into your own build, with notes, colors, product images, and extra references intact.
Images are sourced from around the internet to help you get started. Use the web clipper to build your own reference library.
Reference images are gathered from around the web and belong to their original creators. We link back to where we found each one. If something here is yours and you want it taken down, email us and it is gone.
Build guide
Every kitbash starts the same way: you look at a kit and think "what if this head was on that body with those weapons?" Then you realize nobody sells the thing you're imagining. So you build it yourself.
A kitbash combines parts from two or more donor kits into a single cohesive design. You'll cut, pin, modify, fill, and paint your way to a mobile suit that exists nowhere except your shelf. This is advanced work that pulls from every skill you've built in straight builds and painted builds. But it's also the most creatively rewarding thing you can do in this hobby.
Start with a concept sketch, even if you can't draw. Rough proportions and part placement on paper save you from cutting apart a $40 kit only to discover the silhouette doesn't work. Digital tools help too, but honestly a pencil sketch on notebook paper is enough. What you're solving for is proportions: does the head look right on that torso? Are the legs too long for the arms? Gundam designs follow certain visual rules (wide shoulders, narrow waist, large backpack) and breaking them intentionally is different from breaking them accidentally.
Choosing donor kits is where your budget gets real. Your base kit provides the core frame. Pick one with an inner frame that can support the weight of the finished product. MG kits are ideal because their inner frames are robust and standardized. Your donor kits provide the parts you're grafting on. Option parts sets (Bandai Builders Parts, Kotobukiya M.S.G. line at $8-15 each) are a budget-friendly way to add detail without buying whole kits.
Sketch concept and donor kit plan. Draw front and side views. List which parts come from which kit. Estimate if joints will need modification. Order everything before you start cutting.
Dry fit donor parts and silhouette. Before any cutting, blu-tack parts together to see how they look. Hold it at arm's length and check the overall shape. Take a photo. If the silhouette doesn't read well from 3 feet away, redesign now, not after you've already sawed through an arm joint.
Cut, pin, and modify joints. A razor saw (Tamiya or Zona, $10-15) cuts clean. A pin vise ($10) and 1mm brass rod ($4) create structural joints between parts that weren't designed to connect. Drill into both parts, insert rod with CA glue. This is stronger than just gluing surfaces together. For joints that need to flex, use a ball joint from a parts kit or transplant one from a donor frame.
Add pla plate and scratch details. Evergreen or Tamiya pla plate (styrene sheet, $5-8) lets you add panel lines, surface detail, armor extensions, or entirely new surfaces. Score it, snap it, glue it with Tamiya Extra Thin cement. Pla plate scribing is a rabbit hole, but even basic strips along a seam add visual interest.
Fill gaps and sand seams. Where donor parts meet, there will be gaps. Tamiya Basic Putty for small gaps, Milliput or epoxy putty for larger ones. Apply, let cure (24 hours for epoxy), then sand smooth through 400, 600, 800 grit. The goal is seamless transitions that look like a single molded part.
Prime and inspect custom surfaces. Primer reveals every flaw your eyes missed. Mr. Surfacer 1500 in gray. After priming, you'll see scratches, seam lines, and uneven putty. Fix them now. Re-prime and inspect again. This loop continues until the surface is clean.
Paint custom scheme. Your color scheme unifies parts from different kits into one cohesive design. Choose a palette that ties everything together. Paint the entire kit in your scheme, not individual donor colors. This is what sells the illusion that it's one design, not a Frankenstein job.
Decal, topcoat, and final assembly. Custom decals from DL Model, Delpi, or Samuel Decal add faction markings, warnings, and registration numbers that make the design feel official. Gloss coat, decal, panel line, then matte topcoat. Assemble the final product and pose it.
Common mistakes
- Starting with a concept that's too ambitious. Your first kitbash should combine two kits, not five. A head swap and weapon modification is a great starting point. Full scratch-built backpacks can wait.
- Not checking proportions before cutting. Once you saw through a joint, there's no undo. Dry fit with blu-tack first. Every time.
- Weak structural joints. Glue-only connections between heavy parts will snap. Pin everything load-bearing with brass rod and CA glue.
- Visible putty seams in the final product. If you can see the transition between donor parts, you didn't sand enough. Prime, inspect, fix, repeat.
- Inconsistent surface detail density. If one leg has pla plate scribing and the other doesn't, the kit looks unfinished. Whatever detail you add to one side, mirror on the other.
A good kitbash doesn't look kitbashed. It looks like something Bandai forgot to release.
Components
Custom body
Modified weapons
Scratch details
Materials list
7 itemsEstimated total cost
$80 - $350
Milestone timeline
8 weeks- 1
Sketch concept and donor kit plan
planning
- 2
Dry fit donor parts and silhouette
kitbash
- 3
Cut, pin, and modify joints
Construction
- 4
Add pla plate and scratch details
detailing
- 5
Fill gaps and sand seams
cleanup
- 6
Prime and inspect custom surfaces
priming
- 7
Paint custom scheme
painting
- 8
Decal, topcoat, and final assembly
Finishing
Frequently
asked questions.
Related tools and guides
Plan your build, estimate costs, and get ready.
Budget Calculator
Estimate your build cost before you start buying materials.
Convention Checklist
88-item packing checklist. Check off items as you pack.
Prop Scaling Calculator
Scale reference images to your body measurements.
How Much Does It Cost to Build Gunpla?
Real build budgets with specific products and dollar amounts.
Gunpla on Costumary
Templates, tools, and workspace built for gunpla makers.
Browse all templates
Explore build plans across 10 craft verticals.
Start this build free
Clone this template into your workspace. Track materials, milestones, budget, and build progress in one place.
Related templates
Commission Build
6 weeks · 9 milestones
Manage a client Gunpla build from intake to delivery. Covers scope negotiation, approval checkpoints, paint recipe tracking, progress photography, and safe packing. For builders turning their skills into a side hustle or small business.
Diorama
7 weeks · 8 milestones
Stage your Gunpla in a full scene with terrain, rubble, effects, and environmental storytelling. Covers base construction, terrain painting, model integration, and display photography. For builders who want their mobile suit to exist in a world, not just stand on a shelf.
Weathered Realistic
6 weeks · 8 milestones
Turn a clean painted kit into a battle-worn machine with chipping, enamel washes, streaking grime, dry pigments, and storytelling through wear. This is where Gunpla meets military model techniques. For builders who want their mobile suit to look like it's been through a war.
Painted Build
5 weeks · 9 milestones
Take your Gunpla beyond snap-fit with a full custom paint job. Covers test fitting, surface prep, priming, color separation, masking, decals, and clear coats. Built for modelers stepping up from straight builds into airbrush territory.
Straight Build
2 weeks · 8 milestones
Your first clean Gunpla finish, no painting required. This template walks you through nub removal, panel lining, decals, and topcoat on any grade kit. Perfect if you want a display-ready model that looks way better than "just snapped together."