
Painted Build
Take your Gunpla beyond snap-fit with a full custom paint job. Covers test fitting, surface prep, priming, color separation, masking, decals, and clear coats. Built for modelers stepping up from straight builds into airbrush territory.
5 weeks
9
8
4
See the whole look before you start.
References, materials, budget, and build order for Painted Build.
Timeline
5 weeks
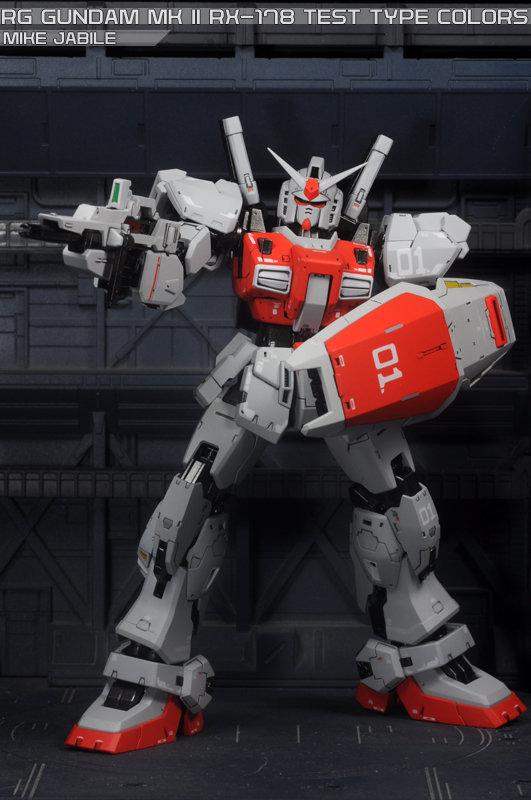
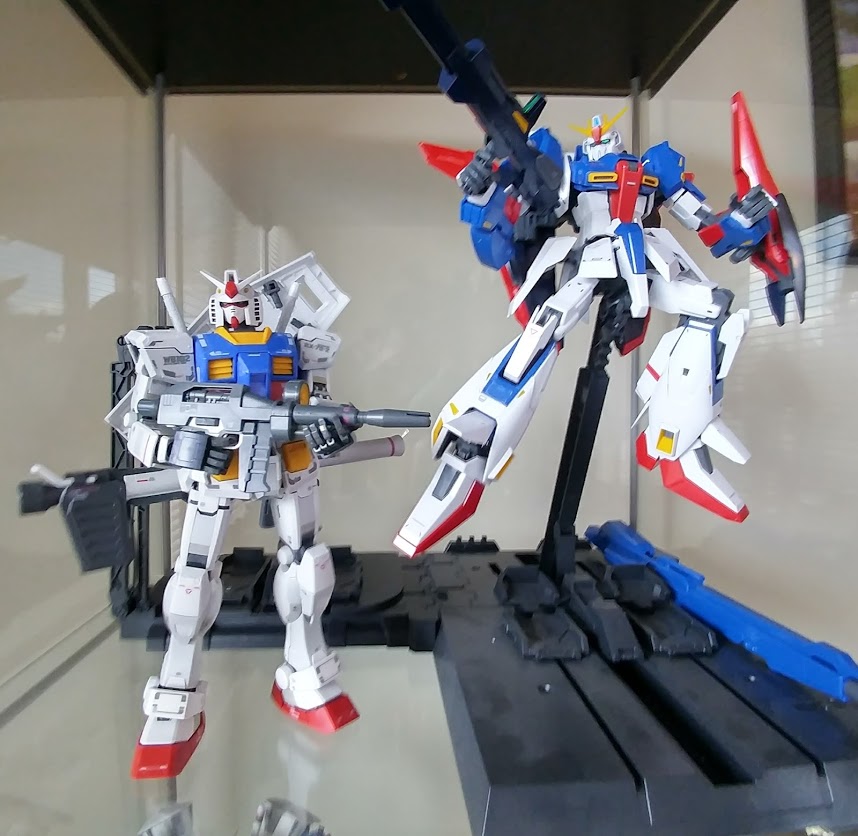
Color refs
Materials
8 items
Budget
$80 - $300
save the visual refs
Full reference board
The preview above is curated for scanning. This is the working board you clone into your own build, with notes, colors, product images, and extra references intact.
Images are sourced from around the internet to help you get started. Use the web clipper to build your own reference library.
Reference images are gathered from around the web and belong to their original creators. We link back to where we found each one. If something here is yours and you want it taken down, email us and it is gone.
Build guide
You've done a few straight builds and they look clean, but you keep scrolling past those custom painted kits on Instagram thinking "I want that." A painted build is the jump that separates casual builders from the people whose shelves stop conversations. It's more work, more materials, and more time, but the result is a kit that's truly yours.
A painted build means disassembling the kit after test fitting, organizing parts by color group, priming everything, then applying your own color scheme with an airbrush or spray cans. You'll mask for color separation, apply decals over a gloss coat, and seal everything with a final topcoat.
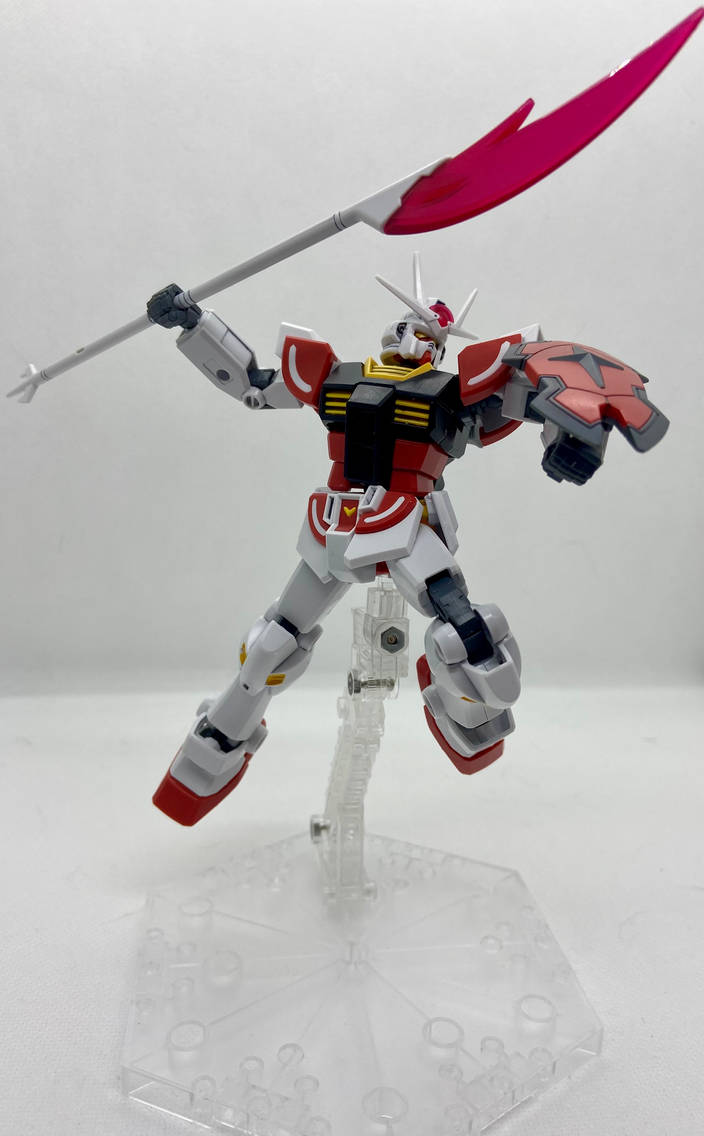
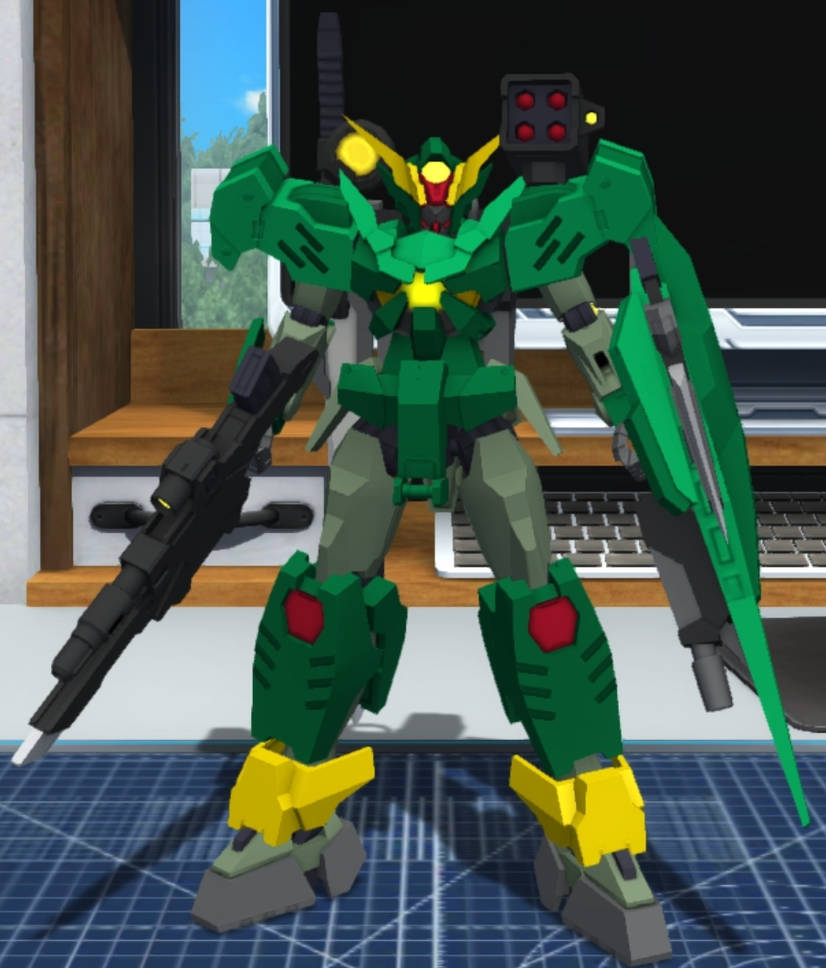
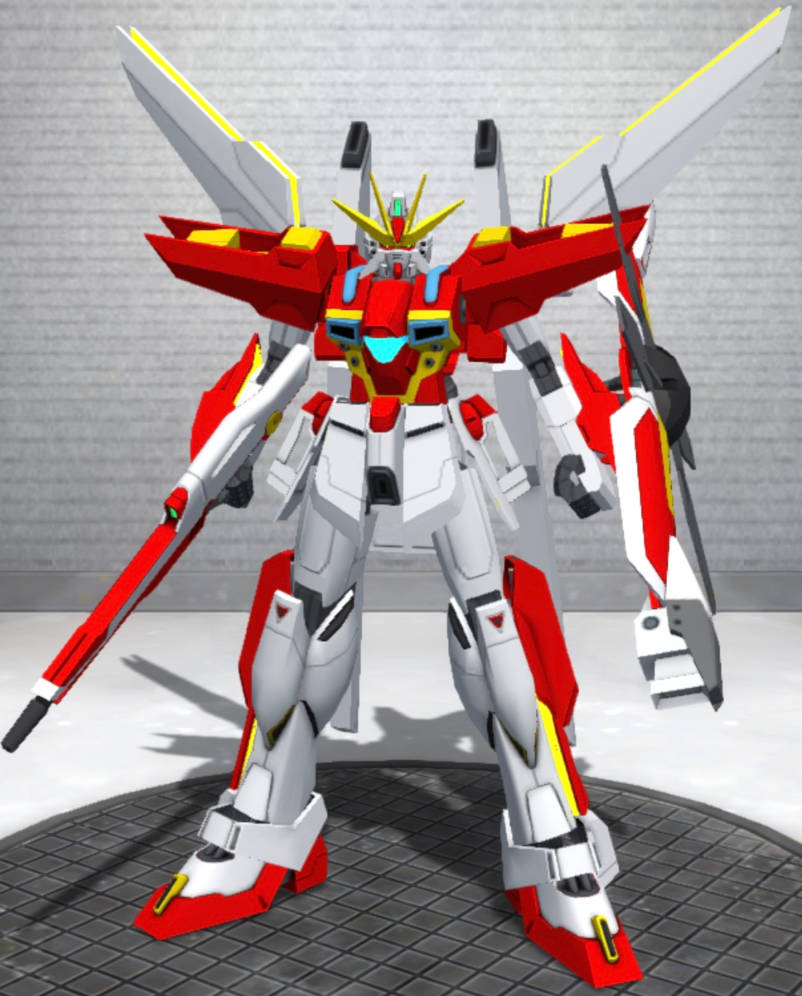
Your color scheme is the first real decision. Pull references from the anime, artwork, or make your own. Sketch it out or use a digital tool. Decide which colors go on which armor panels before you cut a single piece off the runner. This planning saves hours of masking later.
For paint, you have three ecosystems. Lacquer (Mr. Color, Gaia Notes) sprays the smoothest, dries the fastest, but requires a spray booth and respirator. Acrylic (Vallejo, Tamiya acrylics) is safer to breathe but takes longer to cure and can be finicky through an airbrush. Spray cans (Tamiya TS line) are great if you don't own an airbrush yet, but color selection is limited. I'd recommend starting with Tamiya spray cans for your first painted build, then investing in an airbrush setup ($80-150 for an Iwata Neo or Badger Patriot 105 plus a basic compressor) for your second.
Plan color scheme and masking strategy. Map every part to a color. Group parts on alligator clips by color to minimize airbrush cleaning between colors. Plan masking order: light colors first, then mask and spray dark colors over them.
Test fit major subassemblies. Build the entire kit once without gluing. Check fit, identify seam lines you'll need to fix, and mark any tight joints that might scrape paint. Take photos of the assembled kit for reference during reassembly.
Disassemble and organize parts by color. Separate everything. Mount parts on alligator clips pushed into a block of foam or a clip holder. Label groups. This is tedious but it makes paint day efficient.
Sand seams and surface flaws. Hit every visible seam line with 400, then 600, then 800 grit. Fill gaps with Tamiya Basic Putty or Mr. Surfacer 500, let cure, and sand smooth. This step is invisible but makes the final result look professional.
Prime all paintable parts. Mr. Surfacer 1500 in gray is the workhorse primer. It fills minor scratches and gives you a neutral base. Use white primer under bright or warm colors, black primer for metallics. Two thin coats, not one thick coat.
Paint base colors. Spray your primary colors first. Thin lacquer paints 1:1 with Mr. Leveling Thinner. Spray at 15-20 PSI from 4-6 inches away. Two to three thin passes. Let each coat dry 15 minutes between passes.
Mask and paint accent colors. Tamiya masking tape is the standard. Press edges down firmly with a toothpick to prevent bleed. For curved surfaces, use thin Kabuki tape or liquid masking. Remove tape while the paint is still slightly tacky for the cleanest edges.
Gloss coat, panel line, and decal. A gloss clear coat (Mr. Super Clear Gloss) creates a smooth surface for panel lining and helps waterslide decals conform without silvering. Panel line over gloss, apply decals with Mr. Mark Setter and Softer, then let everything cure overnight.
Final topcoat and reassembly. Matte or satin topcoat over everything. Reassemble carefully. Some joints will be tighter with paint layers added, so test fit and shave contact points if needed.
Common mistakes
- Painting over unprepared surfaces. Primer exists for a reason. Paint on bare plastic chips, flakes, and looks uneven. Always prime.
- Spraying too thick. One heavy coat runs and pools. Three thin coats build a smooth, even finish. Patience pays off here.
- Removing masking tape after paint fully cures. Pull tape while paint is tacky (10-15 minutes after spraying). Fully cured paint can chip at the mask edge.
- Skipping gloss coat before panel lining. Enamel panel liner stains matte and semi-gloss surfaces. A gloss barrier lets you clean up mistakes without damaging your base paint.
- Not thinning paint properly. Thick paint from the bottle clogs your airbrush and creates orange peel texture. Learn your paint's ideal thinning ratio.
Your first painted build won't be perfect, and that's fine. Mine had masking bleed on both shoulders. But every painted kit teaches you something the last one didn't.
Components
Armor parts
Inner frame
Weapons
Decals
Materials list
8 itemsEstimated total cost
$80 - $300
Milestone timeline
5 weeks- 1
Plan color scheme and masking strategy
planning
- 2
Test fit major subassemblies
prep
- 3
Disassemble and organize parts by color
prep
- 4
Sand seams and surface flaws
cleanup
- 5
Prime all paintable parts
priming
- 6
Paint base colors
painting
- 7
Mask and paint accent colors
painting
- 8
Gloss coat, panel line, and decal
detailing
- 9
Final topcoat and reassembly
Finishing
Frequently
asked questions.
Related tools and guides
Plan your build, estimate costs, and get ready.
Budget Calculator
Estimate your build cost before you start buying materials.
Convention Checklist
88-item packing checklist. Check off items as you pack.
Prop Scaling Calculator
Scale reference images to your body measurements.
How Much Does It Cost to Build Gunpla?
Real build budgets with specific products and dollar amounts.
Gunpla on Costumary
Templates, tools, and workspace built for gunpla makers.
Browse all templates
Explore build plans across 10 craft verticals.
Start this build free
Clone this template into your workspace. Track materials, milestones, budget, and build progress in one place.
Related templates
Commission Build
6 weeks · 9 milestones
Manage a client Gunpla build from intake to delivery. Covers scope negotiation, approval checkpoints, paint recipe tracking, progress photography, and safe packing. For builders turning their skills into a side hustle or small business.
Diorama
7 weeks · 8 milestones
Stage your Gunpla in a full scene with terrain, rubble, effects, and environmental storytelling. Covers base construction, terrain painting, model integration, and display photography. For builders who want their mobile suit to exist in a world, not just stand on a shelf.
Custom Kitbash
8 weeks · 8 milestones
Design and build a one-of-a-kind mobile suit from multiple donor kits, scratch-built details, and custom paint. This is the creative peak of the hobby. For builders who have the fundamentals down and want to make something nobody else has.
Weathered Realistic
6 weeks · 8 milestones
Turn a clean painted kit into a battle-worn machine with chipping, enamel washes, streaking grime, dry pigments, and storytelling through wear. This is where Gunpla meets military model techniques. For builders who want their mobile suit to look like it's been through a war.
Straight Build
2 weeks · 8 milestones
Your first clean Gunpla finish, no painting required. This template walks you through nub removal, panel lining, decals, and topcoat on any grade kit. Perfect if you want a display-ready model that looks way better than "just snapped together."