
Diorama
Stage your Gunpla in a full scene with terrain, rubble, effects, and environmental storytelling. Covers base construction, terrain painting, model integration, and display photography. For builders who want their mobile suit to exist in a world, not just stand on a shelf.
7 weeks
8
7
3
See the whole look before you start.
References, materials, budget, and build order for Diorama.
Timeline
7 weeks
Color refs


Materials
7 items
Budget
$60 - $250
save the visual refs
Full reference board
The preview above is curated for scanning. This is the working board you clone into your own build, with notes, colors, product images, and extra references intact.
Images are sourced from around the internet to help you get started. Use the web clipper to build your own reference library.
Reference images are gathered from around the web and belong to their original creators. We link back to where we found each one. If something here is yours and you want it taken down, email us and it is gone.
Build guide
A Gunpla on an action base looks cool. A Gunpla standing in a crumbling cityscape with dust settling around its feet looks like a frame from the anime. Dioramas take your finished kit and give it a place to live, a story to tell, and a reason for every scratch and scuff on its armor.
Building a diorama is part model building, part set design, part storytelling. You're creating a frozen moment. The viewer should look at it and understand what just happened or what's about to happen. A Zaku stepping through a destroyed wall. A Gundam kneeling in a field with its rifle smoking. The scene sells the suit.
Your first big decision is scale and footprint. For 1/144 HG kits, a 6x6 inch base creates a tight, focused scene. For 1/100 MG kits, you'll want 8x10 inches minimum. Don't go too big or the suit gets lost. Don't go too small or it looks cramped. Sketch the composition from above: where does the model stand? Where is the viewer's eye drawn?
Plan scene composition and footprint. Decide on the story: is this mid-battle, post-battle, patrol, or maintenance? The story determines the terrain, the pose, the effects. Sketch a top-down layout and a side view showing height variation. Flat dioramas look boring. Add elevation changes with rocks, rubble, or destroyed structures.
Build or finish featured Gunpla. Your kit should be complete and weathered (if appropriate) before you start terrain work. The diorama's weathering should match the model's weathering. A dusty, beaten-up mobile suit on a pristine green field looks wrong. Build the environment to match the machine.
Construct base structure. XPS foam (insulation board from any hardware store, $5-10 for a large sheet) is the universal base material. Cut it with a hobby knife or hot wire cutter. Stack layers to create elevation. Glue with PVA (white glue), not CA glue (superglue melts foam). A wooden plaque or picture frame from a craft store ($5-8) gives you a clean finished edge.
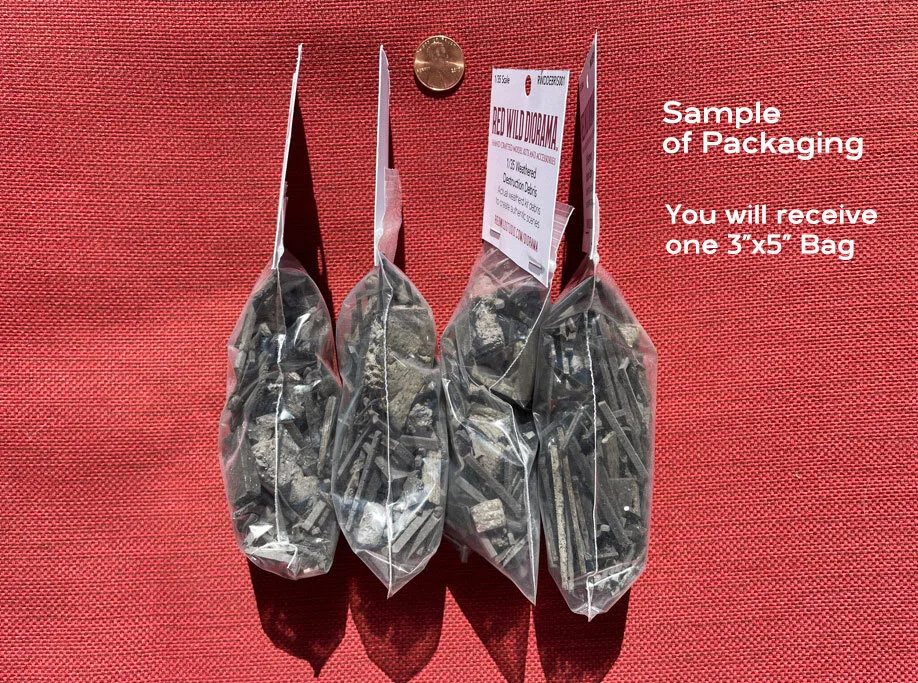
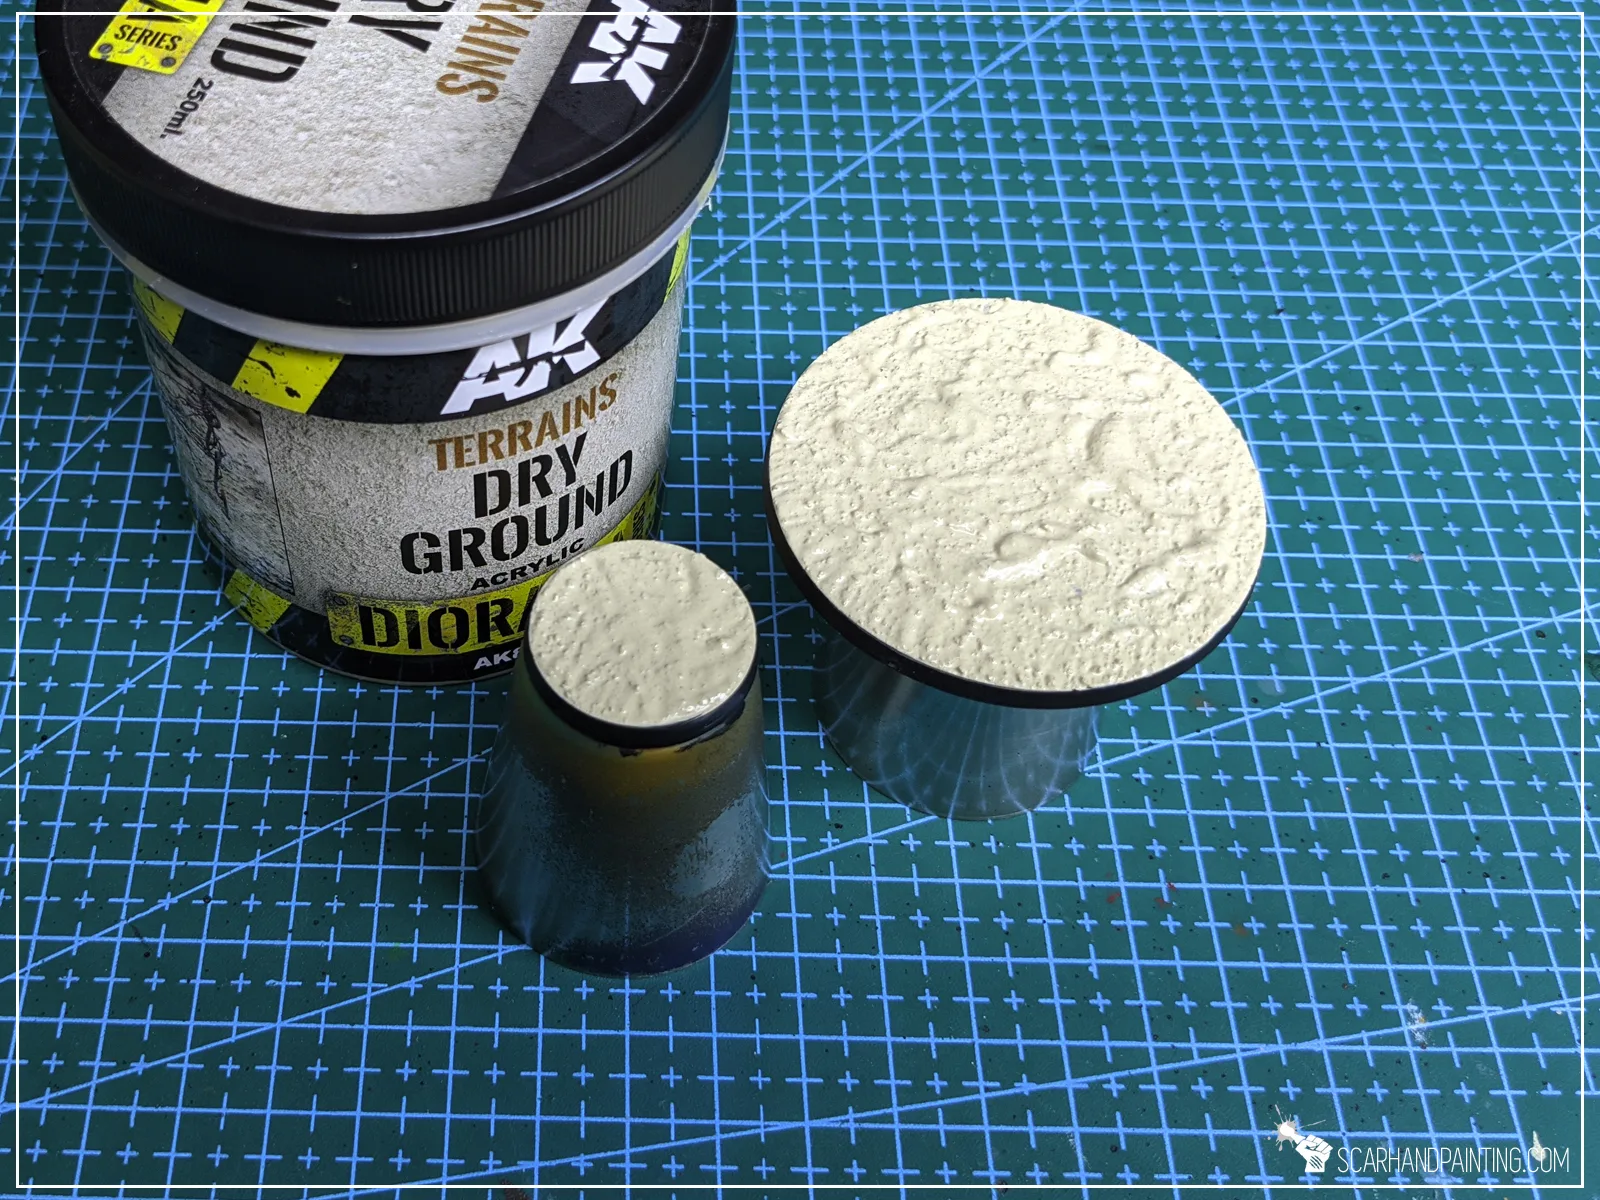
Add rubble, buildings, or ground texture. For rubble: break up chunks of cork bark ($5-8) or plaster. For buildings: cut styrene sheet or foamboard. For ground texture: apply Vallejo texture paste ($8-12) or a mix of PVA glue and fine sand. Cork sheets make great damaged concrete. Scatter real small rocks and gravel for debris. Hot glue larger terrain pieces, PVA for fine material.
Prime and paint terrain. Prime everything dark brown or black as a base. Then drybrush upward with progressively lighter tones: dark gray, medium gray, light gray for concrete. Burnt umber, raw sienna, buff for earth. Washes in the recesses add depth. Terrain painting is forgiving because real dirt and rubble are messy and uneven.
Integrate model pose and contact points. Place the model in the scene and mark where its feet meet the base. Create footprints, crushed rubble, or ground deformation at contact points. This "grounding" is what makes the model look like it belongs rather than sitting on top. Secure with a pin through the foot into the base if needed for stability.
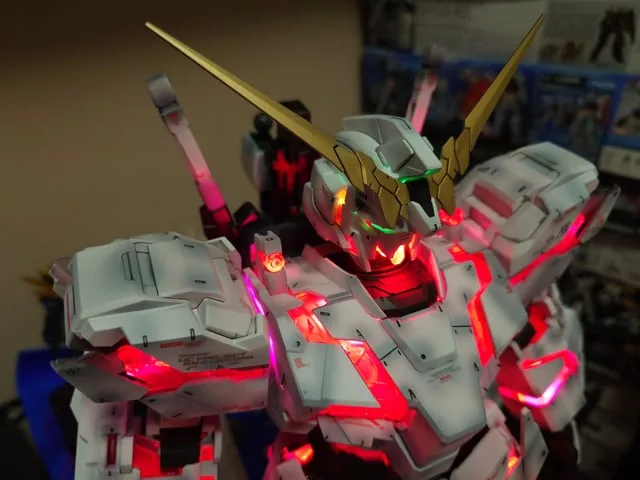
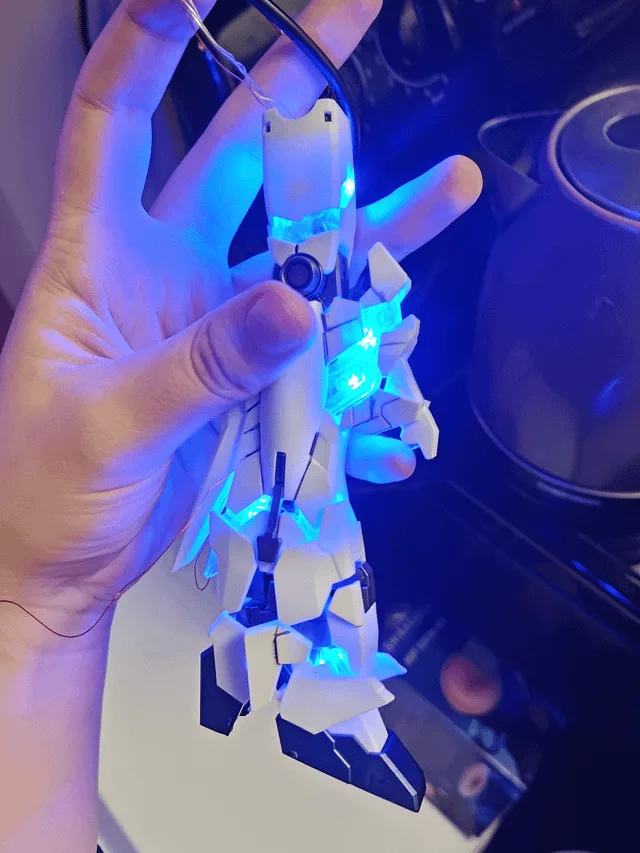
Add weathering, effects, and details. Unify the scene with matching dust pigments on both the model and the terrain. Add effects parts: cotton pulled thin and stiffened with hairspray for smoke, clear resin for water or beam effects, LED modules for thruster glow. Hot glue pulled into strings makes great electrical cables or debris.
Seal, light, and photograph display. Matte seal the entire scene for a unified finish. Photograph with directional lighting from above and to one side (simulating sunlight). A dark background makes the scene pop. Shoot from eye level with the model, not from above.
Common mistakes
- Building the terrain before the model is ready. Your terrain needs to fit the model's pose. If you change the pose later, the footprint won't match. Finish the kit first.
- Flat terrain with no elevation change. Even a slight hill or rubble pile creates visual interest and guides the eye. Flat bases look like a parking lot.
- Inconsistent scale. A 1/144 model next to obviously oversized rocks or doors breaks the illusion. Check proportions against the kit's pilot figure or use a scale reference chart.
- Over-saturated terrain colors. Real ground is muted: grays, browns, tans. Bright green grass or vivid red bricks look toylike. Desaturate everything and rely on washes and drybrushing for color interest.
- Forgetting the viewing angle. Most people view shelf dioramas from slightly above. Compose your scene for that angle. The "hero shot" should work from the most common viewing position.
A well-built diorama turns one finished kit into something people stop and stare at. It's the difference between "nice model" and "tell me the story."
Components
Featured kit
Scenic base
Effects
Materials list
7 itemsEstimated total cost
$60 - $250
Milestone timeline
7 weeks- 1
Plan scene composition and footprint
planning
- 2
Build or finish featured Gunpla
model
- 3
Construct base structure
terrain
- 4
Add rubble, buildings, or ground texture
terrain
- 5
Prime and paint terrain
painting
- 6
Integrate model pose and contact points
assembly
- 7
Add weathering, effects, and details
detailing
- 8
Seal, light, and photograph display
Finishing
Frequently
asked questions.
Related tools and guides
Plan your build, estimate costs, and get ready.
Budget Calculator
Estimate your build cost before you start buying materials.
Convention Checklist
88-item packing checklist. Check off items as you pack.
Prop Scaling Calculator
Scale reference images to your body measurements.
How Much Does It Cost to Build Gunpla?
Real build budgets with specific products and dollar amounts.
Gunpla on Costumary
Templates, tools, and workspace built for gunpla makers.
Browse all templates
Explore build plans across 10 craft verticals.
Start this build free
Clone this template into your workspace. Track materials, milestones, budget, and build progress in one place.
Related templates
Commission Build
6 weeks · 9 milestones
Manage a client Gunpla build from intake to delivery. Covers scope negotiation, approval checkpoints, paint recipe tracking, progress photography, and safe packing. For builders turning their skills into a side hustle or small business.
Custom Kitbash
8 weeks · 8 milestones
Design and build a one-of-a-kind mobile suit from multiple donor kits, scratch-built details, and custom paint. This is the creative peak of the hobby. For builders who have the fundamentals down and want to make something nobody else has.
Weathered Realistic
6 weeks · 8 milestones
Turn a clean painted kit into a battle-worn machine with chipping, enamel washes, streaking grime, dry pigments, and storytelling through wear. This is where Gunpla meets military model techniques. For builders who want their mobile suit to look like it's been through a war.
Painted Build
5 weeks · 9 milestones
Take your Gunpla beyond snap-fit with a full custom paint job. Covers test fitting, surface prep, priming, color separation, masking, decals, and clear coats. Built for modelers stepping up from straight builds into airbrush territory.
Straight Build
2 weeks · 8 milestones
Your first clean Gunpla finish, no painting required. This template walks you through nub removal, panel lining, decals, and topcoat on any grade kit. Perfect if you want a display-ready model that looks way better than "just snapped together."