
Weathered Realistic
Turn a clean painted kit into a battle-worn machine with chipping, enamel washes, streaking grime, dry pigments, and storytelling through wear. This is where Gunpla meets military model techniques. For builders who want their mobile suit to look like it's been through a war.
6 weeks
8
7
3
See the whole look before you start.
References, materials, budget, and build order for Weathered Realistic.
Timeline
6 weeks
Color refs


Materials
7 items
Budget
$60 - $200
save the visual refs
Full reference board
The preview above is curated for scanning. This is the working board you clone into your own build, with notes, colors, product images, and extra references intact.
Images are sourced from around the internet to help you get started. Use the web clipper to build your own reference library.
Reference images are gathered from around the web and belong to their original creators. We link back to where we found each one. If something here is yours and you want it taken down, email us and it is gone.
Build guide
A perfectly painted kit looks great. A weathered kit looks alive. There's a moment when you apply the first chip of silver paint to an edge and suddenly the plastic stops being a toy and starts being a machine with history. That's what this build is about.
Realistic weathering borrows heavily from the armor modeling world. You're applying techniques that military modelers have refined over decades (oil washes, chipping, pigments, streaking) to a Gunpla canvas. The goal isn't to make it look dirty. It's to make it look used. Every scratch, streak, and dust deposit tells a story about where this suit has been and what it's been through.
Before you weather anything, you need a fully painted and sealed base kit. If you haven't done a painted build yet, do that first. Weathering over bare plastic or an unsealed surface is a recipe for frustration. Your base should have a gloss coat applied over the paint and decals. This gloss surface is critical because it lets enamel washes flow into panel lines and allows you to clean up mistakes without damaging the paint underneath.
Reference photos are everything. Look at real military vehicles, construction equipment, old factory machinery. Notice how paint chips along edges where contact happens. Notice how rain streaks run vertically down panels. Notice how dust collects in recesses and horizontal surfaces. This observation is what separates "randomly dirty" from "realistically weathered."
Gather weathering and vehicle references. Pull 10-20 photos of real weathered vehicles and save them. Study where wear happens: edges, hatches, foot contact points, exhaust areas. Map these wear patterns onto your kit's anatomy.
Complete painted base finish. Your base paint needs to be fully cured and sealed under a gloss coat. Mr. Super Clear Gloss works well. The gloss surface is your safety net for everything that follows.
Apply decals and seal with gloss coat. Get all decals placed and settled before weathering. Once you start adding washes and chips, decals won't adhere properly. Another gloss coat over the decals locks them in.
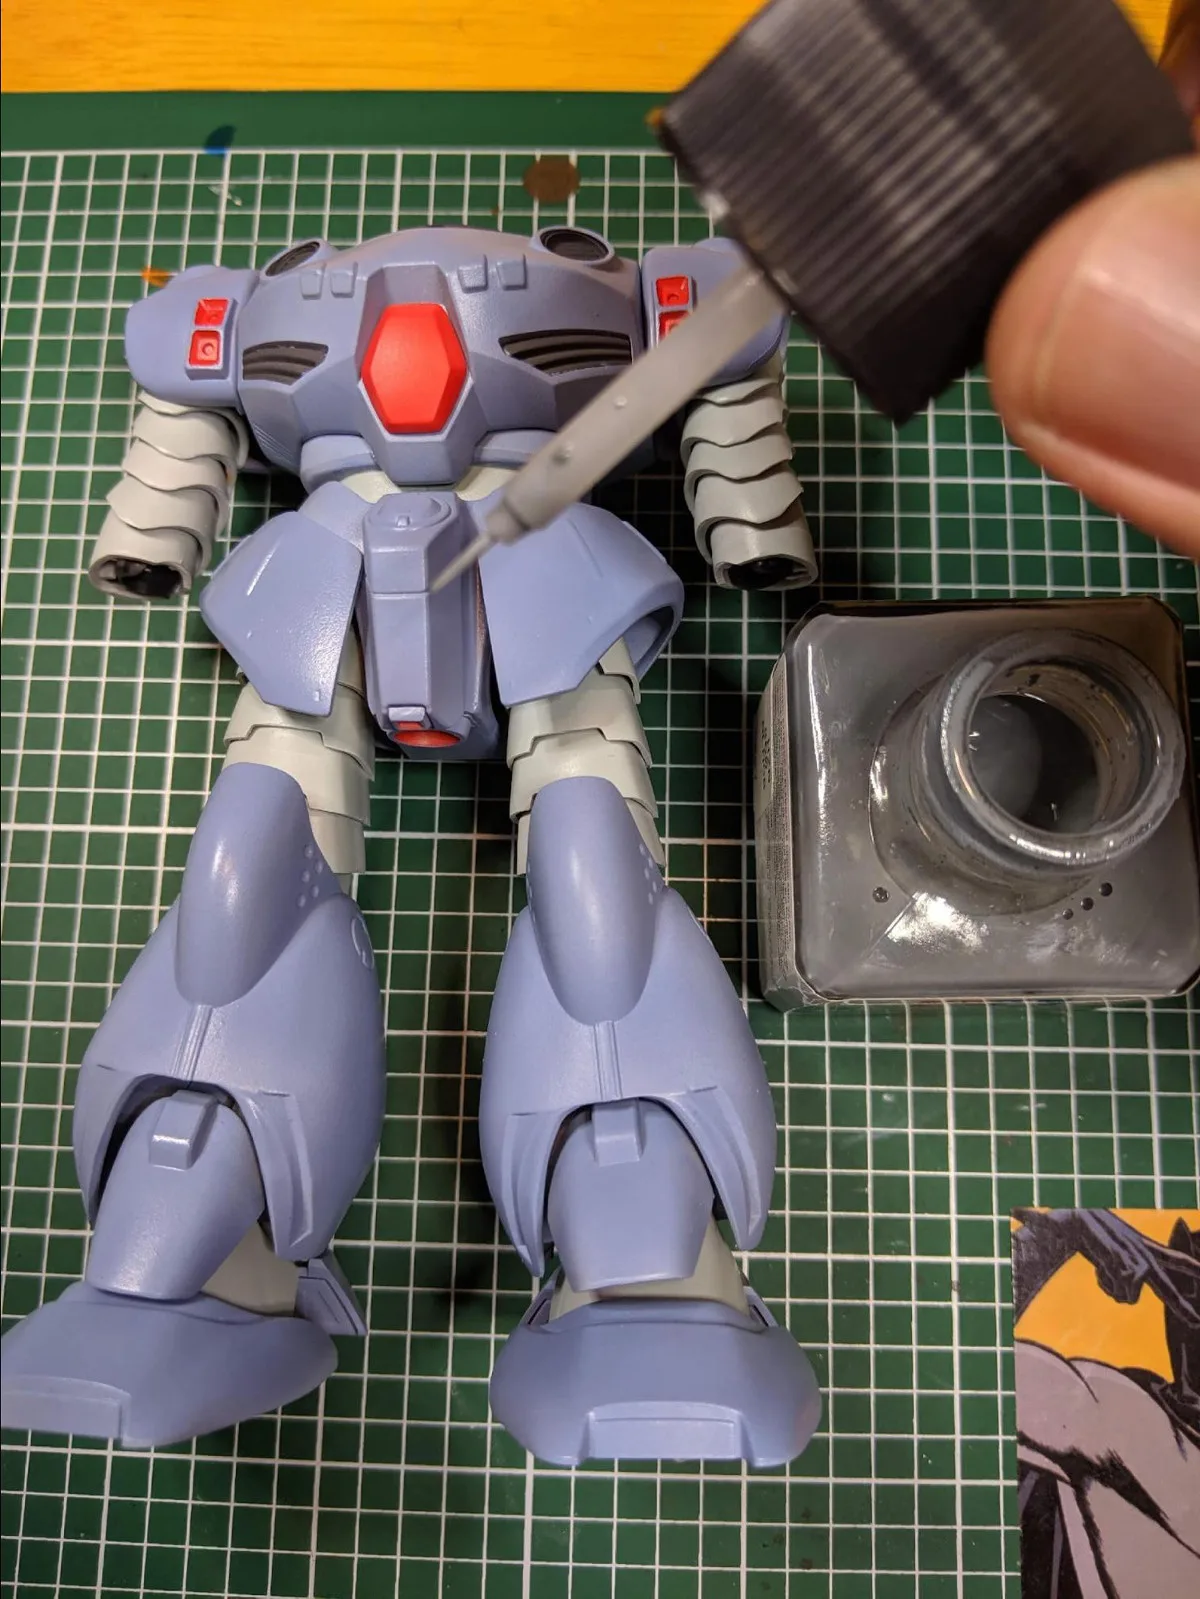
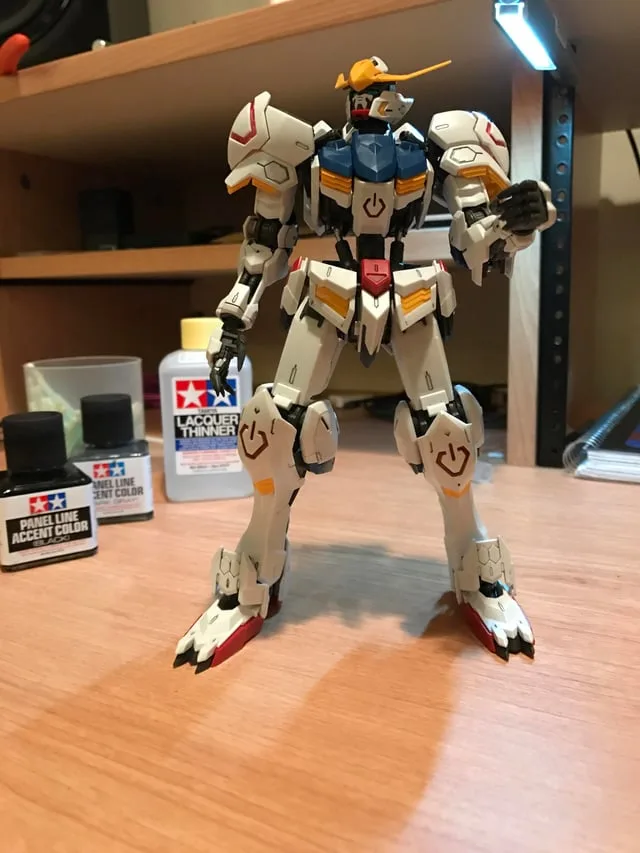
Add panel line and enamel washes. Tamiya Panel Line Accent is fine, but for weathering I prefer AK Interactive or Ammo by Mig enamel washes. Use a dark wash in recesses and a lighter brown or rust wash on flat panels. Apply with a fine brush, let dry 15-20 minutes, then clean up with a flat brush dampened in odorless thinner (AK Interactive Odorless Thinner or white spirits).
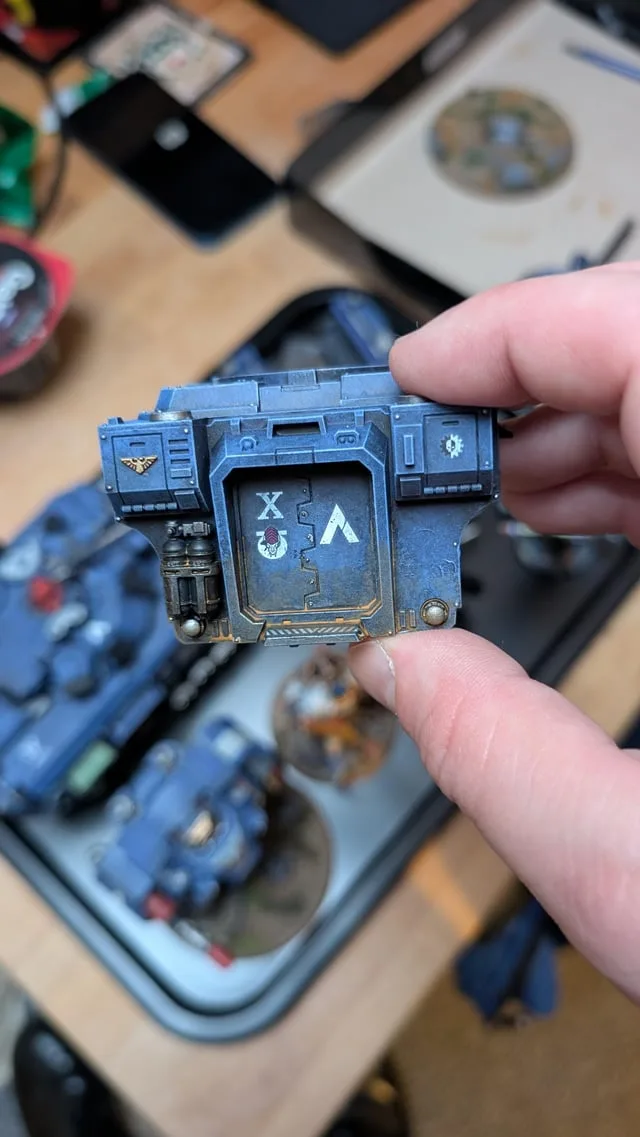
Paint chips and exposed metal edges. This is the money step. Use a small piece of torn sponge (pluck foam from packing material) dipped in a dark brown or black-brown, then dab it along edges where metal would be exposed by wear. Less is more. Focus on high-contact edges: knee joints, shoulder armor rims, foot edges, shield surfaces. Add tiny dots of silver or metallic paint inside the larger dark chips to simulate bare metal peeking through.
Add streaking grime and oil marks. Apply dots of oil paint (burnt umber, raw sienna, black) or AK Streaking Grime directly onto vertical armor panels. Let set for 5 minutes, then drag a clean flat brush dampened with thinner downward along the panel to create rain and grime streaks. Vary direction slightly. Real dirt doesn't streak in perfectly parallel lines.
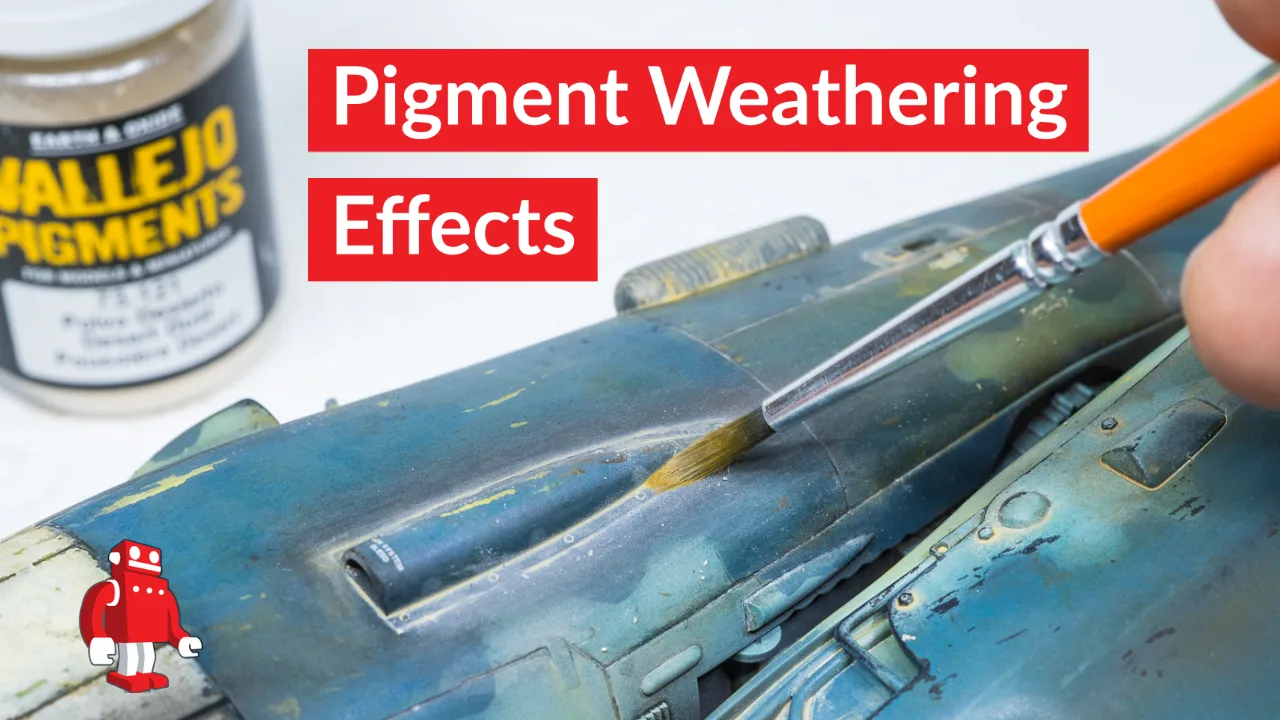
Apply dust, soot, and pigments. Tamiya Weathering Master sets or loose Ammo by Mig pigments work great. Dust collects on horizontal surfaces (shoulders, feet, top of head). Soot gathers around thrusters and vents. Apply pigments dry with a soft brush, then fix in place with a drop of pigment fixer or a very light mist of matte topcoat.
Seal finish and photograph closeups. Final matte topcoat locks everything in. Mr. Hobby Topcoat Flat (water-based, spray can) or Mr. Super Clear Flat (lacquer, stronger but needs ventilation). Photograph details up close because weathering is about the small stuff.
Common mistakes
- Over-weathering everything equally. Real machines wear unevenly. A shield takes more damage than a backpack. Feet are dustier than head armor. Think about the story.
- Skipping the gloss coat barrier. Without gloss under your washes, enamel thinner can eat into your base paint and leave permanent stains. Don't skip this step.
- Making chips too uniform. Torn sponge gives you organic, random chip shapes. A brush makes chips that look painted on. Use the sponge.
- Forgetting to vary wash colors. Using only black wash everywhere looks monotone. Mix in brown, rust, and blue-black to create depth and visual interest.
- Rushing pigment application. Build up dust gradually. One heavy application looks like you dropped the kit in a sandbox. Subtle layers look real.
Weathering is the most forgiving stage of Gunpla building. Too much? Wipe it back with thinner. Not enough? Add more. Once you get comfortable with these techniques, you'll never want to leave a kit "clean" again.
Components
Armor weathering
Frame weathering
Weapons weathering
Materials list
7 itemsEstimated total cost
$60 - $200
Milestone timeline
6 weeks- 1
Gather weathering and vehicle references
planning
- 2
Complete painted base finish
painting
- 3
Apply decals and seal with gloss coat
decals
- 4
Add panel line and enamel washes
weathering
- 5
Paint chips and exposed metal edges
weathering
- 6
Add streaking grime and oil marks
weathering
- 7
Apply dust, soot, and pigments
weathering
- 8
Seal finish and photograph closeups
Finishing
Frequently
asked questions.
Related tools and guides
Plan your build, estimate costs, and get ready.
Budget Calculator
Estimate your build cost before you start buying materials.
Convention Checklist
88-item packing checklist. Check off items as you pack.
Prop Scaling Calculator
Scale reference images to your body measurements.
How Much Does It Cost to Build Gunpla?
Real build budgets with specific products and dollar amounts.
Gunpla on Costumary
Templates, tools, and workspace built for gunpla makers.
Browse all templates
Explore build plans across 10 craft verticals.
Start this build free
Clone this template into your workspace. Track materials, milestones, budget, and build progress in one place.
Related templates
Commission Build
6 weeks · 9 milestones
Manage a client Gunpla build from intake to delivery. Covers scope negotiation, approval checkpoints, paint recipe tracking, progress photography, and safe packing. For builders turning their skills into a side hustle or small business.
Diorama
7 weeks · 8 milestones
Stage your Gunpla in a full scene with terrain, rubble, effects, and environmental storytelling. Covers base construction, terrain painting, model integration, and display photography. For builders who want their mobile suit to exist in a world, not just stand on a shelf.
Custom Kitbash
8 weeks · 8 milestones
Design and build a one-of-a-kind mobile suit from multiple donor kits, scratch-built details, and custom paint. This is the creative peak of the hobby. For builders who have the fundamentals down and want to make something nobody else has.
Painted Build
5 weeks · 9 milestones
Take your Gunpla beyond snap-fit with a full custom paint job. Covers test fitting, surface prep, priming, color separation, masking, decals, and clear coats. Built for modelers stepping up from straight builds into airbrush territory.
Straight Build
2 weeks · 8 milestones
Your first clean Gunpla finish, no painting required. This template walks you through nub removal, panel lining, decals, and topcoat on any grade kit. Perfect if you want a display-ready model that looks way better than "just snapped together."