
Commission Suit
Manage a client fursuit commission from initial quote through final shipping, with built-in checkpoints for ref sheet approval, fur swatch matching, progress photos, fitting verification, and delivery logistics. Built for makers running a commission business.
16 weeks
10
7
4
See the whole look before you start.
References, materials, budget, and build order for Commission Suit.
Timeline
16 weeks
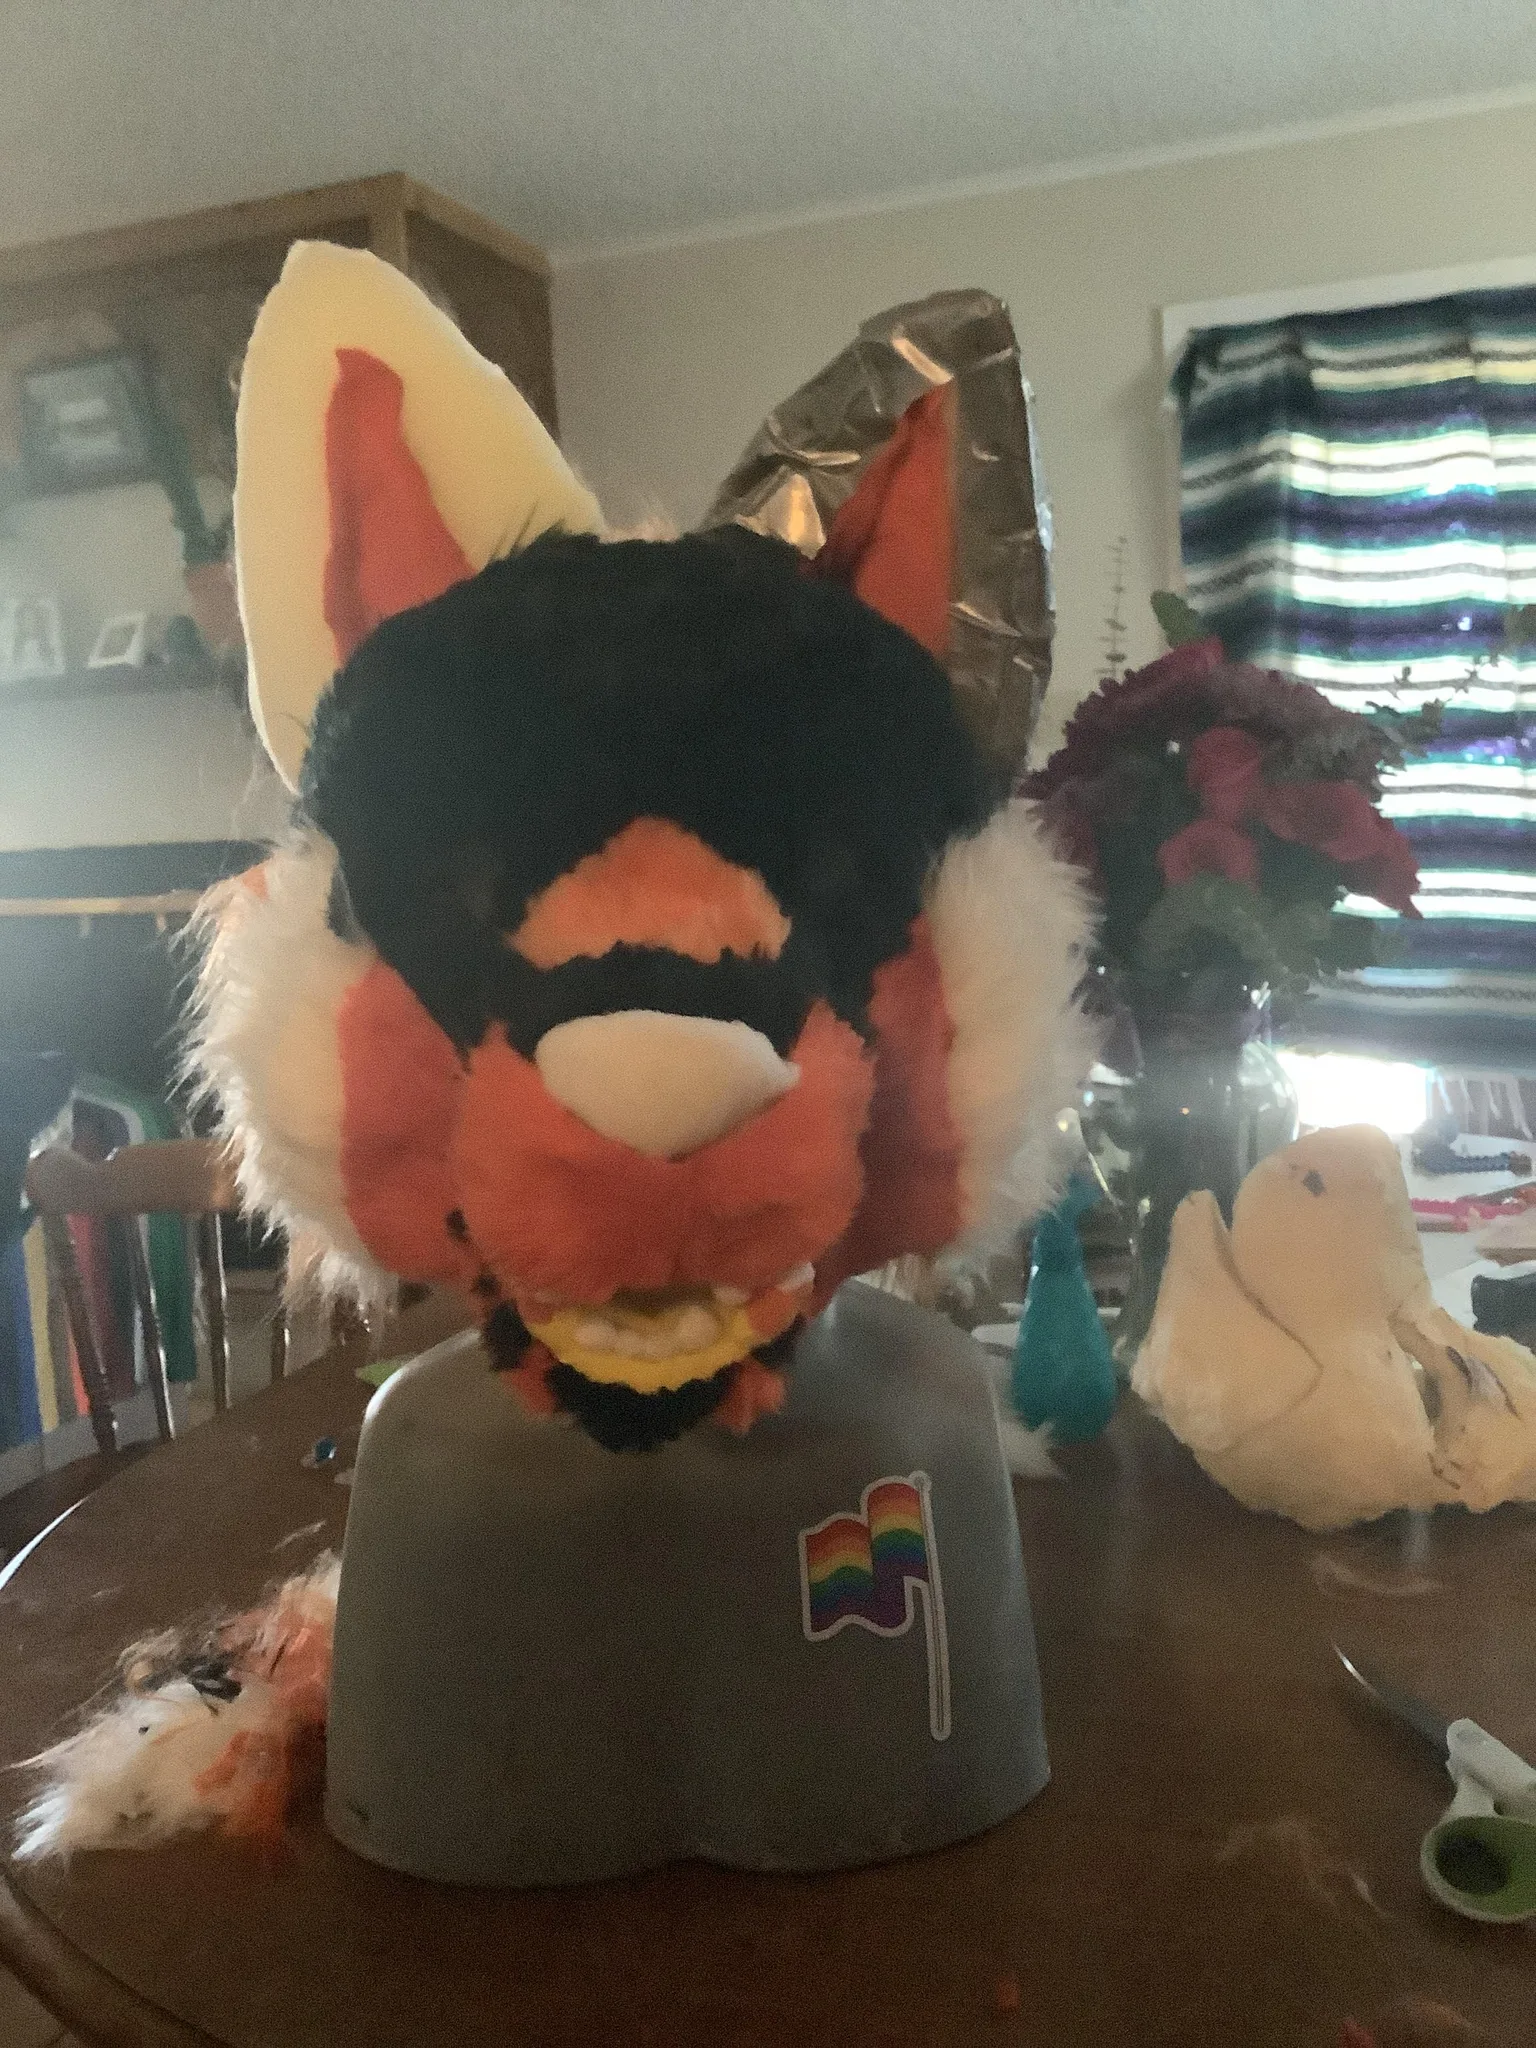
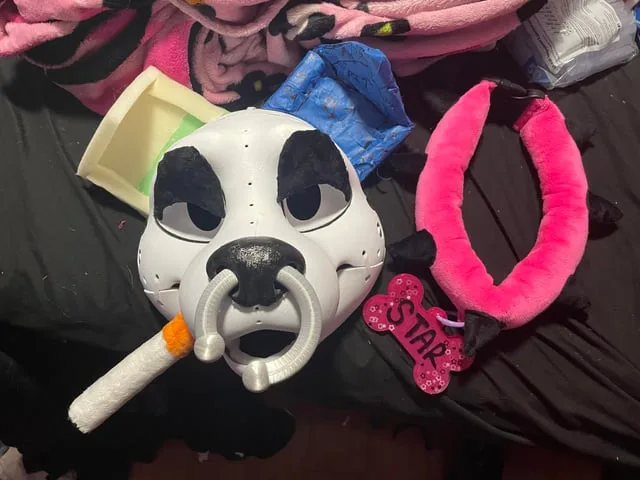
Color refs
Materials
7 items
Budget
$300 - $1000
save the visual refs
Full reference board
The preview above is curated for scanning. This is the working board you clone into your own build, with notes, colors, product images, and extra references intact.
Images are sourced from around the internet to help you get started. Use the web clipper to build your own reference library.
Reference images are gathered from around the web and belong to their original creators. We link back to where we found each one. If something here is yours and you want it taken down, email us and it is gone.
Build guide
Building a fursuit for someone else is fundamentally different from building for yourself. You can't test fit whenever you want, you can't make style decisions on the fly, and the client's expectations are set by the best suit makers on the internet. Clear communication and structured checkpoints are the difference between a happy client and a chargeback.
This template is for makers who've already built at least one or two suits for themselves and are ready to take paid work. If you haven't made a suit yet, build your own first. Commissions add project management stress on top of construction challenges, and you need to know your own timeline before you can promise one to someone else.
Scoping and Pricing
Confirm exactly what the client wants before you quote. A "partial" to one person means head, handpaws, and tail. To another person it means head, handpaws, feetpaws, tail, and arm sleeves. Write down every piece, every feature (moving jaw? follow-me eyes? digi legs?), and every color/marking in the scope document. Both you and the client sign off on this before any money changes hands.
Price based on materials plus labor plus overhead, not just materials. A partial commission typically takes 80-150 hours of labor. If your materials cost $300 and you charge $800 total, you're making about $3-6 per hour. Most established makers charge $1500-4000 for a partial and $3000-8000 for a full suit, depending on complexity. Know your hourly rate and don't undercharge because you're new. Undercharging leads to resentment and burnout.
Collect a non-refundable deposit (typically 30-50% of the total) before purchasing any materials. This protects you if the client disappears. Outline payment milestones in your terms of service.
Ref Sheet and Material Approval
Get the client's finalized ref sheet. If they don't have one, you can offer to work from a description, but strongly encourage them to commission a ref sheet first. Building from a vague description leads to "that's not what I meant" conversations that cost you time and money.
Order fur swatches and photograph them in natural light. Send swatch photos to the client for approval before ordering full yardage. Screen colors lie. What looks like "sky blue" on your monitor might look teal on theirs. Physical swatches solve this.
Once the client approves swatches, order all fur from the same supplier and dye lot. Document the supplier, color codes, and yardage purchased. If you need to order more later, you'll need this information to match.
The DTD and Measurements
If the client is local, take measurements in person. If they're remote (most commission clients are), have them make a duct tape dummy and ship it to you, or send a detailed measurement sheet with photos showing where each measurement is taken.
A DTD is worth the shipping cost. Measurements alone can't capture body shape, posture, and proportions the way a physical form can. Some makers include DTD instructions and a shipping label as part of their commission package.
Progress Checkpoints
Build in at least three photo checkpoints: after the head carve (before furring), after the head is furred, and after all pieces are assembled. Send clear, well-lit photos from multiple angles. Use a consistent background so the client can see details without distraction.
At each checkpoint, wait for written approval before proceeding. "Looks great!" in a text message is fine. The point is creating a paper trail that shows the client approved each stage. If they request changes at a checkpoint, document the change, adjust the timeline if needed, and note any additional cost for scope changes.
Construction
Follow the same build process as a personal suit but with extra attention to documentation. Log your hours per piece (this data helps you price future commissions accurately). Photograph each major step (you'll use these for your portfolio). Keep material receipts in case of disputes.
Quality control matters more on commissions. Every seam, every shaved section, every glued panel gets inspected before moving on. A loose seam on your own suit is a "fix it later" item. On a commission, it's a reputation hit.
Final Photos and Approval
Before shipping, take professional-quality photos of the completed suit. Use natural or studio lighting, shoot from the same angles as the ref sheet, and include detail shots of eyes, paws, and any special features. Send these to the client for final approval.
Some makers put the suit on a mannequin or wear it themselves (if similar in size) for these photos. The client needs to see how it looks worn, not just laid flat.
Packing and Shipping
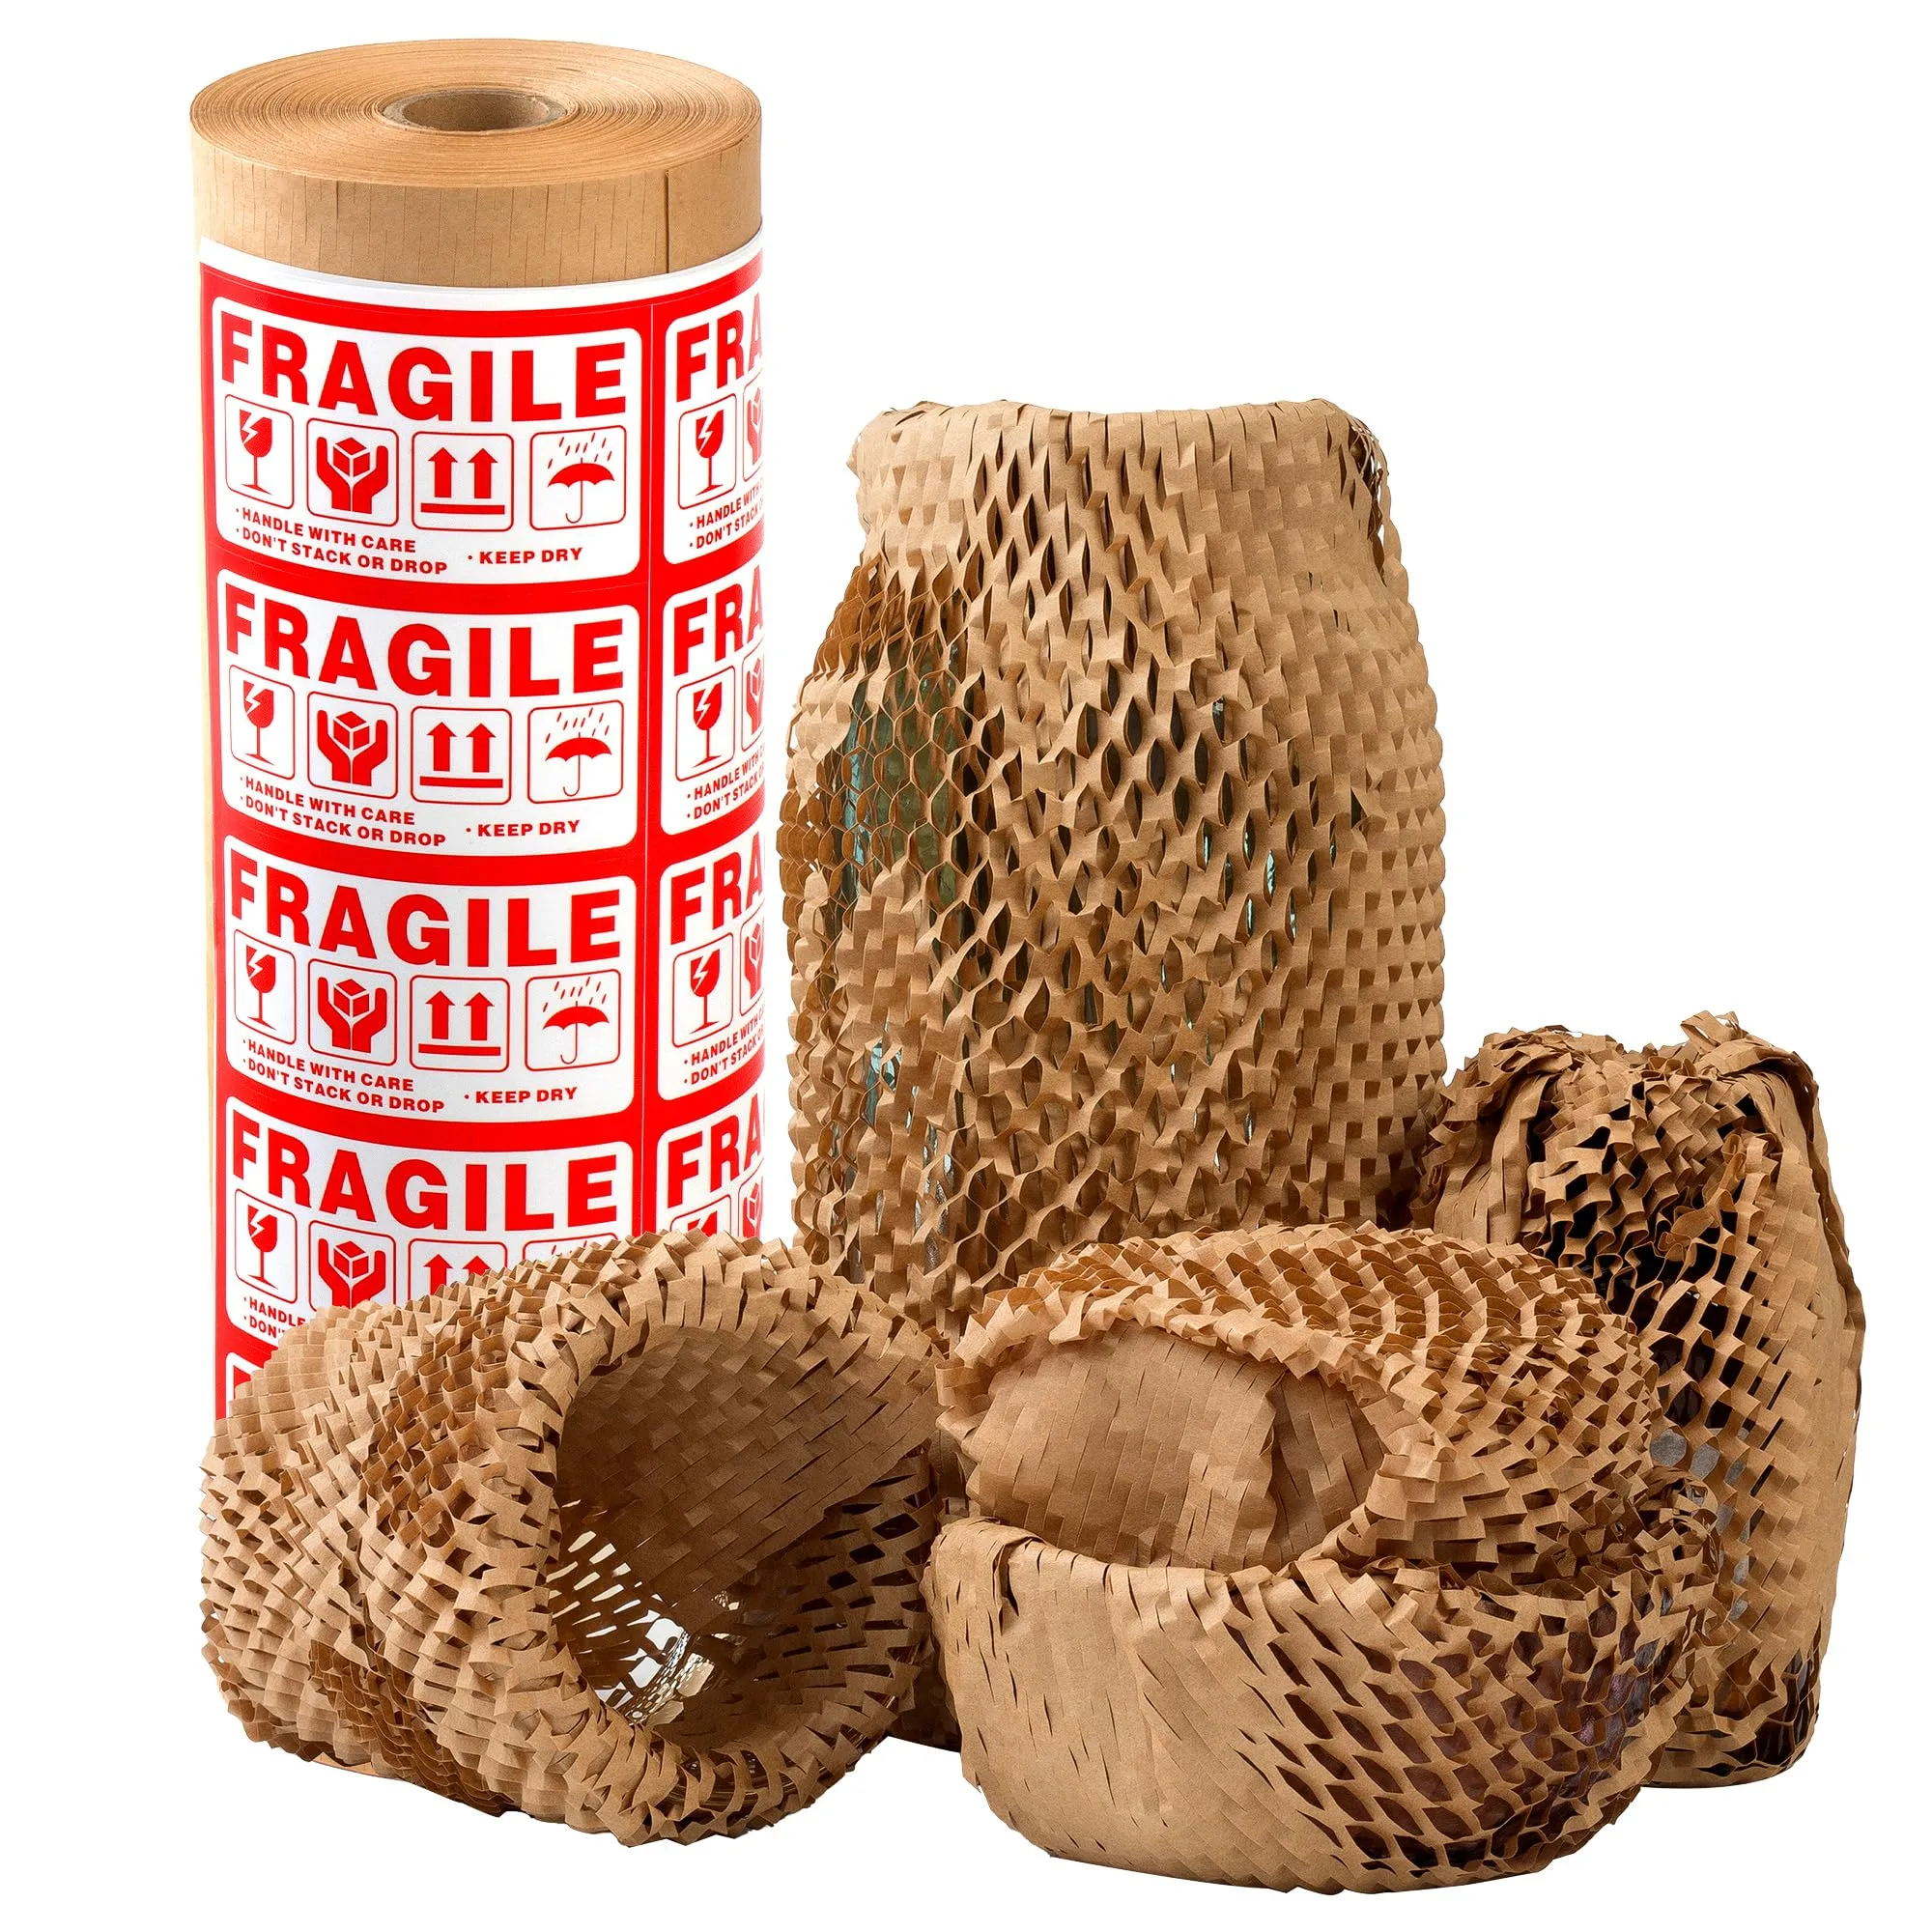
Ship in a large, sturdy box with the head in a separate plastic bag surrounded by packing paper (not loose peanuts, they get trapped in fur). Stuff the head with tissue paper to maintain shape during transit. Include a care card with washing and storage instructions.
Insure the package for the full value of the commission. A lost or damaged shipment without insurance is a catastrophic loss. Use a tracked shipping service and send the client the tracking number immediately.
Common Mistakes
- Undercharging. Your time has value. If you're making under $10/hour after materials, you'll burn out fast. Research what established makers charge and price accordingly.
- Skipping written scope approval. Verbal agreements about features and colors lead to disputes. Get everything in writing before you start.
- Not requiring a deposit. Clients who won't pay a deposit are clients who'll disappear mid-project. A 30-50% non-refundable deposit is industry standard.
- Building without checkpoints. If the client hates the head shape after you've already furred it, you've lost 20+ hours of work. Get approval at bare foam stage, before furring.
- Cheap shipping and no insurance. A $3000 suit shipped in a trash bag with no insurance is asking for disaster. Spend the $30-50 on proper packing and full-value insurance.
Commission work is rewarding but demanding. Set clear boundaries on revisions, communication hours, and timeline expectations from the start. Your terms of service is as important as your sewing skills.
Components
Client head
Suit pieces
Approval photos
Shipping package
Materials list
7 itemsEstimated total cost
$300 - $1000
Milestone timeline
16 weeks- 1
Confirm scope, budget, and deadline
design
- 2
Collect ref sheet and measurement details
design
- 3
Approve fur swatches and markings
Patterning
- 4
Create duct tape dummy if needed
Patterning
- 5
Build head and send checkpoint photos
sculpting
- 6
Pattern, sew, and fur major pieces
furring
- 7
Assemble suit and finish details
assembly
- 8
Complete fit and quality review
Fitting
- 9
Send final approval photos
Finishing
- 10
Pack, insure, and ship
Finishing
Frequently
asked questions.
Related tools and guides
Plan your build, estimate costs, and get ready.
Budget Calculator
Estimate your build cost before you start buying materials.
Convention Checklist
88-item packing checklist. Check off items as you pack.
Prop Scaling Calculator
Scale reference images to your body measurements.
How Much Does a Fursuit Cost in 2026?
Real build budgets with specific products and dollar amounts.
How Much Does It Cost to Make a Fursuit?
Real build budgets with specific products and dollar amounts.
Fursuit Making on Costumary
Templates, tools, and workspace built for fursuit making makers.
Browse all templates
Explore build plans across 10 craft verticals.
Debut your fursuit making build
Upcoming conventions where you could wear this. Dates, checklists, and budget tools included.
Midwest FurFest 2026
Dec 3-6 · Rosemont, IL
One of the largest furry conventions globally, held annually in suburban Chicago.
Further Confusion 2027
Jan 14-18 · San Jose, CA
One of the oldest furry conventions, five days in San Jose in the middle of January. Established, well organised, and a good place to debut a suit without the summer heat working against you.
Anthrocon 2027
Jul 1-4 · Pittsburgh, PA
The world's largest furry convention takes over downtown Pittsburgh for four days across the July 4th weekend. If you're bringing a fursuit, plan for real humidity and pack cooling gear. The Saturday parade is the thing to see.
Start this build free
Clone this template into your workspace. Track materials, milestones, budget, and build progress in one place.
Related templates
Partial Suit
10 weeks · 12 milestones
Plan and build a cohesive partial fursuit (head, handpaws, tail, and feetpaws) as one unified project. This template coordinates fur matching, timing, and construction order so every piece looks like it belongs together.
Full Suit
20 weeks · 10 milestones
Plan a complete fursuit build from head to toe, covering digitigrade vs. plantigrade decisions, bodysuit patterning, padding placement, cooling strategy, and the multi-month timeline it actually takes. This template is for experienced makers ready for the big one.
Head Base
6 weeks · 9 milestones
Build a fursuit head from scratch using upholstery foam or a resin blank, covering everything from initial carving through furring and finishing. This template walks you through muzzle shaping, eye installation, jaw mechanics, and fur patterning on the most visible piece of any suit.
Accessories
3 weeks · 7 milestones
Build small fursuit pieces like tails, ears, handpaws, or arm sleeves without committing to a full head or suit. Perfect for first-time makers, convention add-ons, or quick character pieces that pair with street clothes.