
Head Base
Build a fursuit head from scratch using upholstery foam or a resin blank, covering everything from initial carving through furring and finishing. This template walks you through muzzle shaping, eye installation, jaw mechanics, and fur patterning on the most visible piece of any suit.
6 weeks
9
7
3
See the whole look before you start.
References, materials, budget, and build order for Head Base.
Timeline
6 weeks
Color refs
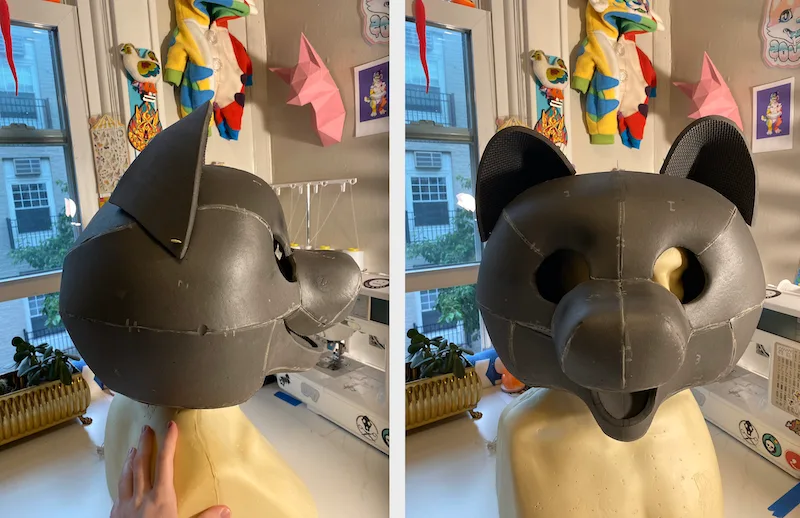
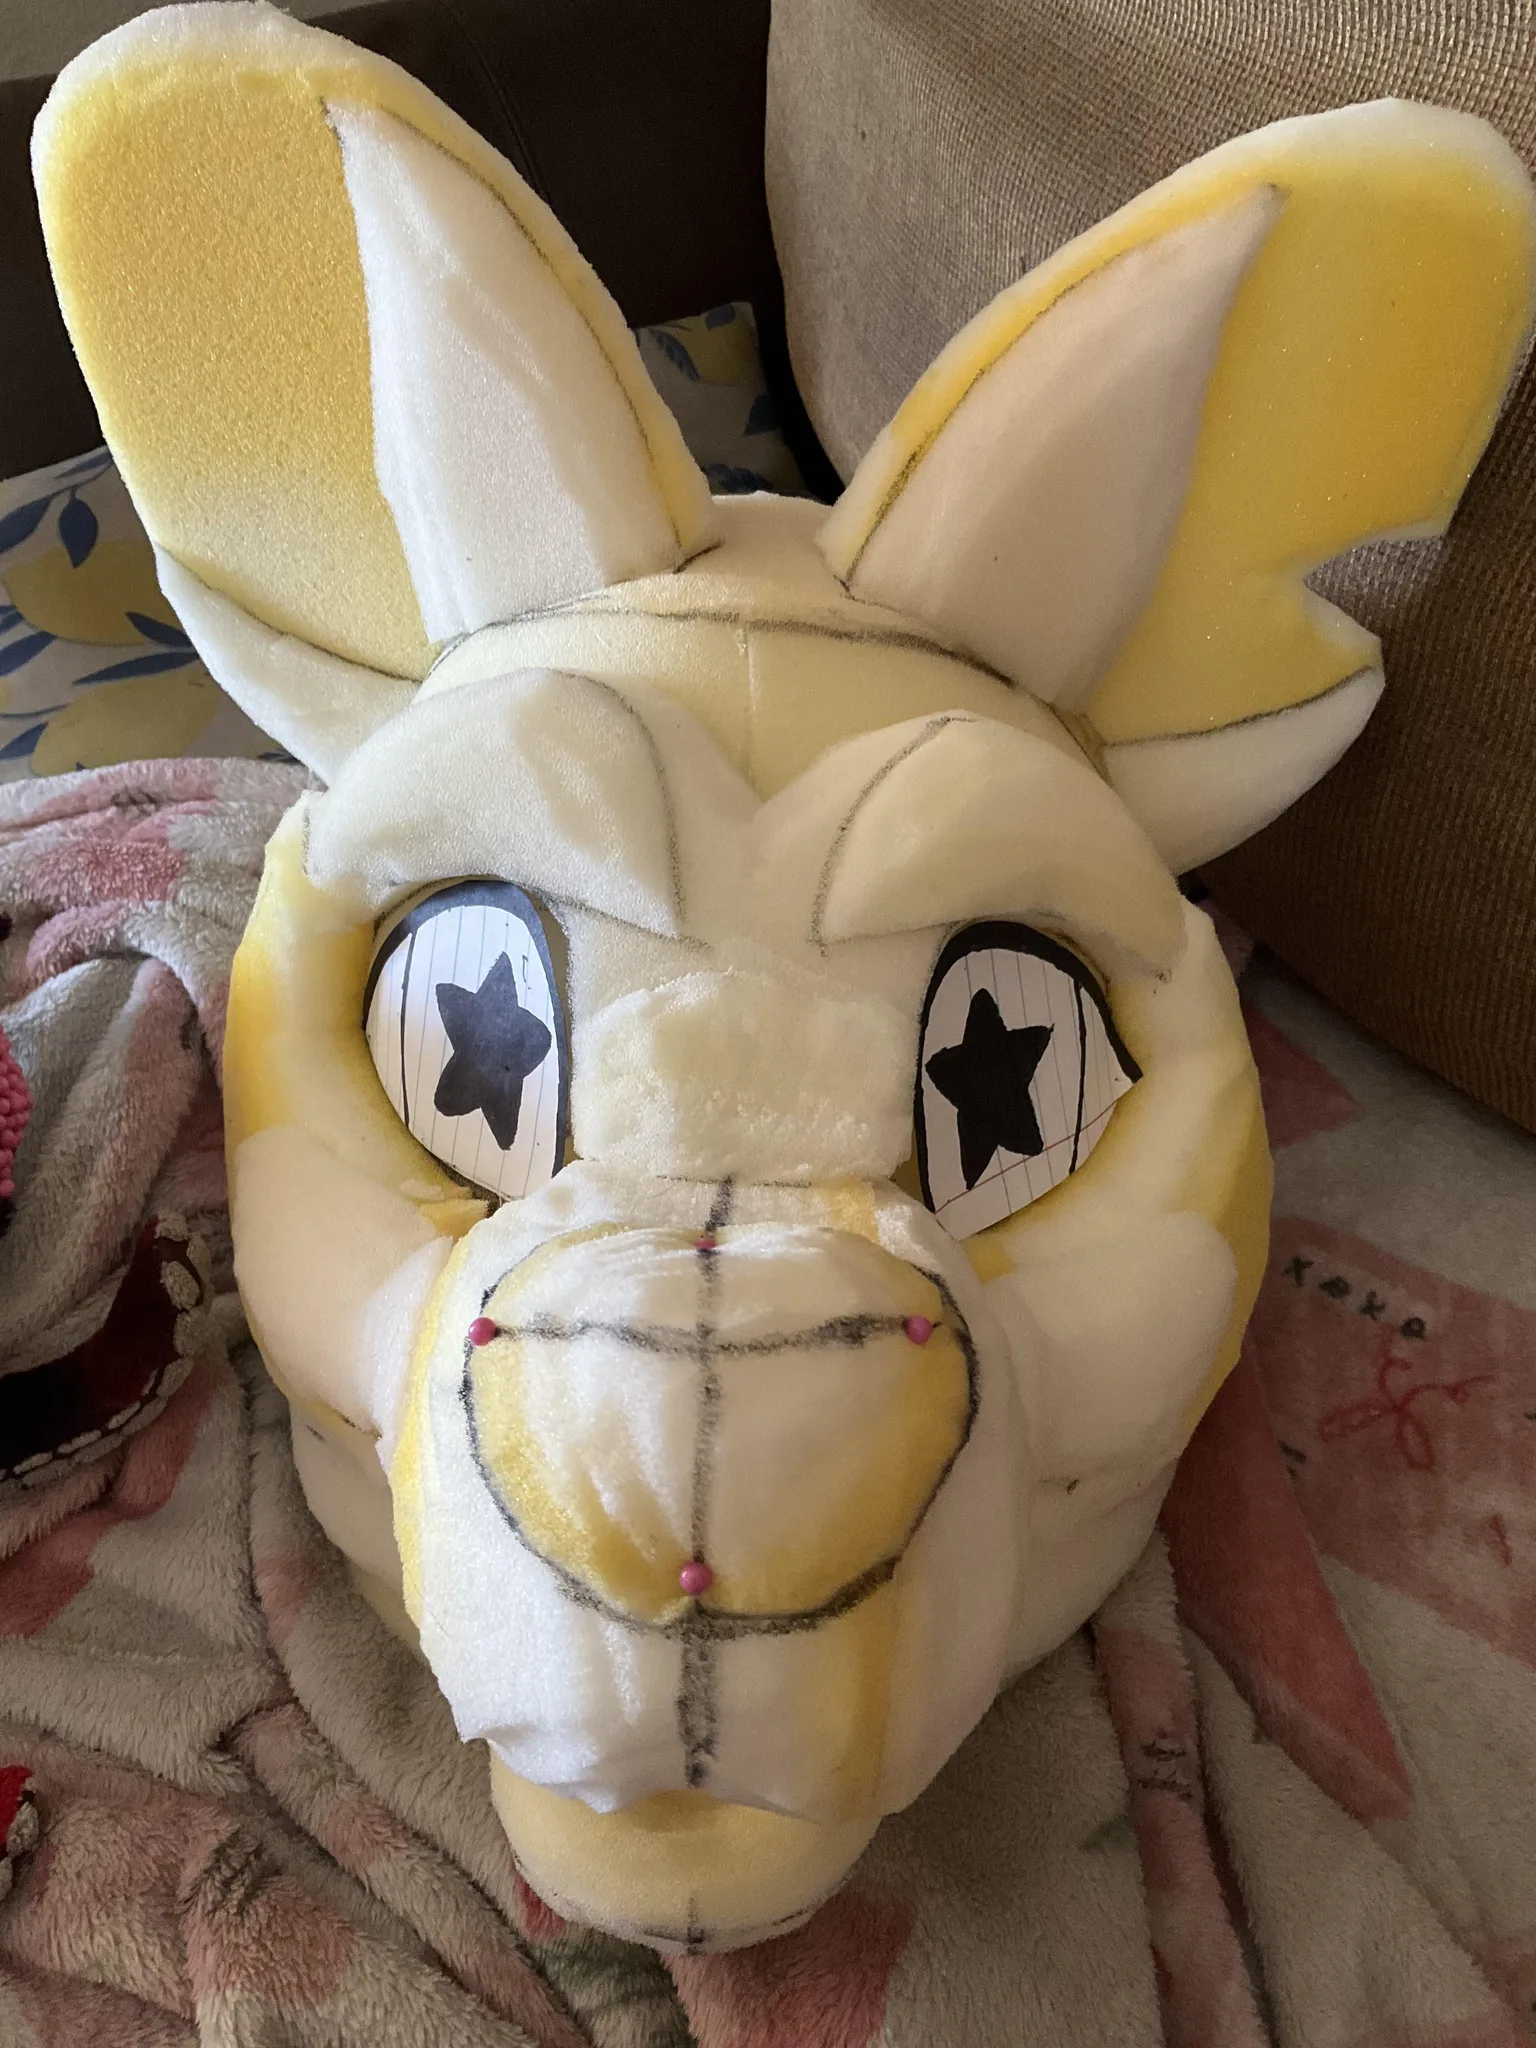
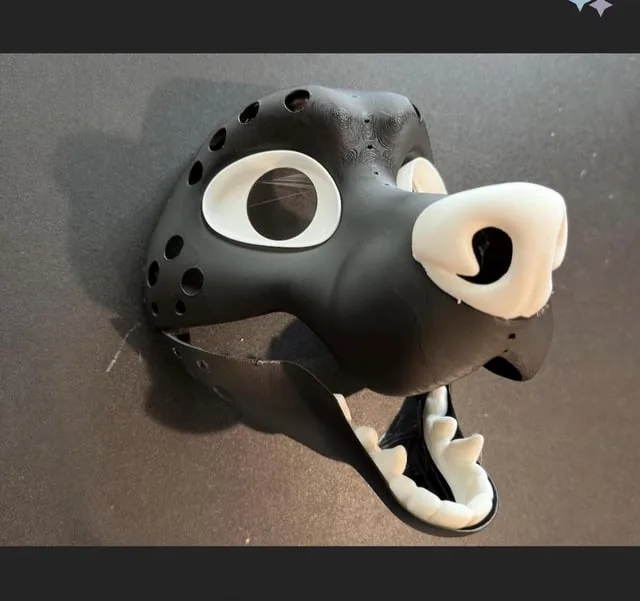
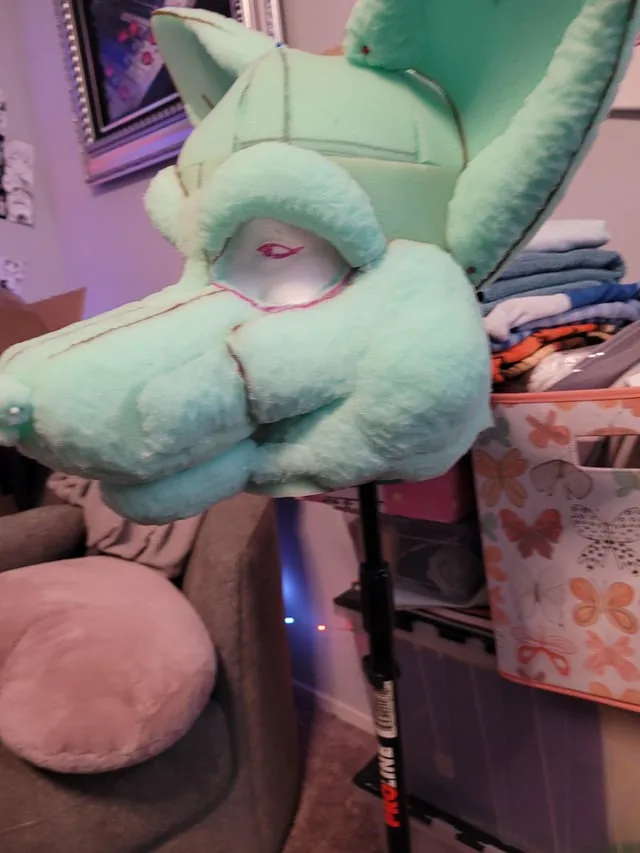
Materials
7 items
Budget
$120 - $400
save the visual refs
Full reference board
The preview above is curated for scanning. This is the working board you clone into your own build, with notes, colors, product images, and extra references intact.
Images are sourced from around the internet to help you get started. Use the web clipper to build your own reference library.
Reference images are gathered from around the web and belong to their original creators. We link back to where we found each one. If something here is yours and you want it taken down, email us and it is gone.
Build guide
The head is where people look first. It's the piece that sells the whole character, and it's the piece most likely to end up in someone's con photos. Getting it right matters more than any other part of the suit.
You're building a wearable sculpture that fits your head, lets you see and breathe, and looks like your character from every angle. That's a lot of constraints for one piece, and every decision you make in the first few hours affects everything that follows.
Foam vs. Resin Base
Your first real decision is whether to carve from upholstery foam or start with a resin blank. Foam is cheaper ($15-25 for a block from Joann or a local upholstery shop), more forgiving, and easier to modify. Resin blanks from makers like DreamVision Creations or Kaiborg Studios run $80-200 but give you a clean, symmetrical starting shape with proper eye placement already figured out.
If this is your first head, go foam. You'll make mistakes, and foam lets you glue chunks back on and re-carve without starting over. Resin blanks are great when you know exactly what proportions you want and you've already built at least one head from scratch.
For foam carving, you need a balaclava as your base layer. Put it on, mark your eye line and chin, then build up the foam around it. An electric carving knife (the kind you'd use on a Thanksgiving turkey) is the best tool here. Scissors and box cutters work but take three times as long and give rougher results.
Carving and Shaping
Start with the biggest shapes first. Block out the muzzle, cheeks, and brow before you touch any details. I've watched too many first-timers jump straight to ear placement before the basic skull shape is right, and then everything's off by the time they realize it.
Carve symmetrically by checking your work in a mirror constantly. Mark a center line with a Sharpie and keep referencing your character sheet. The cheeks set the expression. Wide cheeks read as friendly, narrow cheeks read as sleek. The brow ridge is where personality lives.
Eyes, Jaw, and Ventilation
Follow-me eyes are the standard now. You can buy mesh-backed resin eye blanks or make your own from buckram and acrylic paint. The pupil placement determines where the eyes "follow" from, so test this by holding the eyes up and walking around them before you commit to gluing.
A moving jaw is optional but adds so much life. The simplest setup is a hinge made from elastic and a chin rest inside the head. When your jaw drops, the muzzle opens. More complex setups use springs or magnets. Start with elastic, it's $3 and works fine.
Ventilation is not optional. You need airflow or you'll fog up and overheat in minutes. Leave the mouth area partially open, add a small PC fan ($8-12 on Amazon) pointed at your face, or both. I've seen people skip this step and regret it 20 minutes into their first suiting session.
Furring the Head
Pattern your fur pieces by wrapping the head in plastic wrap, then masking tape, then drawing your seam lines directly on the tape. Cut the tape pattern off in sections, lay them on the back of your fur, and cut with small scissors (never a rotary cutter, it shreds the pile). Always cut from the backing side.
Pay attention to fur direction. The nap should flow backward from the nose, downward on the cheeks, and follow natural growth patterns. Getting this wrong makes the head look matted and strange even if everything else is perfect.
Glue fur panels with hot glue for basting and contact cement for permanent bonds. Work in sections, stretching and smoothing as you go. Seams between panels get hidden by brushing adjacent fur over them with a slicker brush.
Shaving and Finishing
Once all the fur is on, shave it down with pet clippers (Wahl or Andis, $30-50). Short pile on the muzzle and around the eyes. Longer pile on the cheeks and forehead. This is where the head goes from "fuzzy blob" to "actual character." Take your time. You can always shave more but you can't un-shave.
Common Mistakes
- Skipping the test fit after carving. You need to wear the foam base for at least 10 minutes before furring. Check sight lines, jaw clearance, and whether it sits level.
- Cutting fur from the pile side. Always flip it over and cut from the backing with small sharp scissors. Cutting through the pile gives you bald seam lines.
- Making the head too tight. Your head swells when you're hot. Build in at least half an inch of clearance on every side, more around the forehead.
- Ignoring fur direction. Random nap direction is the number one tell of an amateur head. Plan your fur layout before cutting a single piece.
- No ventilation plan. If you can't breathe comfortably for 30 minutes, you won't suit. Period.
A good head base takes time. Budget 6 weeks if this is your first, and don't rush the carving phase. Everything else builds on that foundation.
Components
Head base
Eyes
Furred head shell
Materials list
7 itemsEstimated total cost
$120 - $400
Milestone timeline
6 weeks- 1
Finalize character head references
design
- 2
Take head measurements
Patterning
- 3
Build or prepare base form
sculpting
- 4
Carve muzzle, cheeks, brow, and ears
sculpting
- 5
Test fit and adjust sight lines
Fitting
- 6
Install jaw, eyes, and ventilation
detailing
- 7
Pattern fur pieces
Patterning
- 8
Sew and glue head fur
furring
- 9
Shave, style, and finish details
Finishing
Frequently
asked questions.
Related tools and guides
Plan your build, estimate costs, and get ready.
Budget Calculator
Estimate your build cost before you start buying materials.
Convention Checklist
88-item packing checklist. Check off items as you pack.
Prop Scaling Calculator
Scale reference images to your body measurements.
How Much Does a Fursuit Cost in 2026?
Real build budgets with specific products and dollar amounts.
How Much Does It Cost to Make a Fursuit?
Real build budgets with specific products and dollar amounts.
Fursuit Making on Costumary
Templates, tools, and workspace built for fursuit making makers.
Browse all templates
Explore build plans across 10 craft verticals.
Debut your fursuit making build
Upcoming conventions where you could wear this. Dates, checklists, and budget tools included.
Midwest FurFest 2026
Dec 3-6 · Rosemont, IL
One of the largest furry conventions globally, held annually in suburban Chicago.
Further Confusion 2027
Jan 14-18 · San Jose, CA
One of the oldest furry conventions, five days in San Jose in the middle of January. Established, well organised, and a good place to debut a suit without the summer heat working against you.
Anthrocon 2027
Jul 1-4 · Pittsburgh, PA
The world's largest furry convention takes over downtown Pittsburgh for four days across the July 4th weekend. If you're bringing a fursuit, plan for real humidity and pack cooling gear. The Saturday parade is the thing to see.
Start this build free
Clone this template into your workspace. Track materials, milestones, budget, and build progress in one place.
Related templates
Partial Suit
10 weeks · 12 milestones
Plan and build a cohesive partial fursuit (head, handpaws, tail, and feetpaws) as one unified project. This template coordinates fur matching, timing, and construction order so every piece looks like it belongs together.
Full Suit
20 weeks · 10 milestones
Plan a complete fursuit build from head to toe, covering digitigrade vs. plantigrade decisions, bodysuit patterning, padding placement, cooling strategy, and the multi-month timeline it actually takes. This template is for experienced makers ready for the big one.
Commission Suit
16 weeks · 10 milestones
Manage a client fursuit commission from initial quote through final shipping, with built-in checkpoints for ref sheet approval, fur swatch matching, progress photos, fitting verification, and delivery logistics. Built for makers running a commission business.
Accessories
3 weeks · 7 milestones
Build small fursuit pieces like tails, ears, handpaws, or arm sleeves without committing to a full head or suit. Perfect for first-time makers, convention add-ons, or quick character pieces that pair with street clothes.