
Partial Suit
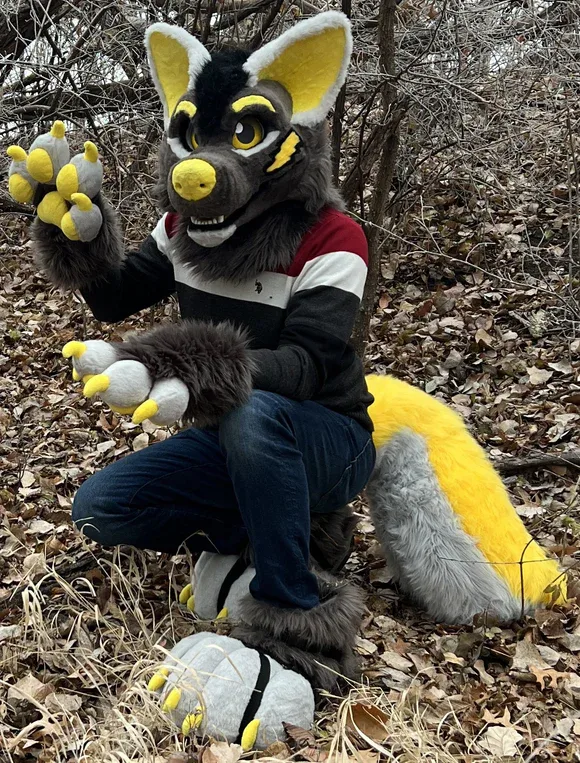
Plan and build a cohesive partial fursuit (head, handpaws, tail, and feetpaws) as one unified project. This template coordinates fur matching, timing, and construction order so every piece looks like it belongs together.
10 weeks
12
8
4
See the whole look before you start.
References, materials, budget, and build order for Partial Suit.
Timeline
10 weeks
Color refs
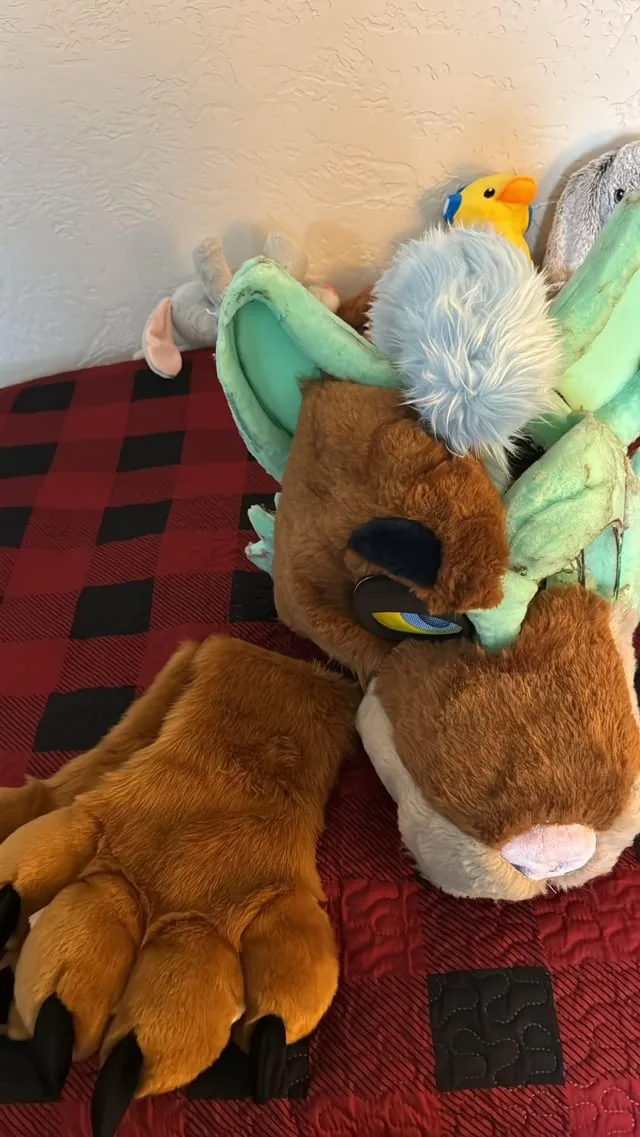
Materials
8 items
Budget
$250 - $700
save the visual refs
Full reference board
The preview above is curated for scanning. This is the working board you clone into your own build, with notes, colors, product images, and extra references intact.
Images are sourced from around the internet to help you get started. Use the web clipper to build your own reference library.
Reference images are gathered from around the web and belong to their original creators. We link back to where we found each one. If something here is yours and you want it taken down, email us and it is gone.
Build guide
A partial is the standard first fursuit for a reason. You get the full character experience (head, paws, tail) without sewing an entire bodysuit, and you can wear it over street clothes or a matching base layer. Most fursuiters start here, and many never feel the need to go further.
You're building four distinct pieces that all need to look like they came from the same character. That means matching fur, consistent construction quality, and a ref sheet you actually follow. Winging it across four components is how you end up with handpaws that don't match your head.
Character Ref and Fur Selection
Start with a finalized ref sheet. Not a rough sketch, not a "I'll figure it out as I go" mental image. A proper front/back/side character reference with markings, colors, and proportions clearly laid out. This is your blueprint for every piece.
Order all your fur at the same time from the same supplier. Fur varies between dye lots, so buying your main color from Howl Fabric in March and your accent from BigZ Fabric in June is asking for a color mismatch. Budget $12-25 per yard depending on pile length and quality. A partial typically needs 3-5 yards total across all colors.
The DTD (Duct Tape Dummy)
If your feetpaws and handpaws need to fit precisely, make a duct tape dummy of your hands and feet. For hands: put on a disposable glove, wrap in duct tape (not too tight), mark seam lines, carefully cut off. Same concept for feet over a sock. This gives you a custom pattern base that's way more accurate than measuring with a tape measure.
For the head, take proper measurements: circumference at the brow, ear to ear over the top, and chin to crown. Write them down. You'll reference these constantly.
Build Order
Build the head first. It takes the longest, has the steepest learning curve, and sets the standard for your fur work. If you jump to handpaws first because they seem easier, you'll improve your technique by the time you reach the head, and then your paws won't match your head quality.
After the head, do handpaws next. They use similar fur patterning skills at a smaller scale. Then the tail (relatively simple, good confidence builder). Feetpaws last because they need the most structural planning with shoe soles and padding.
Handpaws
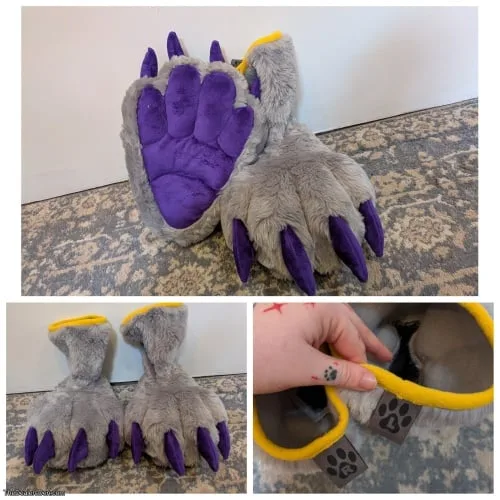
The simplest handpaw pattern is a mitten shape with a separate thumb. Cut from fur with the nap running fingertip to wrist. Sew inside out, flip, and you've got the shell. Paw pads can be minky fabric, fleece, or silicone. I prefer minky for softness and durability. Claws are usually sculpted from Model Magic or cast from resin, then hot-glued to the fingertips.
Add elastic at the wrist so they stay on during movement. Loose handpaws that fly off mid-fursuit dance are embarrassing and expensive to replace.
Tail
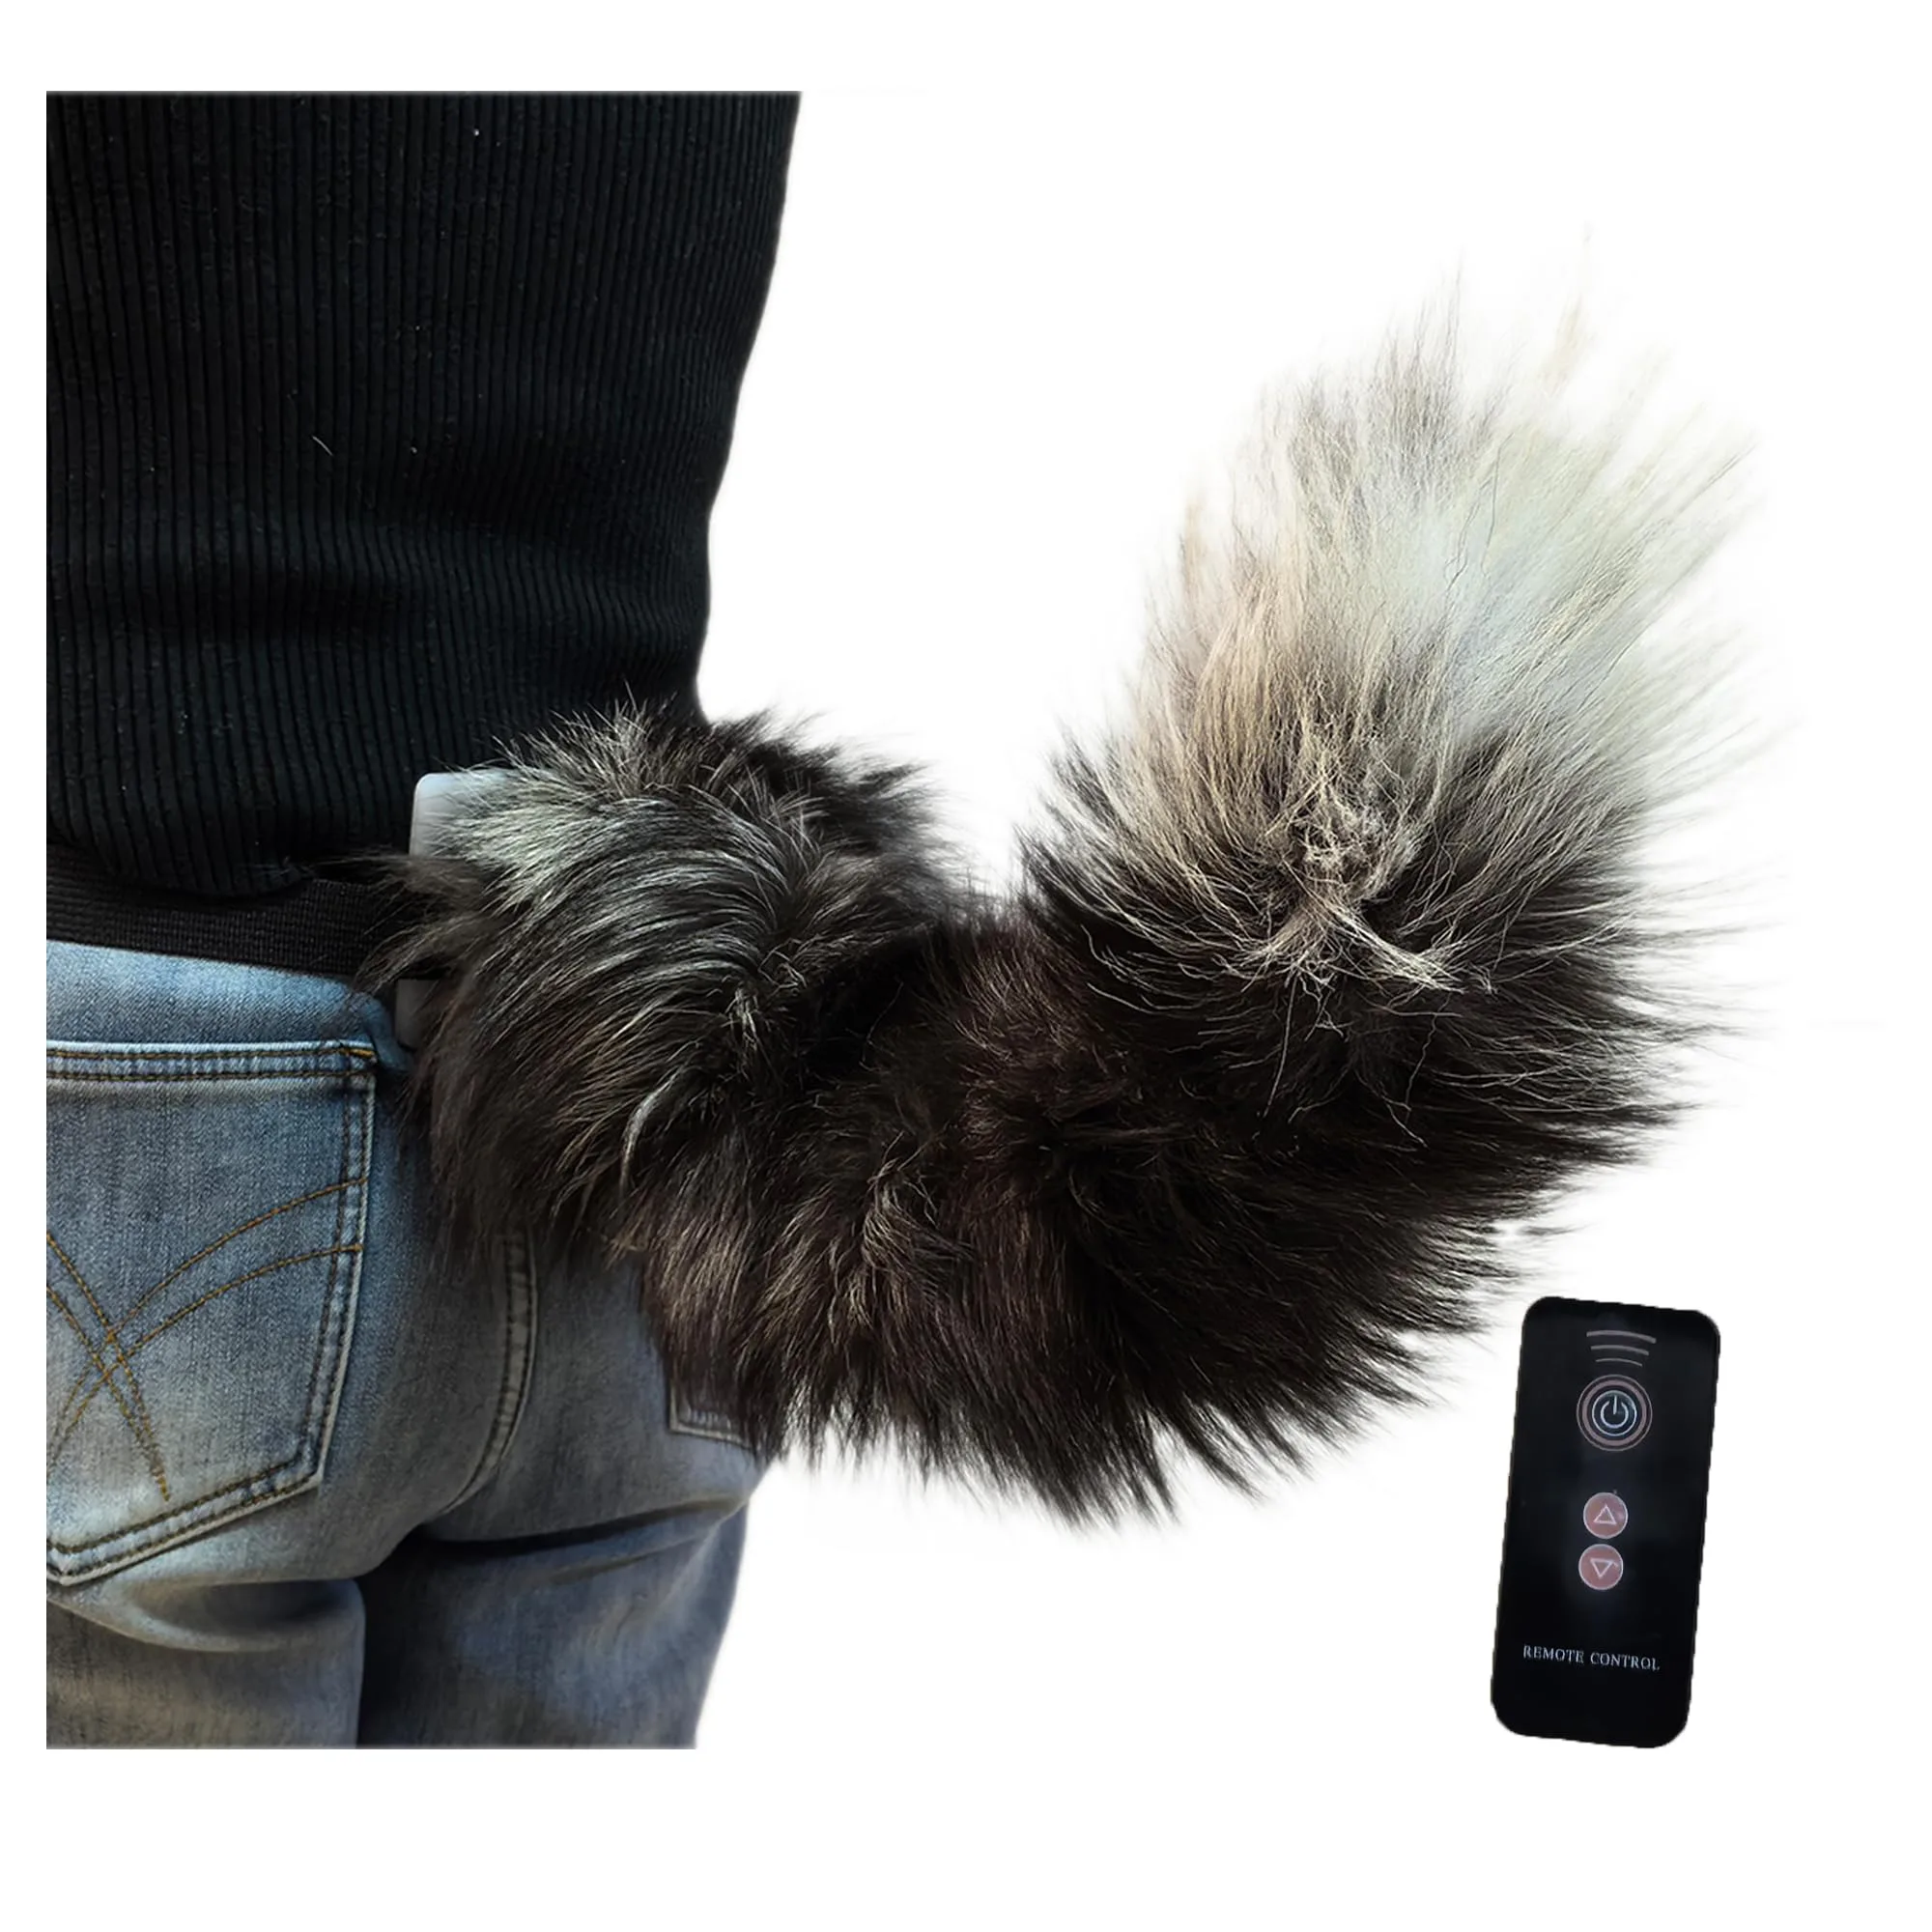
For a basic tail, make a tube of fur (nap running tip to base), stuff with polyfil, and attach a belt loop or clip at the base. Curved tails need an internal wire armature. Use aluminum armature wire ($5-8 at art supply stores) bent to your desired curve, then stuff around it. The wire lets you pose the tail and keeps it from flopping straight down.
Feetpaws
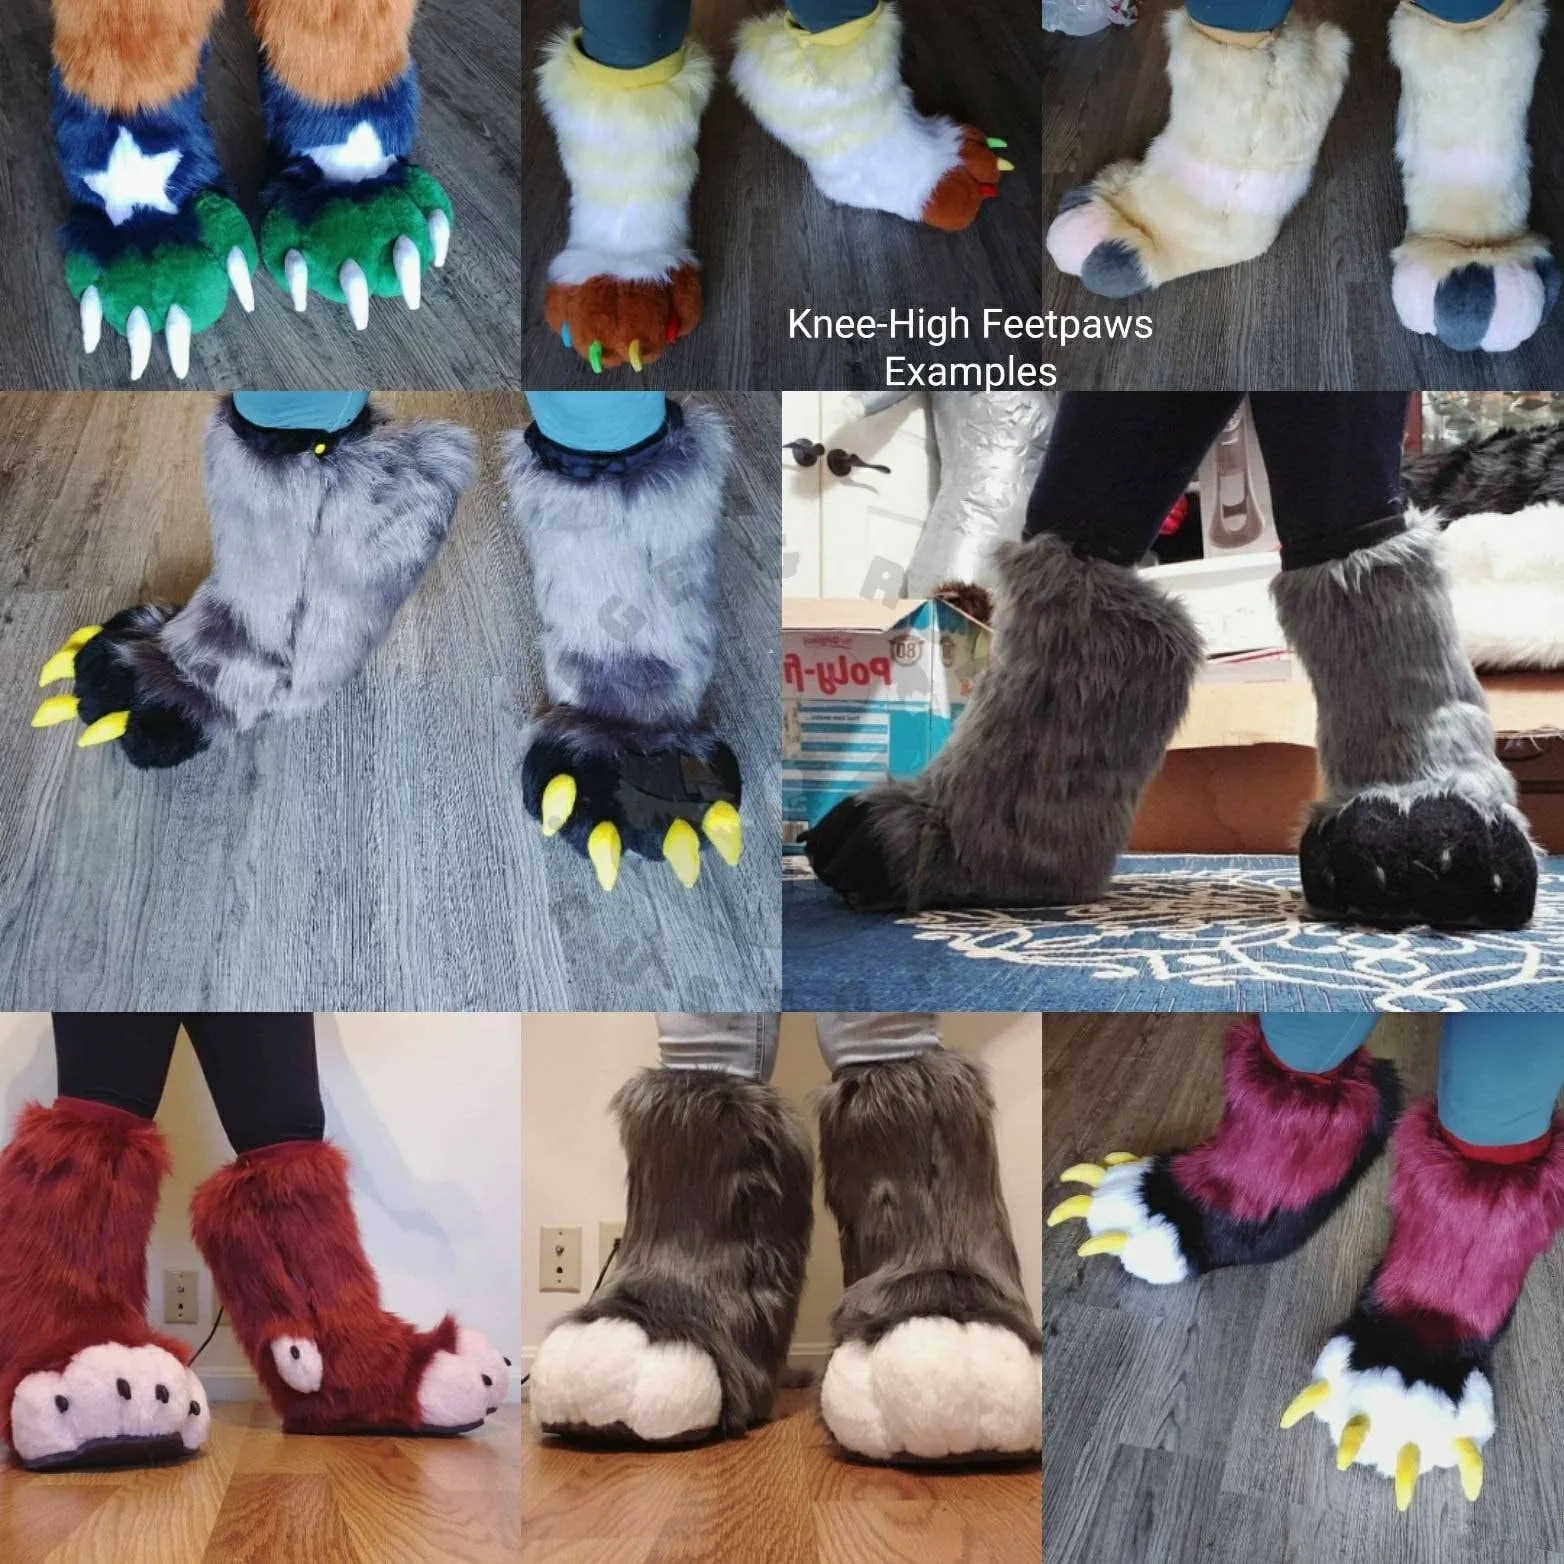
Feetpaws are built on top of shoes, usually cheap sneakers or slides from Walmart ($10-15). Glue foam to the shoe to build up the shape (toe beans, ankle padding), then fur over the whole thing. The sole of the shoe stays exposed on the bottom for traction.
Indoor feetpaws can use thinner foam and softer soles. Outdoor feetpaws need rubber soles and waterproofing. Don't use your outdoor feetpaws indoors on carpet or you'll track in everything.
Full Suit-Up Test
Before you call it done, put everything on at once. Walk around for 20 minutes. Check that the handpaws let you grip things, the feetpaws don't trip you on stairs, the tail doesn't catch on doors, and the head doesn't shift when you look down. Fix fit issues now, not at your first con.
Common Mistakes
- Buying fur from different suppliers or dye lots. The color difference will be visible in photos even if it looks "close enough" in your craft room.
- Building pieces in random order. Your skills improve as you build. Start with the hardest piece (head) so your later pieces match or exceed that quality.
- Forgetting elastic and closures. Every piece needs a way to stay on during movement. Handpaws need wrist elastic, feetpaws need a snug shoe fit, tails need a sturdy belt loop.
- Skipping the full suit-up test. Individual pieces might fit perfectly alone but conflict when worn together. The head might push down on the handpaw wrists, or the tail might interfere with sitting.
- Not leaving seam allowance on fur. Fur is thick. Leave at least 3/8 inch seam allowance or your pieces will come out too small.
A partial is a serious project. Budget 10 weeks and don't try to rush it for a specific con unless you've built pieces before. Con crunch on a fursuit means mistakes you'll live with for years.
Components
Head
Handpaws
Tail
Feetpaws
Materials list
8 itemsEstimated total cost
$250 - $700
Milestone timeline
10 weeks- 1
Finalize character ref sheet
design
- 2
Select fur colors and suppliers
design
- 3
Take measurements or make duct tape dummy
Patterning
- 4
Carve foam head base
sculpting
- 5
Install eyes and head details
detailing
- 6
Pattern and fur the head
furring
- 7
Pattern and sew handpaws
furring
- 8
Add paw pads and claws
detailing
- 9
Pattern and sew tail
furring
- 10
Build feetpaws and soles
assembly
- 11
Full suit-up test
Fitting
- 12
Touch up seams and trim
Finishing
Frequently
asked questions.
Related tools and guides
Plan your build, estimate costs, and get ready.
Budget Calculator
Estimate your build cost before you start buying materials.
Convention Checklist
88-item packing checklist. Check off items as you pack.
Prop Scaling Calculator
Scale reference images to your body measurements.
How Much Does a Fursuit Cost in 2026?
Real build budgets with specific products and dollar amounts.
How Much Does It Cost to Make a Fursuit?
Real build budgets with specific products and dollar amounts.
Fursuit Making on Costumary
Templates, tools, and workspace built for fursuit making makers.
Browse all templates
Explore build plans across 10 craft verticals.
Debut your fursuit making build
Upcoming conventions where you could wear this. Dates, checklists, and budget tools included.
Midwest FurFest 2026
Dec 3-6 · Rosemont, IL
One of the largest furry conventions globally, held annually in suburban Chicago.
Further Confusion 2027
Jan 14-18 · San Jose, CA
One of the oldest furry conventions, five days in San Jose in the middle of January. Established, well organised, and a good place to debut a suit without the summer heat working against you.
Anthrocon 2027
Jul 1-4 · Pittsburgh, PA
The world's largest furry convention takes over downtown Pittsburgh for four days across the July 4th weekend. If you're bringing a fursuit, plan for real humidity and pack cooling gear. The Saturday parade is the thing to see.
Start this build free
Clone this template into your workspace. Track materials, milestones, budget, and build progress in one place.
Related templates
Full Suit
20 weeks · 10 milestones
Plan a complete fursuit build from head to toe, covering digitigrade vs. plantigrade decisions, bodysuit patterning, padding placement, cooling strategy, and the multi-month timeline it actually takes. This template is for experienced makers ready for the big one.
Head Base
6 weeks · 9 milestones
Build a fursuit head from scratch using upholstery foam or a resin blank, covering everything from initial carving through furring and finishing. This template walks you through muzzle shaping, eye installation, jaw mechanics, and fur patterning on the most visible piece of any suit.
Commission Suit
16 weeks · 10 milestones
Manage a client fursuit commission from initial quote through final shipping, with built-in checkpoints for ref sheet approval, fur swatch matching, progress photos, fitting verification, and delivery logistics. Built for makers running a commission business.
Accessories
3 weeks · 7 milestones
Build small fursuit pieces like tails, ears, handpaws, or arm sleeves without committing to a full head or suit. Perfect for first-time makers, convention add-ons, or quick character pieces that pair with street clothes.