
Harley Quinn Cosplay
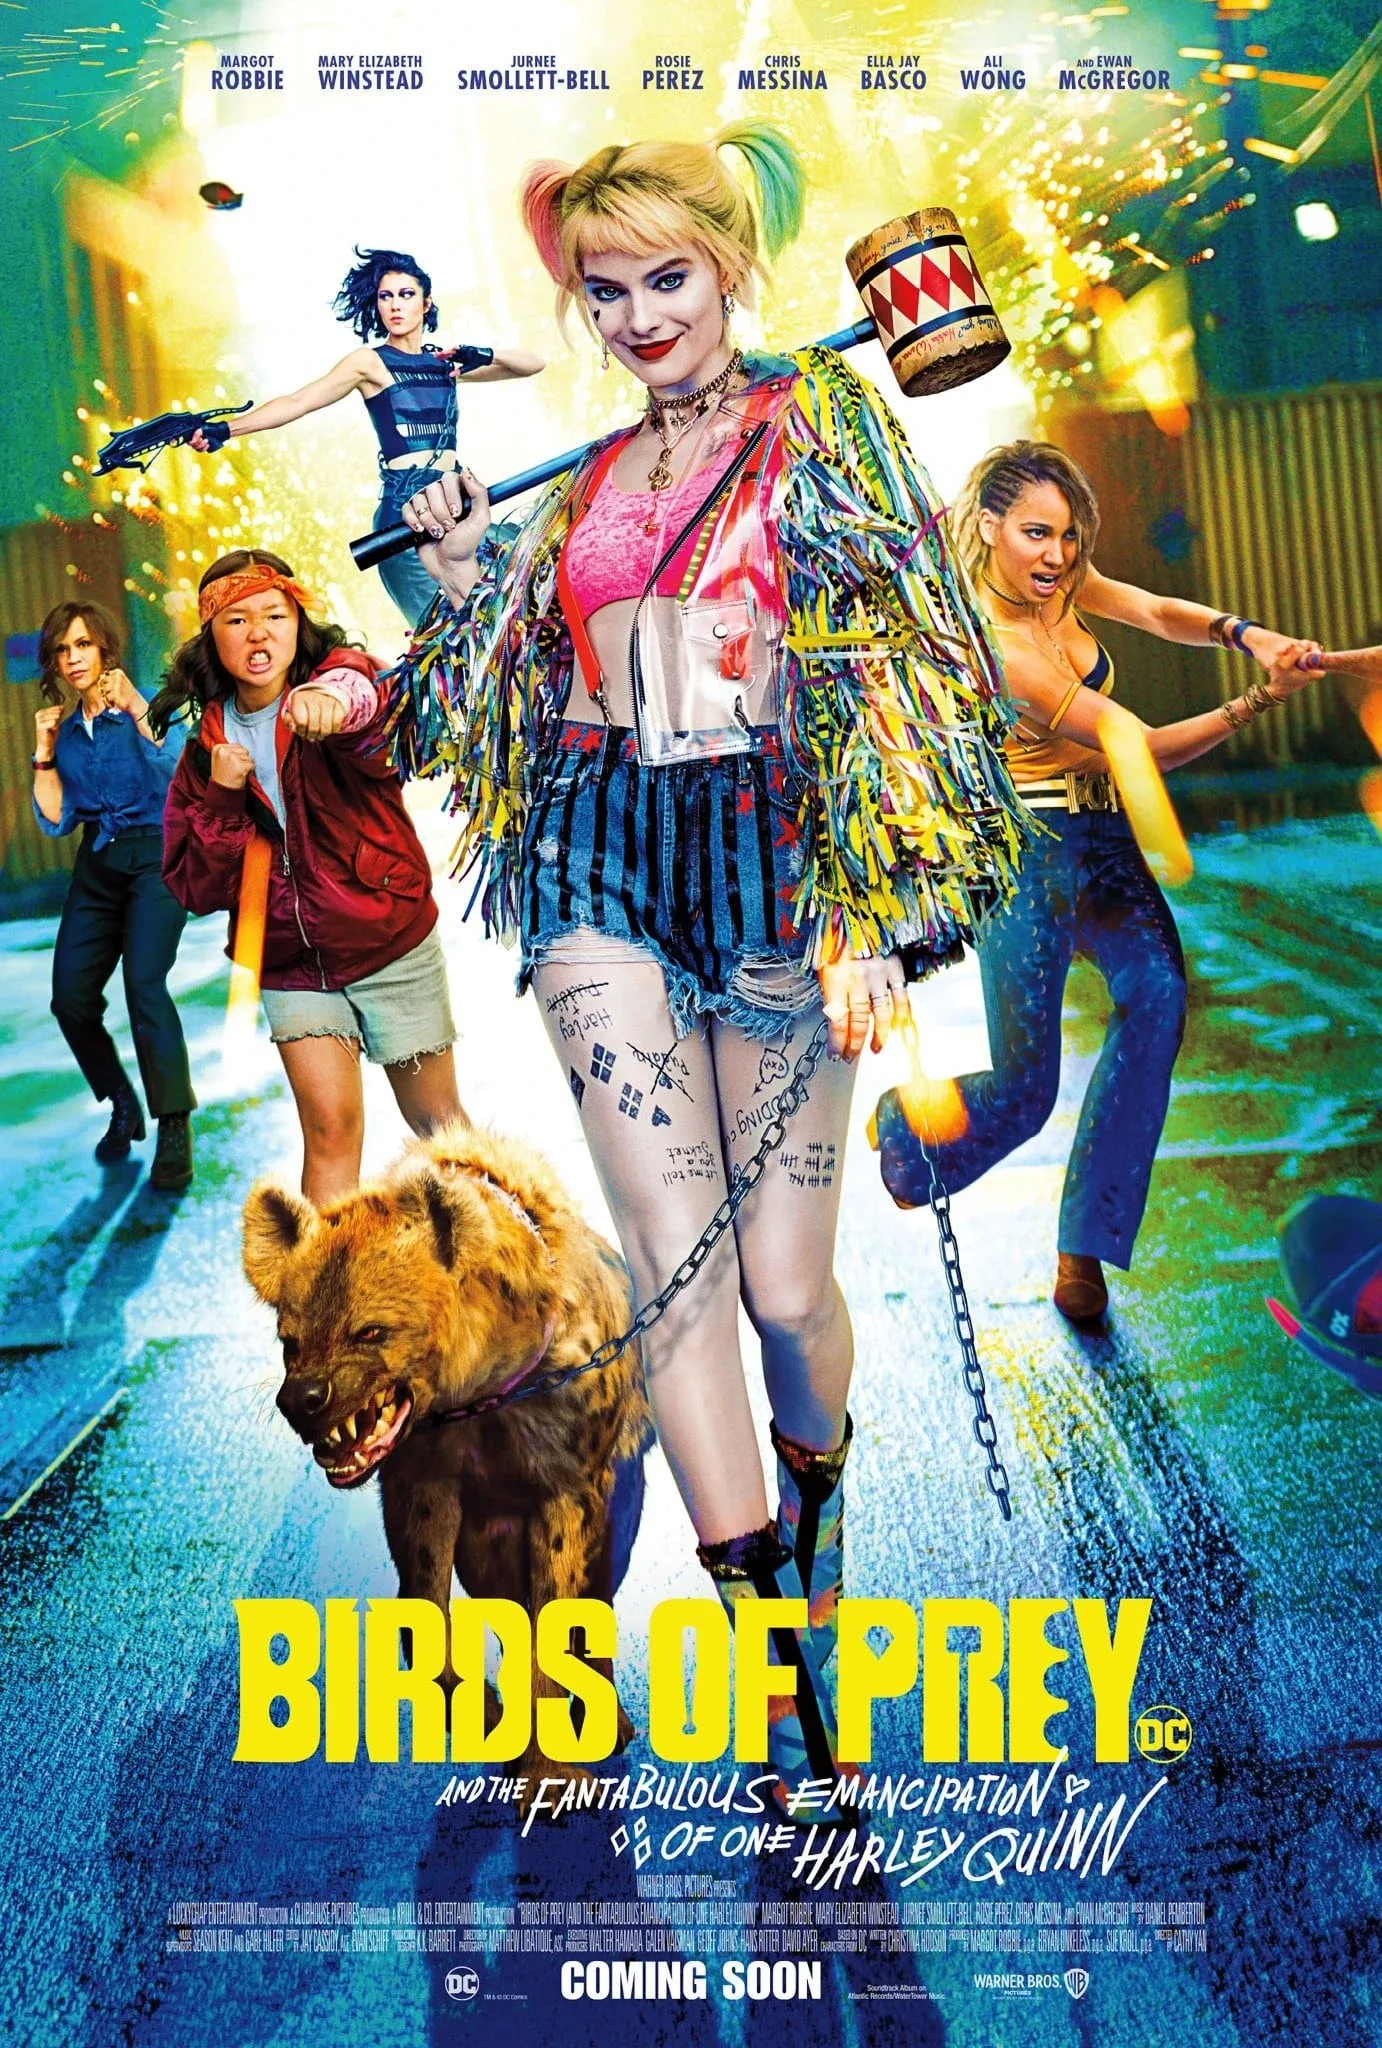
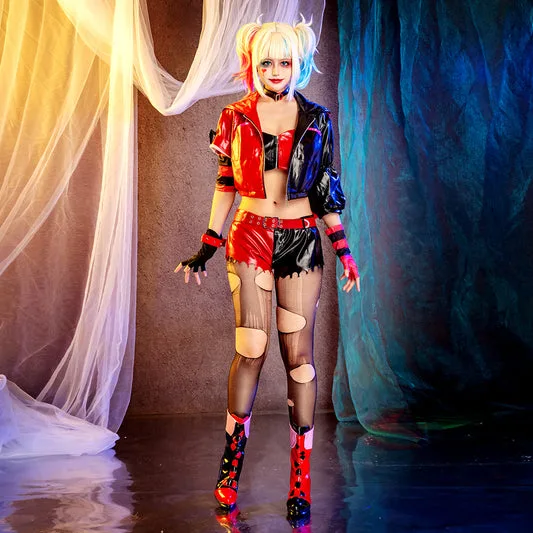
The Suicide Squad Harley Quinn: a customized red and blue satin bomber jacket, distressed "Daddy's Lil Monster" tee, sequined shorts, dip-dyed pigtail wig, smudged dual-tone eyeshadow, and an oversized foam mallet. This is a beginner-intermediate build. The jacket and wig are the two skill checks. Covers 7 components, 12 materials with cost estimates, a 10-step build plan across 5 phases, and a realistic 4-week, $90 to $280 budget.
4 weeks
10
12
7
See the whole look before you start.
References, materials, budget, and build order for Harley Quinn.
Timeline
4 weeks
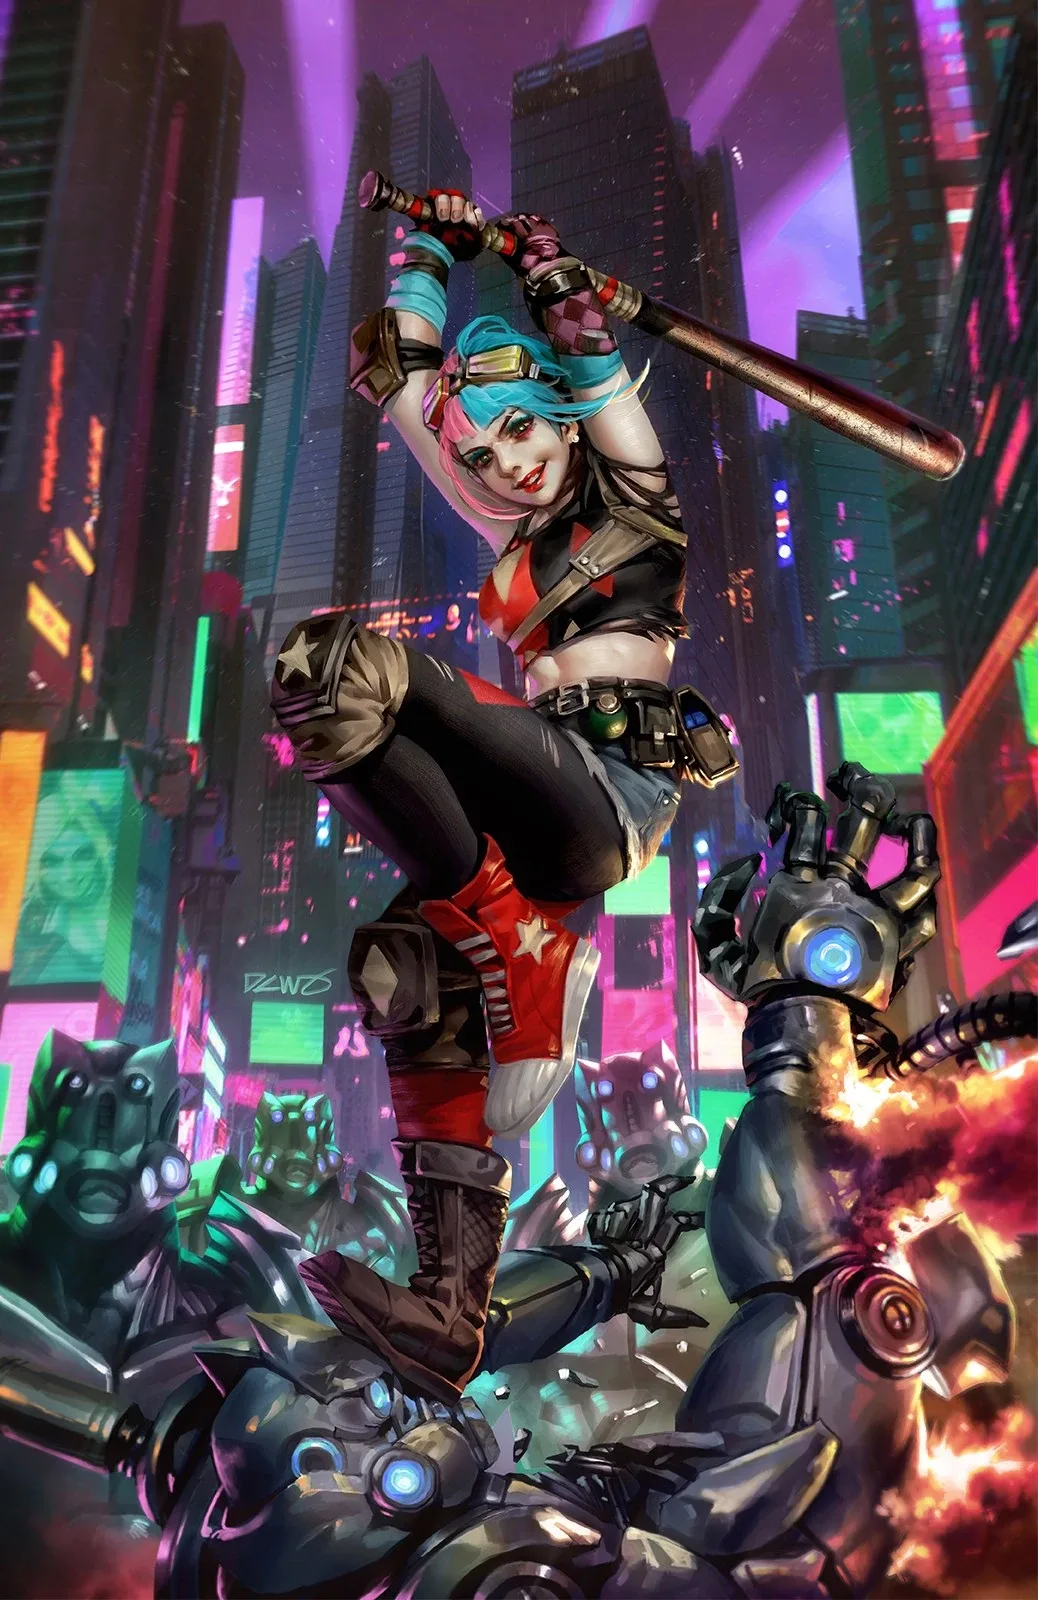
Color refs

Materials
12 items
Budget
$90 - $280
save the visual refs
Full reference board
The preview above is curated for scanning. This is the working board you clone into your own build, with notes, colors, product images, and extra references intact.
Images are sourced from around the internet to help you get started. Use the web clipper to build your own reference library.
Build guide
I ruined my first Harley wig. Dunked the whole pigtail in Rit DyeMore Super Pink, pulled it out too fast, and ended up with a hot pink blob that bled six inches into the blonde. Forty dollars gone in thirty seconds.
So let me save you that $40.
The wig is this entire build. Everything else, the jacket, the shorts, the mallet, that's shopping and a weekend of painting. The wig is where you'll either look like Margot Robbie or like a party store clearance rack, and the difference is about twenty minutes of patience you don't want to spend.
You need an Arda Wigs Jeannie in platinum blonde. Not a cheaper wig. I've tried three budget alternatives and the fiber doesn't take dye evenly. The Arda fiber holds curls, absorbs color in predictable layers, and survives multiple cons. I ordered mine from Arda's site directly because the Amazon listings are sometimes old stock with different fiber blends.
The dye process: section first, dip second. Rubber band your pigtails tight at the point where you want color to start. Heat your Rit DyeMore (Super Pink for one side, Sapphire Blue for the other) to just below boiling. Dip the pigtail in slowly, hold for 90 seconds, then pull STRAIGHT UP. Slowly. Let the dye drip back into the pot. That drip-back is what creates the gradient. If you yank it out sideways, you get splotches. If you squeeze the fiber, you get dark patches.
I practiced on a $3 weft from the Joann in Torrance before touching the actual wig. Worth it. My test weft looked terrible because I squeezed it with my fingers like a sponge. The real pigtails came out clean because I kept my hands off.
Blot the transition zone (where color meets blonde) with a dry paper towel. One light press. Don't rub. Then hang the wig to dry overnight. Do not blow-dry it. Do not touch it while wet.
Once it's dry, style with loose waves using a curling iron on low, then lock everything with Got2b Glued Blasting Freeze Spray. Two coats, ten minutes apart.
The jacket is simpler than people make it. Thrift a satin bomber ($8-15, look for one that actually fits your shoulders), tape off your sections, and paint with Jacquard Textile Color mixed with textile medium. Thin coats. Satin bleeds if you load the brush heavy. The back panel text takes three sessions to look solid, not one. I know you want to do it in one night. You can't. The paint needs to dry between layers or it cracks when you move.
The mallet takes two hours. Two EVA foam circles (cut them from floor mat tiles, trace a dinner plate), PVC pipe through the center, hot glue to hold, paracord wrap on the handle. Paint it and you're done. Keep it under 2 lbs total and no convention security will blink.
Budget reality: $90 if you thrift well and skip the Demonias. $280 if you go Arda wig, quality boots, and full temporary tattoo sets. Four weeks is comfortable. Two if you're in con crunch and you've styled a wig before.
One last thing. Do a full dress rehearsal a week before the con. The smudged eyeshadow look takes practice because "intentionally messy" and "actually melting off your face" look identical at hour zero and completely different at hour six. Ben Nye Final Seal is non-negotiable for that eye makeup.
Components
Red and blue satin bomber jacket
Daddy's Lil Monster tee
Sequined shorts with belt
Dip-dyed pigtail wig
Makeup (dual-tone smudge)
Foam mallet prop
Boots with chunky heel
Materials list
12 itemsEstimated total cost
$90 - $280
Milestone timeline
4 weeks- 1
Pick your Harley version and gather screen references
Research
- 2
Source jacket, wig, shorts, and boots
Materials
- 3
Dip-dye pigtail wig pink and blue, blend transitions
Construction
- 4
Style pigtails with loose waves and lock with freeze spray
Construction
- 5
Paint jacket back panel text and sleeve details
Construction
- 6
Attach gold trim to jacket cuffs and collar
Construction
- 7
Cut foam mallet head, assemble on PVC pipe, wrap handle
Construction
- 8
Paint mallet head red and black with diamond pattern
Details
- 9
Practice full makeup look with setting spray timing
Details
- 10
Full costume test: jacket, wig, makeup, mallet, boots, mobility check
Wear test
Frequently
asked questions.
Related tools and guides
Plan your build, estimate costs, and get ready.
Budget Calculator
Estimate your build cost before you start buying materials.
Convention Checklist
88-item packing checklist. Check off items as you pack.
Prop Scaling Calculator
Scale reference images to your body measurements.
How Much Does EVA Foam Armor Cost?
Real build budgets with specific products and dollar amounts.
Cosplay on Costumary
Templates, tools, and workspace built for cosplay makers.
Browse all templates
Explore build plans across 10 craft verticals.
Debut your cosplay build
Upcoming conventions where you could wear this. Dates, checklists, and budget tools included.
San Diego Comic-Con 2026
Jul 23–26 · San Diego, CA
The original and most iconic pop culture convention. Massive panels, Hall H, and the epicenter of entertainment announcements.
OffKai Expo 2026
Jul 24–26 · San Jose, CA
GalaxyCon Raleigh 2026
Jul 24–26 · Raleigh, NC
A Raleigh pop culture convention with celebrity guests, comic artists, and a growing cosplay scene.
Lakeland Anime-Fest 2026
Jul 25–25 · Lakeland, FL
Start this build free
Clone this template into your workspace. Track materials, milestones, budget, and build progress in one place.
More from this series
Qifrey Cosplay
5 weeks · 12 milestones
Qifrey's elegant white-robed silhouette is built around three signature elements: the tall pointed hat with the bent tip and black ribbon, the flowing white cape with the brass brooch closure, and the asymmetrical pince-nez glasses with one dark lens hiding his scarred eye. This is an intermediate build that needs more structural crafting than sewing. The hat and glasses demand the most attention, while the cape is a manageable garment project. The glasses and the hat are the make-or-break details, and this template walks you through both. Includes 7 components, 15 materials with cost estimates, a 12-step build plan, and a realistic 5-week, $95 to $280 budget.
Coco Cosplay
6 weeks · 12 milestones
Witch Hat Atelier's apprentice witch in her full outfit: the tall pointed hat with ornamental band, a dark cloak with decorative hem trim, a layered tunic-dress, boots, and her drawing implements. The hat is the signature piece and the hardest to get right. 7 components, 13 materials, ~6 weeks at $120-280.
Gojo Satoru Cosplay
5 weeks · 11 milestones
Jujutsu Kaisen's strongest sorcerer, built around three signature details: the black high-collar uniform jacket, the blindfold, and the white spiked hair. This is an intermediate build that leans on one well-made garment plus wig styling, so it reads instantly on the con floor without months of work. The collar and the wig are the make-or-break details, and this template walks you through both. Includes 6 components, 11 materials with cost estimates, an 11-step build plan, and a realistic 5-week, $90 to $240 budget.
Frieren Cosplay
5 weeks · 12 milestones
Frieren: Beyond Journey's End's elven mage, built around a white high-collar tunic with gold trim, a flowing blue cape, and a wooden staff with a red gem. This is an intermediate build that combines clean garment construction with prop craftsmanship, finished with styled twin-tail wig and elf ear prosthetics. The gold trim detailing and the staff are the signature details, and this template walks you through both. Includes 7 components, 14 materials with cost estimates, a 12-step build plan, and a realistic 5-week, $100 to $280 budget.