
Supergirl Cosplay
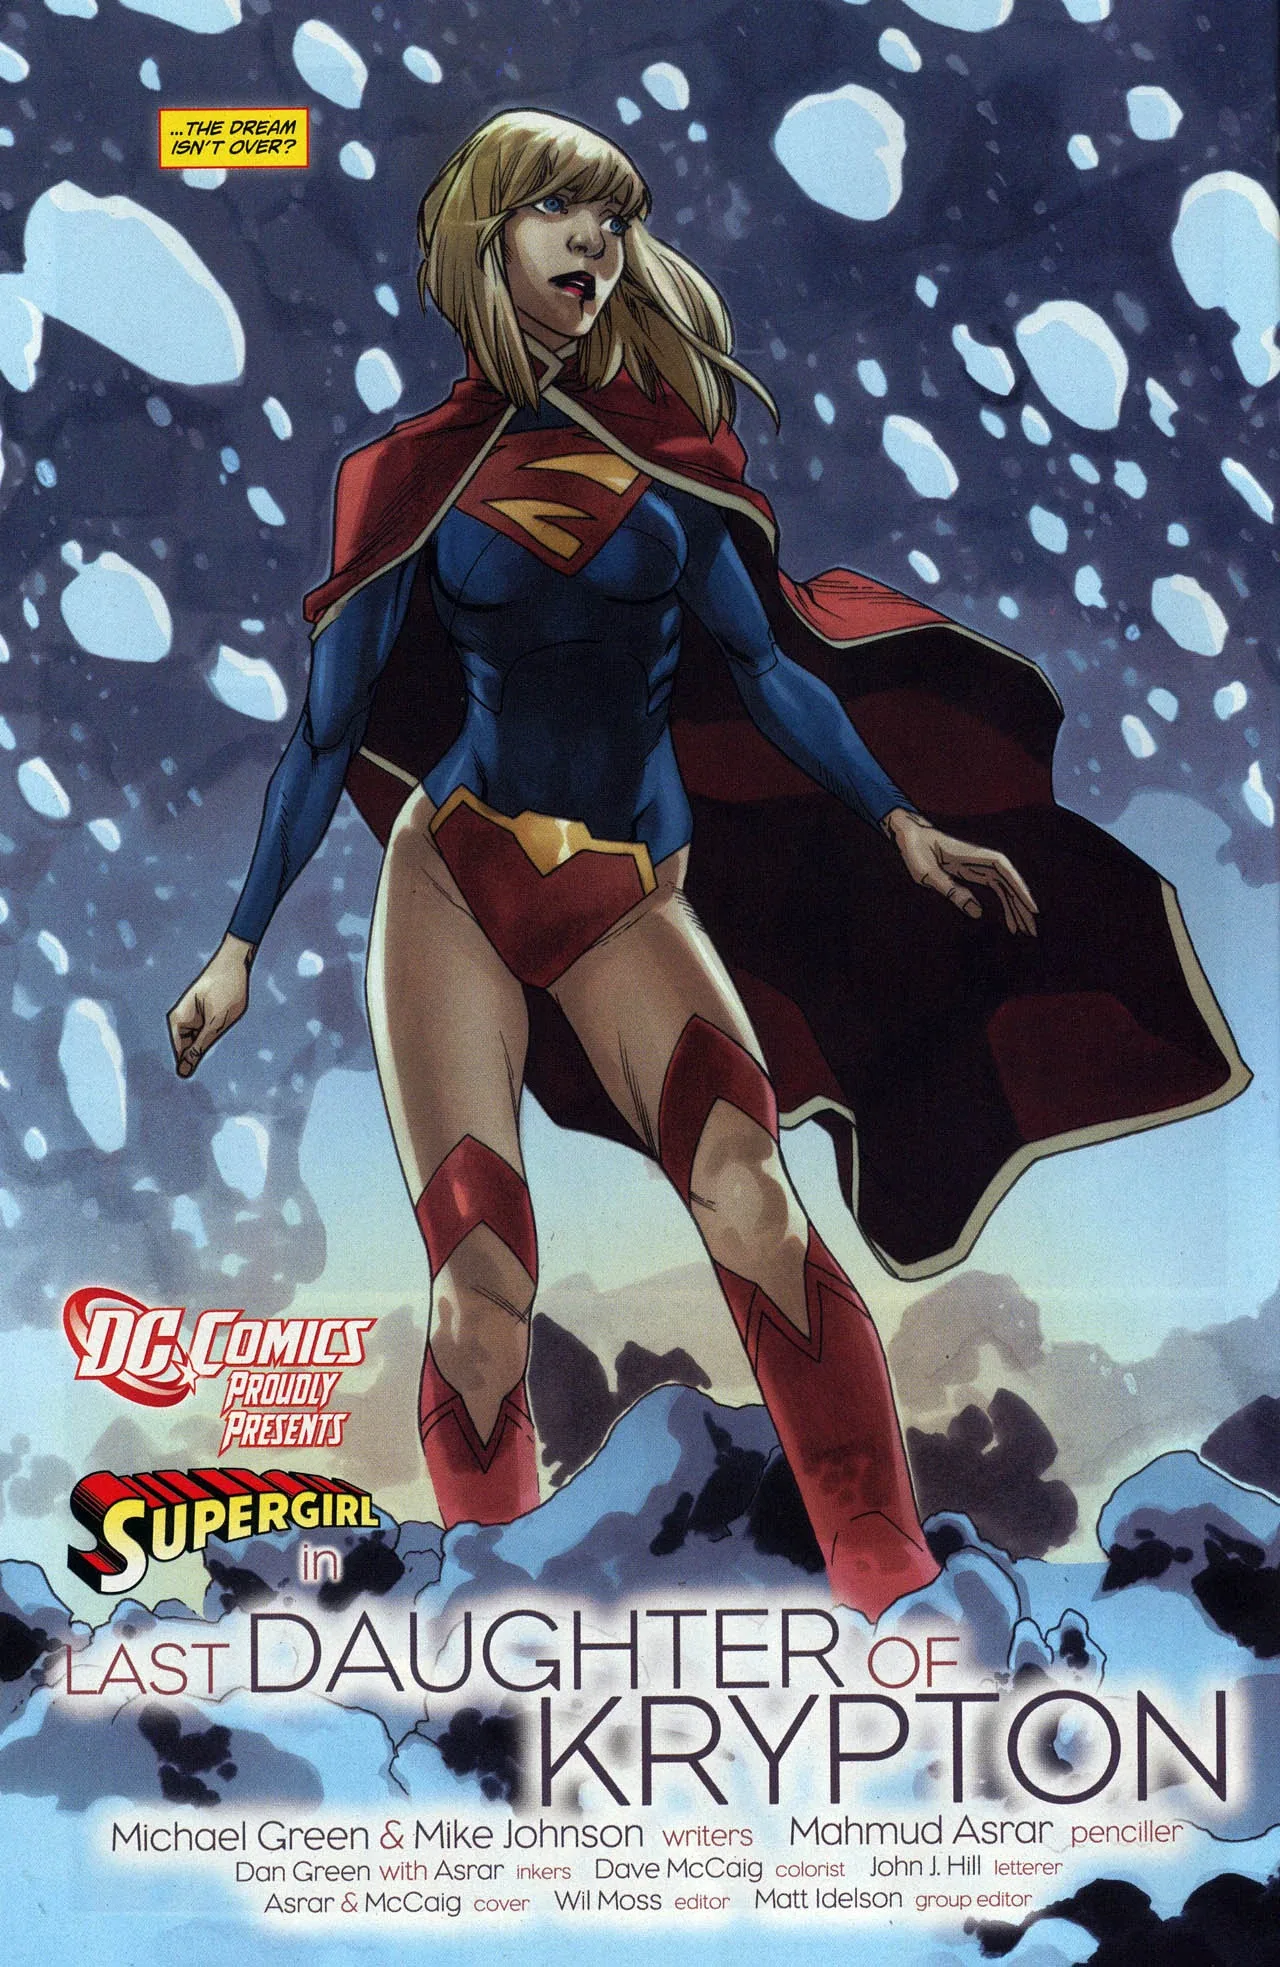
Supergirl's classic look: the cobalt bodysuit, red cape, red boots, and the iconic S emblem. This is a costume where fabric quality drives the whole build. The bodysuit needs to hold its shape and be opaque under convention lighting. The cape needs proper weight and attachment or it'll slide off your shoulders and drag on the con floor. The S emblem is the detail that separates a sharp build from a home-made look. 5 components, 12 materials, 6-7 weeks, $140-320.
7 weeks
12
12
5
See the whole look before you start.
References, materials, budget, and build order for Supergirl (Kara Zor-El).
Timeline
7 weeks
Color refs


Materials
12 items
Budget
$140 - $320
save the visual refs
Full reference board
The preview above is curated for scanning. This is the working board you clone into your own build, with notes, colors, product images, and extra references intact.
Images are sourced from around the internet to help you get started. Use the web clipper to build your own reference library.
Build guide
I've seen a hundred bad Supergirl cosplays, and they're all bad for the exact same reasons: cheap transparent spandex, a cape that slides halfway off your shoulders by the time you hit the dealer hall, and an emblem that looks like someone's 10-year-old glued it on while the costume was moving. I tried to build one in 2024 for Anime Expo and managed to nail exactly zero of these details. The photos came back looking like I'd thrown the whole thing together the night before. But I learned what works, and I've seen enough skilled builders nail this costume that I know where the line between mediocre and sharp really lives. Here's what you actually need to do.
Start with the bodysuit fabric, and you cannot cheap out here. The blue spandex you find on Amazon for $8 a yard is see-through under convention photo lights. I learned this the hard way when I saw the Anime Expo photos and could see every single seam of my sports bra through the supposedly opaque blue. It was mortifying. The solution is simple but costs more: buy heavyweight spandex or swimsuit-grade fabric from an actual cosplay vendor. I got mine from the Joann in Santa Monica and the woman at the cutting counter knew exactly what I needed because she'd cut it for other Supergirl builders before. If the fabric is still thin even at heavyweight, add a nude mesh lining sewn inside the bodysuit. This runs you an extra $20-25 but saves your photos and your dignity. You can't see the lining from the outside, and it makes the whole thing look solid and professional instead of cheap. This is one of those details that separates a costume you're proud of from one you're embarrassed about when photos surface online.
The cape is where you'll either look incredible or like you don't understand basic construction. Attach it to a tank top worn under the bodysuit, not to the spandex itself. The weight of 2.5 yards of fleece will stretch the spandex permanently if you stitch it directly to the bodysuit. I've seen so many Supergirl cosplayers walking around with the bodysuit pulled down an inch on one side because the cape weight was uneven and tore the seams from the inside. It's a rookie mistake and completely preventable. Use snap fasteners, not stitches. Snaps let you take the cape off between photos if you want, and they're way more durable than thread when you're moving around the con floor all day. The cape should hit mid-calf, not your ankles. Get a pattern that curves gently at the bottom instead of straight edges, which look stiff and costume-party cheap. Minky fleece drapes better than cotton and doesn't wrinkle in your con bag like cotton does, so spend the extra $3 a yard for that.
The S emblem is the detail that separates a good Supergirl from a sharp one. Don't hand-cut it from felt. Don't try to embroider it yourself unless you're experienced. Buy a pre-made iron-on emblem from an Etsy cosplay seller and reinforce the edges with red polyester thread sewn directly onto the spandex. This takes maybe 90 minutes and produces something that looks intentional instead of home-made. Iron-on alone will peel at the con, but iron-on plus hand-stitching will last through a full day and multiple con days after that. Center it on your chest roughly 4 inches across, and press it on while the spandex is lying flat or it'll wrinkle. The emblem is what people recognize from across a convention hall. Get this right and the whole costume reads as professional and intentional.
Break in the boots for at least two weeks before the con. Real red boots are better than boot covers, which slip and bunch no matter how many garters you add to them. I made the mistake of buying brand-new boots a week before Anime Expo and spent the entire day limping between photo booths. Thrift stores are your real friend. Hit your local Goodwill and try on anything red in the boot section. Red is common in thrift stores because people abandon it constantly. You'll probably spend $15-30 and get boots with break-in time already baked in.
The whole build takes 6-7 weeks if you start with the spandex and wig because shipping takes time. Cost runs $140 to $320 depending on thrifting versus buying new boots. The bodysuit and boots are your biggest expenses. Plan about 40 hours of construction. Start with the bodysuit, then cape, then the emblem once the bodysuit is finished and you can see exactly where the S sits on your chest. This is a straightforward intermediate build. You're not drafting a pattern or doing anything fancy, just using quality materials and paying attention to details.
Components
Blue bodysuit
Red cape
S emblem
Red boots
Blonde wig and styling
Materials list
12 itemsEstimated total cost
$140 - $320
Milestone timeline
7 weeks- 1
Gather Supergirl reference images and pick your version (classic, Arrowverse, DCU)
Research
- 2
Buy and test the blue spandex fabric under bright lights
Materials
- 3
Source or order the bodysuit base and any lining fabric
Materials
- 4
Cut and assemble the bodysuit, add gussets for mobility
Construction
- 5
Hem neckline and armholes, finish seams with tape or binding
Construction
- 6
Cut and bind the red cape, add snap or Velcro attachment points
Construction
- 7
Sew the cape to a red or nude tank top undershirt
Construction
- 8
Attach the S emblem to the bodysuit chest and stitch edges
Details
- 9
Source and break in red boots
Materials
- 10
Buy and test-fit the blonde wig
Materials
- 11
Style and set the wig
Finishing
- 12
Full suit-up and walk-around test, check emblem security and cape stability
Wear test
Frequently
asked questions.
Related tools and guides
Plan your build, estimate costs, and get ready.
Budget Calculator
Estimate your build cost before you start buying materials.
Convention Checklist
88-item packing checklist. Check off items as you pack.
Prop Scaling Calculator
Scale reference images to your body measurements.
How Much Does EVA Foam Armor Cost?
Real build budgets with specific products and dollar amounts.
Cosplay on Costumary
Templates, tools, and workspace built for cosplay makers.
Browse all templates
Explore build plans across 10 craft verticals.
Debut your cosplay build
Upcoming conventions where you could wear this. Dates, checklists, and budget tools included.
Start this build free
Clone this template into your workspace. Track materials, milestones, budget, and build progress in one place.
More from this series
Qifrey Cosplay
5 weeks · 12 milestones
Qifrey's elegant white-robed silhouette is built around three signature elements: the tall pointed hat with the bent tip and black ribbon, the flowing white cape with the brass brooch closure, and the asymmetrical pince-nez glasses with one dark lens hiding his scarred eye. This is an intermediate build that needs more structural crafting than sewing. The hat and glasses demand the most attention, while the cape is a manageable garment project. The glasses and the hat are the make-or-break details, and this template walks you through both. Includes 7 components, 15 materials with cost estimates, a 12-step build plan, and a realistic 5-week, $95 to $280 budget.
Coco Cosplay
6 weeks · 12 milestones
Witch Hat Atelier's apprentice witch in her full outfit: the tall pointed hat with ornamental band, a dark cloak with decorative hem trim, a layered tunic-dress, boots, and her drawing implements. The hat is the signature piece and the hardest to get right. 7 components, 13 materials, ~6 weeks at $120-280.
Gojo Satoru Cosplay
5 weeks · 11 milestones
Jujutsu Kaisen's strongest sorcerer, built around three signature details: the black high-collar uniform jacket, the blindfold, and the white spiked hair. This is an intermediate build that leans on one well-made garment plus wig styling, so it reads instantly on the con floor without months of work. The collar and the wig are the make-or-break details, and this template walks you through both. Includes 6 components, 11 materials with cost estimates, an 11-step build plan, and a realistic 5-week, $90 to $240 budget.
Denji Cosplay
10 weeks · 15 milestones
Chainsaw Man's protagonist in his iconic hybrid form: the human body with a chainsaw head and transformable chainsaw arms. The hand-carved foam helmet with chain-link detailing is the make-or-break piece, demanding precision foam work and 8-12 weeks of dedicated building. A full build includes the school uniform base, prosthetic teeth, spiky hair, and the chainsaw arms or helmet. 6 components, 14 materials, ~10 weeks, $200-500.