
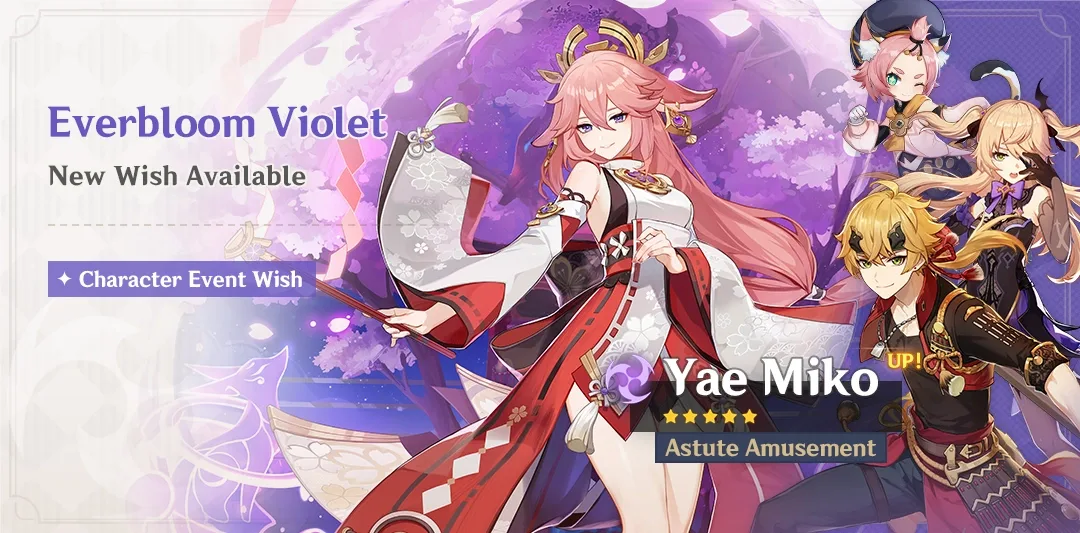
Yae Miko Cosplay
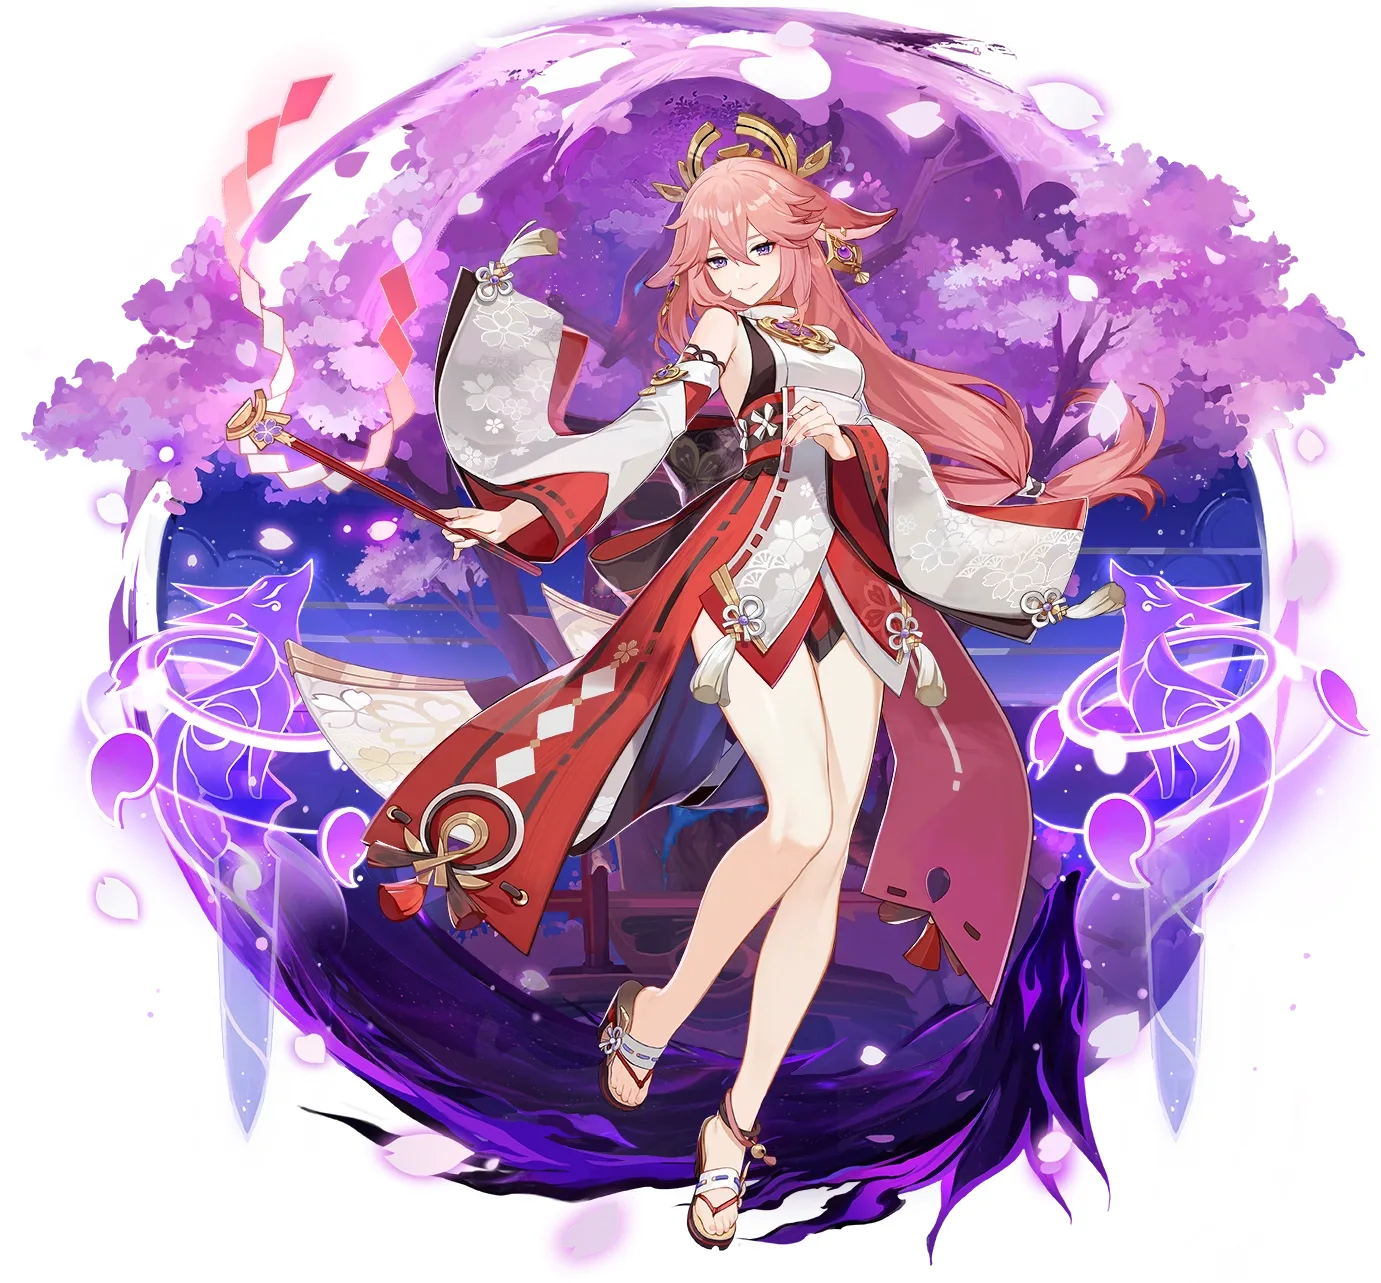
Genshin Impact's shrine maiden guuji: the soft pink wig with custom fox ears, the red-and-white robe with asymmetrical cut, and the detachable weighted tail. The ears must be made from wig material or heavily anchored, the red fabric needs color-matching precision, and the tail needs weighted construction to avoid dragging. 6 components, 12 materials, about 6 weeks, $110 to $280.
6 weeks
14
12
6
See the whole look before you start.
References, materials, budget, and build order for Yae Miko.
Timeline
6 weeks
Color refs
Materials
12 items
Budget
$110 - $280
save the visual refs
Full reference board
The preview above is curated for scanning. This is the working board you clone into your own build, with notes, colors, product images, and extra references intact.
Images are sourced from around the internet to help you get started. Use the web clipper to build your own reference library.
Build guide
I've built Yae Miko twice, and the first attempt was a disaster. My ears slid off by hour two, my red fabric clashed under the convention center LEDs, and the tail dragged on the ground. Second build fixed all three. Here's what actually works.
The ears are the most critical detail. Pre-made attachments don't stay secure, and matching them to every wig's different pink shade is impossible. Make them from the wig material itself. Wrap sections of hair around a pencil, secure with clear thread, shape them to stand up. Perfect match. If using a headband instead, sew mini wig combs into the bases so they grip the wig cap, not just the hair. Pin with bobby pins in an X-pattern underneath for a second anchor. Position slightly back from the hairline or they slide backward when walking.
Fabric color killed my first build. I bought red sateen online without seeing it. On my monitor it looked perfect. Under convention LEDs, it clashed with the white and looked almost orange. Second build, I drove to the Joann in Culver City and compared swatches to an in-game screenshot under the store's white LEDs. I picked cotton sateen instead of polyester satin (polyester reads plastic-y under harsh lighting). Cotton holds color honestly. Same with white: cotton broadcloth, not satin. Budget 45 dollars for red, 16 for white. Interface the collar heavily so it stands clean in photos.
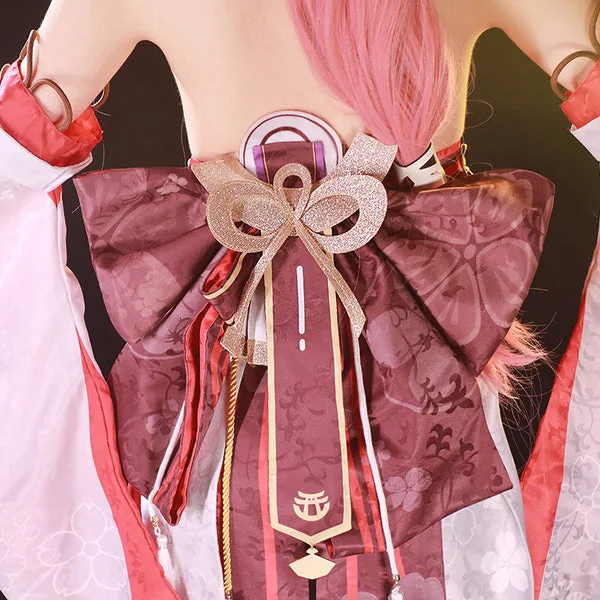
The tail is the second make-or-break detail. Fiberfill-stuffed tails look deflated or drag. Dual-layer construction fixes this: outer shell (minky or fleece), inner mesh channels, and about 280 grams of distributed weight (metal BBs or fishing sinkers). Distribute weight evenly down the length so the tail swings naturally when walking. Attach via two heavy-duty elastic straps at the waistband sides, not center. Center-only attachment causes twisting. Test-wear at 70 percent completion for 15 minutes and check for back strain before final sealing.
Wig styling is straightforward. Tease the crown aggressively (about 2 inches of lift). Use Got2b Glued mixed 3:1 with fabric softener for soft curls that hold without crunchiness. Heat-set with a blow dryer on low, never a heat gun (can melt fibers). Style curls 2-3 inches long, not spikes.
Makeup: purple eyeshadow on the inner corner and lower lash line only. Overshadowing loses her playful expression. Get contact lenses from cosplay specialists like Uniqso or Pinkyparadise (generic lenses vary wildly). Test indoors and outdoors before the con.
The vision can be 3D printed or resin-cast. Budget 15-20 dollars and hand-paint it. Glow-in-the-dark acrylic on the inside glows under convention lighting without batteries.
Total time: 6 weeks at a comfortable pace. Total cost: 110 to 280 depending on wig and fabric quality. It's an intermediate build (robe sewing, ear anchoring, and tail construction need solid garment skills). Made one costume before? You can handle it. Get the ears and tail right and everything else falls into place.
Components
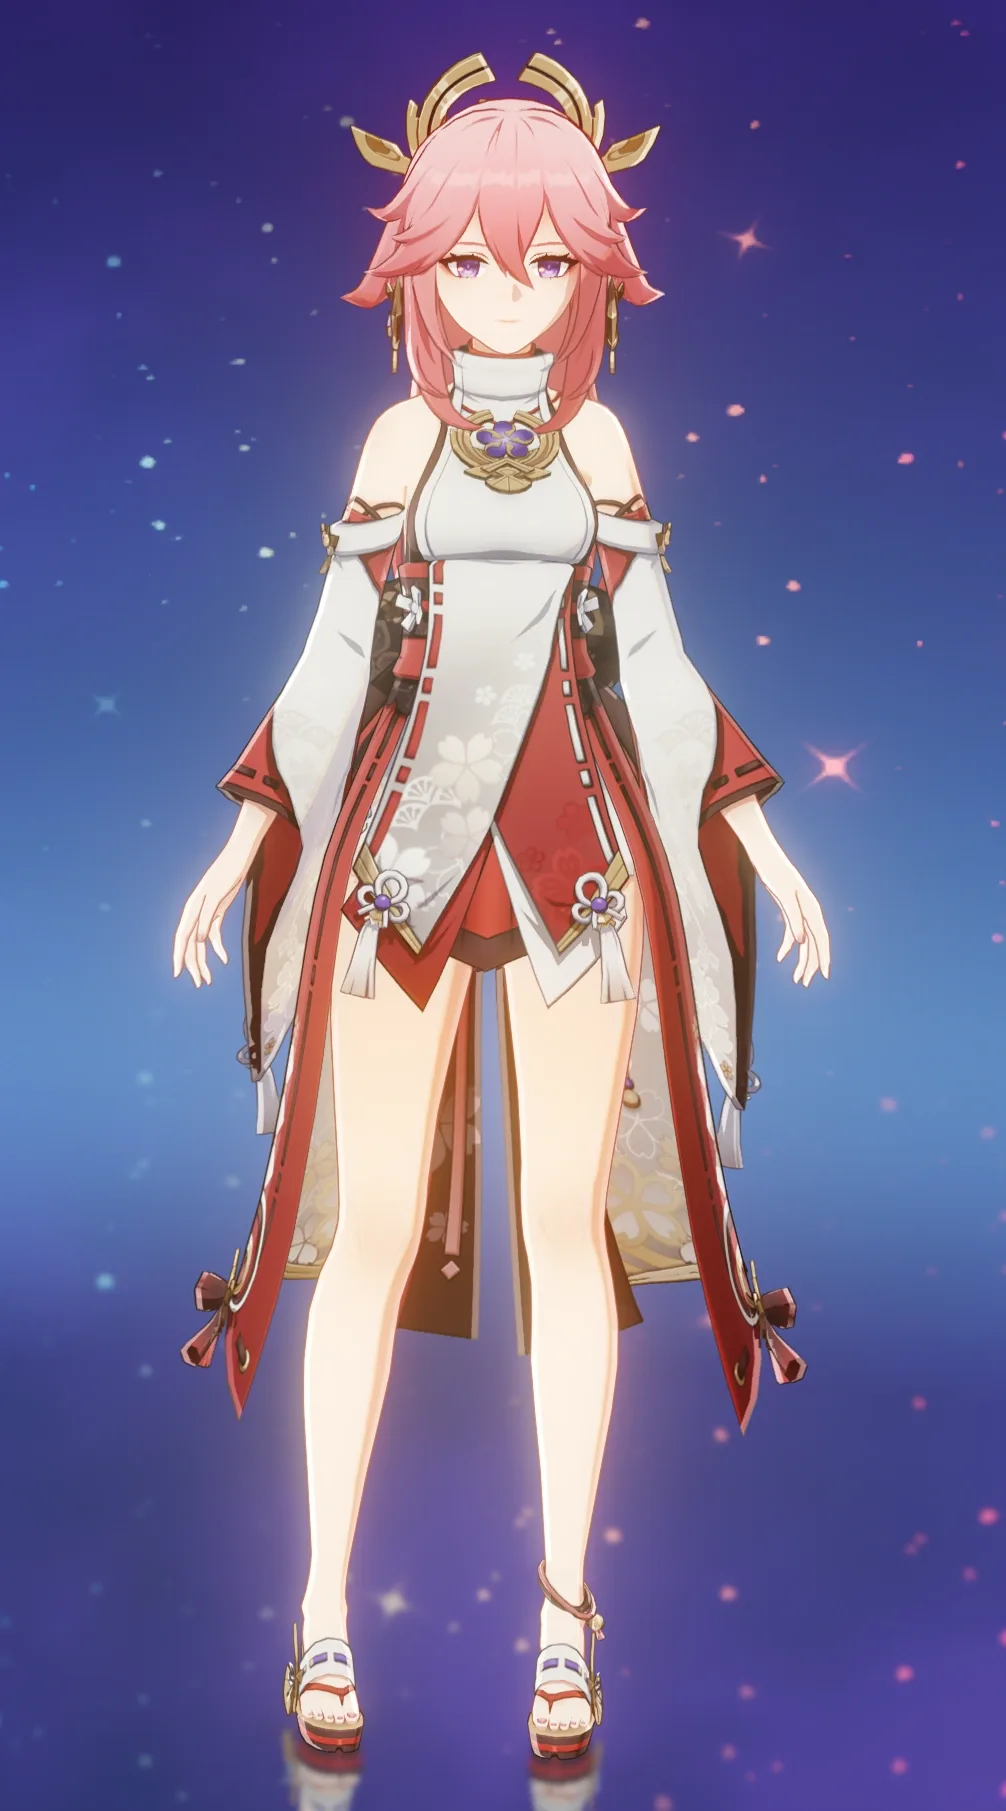
Pink wig with fox ears
Red-and-white shrine maiden robe
Weighted fox tail
Electro Vision prop
Fox ears with anchoring
Styling and finishing
Materials list
12 itemsEstimated total cost
$110 - $280
Milestone timeline
6 weeks- 1
Gather Yae Miko references and pick your version
Research
- 2
Buy the wig in person and test color accuracy
Materials
- 3
Buy red and white fabric in person, comparing to character sheet
Materials
- 4
Draft or modify shrine maiden pattern for asymmetrical robe
Patterning
- 5
Cut and sew the red outer robe with white inner layers
Construction
- 6
Interface the collar and set white robe overlap
Construction
- 7
Design and construct the weighted tail with distributed channels
Construction
- 8
Attach dual elastic straps to waistband for tail
Construction
- 9
Test-wear the tail and adjust weight and balance
Fitting
- 10
Shape fox ears from wig material and secure with pins
Finishing
- 11
Print, paint, and seal the Electro Vision prop
Finishing
- 12
Style the wig with Got2b and heat-set curls
Finishing
- 13
Apply makeup and insert contact lenses
Finishing
- 14
Full wear test with tail, wig, and ears for con-day comfort
Wear test
Frequently
asked questions.
Related tools and guides
Plan your build, estimate costs, and get ready.
Budget Calculator
Estimate your build cost before you start buying materials.
Convention Checklist
88-item packing checklist. Check off items as you pack.
Prop Scaling Calculator
Scale reference images to your body measurements.
How Much Does EVA Foam Armor Cost?
Real build budgets with specific products and dollar amounts.
Cosplay on Costumary
Templates, tools, and workspace built for cosplay makers.
Browse all templates
Explore build plans across 10 craft verticals.
Debut your cosplay build
Upcoming conventions where you could wear this. Dates, checklists, and budget tools included.
Start this build free
Clone this template into your workspace. Track materials, milestones, budget, and build progress in one place.
More from this series
Qifrey Cosplay
5 weeks · 12 milestones
Qifrey's elegant white-robed silhouette is built around three signature elements: the tall pointed hat with the bent tip and black ribbon, the flowing white cape with the brass brooch closure, and the asymmetrical pince-nez glasses with one dark lens hiding his scarred eye. This is an intermediate build that needs more structural crafting than sewing. The hat and glasses demand the most attention, while the cape is a manageable garment project. The glasses and the hat are the make-or-break details, and this template walks you through both. Includes 7 components, 15 materials with cost estimates, a 12-step build plan, and a realistic 5-week, $95 to $280 budget.
Gojo Satoru Cosplay
5 weeks · 11 milestones
Jujutsu Kaisen's strongest sorcerer, built around three signature details: the black high-collar uniform jacket, the blindfold, and the white spiked hair. This is an intermediate build that leans on one well-made garment plus wig styling, so it reads instantly on the con floor without months of work. The collar and the wig are the make-or-break details, and this template walks you through both. Includes 6 components, 11 materials with cost estimates, an 11-step build plan, and a realistic 5-week, $90 to $240 budget.
Spider-Man Suit Cosplay
5 weeks · 14 milestones
The classic red and blue web-slinger: a 4-way stretch spandex bodysuit with raised web lines, front and back spider emblems, white framed lenses, and wrist-mounted web shooters. This is an intermediate build. Spandex is forgiving if you use a dress form and take your time on the web lines. Covers 7 components, 11 materials with cost estimates, a 12-step build plan spread across 5 phases, and a realistic 5-week, $80 to $250 budget.
Armor Build
8 weeks · 14 milestones
Plan and build a full EVA foam armor set from reference images to convention floor. Covers patterning, heat-forming, sealing, painting, and strapping for cosplayers stepping up from simple pieces to a complete suit.