
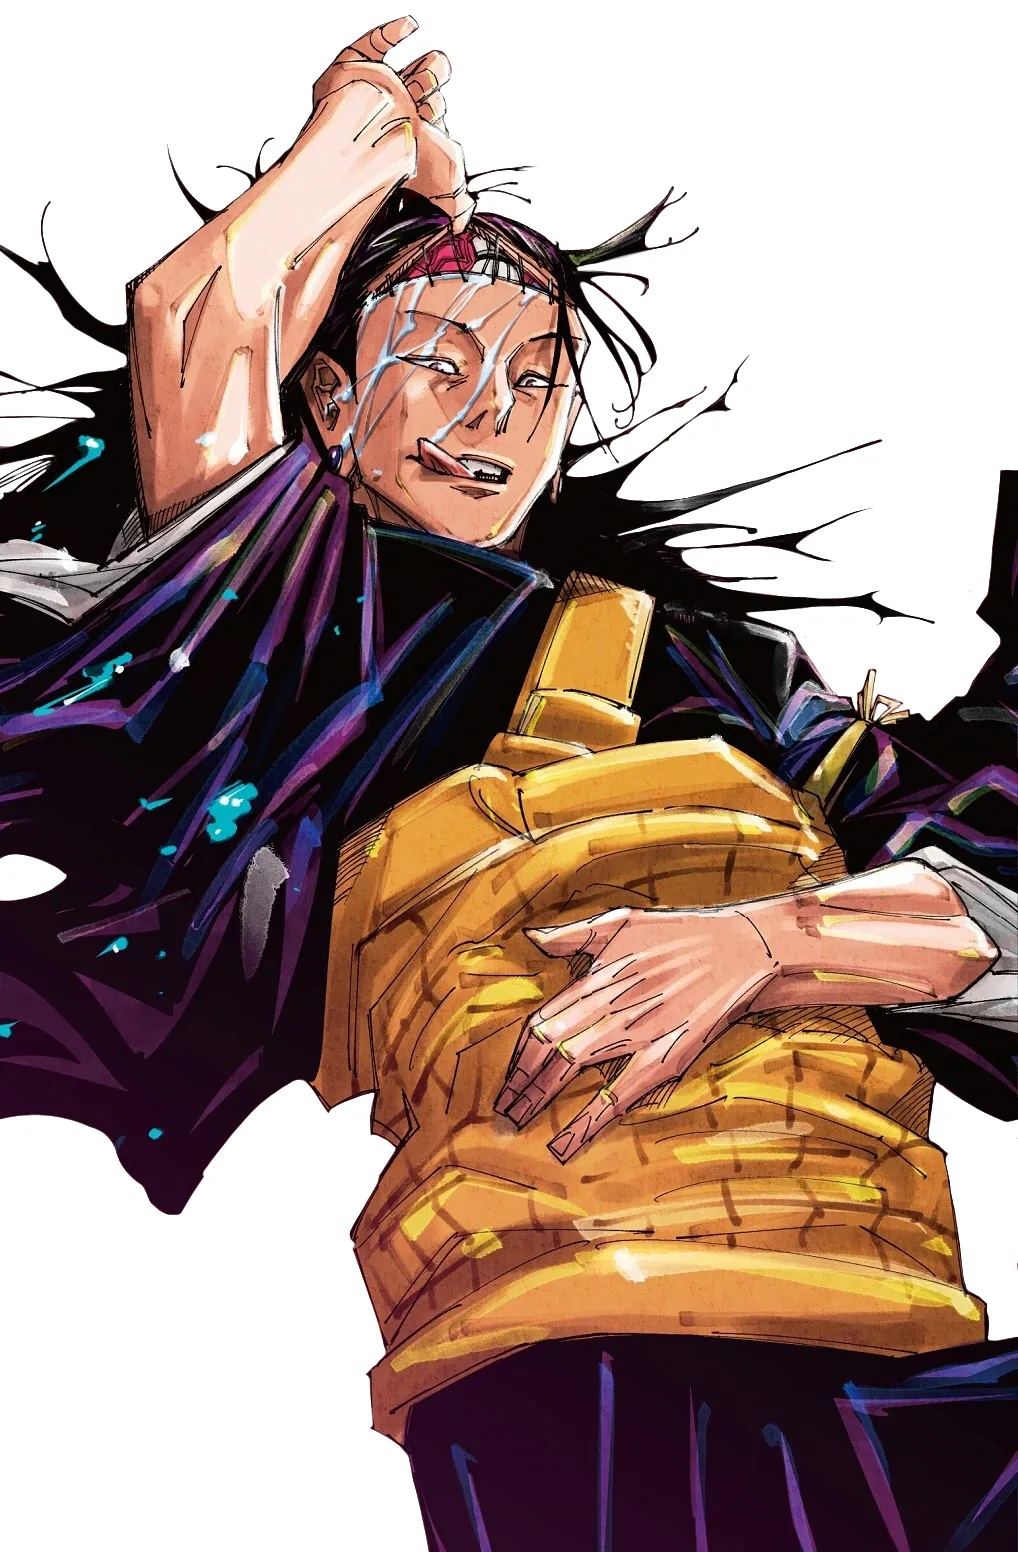
Kenjaku Cosplay
Jujutsu Kaisen's ancient sorcerer Kenjaku inhabits Suguru Geto's body, distinguished by an exposed brain prosthetic mounted on the head and a stitched scar across the forehead. The signature brain piece is a weeks-long build requiring tissue paper, PVA glue, and careful paint work, while the Geto uniform and long black wig complete the iconic silhouette. 5 components, 13 materials, ~8-10 weeks, $180-380.
9 weeks
14
13
5
See the whole look before you start.
References, materials, budget, and build order for Kenjaku.
Timeline
9 weeks
Color refs


Materials
13 items
Budget
$180 - $380
save the visual refs
Full reference board
The preview above is curated for scanning. This is the working board you clone into your own build, with notes, colors, product images, and extra references intact.
Images are sourced from around the internet to help you get started. Use the web clipper to build your own reference library.
Build guide
I built the brain tissue layers too thick on my first attempt. Applied PVA glue with a brush, didn't wait for it to dry between coats, stacked too much wet tissue at once, and two days later when I tried to set it in the sun to cure faster, the whole bottom section cracked. Complete failure. Scrapped four hours of work and started over with the lessons learned, which is fine, except you don't have four hours to waste if you're already in week six.
Kenjaku is the brain piece, first and last. The uniform is shopping. The wig is shopping plus clips. The forehead stitches are makeup. But the brain, that's where all your time and all your stress lives, and getting it wrong means starting from scratch. The good news is the technique itself isn't complicated. The hard part is patience, and respecting the drying times, and not trying to rush it.
Start with a wig cap as your base. This is your armature. You'll wrap painters tape around it to create the general shape, adding height and contours where the brain needs to bulge. Think of it like blocking out a sculpture. You're not committing to details yet, just the overall structure. Once the tape framework is solid, you need to decide how much research you're willing to do. The more accurate you want the gyri and sulci, the more reference photos you'll need. For a con-floor build, rough brain texture reads fine. Get three angles of Kenjaku's head from the manga or anime and study the proportions. The brain should be roughly 6 to 8 inches tall from crown to bottom, maybe 5 to 6 inches wide. It sits on top of the head, not integrated into the hair.
Now the tissue layering. This is where most people fail, not because the technique is hard, but because they don't respect the drying time. You're going to use tissue paper cut into small pieces, maybe 3 to 4 inches across. Mix PVA glue, which you can get at any craft store. Apply a thin layer of glue to your tape structure, place a piece of tissue, smooth it down gently, and wait. Actually wait. Not five minutes. Thirty minutes minimum, ideally longer. If the tissue is still wet, you're adding to it, you're gonna collapse the whole structure. Each layer should be nearly dry before the next one goes on. The layers should be thin enough that you can see through them. You're doing 15 to 25 of these over the course of several days or a couple weeks, depending on how much time you have. If you rush this, the finished brain will be fragile and will crack during transport or when you're wearing it at the convention.
The second critical mistake is skipping primer. You've built up all these tissue layers and you're gonna paint them with acrylics. PVA-soaked tissue is porous. Acrylic paint on bare porous tissue is gonna absorb unevenly and it'll flake when you handle the piece. You need Gesso or spray primer to seal the tissue first. One coat, let it fully cure 24 hours, then you can paint. The primer changes the whole game. Suddenly your acrylic paint sticks, it covers evenly, and when you seal it at the end with Mod Podge or polyurethane, you've got a finish that'll last through six hours on the con floor.
For paint, you're going off-white or cream for the base brain color. Off-white is closer to the actual material than pure white, which reads too bright and artificial. Paint that first coat, let it dry, then add grey and brown shading in the crevices where the brain folds. You don't need perfect anatomical accuracy. You need shadows and depth so it reads as a brain from 15 feet away. Some cosplayers add veins with a fine brush, but that's optional. Patience. The shading is where the work is. Take your time with it. A paint job that looks rushed will ruin an otherwise solid prosthetic, so I usually spend a weekend just doing shading passes.
The last step is sealing. Dilute Mod Podge 1 to 1 with water and spray it on with a spray bottle, or brush on diluted polyurethane. This prevents paint chips and makes the piece more flexible during transport. If you skip the seal and the piece bounces around in your con bag, the paint will chip, and you'll spend the whole day frustrated. Test the durability by lightly scratching the painted surface with your fingernail on a hidden test section. If it chips, your seal isn't working. Add another coat.
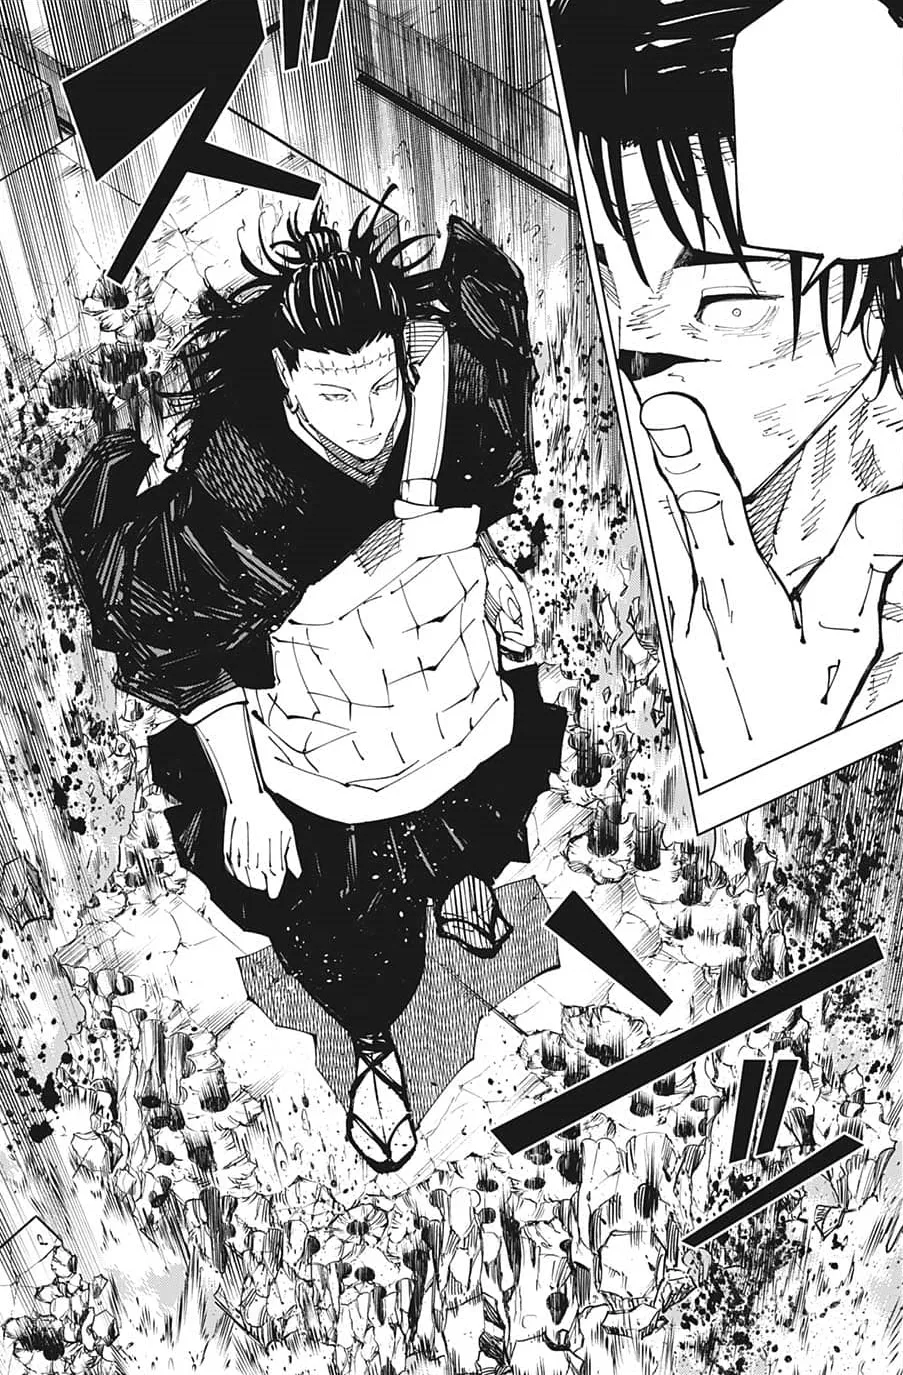
The Geto body is long black hair, a Jujutsu High uniform, and stitches across the forehead. Get a premium long wig from Arda or similar. Cheap synthetic hair looks plastic, and at long lengths the cheapness is obvious. Spend the 65 to 80 dollars on quality fiber. Order straight, not wavy. Test the wig's fit with a wig cap and clips at home for at least two to four hours before the convention so you know it won't slip. The uniform is either pre-made from Etsy for 70 dollars or sewn from a mandarin-collar pattern. Pre-made saves 20 hours of sewing. The stitches are black eyeliner across the forehead in a horizontal line with perpendicular marks every quarter inch. Practice it on paper first. You'll redraw it at the convention because it'll smudge from sweat, so have a touch-up kit.
The whole build is nine weeks if you're methodical and have previous prosthetic experience. The tissue layering alone is four to six weeks of patience. If this is your first prosthetic, add two to three weeks to the timeline. The brain piece weighs 2 to 3 pounds once dried, which is manageable, but you'll feel it after two hours of wearing it, and you'll feel it after three hours. Plan to wear the full costume in 45 minute bursts during hall walks and photo calls, then take the brain off while you're browsing or eating. Con crunch is real on this build. You cannot start this in week three before a convention and have anything resembling quality. Start in February if your convention is in May.
Components
Exposed brain prosthetic headpiece
Forehead stitches scar makeup
Long black wig (Geto body)
Jujutsu High uniform (dark jacket and pants)
Accessories and finishing
Materials list
13 itemsEstimated total cost
$180 - $380
Milestone timeline
9 weeks- 1
Research Kenjaku references and finalize brain design
Research
- 2
Order long black wig and test fit
Materials
- 3
Source or purchase Jujutsu High uniform base
Materials
- 4
Gather brain prosthetic materials (wig cap, tape, tissue, PVA, paint, primer)
Materials
- 5
Build brain structure framework with painters tape
Construction
- 6
Layer tissue paper with PVA glue to create brain texture (longest phase)
Construction
- 7
Prime and paint brain in base tones
Finishing
- 8
Add grey and brown shading details to brain for depth
Finishing
- 9
Seal painted brain with polyurethane varnish
Finishing
- 10
Practice forehead stitch makeup pattern on paper
Finishing
- 11
Tailor uniform to fit with brain headpiece on
Fitting
- 12
Test wear full costume (brain, wig, makeup, uniform) for 2-4 hours
Wear test
- 13
Identify and pad pressure points inside brain headpiece
Wear test
- 14
Full con-day readiness check: makeup touch-up kit, posture practice, weight management
Packing
Frequently
asked questions.
Related tools and guides
Plan your build, estimate costs, and get ready.
Budget Calculator
Estimate your build cost before you start buying materials.
Convention Checklist
88-item packing checklist. Check off items as you pack.
Prop Scaling Calculator
Scale reference images to your body measurements.
How Much Does EVA Foam Armor Cost?
Real build budgets with specific products and dollar amounts.
Cosplay on Costumary
Templates, tools, and workspace built for cosplay makers.
Browse all templates
Explore build plans across 10 craft verticals.
Debut your cosplay build
Upcoming conventions where you could wear this. Dates, checklists, and budget tools included.
Start this build free
Clone this template into your workspace. Track materials, milestones, budget, and build progress in one place.
More from this series
Qifrey Cosplay
5 weeks · 12 milestones
Qifrey's elegant white-robed silhouette is built around three signature elements: the tall pointed hat with the bent tip and black ribbon, the flowing white cape with the brass brooch closure, and the asymmetrical pince-nez glasses with one dark lens hiding his scarred eye. This is an intermediate build that needs more structural crafting than sewing. The hat and glasses demand the most attention, while the cape is a manageable garment project. The glasses and the hat are the make-or-break details, and this template walks you through both. Includes 7 components, 15 materials with cost estimates, a 12-step build plan, and a realistic 5-week, $95 to $280 budget.
Coco Cosplay
6 weeks · 12 milestones
Witch Hat Atelier's apprentice witch in her full outfit: the tall pointed hat with ornamental band, a dark cloak with decorative hem trim, a layered tunic-dress, boots, and her drawing implements. The hat is the signature piece and the hardest to get right. 7 components, 13 materials, ~6 weeks at $120-280.
Gojo Satoru Cosplay
5 weeks · 11 milestones
Jujutsu Kaisen's strongest sorcerer, built around three signature details: the black high-collar uniform jacket, the blindfold, and the white spiked hair. This is an intermediate build that leans on one well-made garment plus wig styling, so it reads instantly on the con floor without months of work. The collar and the wig are the make-or-break details, and this template walks you through both. Includes 6 components, 11 materials with cost estimates, an 11-step build plan, and a realistic 5-week, $90 to $240 budget.
Denji Cosplay
10 weeks · 15 milestones
Chainsaw Man's protagonist in his iconic hybrid form: the human body with a chainsaw head and transformable chainsaw arms. The hand-carved foam helmet with chain-link detailing is the make-or-break piece, demanding precision foam work and 8-12 weeks of dedicated building. A full build includes the school uniform base, prosthetic teeth, spiky hair, and the chainsaw arms or helmet. 6 components, 14 materials, ~10 weeks, $200-500.