Captain America Cosplay
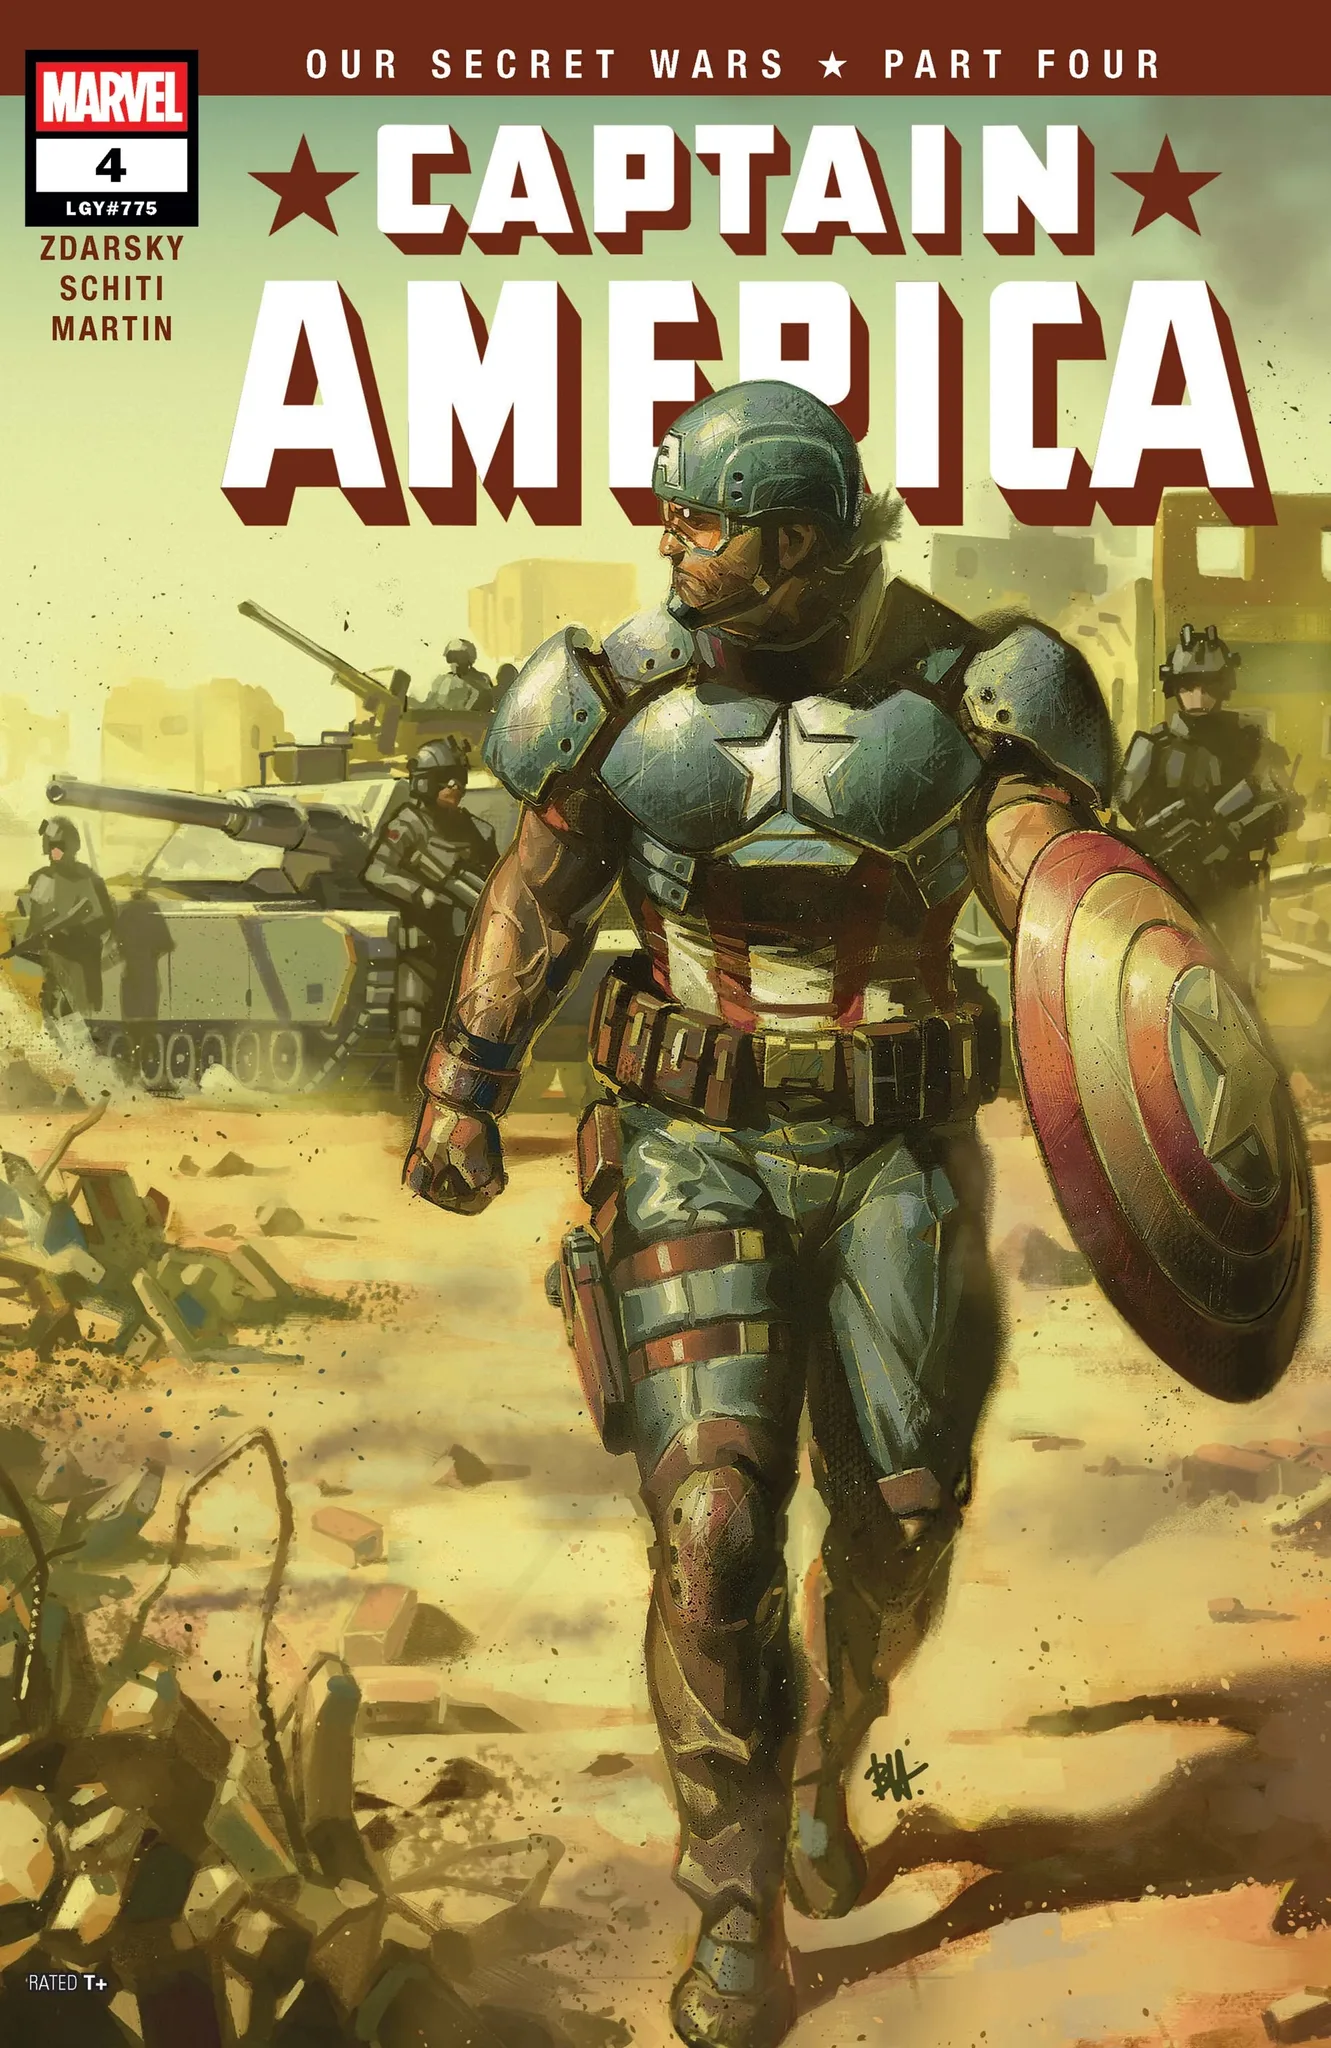
The star-spangled Avenger in his Endgame suit: scaled chest armor over a tactical blue base, a white star emblem, red gauntlets and boot details, a foam cowl helmet with ear wings, and the iconic round shield. This is an intermediate build with repetitive detail work on the scales and some prop-making for the shield. Covers 7 components, 12 materials with cost estimates, a 12-step plan across 5 phases, and a realistic 6-week, $150 to $400 budget.
6 weeks
12
12
7
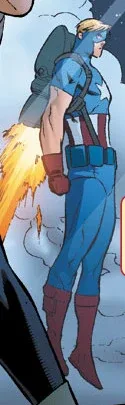
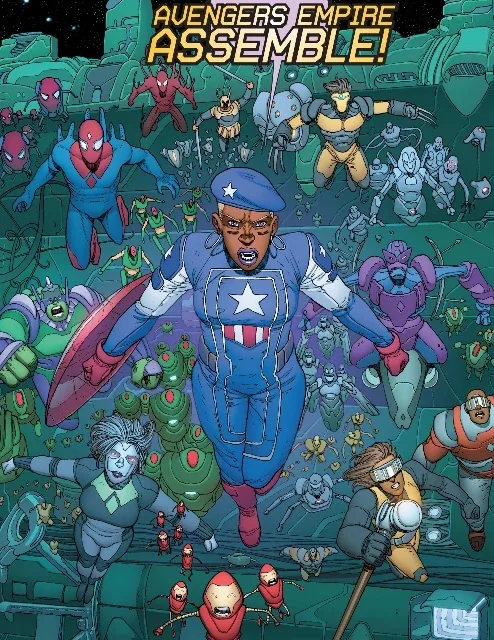
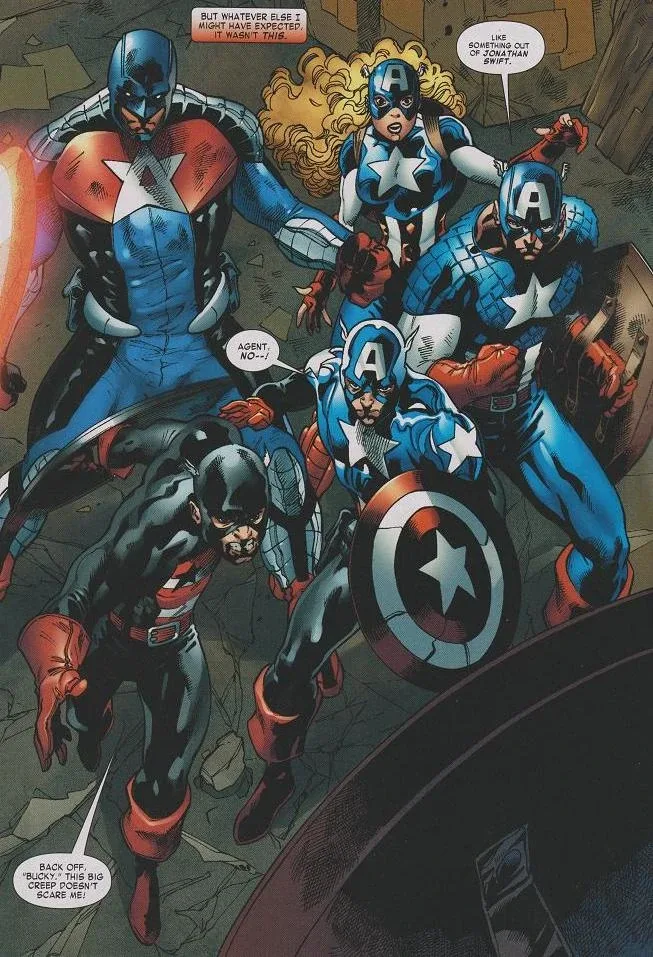
See the whole look before you start.
References, materials, budget, and build order for Captain America.
Timeline
6 weeks
Color refs

Materials
12 items
Budget
$150 - $400
save the visual refs
Full reference board
The preview above is curated for scanning. This is the working board you clone into your own build, with notes, colors, product images, and extra references intact.
Images are sourced from around the internet to help you get started. Use the web clipper to build your own reference library.
Build guide
Two hundred scales. That's what separates a good Cap build from a pile of blue foam scraps and regret. I've built three versions of this suit, and every time, the scales decide whether you finish or quit in week two.
Cut a cardboard template first. One scale, 1.5 inches wide, pointed at the bottom. Then grab a rotary cutter (not scissors, never scissors) and stack three or four sheets of 3mm EVA craft foam. Cut through all layers at once. You'll still spend 10 to 15 hours hand-cutting if you don't own a Cricut. Tedious.
But cutting isn't where people fail. Attachment is. I watched a guy at Dragon Con 2023 lose half his chest panel by 2 PM because he glued scales onto a loose lycra bodysuit. The fabric stretches, the contact cement loses grip, and scales start peeling like sunburned skin. Use a compression athletic shirt. Tight to the body, stable surface, no stretch pulling the adhesive apart. Build chest and back as separate panels so you can work flat on a table.
Scales point down from the neckline. Down. I cannot stress this enough. Upward-pointing scales catch on everything and look like you're wearing a startled fish. Reference your Endgame screenshots. The orientation is subtle in photos but obvious in person.
The shield is the fun part. Two layers of 10mm EVA foam laminated together, carved with a Dremel for the ring channels, then a Worbla shell over the top for that smooth, paintable surface. Total weight under two pounds. I went with 26 inches instead of the comic-accurate 30 because the larger size looks absurd on anyone under 6'2" and your arm will be screaming by hour three on the convention floor. The Worbla adds $35 to the budget but the finish difference is night and day compared to raw foam.
For the back-mount, epoxy a 65lb neodymium magnet inside the shield and sew a 95lb magnet into your harness back plate. Put a thin foam buffer between them. Without the buffer, the magnets lock together so hard you'll dislocate your shoulder trying to pull the shield off for photos. I learned this at Katsucon and had to ask a stranger to help me pry it loose. Embarrassing.
The cowl is medium difficulty if you paper-template it first. Print multiple sizes, tape them to your head, check the eye openings. Oversizing the eyes by 3 to 5mm reads identical on camera but doubles your peripheral vision. Hide a chin strap inside or the cowl rides up every time you turn your head.
Budget reality: $150 if you already own boots and a heat gun. $350 to $400 if you're buying everything from scratch (Worbla, tactical boots at $45, spray paint set at $28). Barge contact cement is $12 for a 2 oz tin and you'll burn most of it on the scales alone.
Timeline is six weeks at a comfortable pace. Weeks one and two are scales and material sourcing. Week three is cowl and shield foam work. Week four is Worbla and painting. Weeks five and six are harness, details, and your full suit-up test. Don't skip the test. Walk around your house for an hour. Sit down. Stand up. Reach overhead. If something pulls or digs, fix it before the con.
The star emblem is the easiest win. 3D print it in PLA at 4.2 inches, sand smooth, paint white, mount on a stiff interfaced fabric panel. The panel distributes weight so the star sits flat instead of pulling the suit crooked.
Worth it. Every version of this suit gets stopped for photos.
Components
Scaled torso armor (chest and back panels)
Cowl helmet with ear wings
White star chest emblem
Shield (26-inch EVA foam with Worbla shell)
Shoulder harness and utility belt
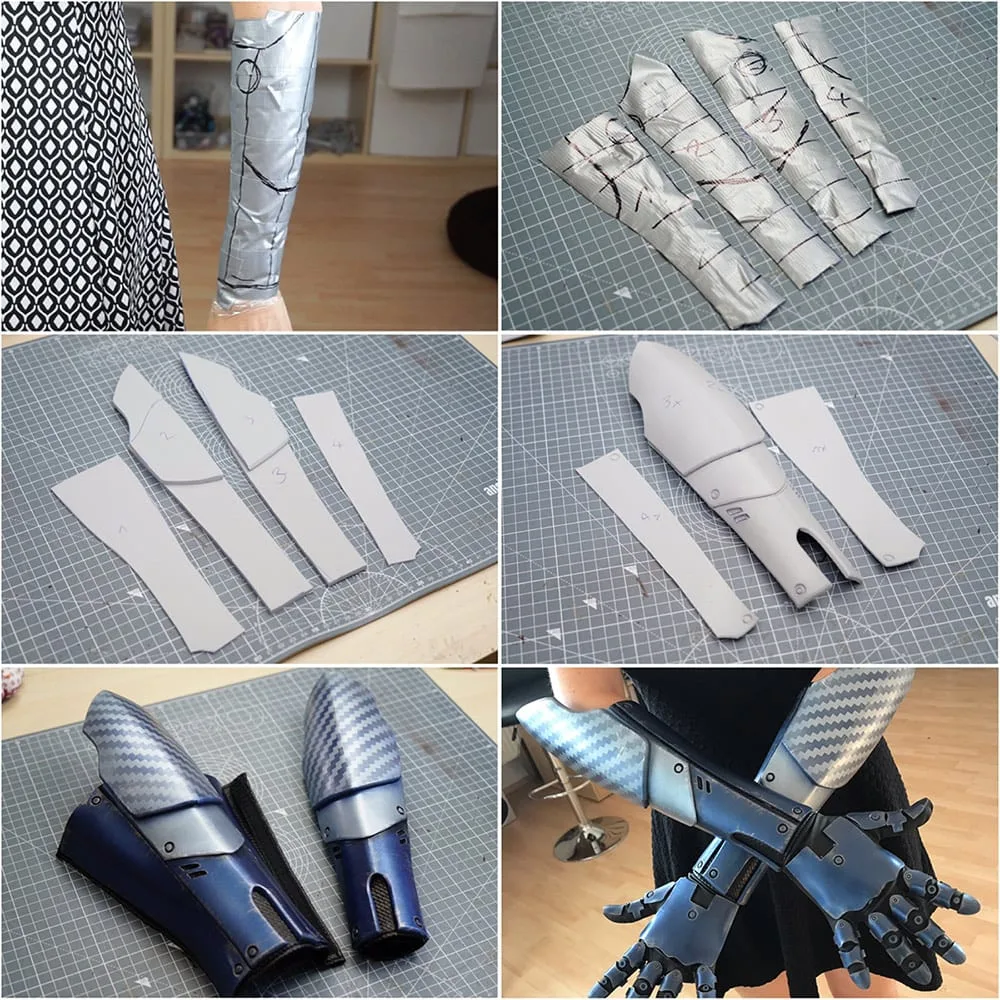
Gauntlets and gloves
Boots with red detail
Materials list
12 itemsEstimated total cost
$150 - $400
Milestone timeline
6 weeks- 1
Pick your MCU version and gather reference screenshots
Research
- 2
Source EVA foam, compression shirt, and faux leather
Materials
- 3
Create scale template and cut 200+ scales from 3mm foam
Patterning
- 4
Print and test-fit cowl template on your head (paper first)
Patterning
- 5
Attach scales to compression shirt (chest and back panels)
Construction
- 6
Build cowl helmet from EVA foam, heat-shape, add ear wings
Construction
- 7
Laminate and shape shield from 10mm EVA foam layers
Construction
- 8
Apply Worbla shell to shield, sand, and prime
Construction
- 9
Paint all components (shield rings, helmet, gauntlets, scales)
Details
- 10
Build harness, install magnet mount, attach belt pouches
Details
- 11
Mount star emblem on chest, modify boots, finish gauntlets
Finishing
- 12
Full suit-up with shield, mobility test, photo check
Wear test
Frequently
asked questions.
Related tools and guides
Plan your build, estimate costs, and get ready.
Budget Calculator
Estimate your build cost before you start buying materials.
Convention Checklist
88-item packing checklist. Check off items as you pack.
Prop Scaling Calculator
Scale reference images to your body measurements.
How Much Does EVA Foam Armor Cost?
Real build budgets with specific products and dollar amounts.
Cosplay on Costumary
Templates, tools, and workspace built for cosplay makers.
Browse all templates
Explore build plans across 10 craft verticals.
Debut your cosplay build
Upcoming conventions where you could wear this. Dates, checklists, and budget tools included.
San Diego Comic-Con 2026
Jul 23–26 · San Diego, CA
The original and most iconic pop culture convention. Massive panels, Hall H, and the epicenter of entertainment announcements.
OffKai Expo 2026
Jul 24–26 · San Jose, CA
GalaxyCon Raleigh 2026
Jul 24–26 · Raleigh, NC
A Raleigh pop culture convention with celebrity guests, comic artists, and a growing cosplay scene.
Lakeland Anime-Fest 2026
Jul 25–25 · Lakeland, FL
Start this build free
Clone this template into your workspace. Track materials, milestones, budget, and build progress in one place.
More from this series
Qifrey Cosplay
5 weeks · 12 milestones
Qifrey's elegant white-robed silhouette is built around three signature elements: the tall pointed hat with the bent tip and black ribbon, the flowing white cape with the brass brooch closure, and the asymmetrical pince-nez glasses with one dark lens hiding his scarred eye. This is an intermediate build that needs more structural crafting than sewing. The hat and glasses demand the most attention, while the cape is a manageable garment project. The glasses and the hat are the make-or-break details, and this template walks you through both. Includes 7 components, 15 materials with cost estimates, a 12-step build plan, and a realistic 5-week, $95 to $280 budget.
Coco Cosplay
6 weeks · 12 milestones
Witch Hat Atelier's apprentice witch in her full outfit: the tall pointed hat with ornamental band, a dark cloak with decorative hem trim, a layered tunic-dress, boots, and her drawing implements. The hat is the signature piece and the hardest to get right. 7 components, 13 materials, ~6 weeks at $120-280.
Gojo Satoru Cosplay
5 weeks · 11 milestones
Jujutsu Kaisen's strongest sorcerer, built around three signature details: the black high-collar uniform jacket, the blindfold, and the white spiked hair. This is an intermediate build that leans on one well-made garment plus wig styling, so it reads instantly on the con floor without months of work. The collar and the wig are the make-or-break details, and this template walks you through both. Includes 6 components, 11 materials with cost estimates, an 11-step build plan, and a realistic 5-week, $90 to $240 budget.
Frieren Cosplay
5 weeks · 12 milestones
Frieren: Beyond Journey's End's elven mage, built around a white high-collar tunic with gold trim, a flowing blue cape, and a wooden staff with a red gem. This is an intermediate build that combines clean garment construction with prop craftsmanship, finished with styled twin-tail wig and elf ear prosthetics. The gold trim detailing and the staff are the signature details, and this template walks you through both. Includes 7 components, 14 materials with cost estimates, a 12-step build plan, and a realistic 5-week, $100 to $280 budget.