
Single Miniature
Take one model from sprue to shelf with a clear, repeatable workflow. This template walks you through mold line cleanup, priming, basecoats, washes, highlights, basing, and varnish so nothing gets skipped and every paint recipe is saved for next time.
2 weeks
8
8
2
See the whole look before you start.
References, materials, budget, and build order for Single Miniature.
Timeline
2 weeks
Color refs
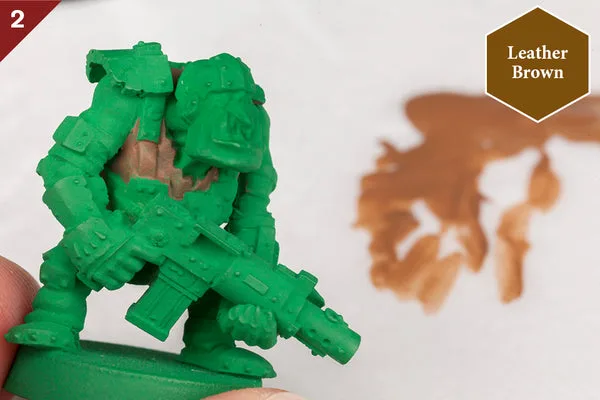
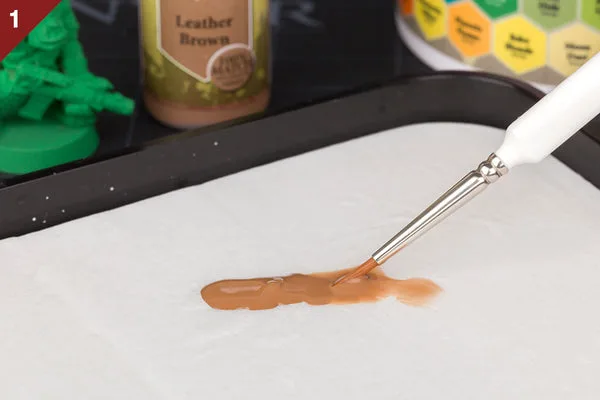
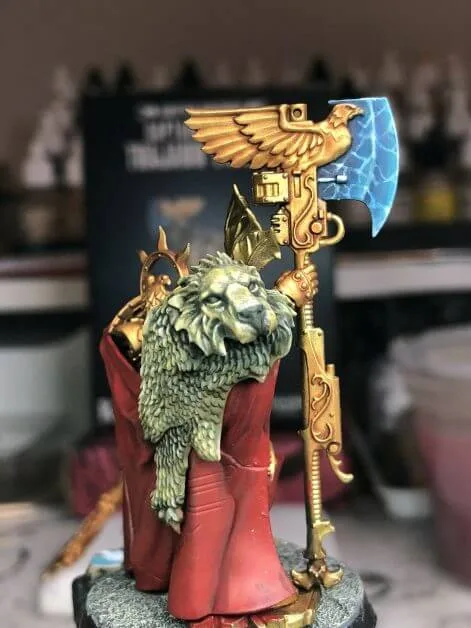
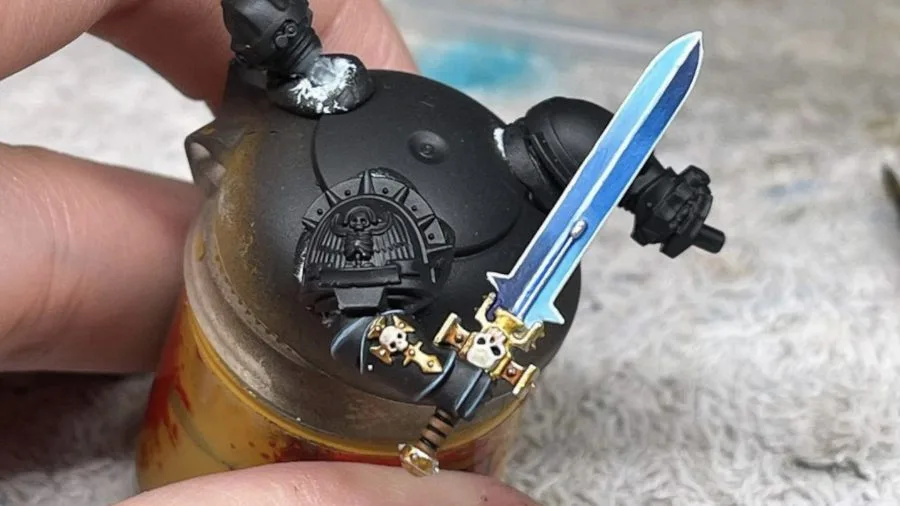
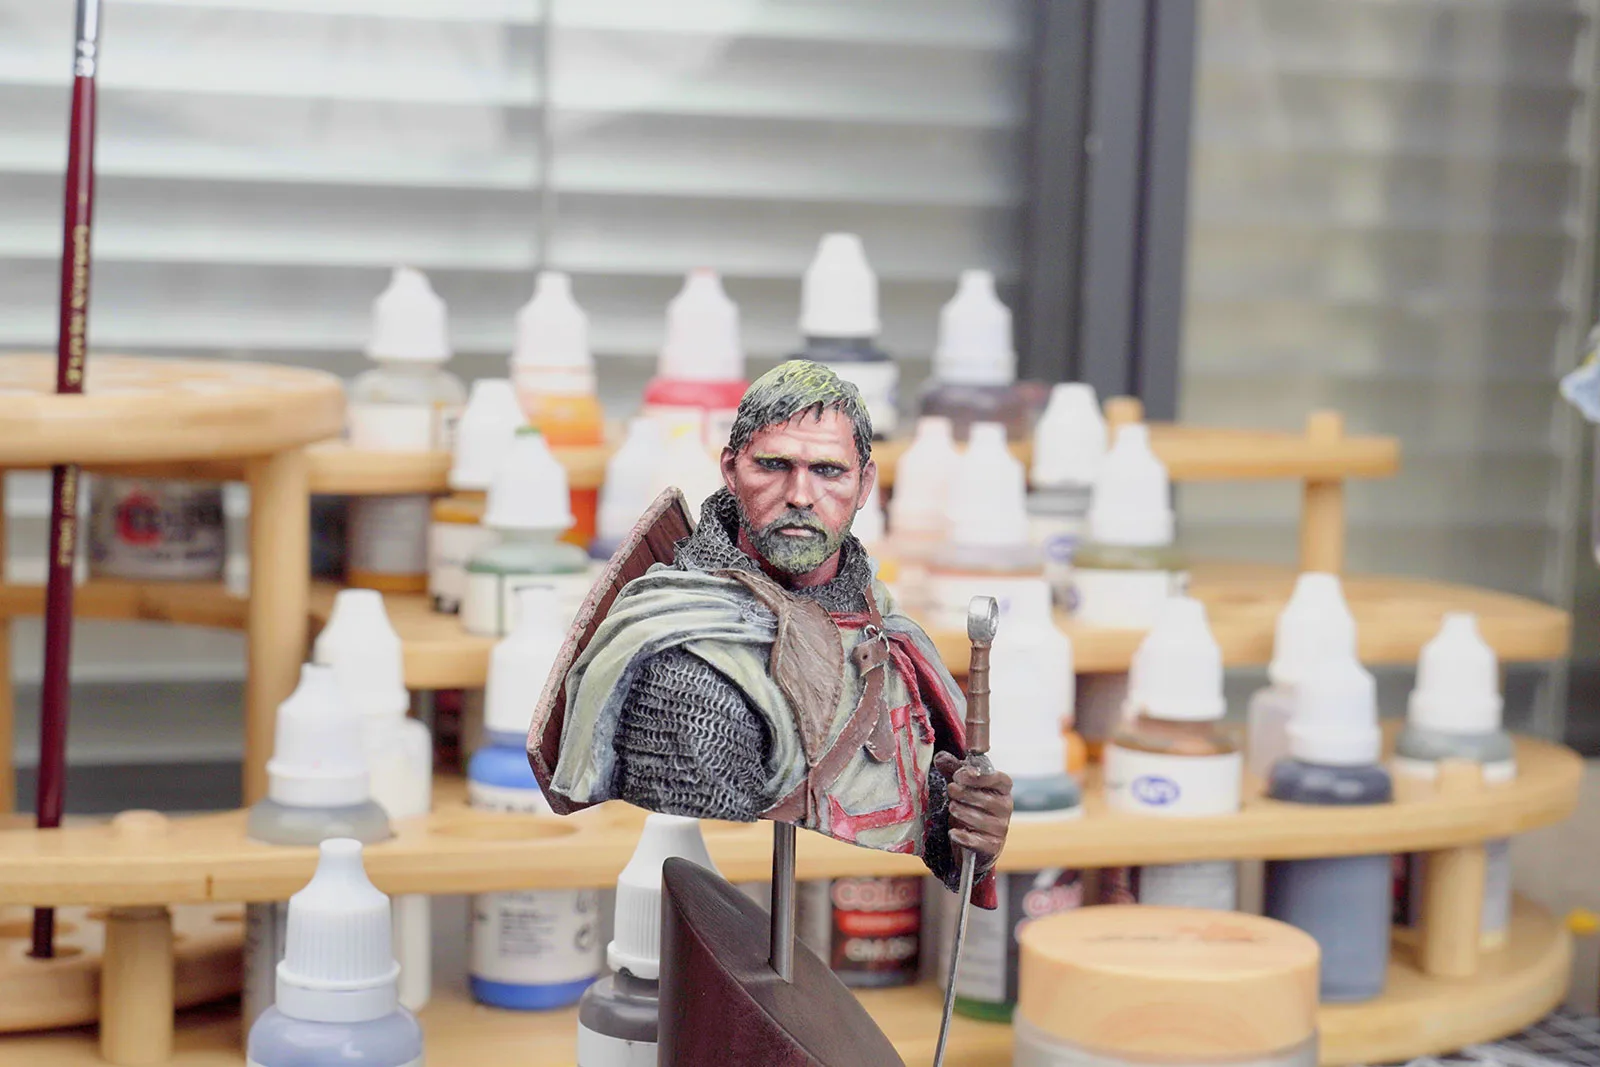
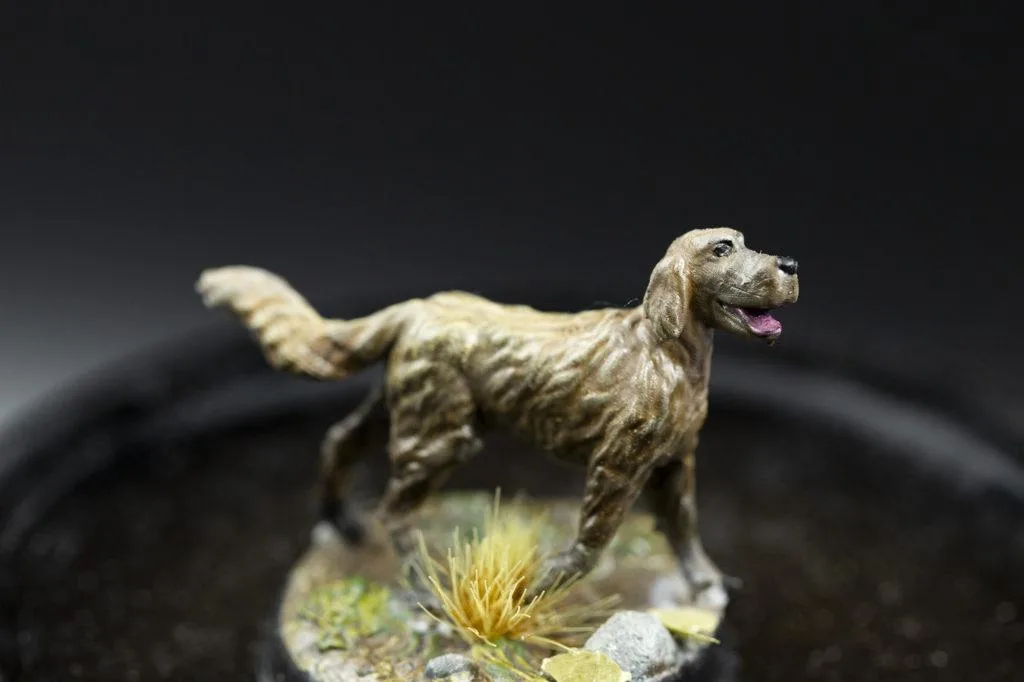
Materials
8 items
Budget
$25 - $75
save the visual refs
Full reference board
The preview above is curated for scanning. This is the working board you clone into your own build, with notes, colors, product images, and extra references intact.
Images are sourced from around the internet to help you get started. Use the web clipper to build your own reference library.
Reference images are gathered from around the web and belong to their original creators. We link back to where we found each one. If something here is yours and you want it taken down, email us and it is gone.
Build guide
Your first fully painted mini is one of the best feelings in the hobby. No more grey plastic shame. No more "I'll get to it later." Just one model, one focused project, and a finished piece you actually want to show people.
You'll take a single miniature from raw kit through assembly, priming, painting, basing, and varnish. By the end you'll have a completed model and, just as importantly, a documented color recipe you can replicate on every model that follows.
Picking Your Model and References
Start with something you're excited to paint. Motivation matters more than complexity. Pull 3-5 reference images: the official box art, community paintjobs you like, and at least one photo of the actual miniature unpainted so you can see the sculpt details. Box art is aspirational. Community photos show you what's realistic.
If this is your first model, skip anything with huge flat surfaces (cloaks are harder than they look). Characters with defined armor panels or layered clothing give you natural shadow lines to follow.
Assembly and Prep
Clean every mold line. Yes, every one. Run a hobby knife along the parting lines at a 90-degree angle, scraping rather than cutting. A mold line across a face or a shoulder pad will haunt you through every paint layer. For plastic kits, Tamiya Extra Thin cement gives a strong bond. For resin or metal, super glue (I like Gorilla Gel) is the move.
Decide now if you need subassemblies. If a shield covers the chest, or a weapon blocks a face, paint those parts separately and glue them on later. Dry fit everything first.
Priming
Prime in thin, even coats. Citadel Chaos Black or Wraithbone spray from 8-10 inches away in short bursts. Two light passes beat one heavy coat every time. If you can still see grey plastic, add another light pass after 10 minutes. Heavy primer fills in sculpt detail and creates texture problems.
For more control, try a zenithal prime: black all over, then white or grey from above at a 45-degree angle. This pre-shades the model and shows you where light naturally falls, which is incredibly helpful for placing highlights later.
Basecoats, Washes, and Highlights
Block in your base colors first. Don't worry about neatness between colors yet. Thin your paints with a drop of water until they flow smoothly off the brush. Two thin coats, always. Citadel Base paints or Vallejo Game Color have great coverage for this stage.
Once basecoats are down, apply a wash to the whole model or targeted into recesses. Citadel Nuln Oil for metallics and dark areas, Agrax Earthshade for warm tones. Washes do 80% of the shading work for you. Let them dry completely (seriously, completely) before moving on.
Layer highlights by mixing a lighter color into your base and painting the raised areas. Edge highlighting along armor panels with a fine detail brush (a size 0 or 1 synthetic is fine at this stage) adds immediate visual pop. Start with one highlight pass. You can always add more.
Basing
A painted model on a bare black base looks unfinished. Spread PVA glue on the base, dip it in sand or apply Citadel Astrogranite texture paint, let it dry, then drybrush with a light tan or grey. Add a grass tuft or two from Army Painter. Five minutes of basing work makes the whole model look twice as good.
Varnish and Photos
Hit the finished model with matte varnish (Vallejo Matte Varnish through an airbrush, or AK Interactive Ultra Matte spray). This protects your paint job from handling and removes the shine from washes. If you want certain areas glossy (gems, lenses, wet effects), go back with a brush-on gloss varnish just on those spots.
Photograph against a plain background with two desk lamps at 45-degree angles. Your phone camera on macro mode works. This is your reference for next time and your proof that you finished the thing.
Common Mistakes
- Thick primer coats. You lose sculpt detail and create a rough surface that fights you on every later step. Multiple thin passes.
- Not thinning paint. Paint straight from the pot obscures detail and leaves visible brush strokes. Add water until it flows like milk.
- Rushing the wash. If you highlight before the wash is fully dry, you'll pull pigment and create tide marks. Give it 20-30 minutes minimum.
- Skipping the base. A painted model on a bare base looks like a work in progress. Five minutes of texture and a tuft changes everything.
- Never finishing. "Good enough for tabletop" is a completed model. Perfect is the enemy of done. Varnish it and move on.
Paint one model. Finish one model. That's the whole goal.
Components
Model
Base
Materials list
8 itemsEstimated total cost
$25 - $75
Milestone timeline
2 weeks- 1
Choose model and gather reference images
planning
- 2
Clean mold lines and assemble
prep
- 3
Prime model
priming
- 4
Block in base colors
basecoat
- 5
Shade recesses and define volumes
shading
- 6
Layer highlights and details
highlighting
- 7
Finish base
basing
- 8
Varnish and photograph
Finishing
Frequently
asked questions.
Related tools and guides
Plan your build, estimate costs, and get ready.
Budget Calculator
Estimate your build cost before you start buying materials.
Convention Checklist
88-item packing checklist. Check off items as you pack.
Prop Scaling Calculator
Scale reference images to your body measurements.
How Much Does Miniature Painting Cost?
Real build budgets with specific products and dollar amounts.
Miniature Painting Commission Pricing
Real build budgets with specific products and dollar amounts.
Miniature Painting on Costumary
Templates, tools, and workspace built for miniature painting makers.
Browse all templates
Explore build plans across 10 craft verticals.
Debut your miniature painting build
Upcoming conventions where you could wear this. Dates, checklists, and budget tools included.
AdeptiCon 2027
Apr 7-11 · Milwaukee, WI
Five days of Warhammer, Infinity and historicals tournaments, with hobby seminars for people who'd rather paint than play. The 2027 event moves to the Baird Center in Milwaukee, so book travel around the new city and not Schaumburg.
NOVA Open 2027
Sep 1-5 · Arlington, VA
A five-day competitive miniature wargaming event near DC, built around tournaments and hobby seminars. If you paint more than you play, the seminar track is the reason to come.
Start this build free
Clone this template into your workspace. Track materials, milestones, budget, and build progress in one place.
Related templates
Army Project
12 weeks · 11 milestones
Plan and execute a full army build without losing your paint recipes, forgetting what's primed, or burning out halfway through. This template breaks a massive backlog into playable milestones with scheme tests, batch sequencing, centerpiece scheduling, and storage planning.
Unit / Squad
4 weeks · 10 milestones
Paint a cohesive squad or warband using a batch painting workflow that keeps your color scheme consistent across every model. This template covers scheme planning, batch priming, assembly-line basecoating, shared washes, individual details, decals, and unified basing.
Commission Batch
6 weeks · 9 milestones
Manage a client painting commission from intake to shipping with clear approval checkpoints, documented paint recipes, batch progress tracking, and professional packing. This template keeps client expectations aligned at every stage so there are no surprises at handoff.
Kitbash / Conversion
5 weeks · 8 milestones
Build a unique miniature by combining parts from multiple kits, sculpting custom details with greenstuff or Milliput, and painting the result into a cohesive model. This template covers concept sketches, donor kit sourcing, pinning, gap filling, sculpting, and painting a conversion that looks intentional rather than cobbled together.
Terrain / Basing
3 weeks · 7 milestones
Build and paint terrain pieces, scatter, or a full set of matching bases for your army. This template covers theme selection, foam and cork construction, texture application, priming, drybrushing, foliage, and durable sealing so your table or bases survive regular game nights.
Display Piece
6 weeks · 9 milestones
Push a single miniature to its absolute best for a shelf, competition, or portfolio piece. This template covers mood references, subassembly planning, display base construction, value sketching, advanced blending, face and eye detail, and final photography for a model that's meant to be studied up close.