Yor Forger Cosplay
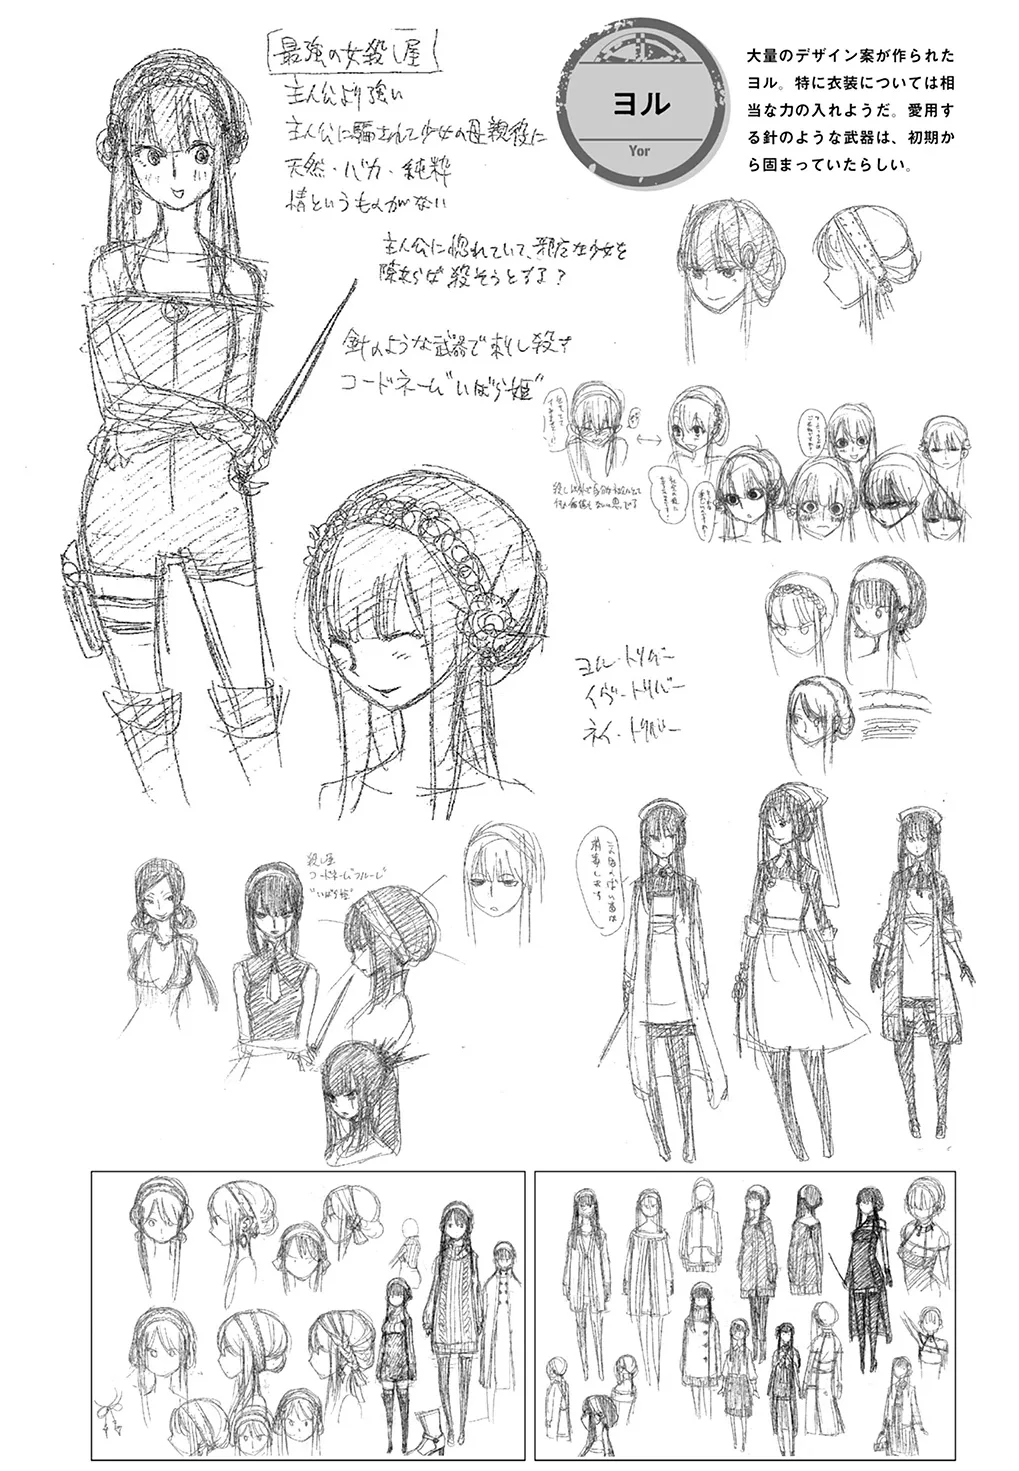
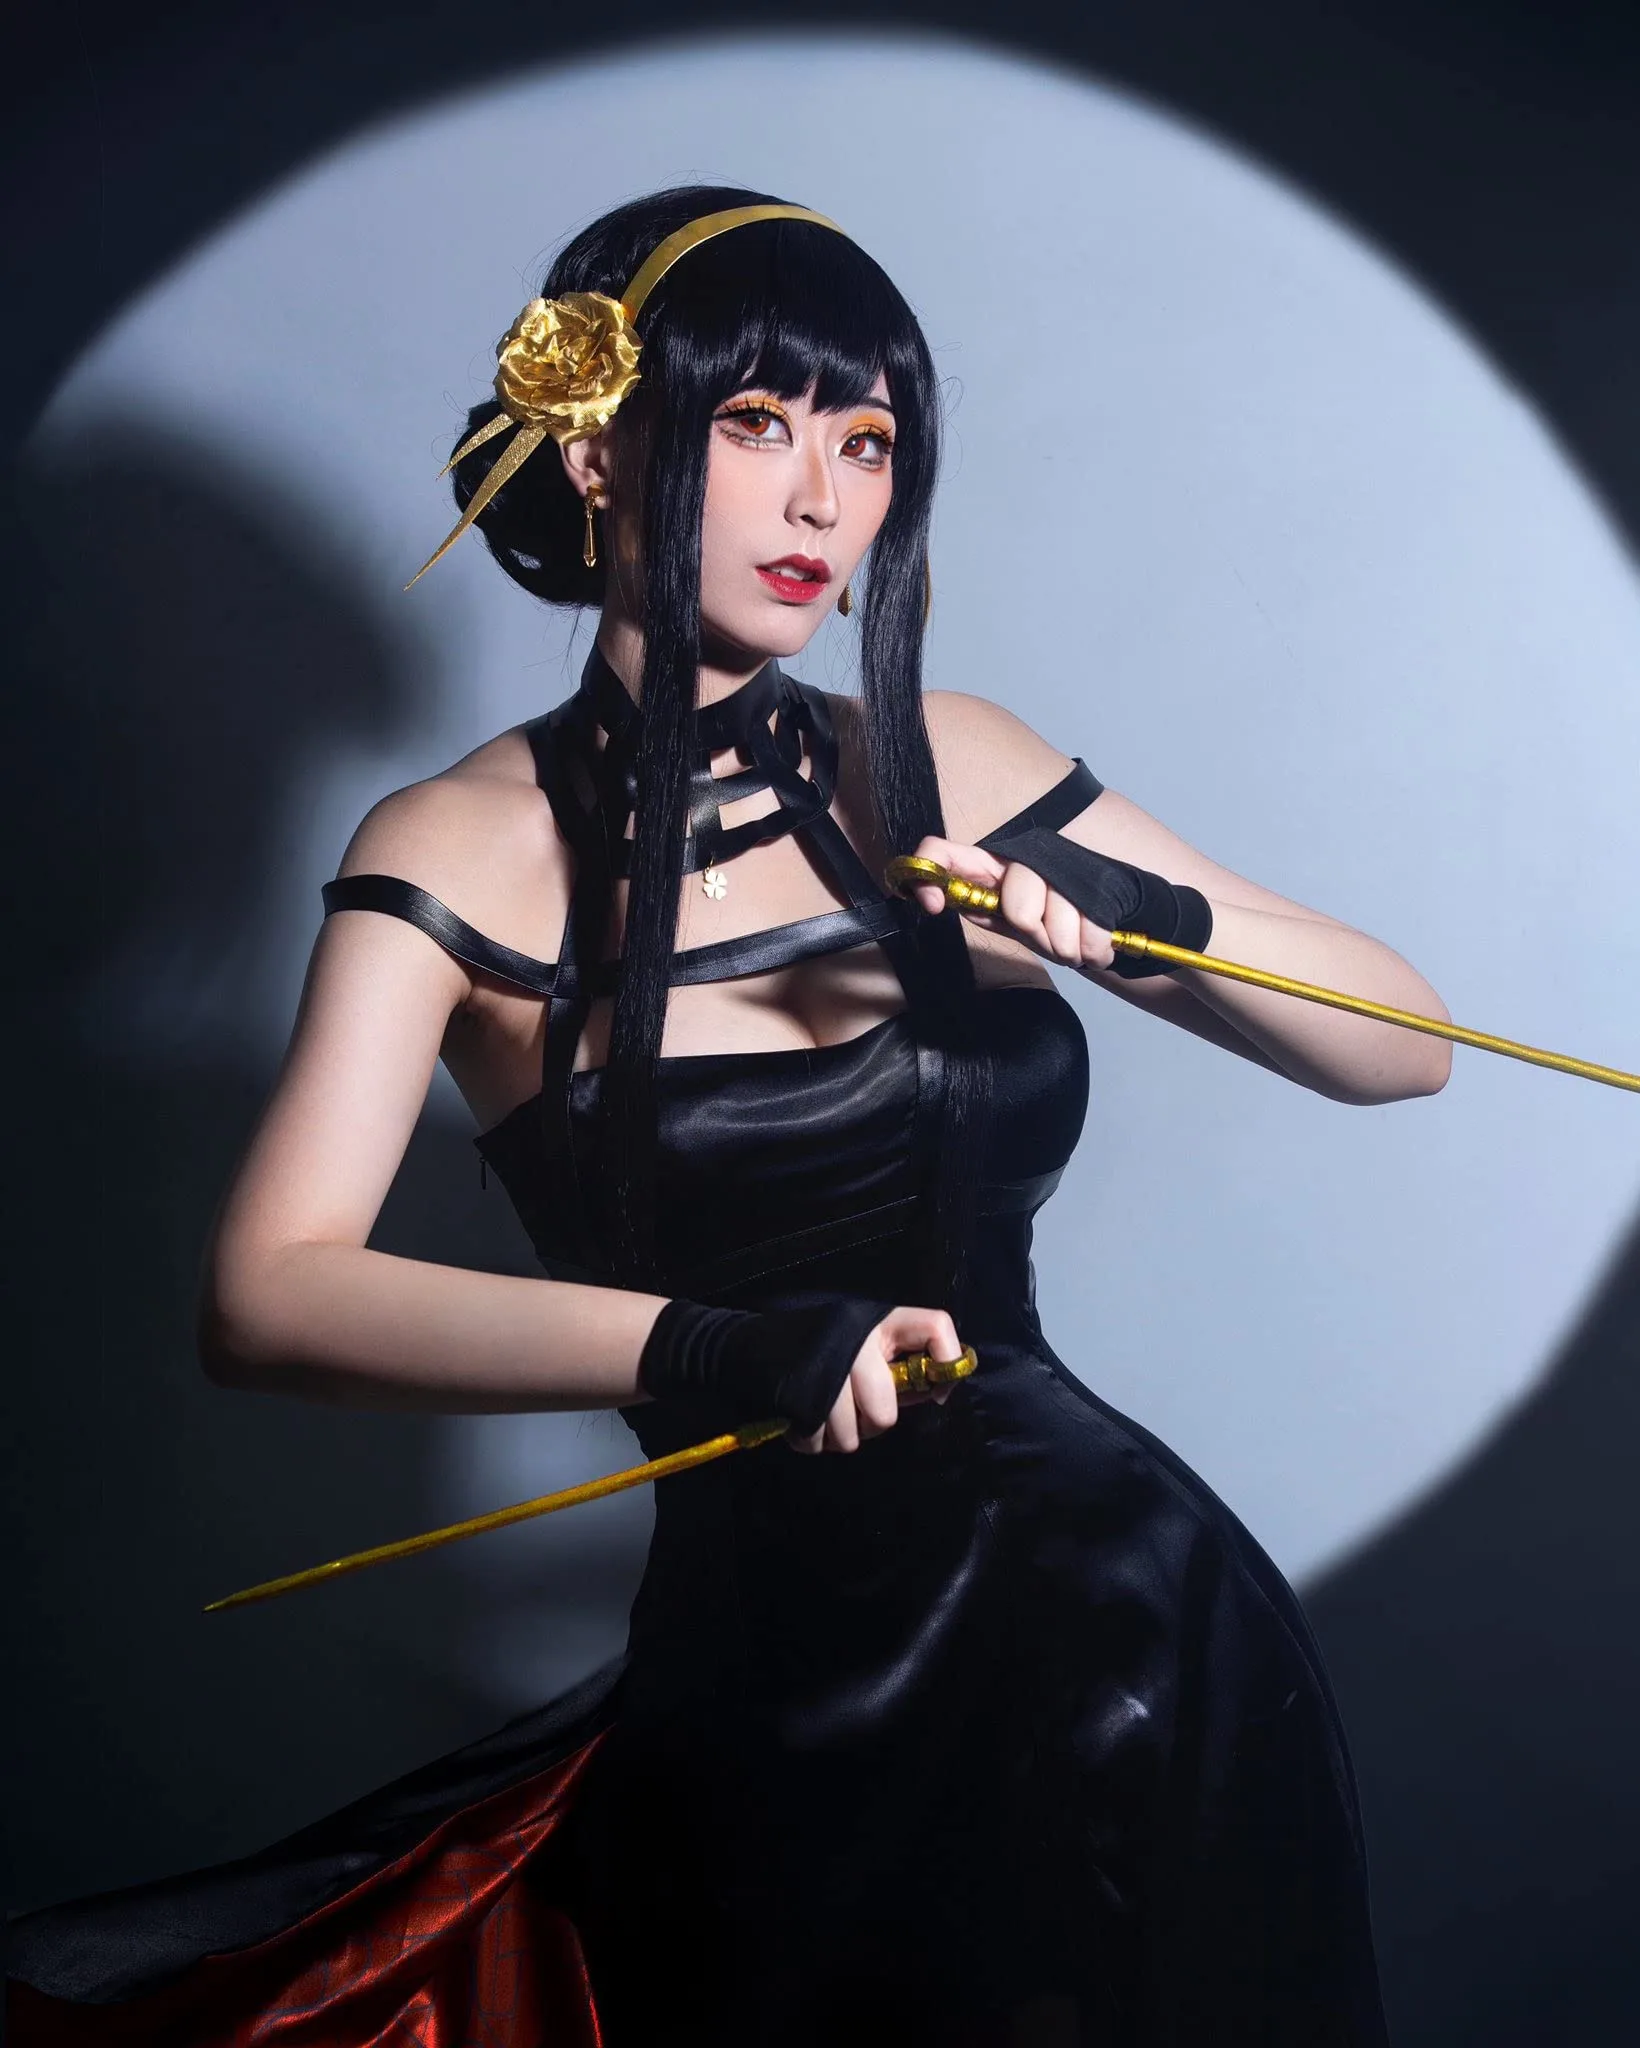
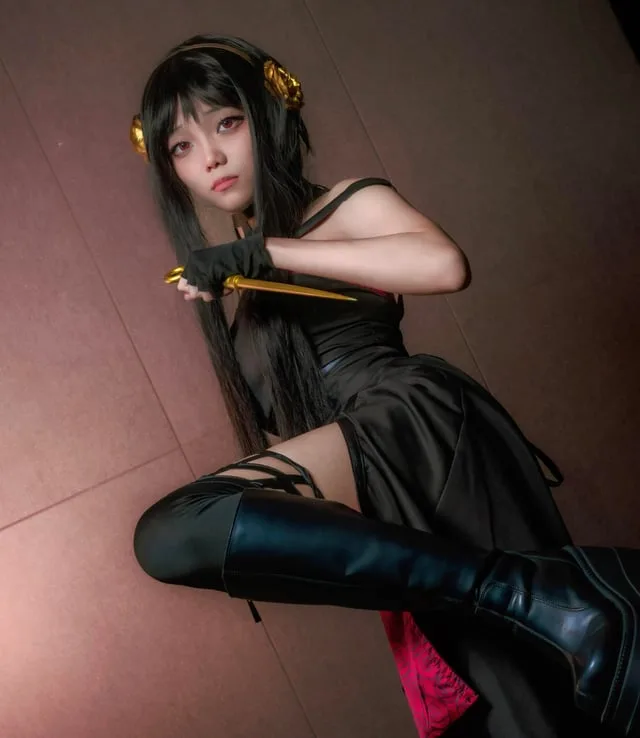
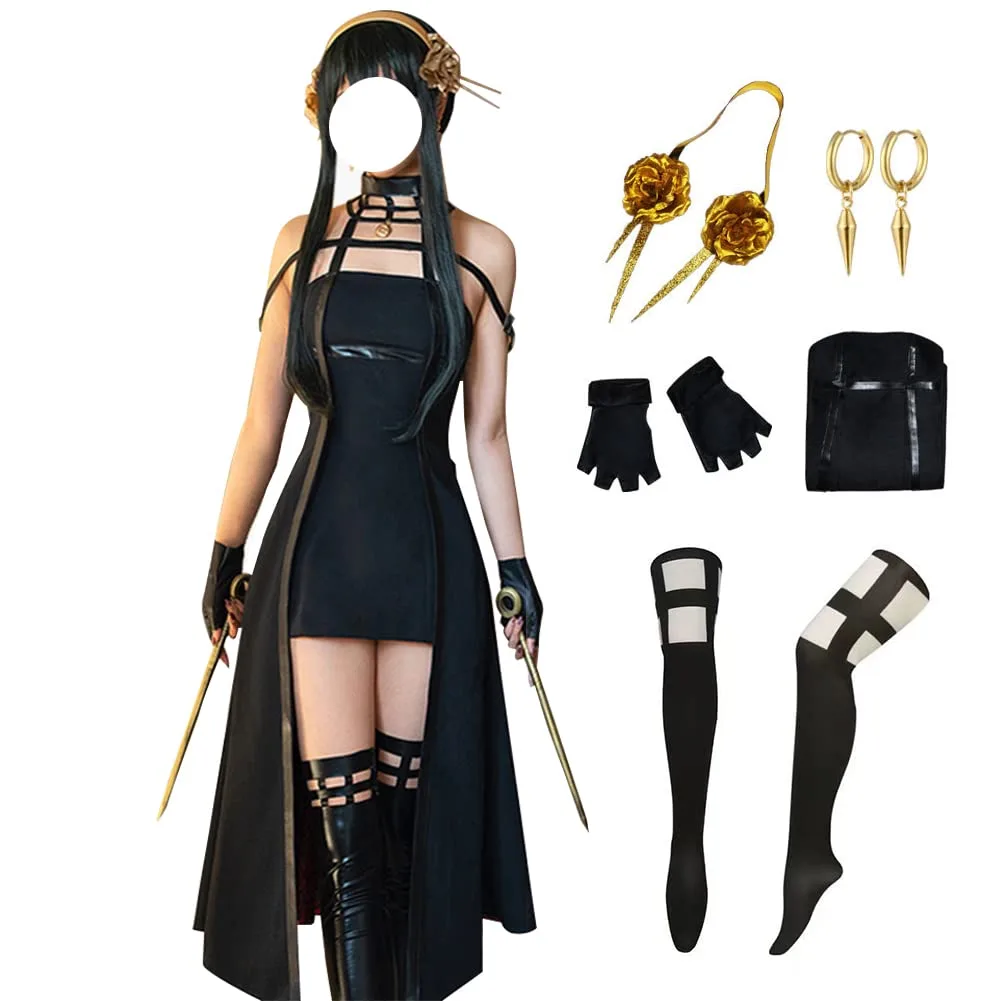
Spy x Family's Thorn Princess in her iconic red dress, gold headband, and long black wig. The dress is a form-fitting strapless bodice with a thigh-high slit and detachable train, so it needs boning and modesty engineering that budget costume sets skip entirely. This template covers 7 components, 12 materials with cost estimates, a 12-step build plan, and a realistic 6-week timeline at $120 to $300.
6 weeks
14
15
7
See the whole look before you start.
References, materials, budget, and build order for Yor Forger.
Timeline
6 weeks
Color refs

Materials
15 items
Budget
$120 - $300
save the visual refs
Full reference board
The preview above is curated for scanning. This is the working board you clone into your own build, with notes, colors, product images, and extra references intact.
Images are sourced from around the internet to help you get started. Use the web clipper to build your own reference library.
Build guide
I made my first Yor dress out of satin. Terrible idea. It wrinkled the second I sat down, and by the afternoon panel at Anime NYC last November, I looked like I'd slept in it. That build taught me the one lesson that matters: this costume lives or dies on fabric choice and bodice structure. Everything else is shopping.
The bodice is a strapless construction. Those straps crossing at the neck? Decorative, not structural. If you skip the boning, the top sags and bunches within two hours. I use Rigilene flexible nylon boning sewn directly into the princess seams, about 3 yards total. It's cheap (around $10) and it's the reason the dress still looks sharp at 6 PM. You mock this up in scrap fabric first. Not optional. I've seen people cut into $48 worth of ponte knit without testing the fit, and the results aren't recoverable. Find a strapless dress pattern, pin it, try it on, adjust the bust and waist, then transfer to your real pattern pieces. This step takes maybe 3 hours and saves you from starting over.
Ponte knit or embossed velvet, nothing else. Ponte holds its shape without wrinkling, drapes tight, and doesn't show sweat. I picked up 4 yards of deep red ponte from the Joann in Burbank for about $12 a yard, and the employee at the cutting counter recognized the character immediately. Embossed velvet reads richer in photos but runs warmer at summer cons.
The slit needs a lining panel that extends slightly past the opening. Without it, you're managing wardrobe awareness every time you walk, sit, or pose. The panel plus compression shorts underneath means you don't think about it all day.
Make the train detachable. Six heavy-duty snaps on a waistband. Wear it for photos, pull it off for the dealer hall. A fixed train picks up every piece of dirt on the convention center floor.
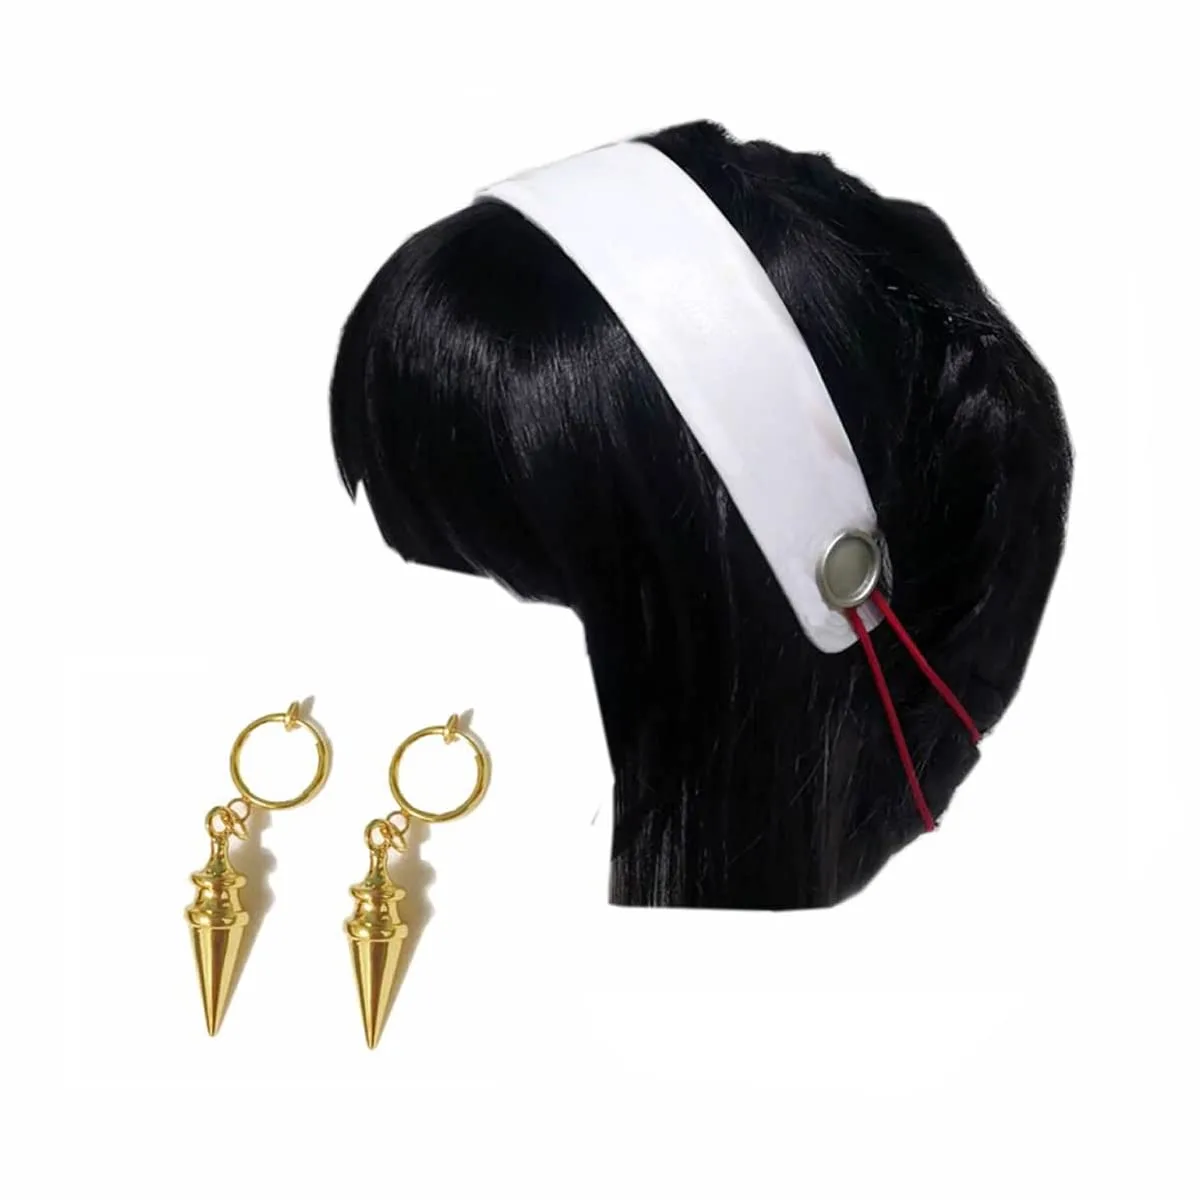
Buy the wig before anything else. It determines whether the headband fits, and you need to test the weight. I use a silicone grip wig cap so the headband doesn't push the whole wig backward. Cut the bangs conservatively at eyebrow level. Bobby pin the headband to the wig cap from underneath with 4 to 6 pins, then shake your head. If it shifts, add comb-style wig clips to the inside of the headband.
3D print the headband if you can. The budget Amazon sets chip in transit and the gold flakes off by mid-con. Sand the print, paint with metallic gold acrylic, seal it.
Total cost runs $120 to $300. The low end is a purchased costume set (size up) with a $30 wig and handmade accessories. The high end is sewing from ponte knit with quality boning, comfortable boots, and a 3D-printed headband. Budget 6 weeks: bodice mockup eats weeks one and two, construction fills three and four, accessories plus wig styling take the last two.
One thing nobody tells you: the choker sits weird if you put it on over the wig. Put the choker on first, then the wig, then the headband. I figured this out at Katsucon in February after three failed attempts in the hotel mirror.
The Thorn Princess stiletto props are optional. Casual Yor with the dress, headband, and wig is instantly recognizable. If you bring them, check your con's prop policy first.
Components
Thorn Princess dress
Detachable train
Gold headband with flowers
Choker with red gem pendant
Styled black wig
Thorn Princess weapons
Black boots
Materials list
15 itemsEstimated total cost
$120 - $300
Milestone timeline
6 weeks- 1
Gather references and pick your Yor version
Research
- 2
Buy and test the wig, cut bangs and face-framing sections
Materials
- 3
Source dress fabric and boning
Materials
- 4
Mock up the bodice in scrap fabric
Patterning
- 5
Cut the dress pieces and lining
Construction
- 6
Sew the bodice with boning in princess seams
Construction
- 7
Attach the skirt, set the slit, and sew the modesty panel
Construction
- 8
Sew the detachable train and attach snaps
Construction
- 9
Hem and finish the dress
Finishing
- 10
Build or modify the headband and earrings
Details
- 11
Paint and seal all accessories
Finishing
- 12
Style the wig and test with headband
Finishing
- 13
Prep and seal weapon props
Finishing
- 14
Full suit-up, photos, and con-day test
Wear test
Frequently
asked questions.
Related tools and guides
Plan your build, estimate costs, and get ready.
Budget Calculator
Estimate your build cost before you start buying materials.
Convention Checklist
88-item packing checklist. Check off items as you pack.
Prop Scaling Calculator
Scale reference images to your body measurements.
How Much Does EVA Foam Armor Cost?
Real build budgets with specific products and dollar amounts.
Cosplay on Costumary
Templates, tools, and workspace built for cosplay makers.
Browse all templates
Explore build plans across 10 craft verticals.
Debut your cosplay build
Upcoming conventions where you could wear this. Dates, checklists, and budget tools included.
San Diego Comic-Con 2026
Jul 23–26 · San Diego, CA
The original and most iconic pop culture convention. Massive panels, Hall H, and the epicenter of entertainment announcements.
OffKai Expo 2026
Jul 24–26 · San Jose, CA
GalaxyCon Raleigh 2026
Jul 24–26 · Raleigh, NC
A Raleigh pop culture convention with celebrity guests, comic artists, and a growing cosplay scene.
Lakeland Anime-Fest 2026
Jul 25–25 · Lakeland, FL
Start this build free
Clone this template into your workspace. Track materials, milestones, budget, and build progress in one place.
More from this series
Qifrey Cosplay
5 weeks · 12 milestones
Qifrey's elegant white-robed silhouette is built around three signature elements: the tall pointed hat with the bent tip and black ribbon, the flowing white cape with the brass brooch closure, and the asymmetrical pince-nez glasses with one dark lens hiding his scarred eye. This is an intermediate build that needs more structural crafting than sewing. The hat and glasses demand the most attention, while the cape is a manageable garment project. The glasses and the hat are the make-or-break details, and this template walks you through both. Includes 7 components, 15 materials with cost estimates, a 12-step build plan, and a realistic 5-week, $95 to $280 budget.
Coco Cosplay
6 weeks · 12 milestones
Witch Hat Atelier's apprentice witch in her full outfit: the tall pointed hat with ornamental band, a dark cloak with decorative hem trim, a layered tunic-dress, boots, and her drawing implements. The hat is the signature piece and the hardest to get right. 7 components, 13 materials, ~6 weeks at $120-280.
Gojo Satoru Cosplay
5 weeks · 11 milestones
Jujutsu Kaisen's strongest sorcerer, built around three signature details: the black high-collar uniform jacket, the blindfold, and the white spiked hair. This is an intermediate build that leans on one well-made garment plus wig styling, so it reads instantly on the con floor without months of work. The collar and the wig are the make-or-break details, and this template walks you through both. Includes 6 components, 11 materials with cost estimates, an 11-step build plan, and a realistic 5-week, $90 to $240 budget.
Frieren Cosplay
5 weeks · 12 milestones
Frieren: Beyond Journey's End's elven mage, built around a white high-collar tunic with gold trim, a flowing blue cape, and a wooden staff with a red gem. This is an intermediate build that combines clean garment construction with prop craftsmanship, finished with styled twin-tail wig and elf ear prosthetics. The gold trim detailing and the staff are the signature details, and this template walks you through both. Includes 7 components, 14 materials with cost estimates, a 12-step build plan, and a realistic 5-week, $100 to $280 budget.