
Straight Build
Your first clean Gunpla finish, no painting required. This template walks you through nub removal, panel lining, decals, and topcoat on any grade kit. Perfect if you want a display-ready model that looks way better than "just snapped together."
2 weeks
8
7
5
See the whole look before you start.
References, materials, budget, and build order for Straight Build.
Timeline
2 weeks
Color refs


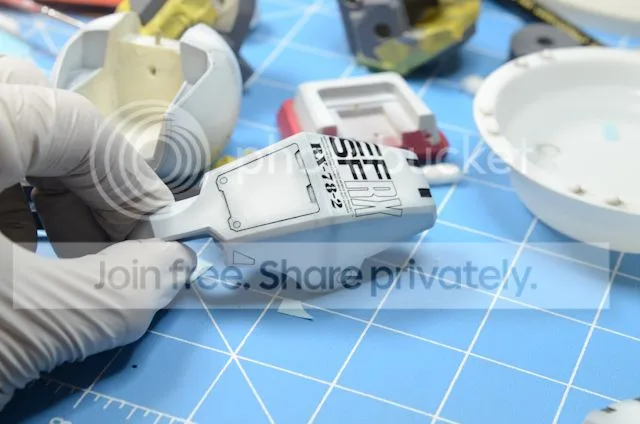
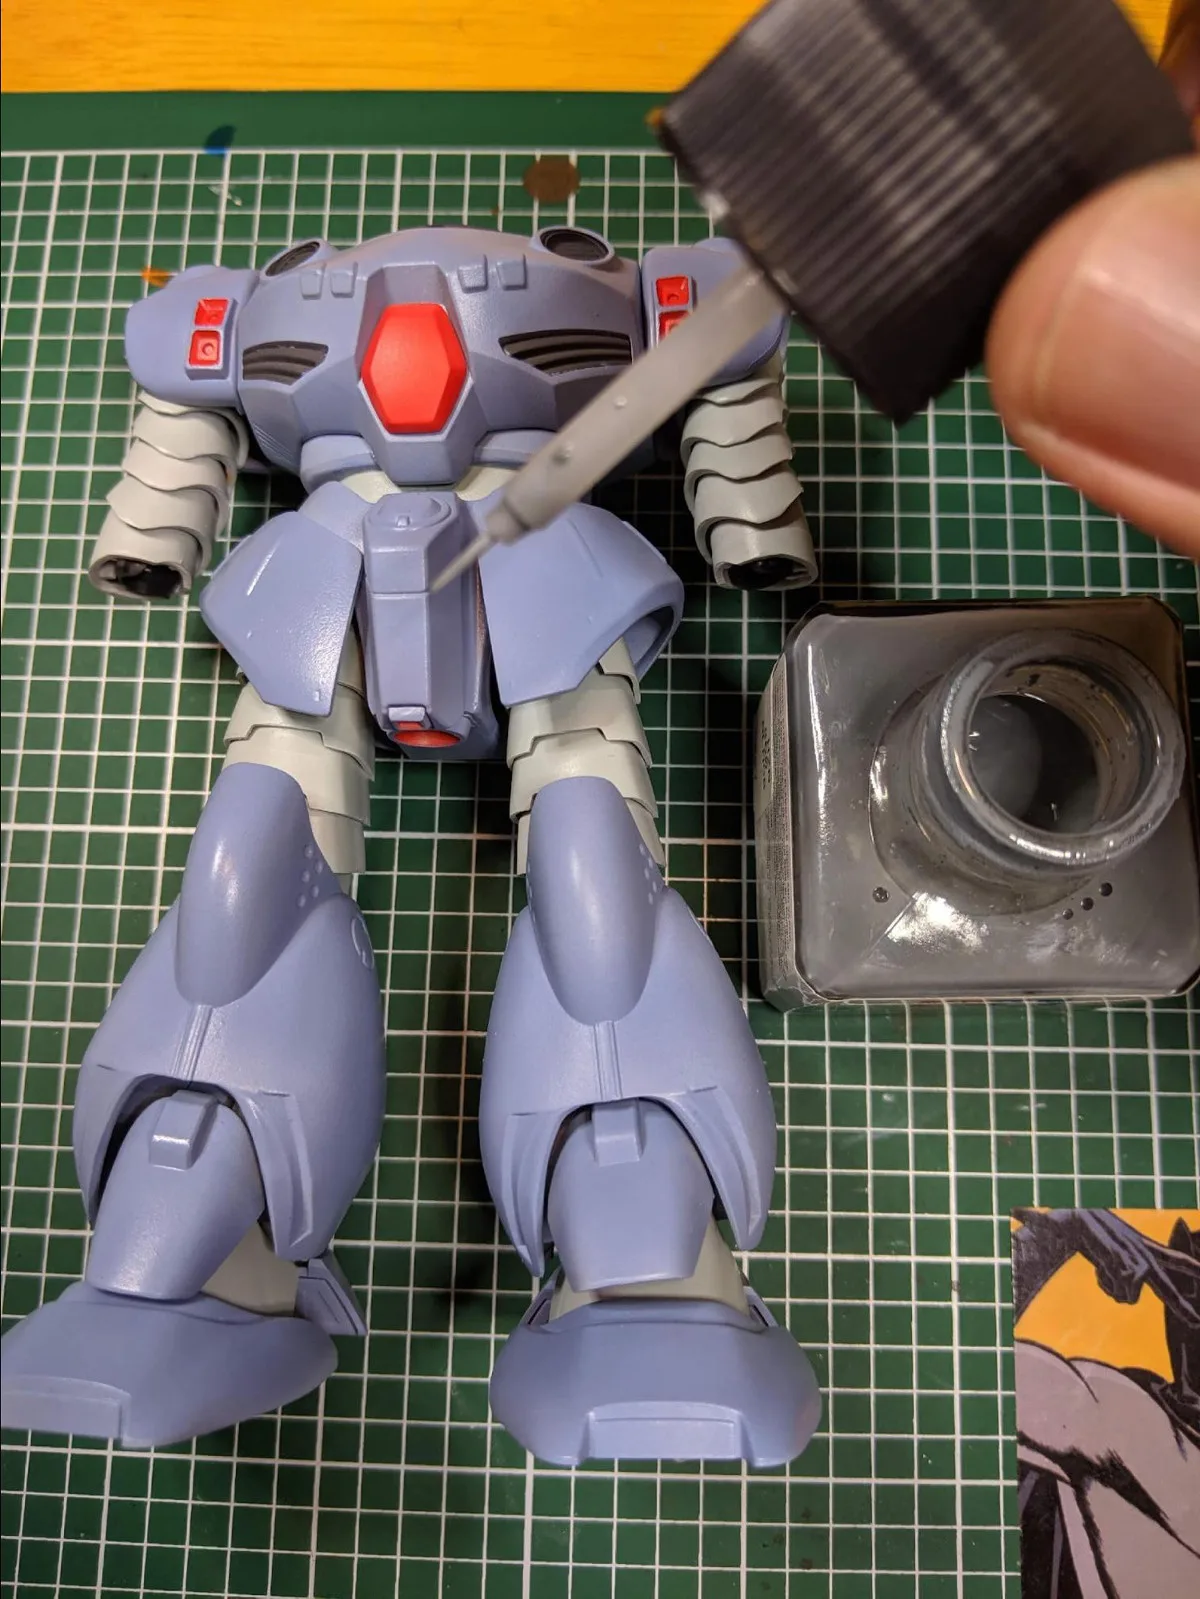
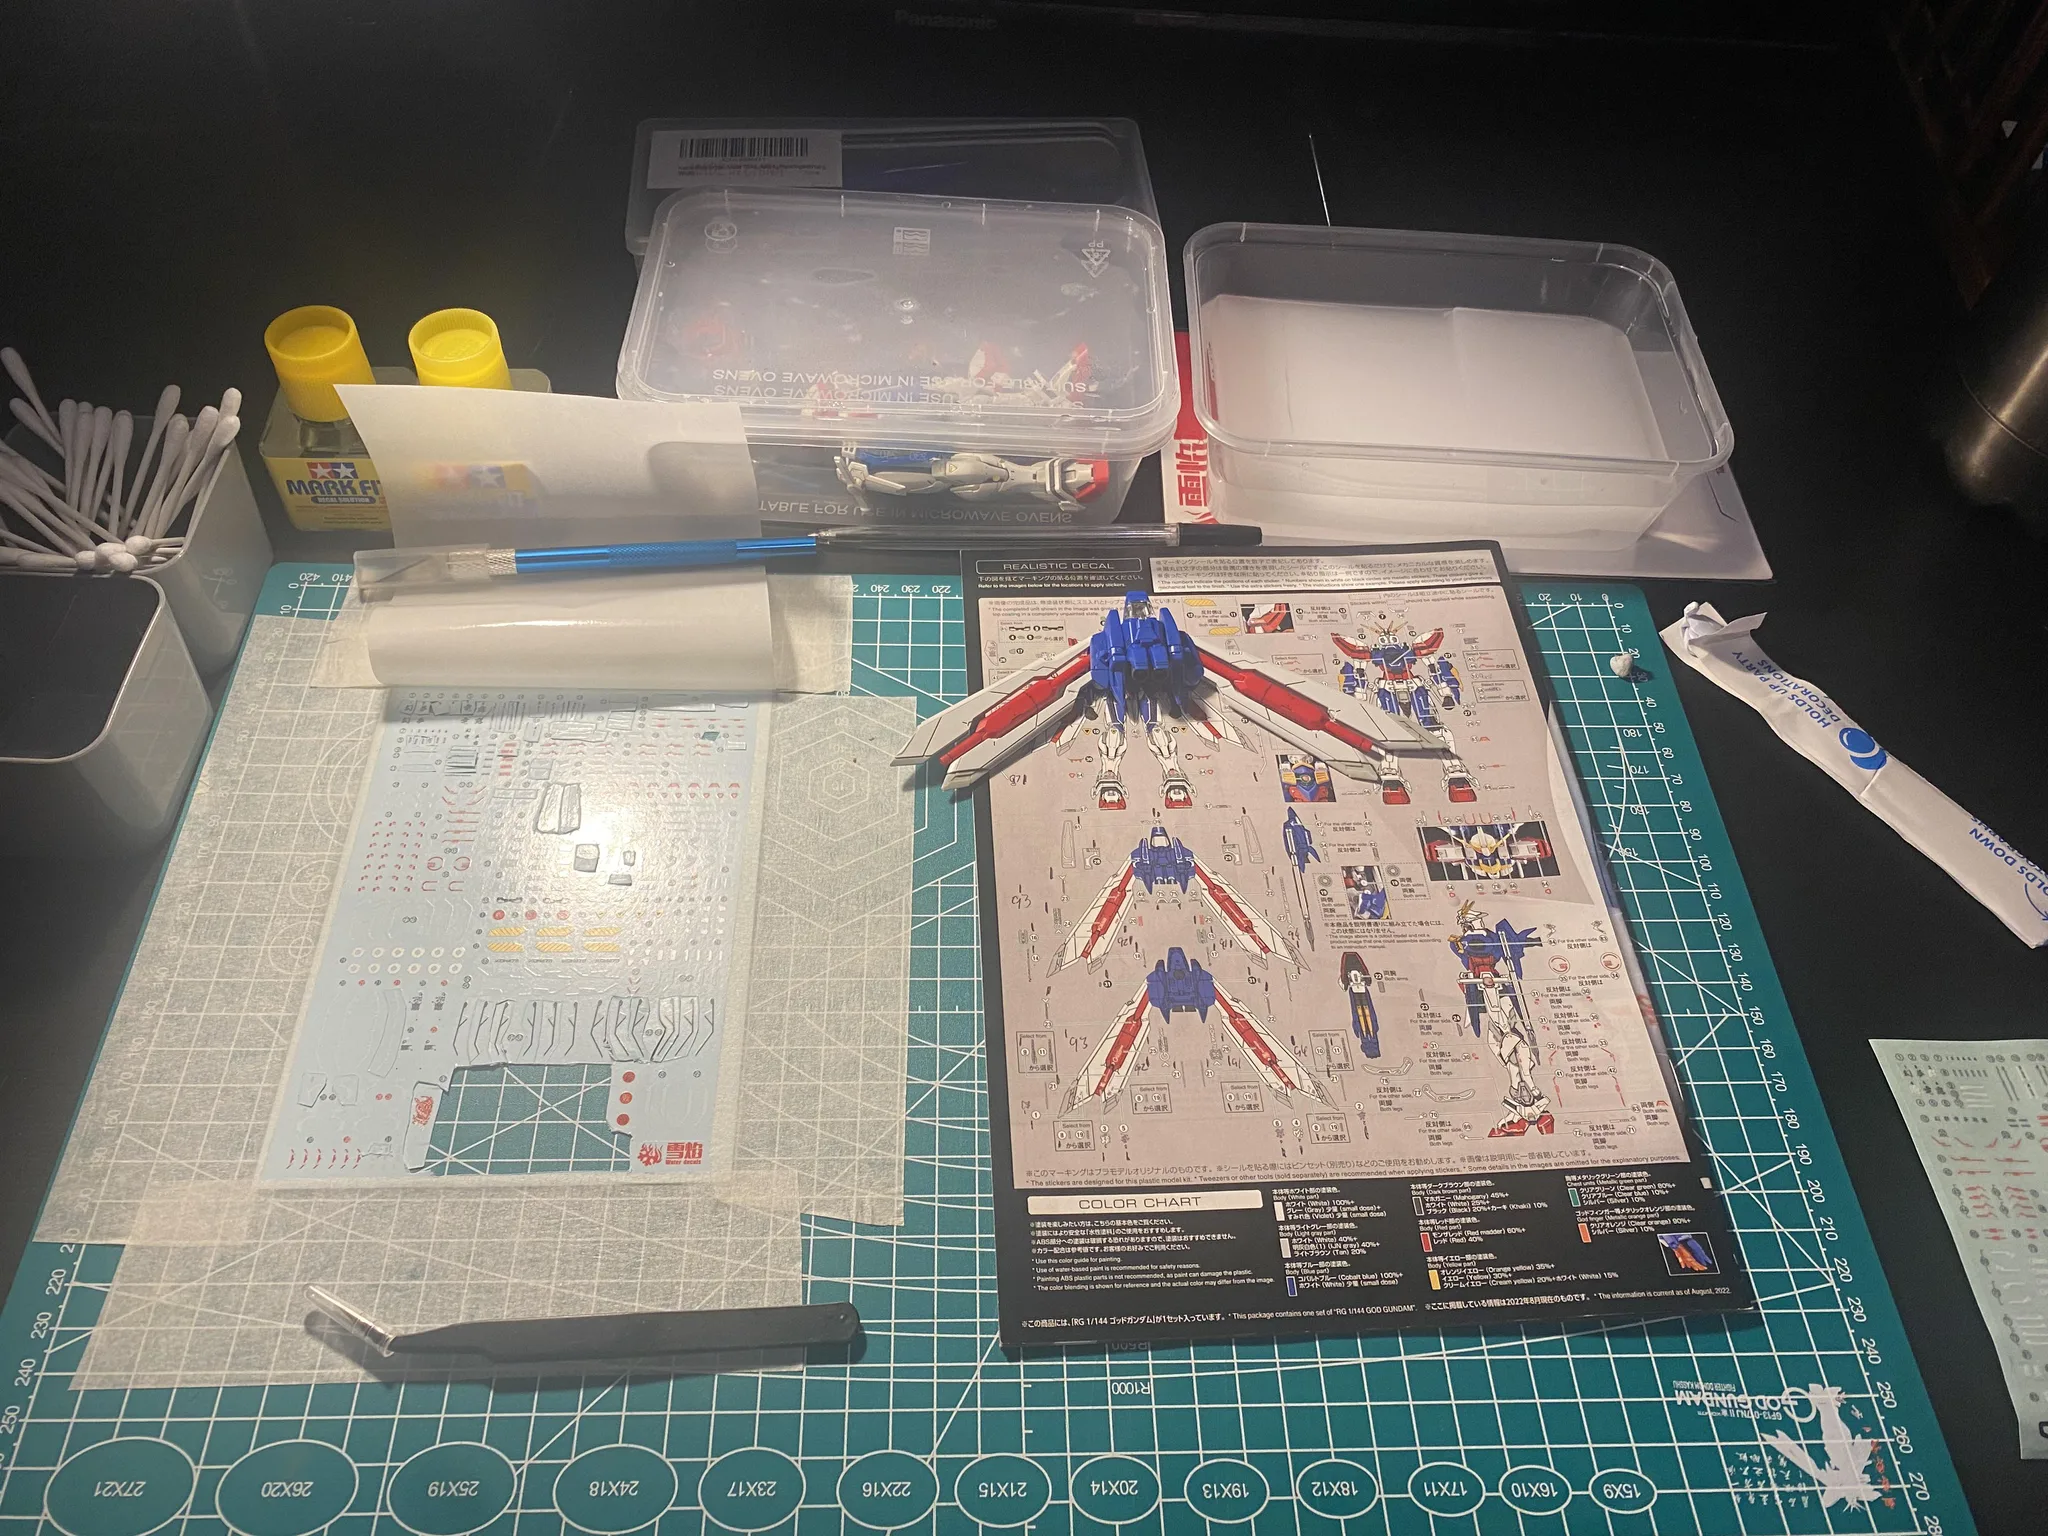
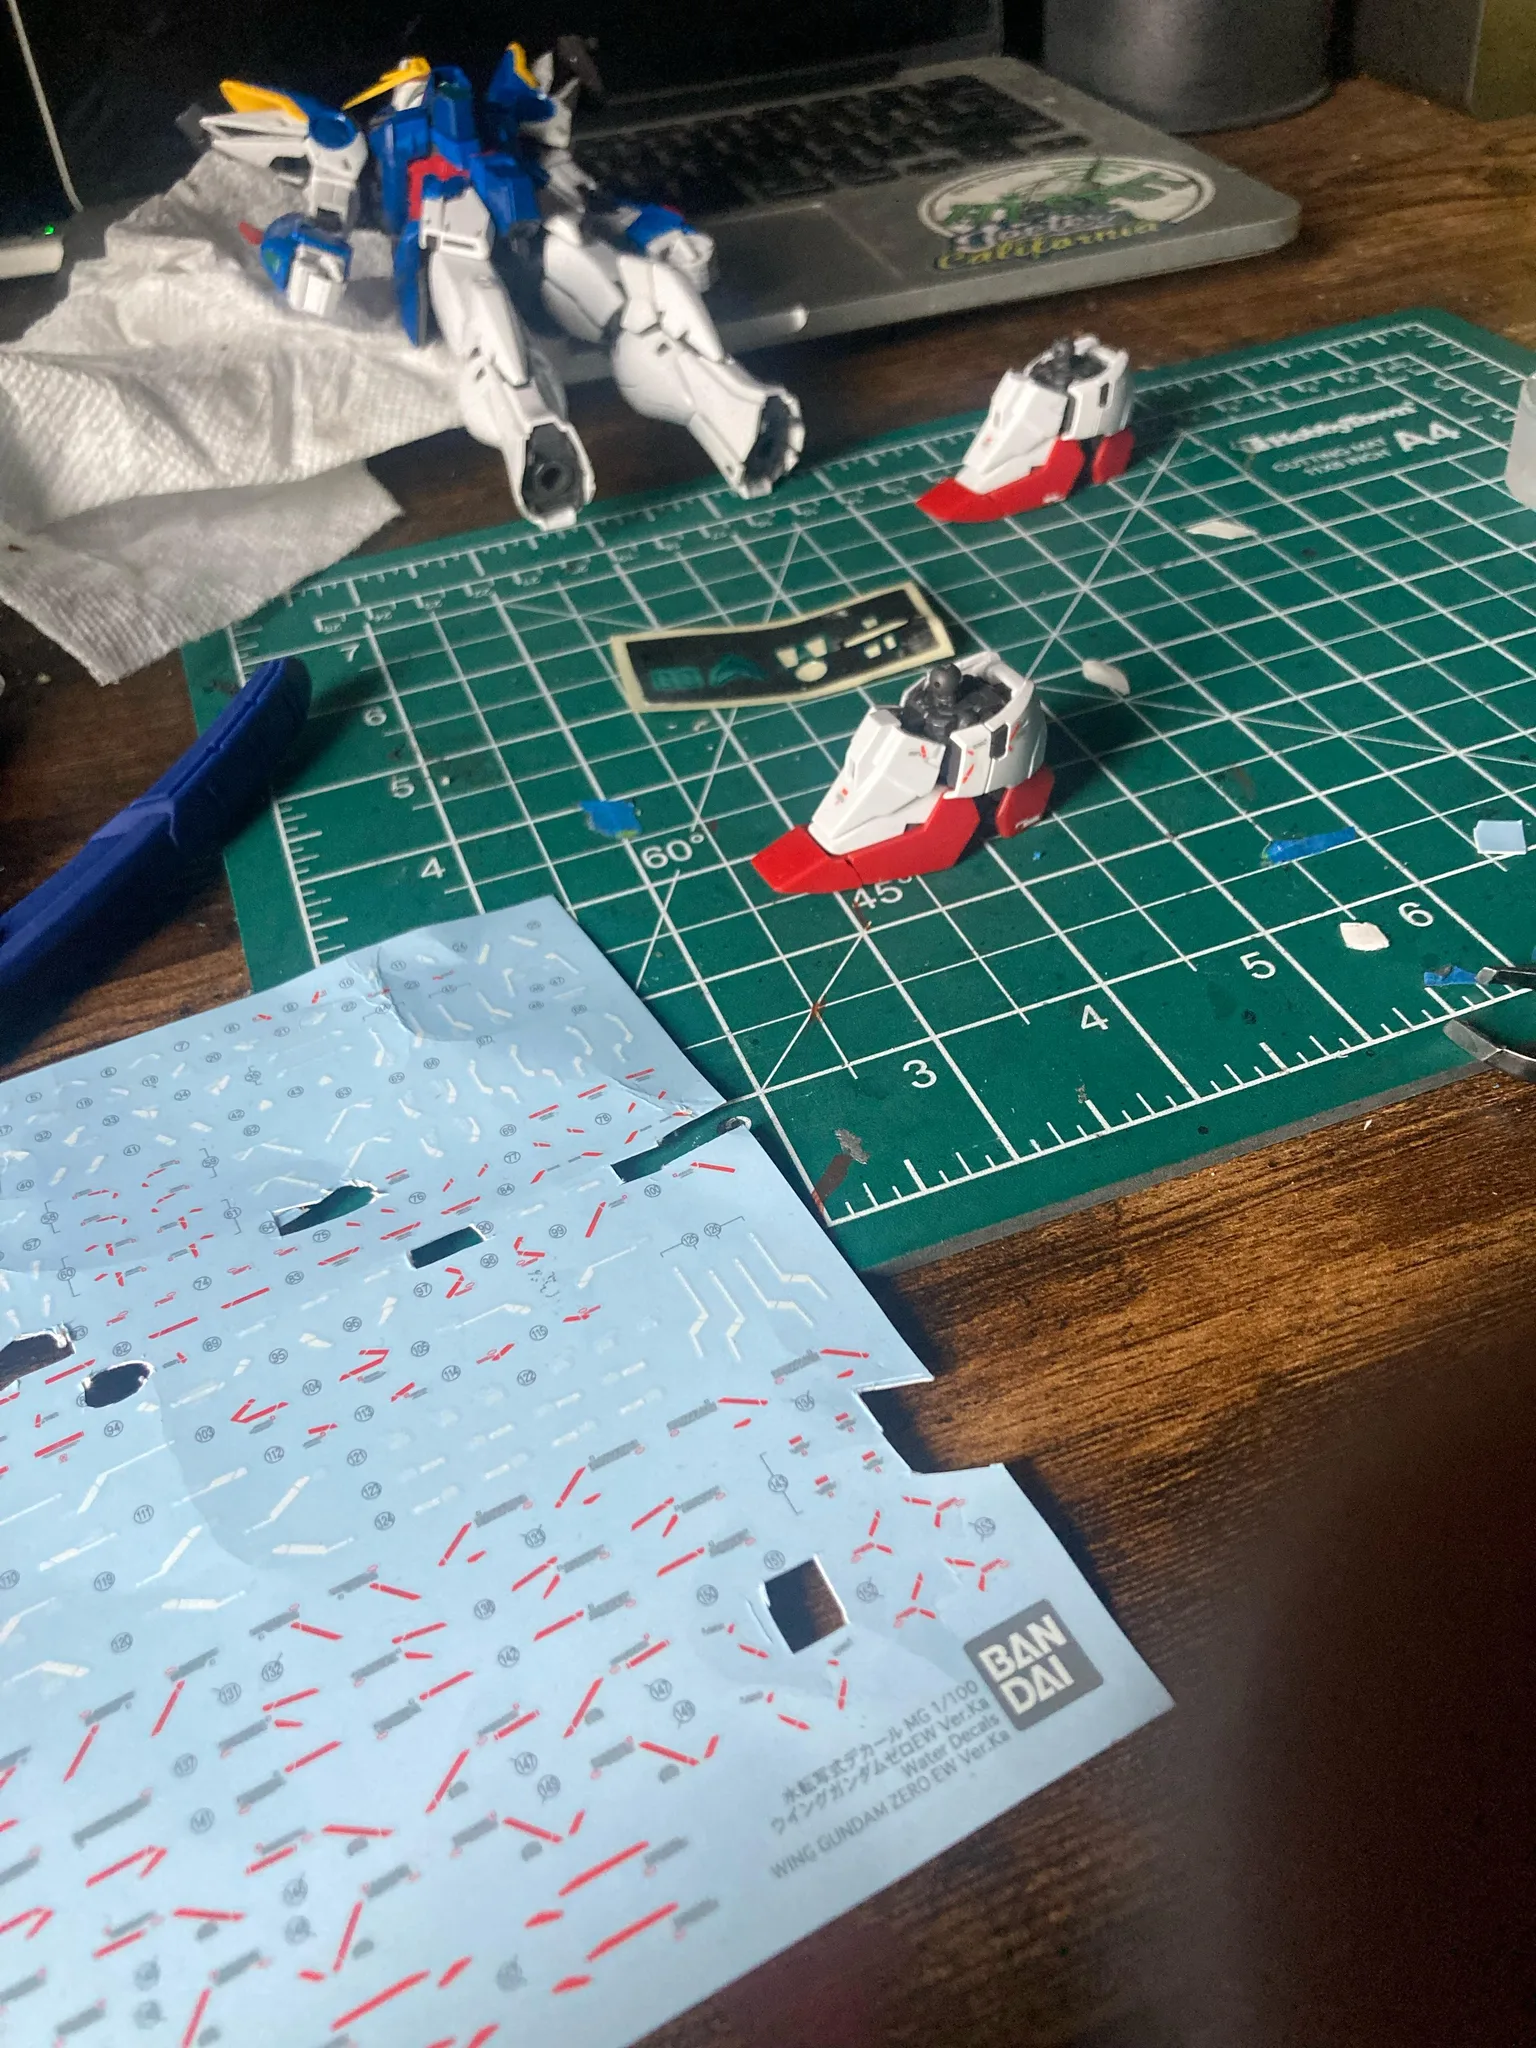
Materials
7 items
Budget
$30 - $120
save the visual refs
Full reference board
The preview above is curated for scanning. This is the working board you clone into your own build, with notes, colors, product images, and extra references intact.
Images are sourced from around the internet to help you get started. Use the web clipper to build your own reference library.
Reference images are gathered from around the web and belong to their original creators. We link back to where we found each one. If something here is yours and you want it taken down, email us and it is gone.
Build guide
You cracked open the box, dumped out the runners, and now you're staring at a wall of plastic wondering where to start. Good news: a straight build is the most satisfying entry point in the hobby, and you don't need an airbrush or a paint booth to make something that looks genuinely great on a shelf.
A straight build means assembling the kit as Bandai designed it, then elevating the finish with clean nub removal, panel lining, decals, and a protective topcoat. No painting, no modification. Just clean technique on every part.
The biggest decision you'll make is your nippers. Cheap nippers crush the gate and leave stress marks in the plastic. God Hand SPN-120 ($45-50) are the gold standard, but Dspiae ST-A 3.0 ($20-25) are nearly as good at half the price. For your first build, even a pair of Tamiya sharp-pointed side cutters ($18) will do the job if you pair them with a hobby knife and patience. Cut parts off the runner leaving a small gate nub, then shave it flush with your blade. Sand with 600 then 800 grit if needed.
For panel lining, Tamiya Panel Line Accent Color in black or dark gray ($8) is the standard. Apply it along the recessed lines, let capillary action pull it into the grooves, then clean up the excess with a cotton swab dipped in lighter fluid or Tamiya X-20 enamel thinner. If you're nervous about enamel thinner cracking ABS joints (it can happen on older kits), use Gundam Markers for panel lining instead. They're more forgiving but the lines aren't as crisp.
Inventory runners, manual, and decals. Before you touch your nippers, lay out every runner and check them against the parts list. Confirm your decal sheet is intact. Nothing worse than getting to step 47 and realizing runner F is missing a piece.
Clip and clean torso parts. Start with the torso because it's the core everything attaches to. Two-cut method: first cut leaves 2mm of gate, second cut goes flush. Scrape remaining nub with your hobby knife blade held perpendicular to the surface.
Build head, arms, and weapons. Work through one subassembly at a time. Test fit before fully snapping parts together. Some connections are very tight on RG and MG inner frames, so don't force anything.
Build legs, waist, and backpack. Legs usually have the most repetitive work (you're building two of them). Keep left and right organized.
Sand visible nub marks. Go back through every subassembly and hit any remaining nub marks with sanding sticks. Focus on visible surfaces. Nobody sees the inside of a skirt armor.
Panel line major armor sections. Apply panel liner to the torso, shoulders, legs, and head. Let each section dry 5-10 minutes before cleanup. Work in natural light so you can spot missed lines.
Apply stickers or water slides. Kit stickers work fine, but waterslide decals (either included or aftermarket from Delpi or DL Model) look dramatically better. Dip in water 10-15 seconds, slide onto the part, position with a damp brush, then hit with Mr. Mark Softer to conform to surface detail.
Topcoat and final pose photos. Mr. Hobby Topcoat (water-based, spray can) in matte or satin is the go-to. Two light coats from 8-10 inches away. Matte kills that toy-plastic shine and unifies stickers with the surface. Let it cure overnight, then pose and photograph.
Common mistakes
- Cutting parts directly off the runner flush. This tears the plastic. Always leave a small gate, then trim in a second pass.
- Using too much panel liner. You only need a tiny dot at the line's edge. Capillary action does the work. Flooding a part causes pooling and potential cracking on ABS.
- Skipping topcoat. Without it, your panel lining smudges and decals peel over time. Topcoat protects everything and kills the plastic-toy look.
- Rushing the build in one sitting. Even a simple HG has 40+ parts. Fatigue leads to sloppy nub marks. Take breaks.
- Ignoring nub placement before cutting. Some gates land on visible surfaces. Plan your cut angle so the nub faces inward or toward a seam.
A straight build taught me more about patience and precision than any painted kit. Once you nail this process, every future build benefits from those clean habits.
Components
Torso
Head
Arms
Legs
Weapons
Materials list
7 itemsEstimated total cost
$30 - $120
Milestone timeline
2 weeks- 1
Inventory runners, manual, and decals
planning
- 2
Clip and clean torso parts
assembly
- 3
Build head, arms, and weapons
assembly
- 4
Build legs, waist, and backpack
assembly
- 5
Sand visible nub marks
cleanup
- 6
Panel line major armor sections
detailing
- 7
Apply stickers or water slides
decals
- 8
Topcoat and final pose photos
Finishing
Frequently
asked questions.
Related tools and guides
Plan your build, estimate costs, and get ready.
Budget Calculator
Estimate your build cost before you start buying materials.
Convention Checklist
88-item packing checklist. Check off items as you pack.
Prop Scaling Calculator
Scale reference images to your body measurements.
How Much Does It Cost to Build Gunpla?
Real build budgets with specific products and dollar amounts.
Gunpla on Costumary
Templates, tools, and workspace built for gunpla makers.
Browse all templates
Explore build plans across 10 craft verticals.
Start this build free
Clone this template into your workspace. Track materials, milestones, budget, and build progress in one place.
Related templates
Commission Build
6 weeks · 9 milestones
Manage a client Gunpla build from intake to delivery. Covers scope negotiation, approval checkpoints, paint recipe tracking, progress photography, and safe packing. For builders turning their skills into a side hustle or small business.
Diorama
7 weeks · 8 milestones
Stage your Gunpla in a full scene with terrain, rubble, effects, and environmental storytelling. Covers base construction, terrain painting, model integration, and display photography. For builders who want their mobile suit to exist in a world, not just stand on a shelf.
Custom Kitbash
8 weeks · 8 milestones
Design and build a one-of-a-kind mobile suit from multiple donor kits, scratch-built details, and custom paint. This is the creative peak of the hobby. For builders who have the fundamentals down and want to make something nobody else has.
Weathered Realistic
6 weeks · 8 milestones
Turn a clean painted kit into a battle-worn machine with chipping, enamel washes, streaking grime, dry pigments, and storytelling through wear. This is where Gunpla meets military model techniques. For builders who want their mobile suit to look like it's been through a war.
Painted Build
5 weeks · 9 milestones
Take your Gunpla beyond snap-fit with a full custom paint job. Covers test fitting, surface prep, priming, color separation, masking, decals, and clear coats. Built for modelers stepping up from straight builds into airbrush territory.