
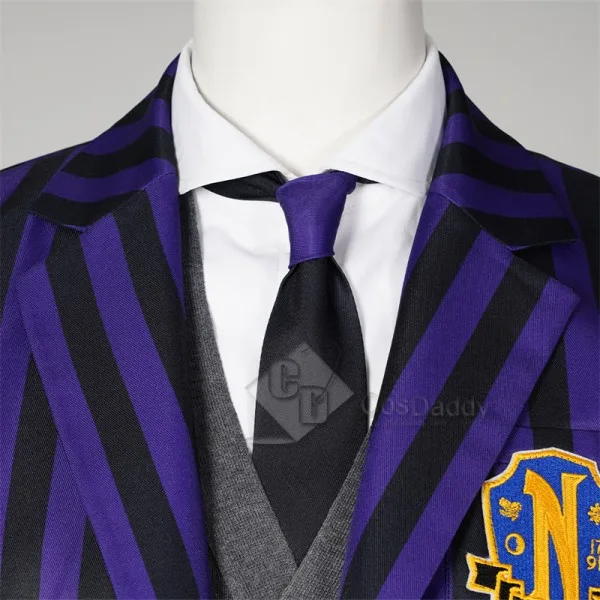
Wednesday Addams Cosplay
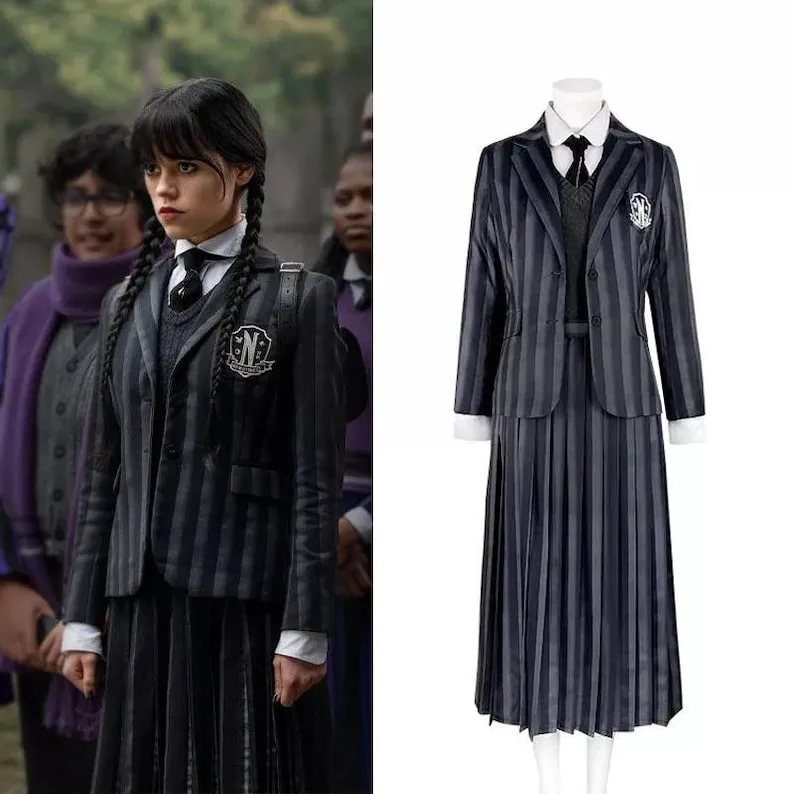
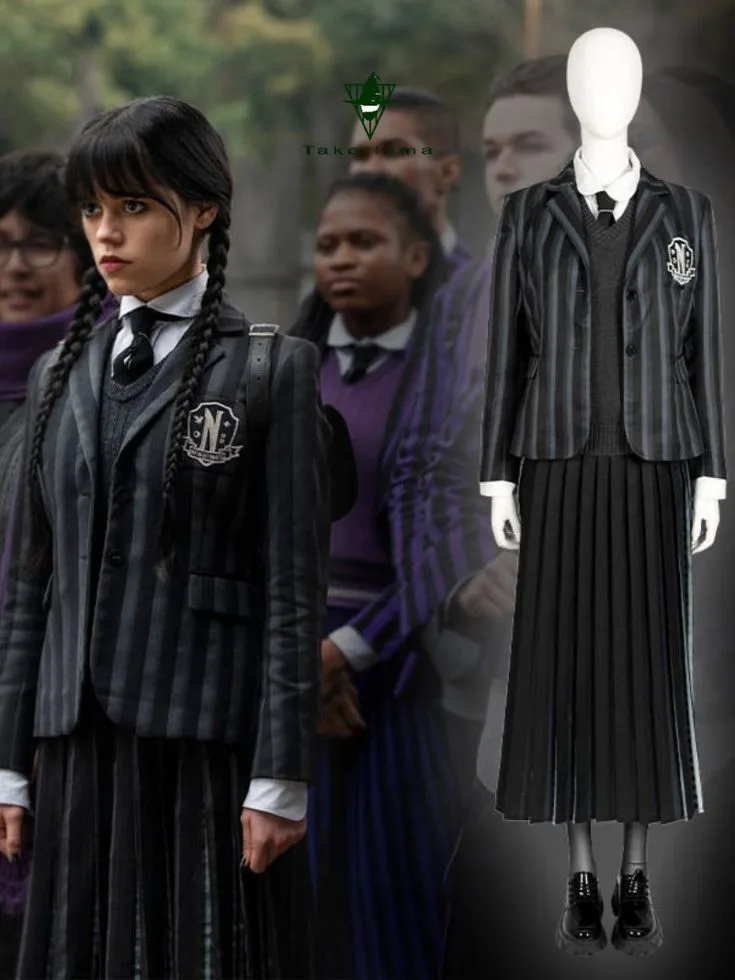
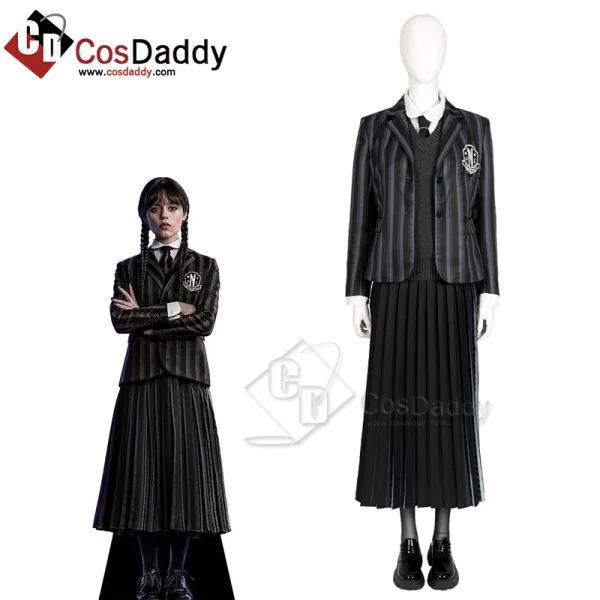
Netflix's darkly witty Nevermore student in her signature black and gray uniform, double braids, and pale ghostly makeup. The Nevermore uniform is a custom design (not standard plaid), and the braids demand wig stability work. 7 components, 13 materials, a 6-week build plan accounting for wig testing and makeup practice, budget $85 to $220.
6 weeks
17
17
7
See the whole look before you start.
References, materials, budget, and build order for Wednesday Addams.
Timeline
6 weeks
Color refs
Materials
17 items
Budget
$85 - $220
save the visual refs
Full reference board
The preview above is curated for scanning. This is the working board you clone into your own build, with notes, colors, product images, and extra references intact.
Images are sourced from around the internet to help you get started. Use the web clipper to build your own reference library.
Build guide
I tried to build this on the cheap and it almost ruined me. I went to a budget wig website, ordered a $15 black wig, and when it arrived it looked like a mop that had given up on life. The fibers were thin and papery, they tangled just from opening the package, and when I tried to braid it, whole sections started shedding. Two weeks before Otakon I realized I had a wig problem and exactly zero time to solve it.
Don't be me. Buy a real wig first. Spend $50 on a mid-range cosplay wig from Arda or a brand that cosplayers actually trust. The difference between a $15 wig and a $50 wig is night and day. Better fiber density, less shedding, braids that actually hold. When your wig arrives, put it on a stand immediately and finger-comb it gently from the ends up. Never start from the root or you'll stretch the fibers and create more shedding. Once it's combed out, let it rest for a day before braiding.
The braid stability is the hidden killer. One alligator clip per side will slip backward by lunchtime. You need two clips per braid, pinned or sewn directly to the wig base with thick upholstery thread. Get a wig cap to wear underneath. That distributes the weight and prevents the whole thing from sliding down your head when you sweat or move.
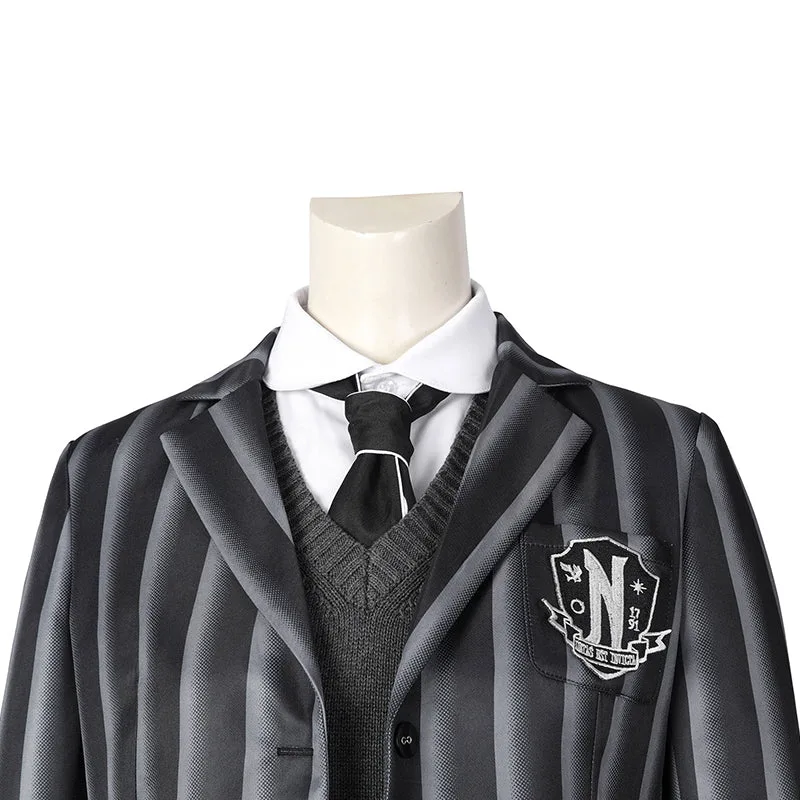
The Nevermore uniform is actually harder than it looks because it's not a standard school uniform pattern. The show's costume designer made a custom design, so you can't just grab a generic sailor uniform pattern and expect it to work. I bought fabric from the Joann in Campbell, California, and the sales associate literally recognized Wednesday Addams on my reference photos and helped me find the perfect black twill. You'll need about 3 yards. Interface everything in the collar and vest area so those pieces hold their shape and read from a distance.
The vest/overlay piece is what separates a good Wednesday from a cheap costume. It's not integrated into the dress, it's a separate element sitting on top. Mock it up in muslin first before cutting into your real fabric. The skirt should hit at mid-thigh or lower, and the overall silhouette should be angular and sharp, not soft and flowy. Check reference screenshots from multiple episodes because the camera angle changes how it reads.
Makeup is your secret weapon. Wednesday's pale ghostly look is way more striking than people think. Get a foundation one to two shades lighter than your actual skin tone, not three or four shades lighter or you'll look like you're wearing a porcelain mask. Set it immediately with translucent powder. Skip blush entirely. Practice this at least three times before the con so you're confident. On con day with makeup primer and setting spray, it'll hold for the full 8 hours. I carry a compact of translucent powder and touch up once during the day.
The character is just as important as the costume. Wednesday is perpetually unimpressed by everything. She has a deadpan stare, slow deliberate movements, and dry witty responses. If you're smiling and excited, you've lost the whole thing. I practiced her expressions for weeks before Otakon. By con day I could hold the deadpan look for hours without thinking about it. That's what gets people wanting photos.
Budget $85 to $220 depending on whether you're buying new shoes or finding them secondhand. The wig is your biggest variable. Six weeks is plenty of time if you start with wig testing and makeup practice, then move to the uniform construction. Week one is wig and makeup planning. Weeks two and three are patterning and mock-ups. Weeks four and five are construction. Week six is braid styling, makeup practice, and full wear testing.
Components
Black Nevermore uniform dress
Double braided wig with stability system
Pale ghostly makeup
Black Mary Jane shoes
Black opaque stockings or tights
Pale makeup base and character elements
Optional: Cello prop or Thing accessory
Materials list
17 itemsEstimated total cost
$85 - $220
Milestone timeline
6 weeks- 1
Gather Nevermore uniform references from multiple episodes
Research
- 2
Buy and test the wig for quality and fiber durability
Materials
- 3
Choose and test foundation shades for pale base
Materials
- 4
Source Mary Jane shoes and break them in
Materials
- 5
Draft or source the uniform pattern with correct proportions
Patterning
- 6
Mock up the vest/overlay in muslin for fit
Patterning
- 7
Cut and sew the dress body and sleeves
Construction
- 8
Attach the vest/overlay piece and set the collar
Construction
- 9
Place wig on a stand and plan the braid layout
Construction
- 10
Gently comb out and braid both sides with secure clip placement
Finishing
- 11
Test the wig stability with movement and head turns
Fitting
- 12
Practice pale base application and smoky eyes 3-4 times
Finishing
- 13
Practice makeup longevity with primer and setting spray
Finishing
- 14
Create a convention day touch-up kit
Details
- 15
Practice full makeup application in 20 minutes or less
Finishing
- 16
Practice Wednesday's deadpan character and mannerisms
Wear test
- 17
Full suit-up and wear test for 4-6 hours minimum
Wear test
Frequently
asked questions.
Related tools and guides
Plan your build, estimate costs, and get ready.
Budget Calculator
Estimate your build cost before you start buying materials.
Convention Checklist
88-item packing checklist. Check off items as you pack.
Prop Scaling Calculator
Scale reference images to your body measurements.
How Much Does EVA Foam Armor Cost?
Real build budgets with specific products and dollar amounts.
Cosplay on Costumary
Templates, tools, and workspace built for cosplay makers.
Browse all templates
Explore build plans across 10 craft verticals.
Debut your cosplay build
Upcoming conventions where you could wear this. Dates, checklists, and budget tools included.
Start this build free
Clone this template into your workspace. Track materials, milestones, budget, and build progress in one place.
More from this series
Qifrey Cosplay
5 weeks · 12 milestones
Qifrey's elegant white-robed silhouette is built around three signature elements: the tall pointed hat with the bent tip and black ribbon, the flowing white cape with the brass brooch closure, and the asymmetrical pince-nez glasses with one dark lens hiding his scarred eye. This is an intermediate build that needs more structural crafting than sewing. The hat and glasses demand the most attention, while the cape is a manageable garment project. The glasses and the hat are the make-or-break details, and this template walks you through both. Includes 7 components, 15 materials with cost estimates, a 12-step build plan, and a realistic 5-week, $95 to $280 budget.
Coco Cosplay
6 weeks · 12 milestones
Witch Hat Atelier's apprentice witch in her full outfit: the tall pointed hat with ornamental band, a dark cloak with decorative hem trim, a layered tunic-dress, boots, and her drawing implements. The hat is the signature piece and the hardest to get right. 7 components, 13 materials, ~6 weeks at $120-280.
Gojo Satoru Cosplay
5 weeks · 11 milestones
Jujutsu Kaisen's strongest sorcerer, built around three signature details: the black high-collar uniform jacket, the blindfold, and the white spiked hair. This is an intermediate build that leans on one well-made garment plus wig styling, so it reads instantly on the con floor without months of work. The collar and the wig are the make-or-break details, and this template walks you through both. Includes 6 components, 11 materials with cost estimates, an 11-step build plan, and a realistic 5-week, $90 to $240 budget.
Denji Cosplay
10 weeks · 15 milestones
Chainsaw Man's protagonist in his iconic hybrid form: the human body with a chainsaw head and transformable chainsaw arms. The hand-carved foam helmet with chain-link detailing is the make-or-break piece, demanding precision foam work and 8-12 weeks of dedicated building. A full build includes the school uniform base, prosthetic teeth, spiky hair, and the chainsaw arms or helmet. 6 components, 14 materials, ~10 weeks, $200-500.