
Display / Trophy Piece
A wall-mount or shelf-display prop built for visual impact in a controlled environment. Prioritizes surface finish and paint quality over structural durability, because this piece lives on a shelf, not in your hands at a convention. Museum-quality finish on a hobbyist budget.
4 weeks
8
7
3
See the whole look before you start.
References, materials, budget, and build order for Display / Trophy Piece.
Timeline
4 weeks
Color refs
Materials
7 items
Budget
$40 - $200
save the visual refs
Full reference board
The preview above is curated for scanning. This is the working board you clone into your own build, with notes, colors, product images, and extra references intact.
Images are sourced from around the internet to help you get started. Use the web clipper to build your own reference library.
Reference images are gathered from around the web and belong to their original creators. We link back to where we found each one. If something here is yours and you want it taken down, email us and it is gone.
Build guide
Not every prop needs to survive a convention. Some builds exist purely to look incredible on your wall, in a glass case, or as the backdrop for your streaming setup. When you're building for display, you get to cheat. You don't need structural integrity for handling, you don't need weight management for carrying, and you don't need to worry about paint chipping from use. All that freed-up effort goes straight into finish quality.
You're building a single prop for static display. The construction approach prioritizes smooth surfaces, sharp paint work, and an integrated mounting solution. The build itself might be foam, MDF, resin, or a 3D print. What makes it a display piece is the finish standard and the fact that it was designed from day one to sit still and look good.
Key Decisions
Pick your material based on the final shape, not the final use. Since you don't need lightweight construction or impact resistance, you can use heavier materials that produce smoother surfaces. MDF is excellent for flat-panel props (shields, plaques, weapon blades) because it sands to glass-smooth and takes filler primer beautifully. Resin gives you the hardest, most paintable surface but costs more and requires casting setup. 3D-printed PLA or resin works for complex geometry. EVA foam is the lightest option but requires more surface prep work.
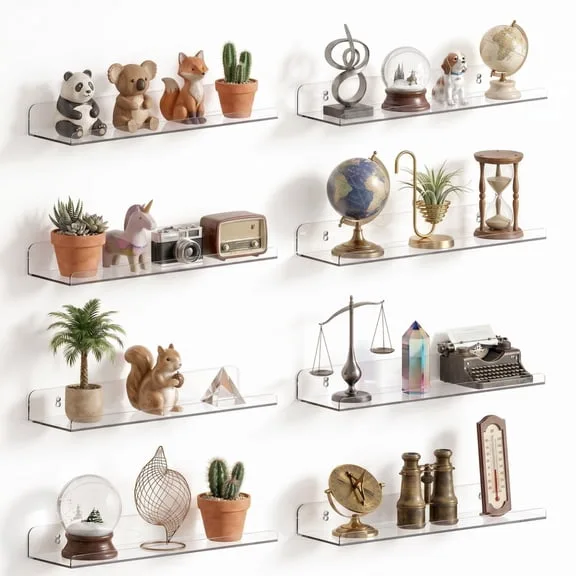
Design the display orientation first. Before you build anything, decide how this piece will be displayed: wall mount, shelf stand, or hanging. The display orientation determines which surfaces are visible (and need A+ finish work) and which are hidden (and can be rough). A wall-mounted sword only needs one finished face. A shelf-displayed helmet needs all surfaces finished. Plan your mounting hardware into the build from the start. Retrofitting a wall-mount bracket into a finished prop often means drilling through your best paint work.
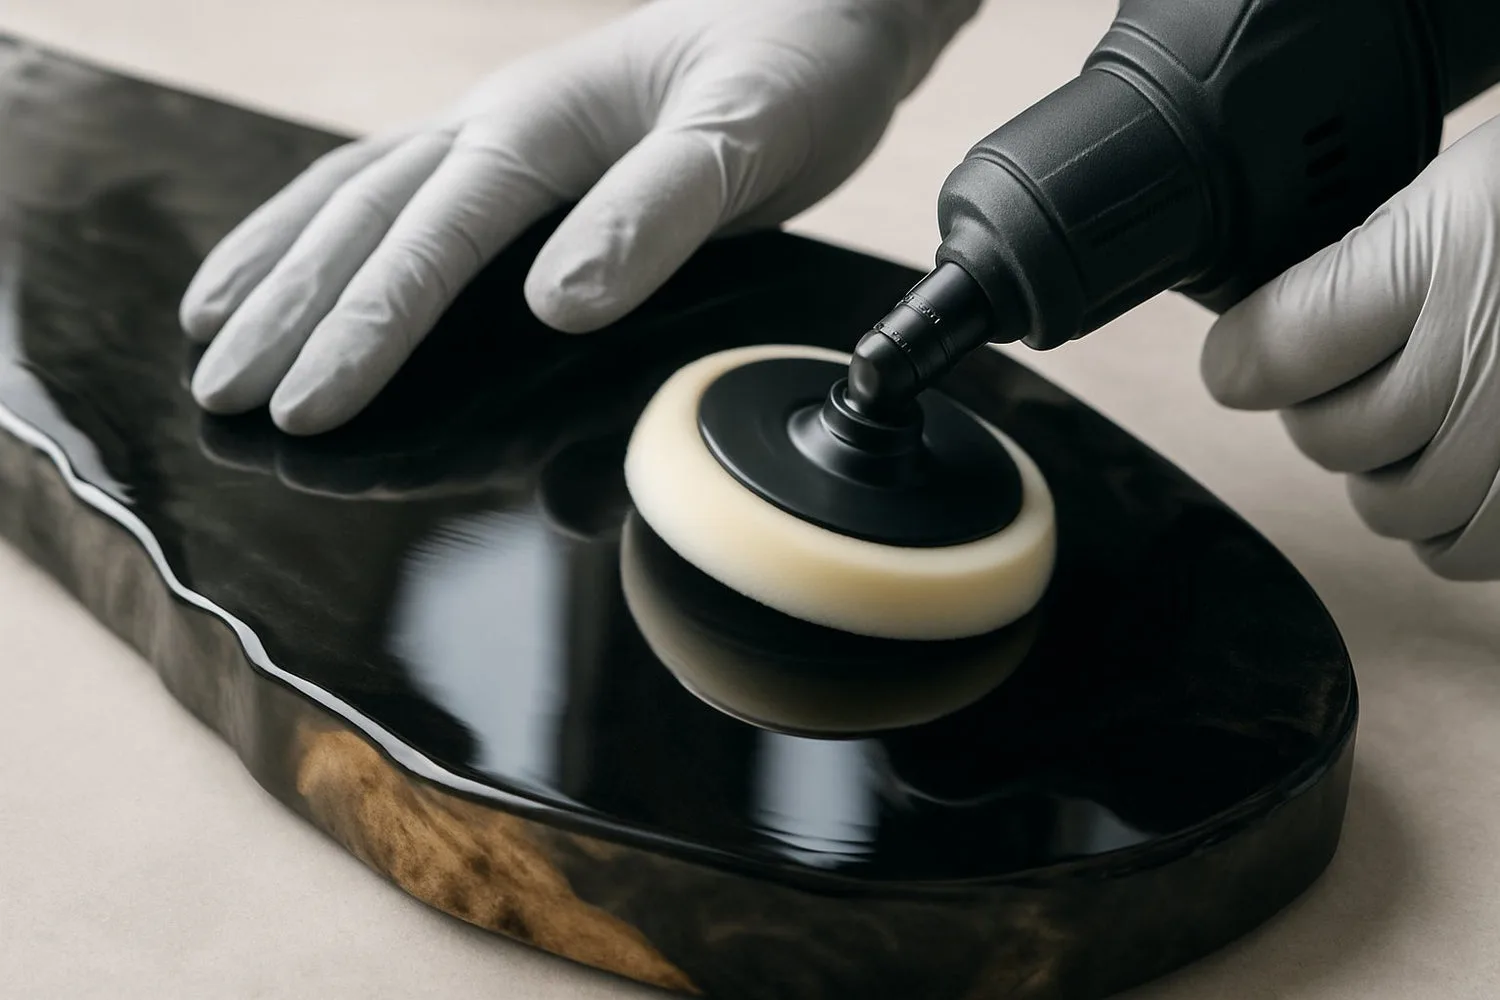
Finish quality is a multiplier. On a display piece, the difference between "nice prop" and "holy crap" is almost entirely in the surface prep and paint. A foam prop with 2 coats of Plasti-Dip and spray paint looks like a foam prop. The same foam prop with 5 coats of Plasti-Dip, 2 coats of filler primer, sanded to 400 grit, then painted with thin acrylic layers and finished with Rub n Buff metallic accents looks like a museum piece. The construction underneath is identical. The finish is the product.
Phase-by-Phase Walkthrough
Reference and design (Week 1). Gather references. For display pieces, pay special attention to surface textures, material transitions (metal to leather, wood to gem), and weathering patterns. Decide your display orientation and sketch a mounting solution. If you're building a weapon, will it hang on pegs, sit in a cradle, or mount to a plaque? Design the mount now, not after the prop is done.
Sourcing (Week 1). Base material: foam ($8-15), MDF ($5-10 per sheet), 3D-print filament ($20-25 per kg), or resin ($30-50 for Smooth-On Smooth-Cast 300). Surface prep: Bondo body filler ($10-15), Bondo spot putty ($5-8), filler primer spray ($6-8 per can, buy 3-4), sandpaper (multi-grit 120-2000, $10-15). Finish: Apoxie Sculpt for sculpted details ($15-20), high-quality acrylic paint ($15-25), Rub n Buff metallics ($3-5 per tube), gloss and matte clear coat ($8-12 per can). Display hardware: wall brackets, acrylic rod, wooden base, or custom stand ($10-25).
Core construction (Week 1-2). Build the structural shape. Since weight isn't a concern, you can use solid construction. For MDF, cut shapes with a scroll saw and laminate layers with wood glue for thickness. For foam, laminate with contact cement. For 3D prints, use higher infill (30-50%) for rigidity since you won't carry this. Join sections with epoxy, not CA glue, for a gap-filling bond. Get the silhouette right. Check proportions against your references from the display angle.
Surface work (Week 2-3). This is where display pieces earn their reputation. Apply Bondo body filler over any rough areas, seams, or gaps. Sand with 120 grit to shape, then 220, then 320. Fill pinholes and low spots with Bondo spot putty. Sand to 400. Apply filler primer. Sand to 400-600. Look at the surface under a raking light (light from the side). Every imperfection casts a shadow. Fill, prime, sand. Repeat until the surface is flawless under raking light. For sculpted details (scrollwork, organic textures, gemstone settings), use Apoxie Sculpt. It's a two-part epoxy clay that self-hardens in 24 hours, sands beautifully, and takes paint as well as any surface material.
Paint (Week 3-4). The finish on a display piece should be layered and intentional. Start with a solid primer coat. Build base colors in 3-4 thin coats with quality acrylic paint (Golden or Liquitex heavy body acrylics give better coverage than craft acrylics). For metallic surfaces, paint the area gloss black first, let it cure fully, then apply Rub n Buff with your finger or a soft cloth. Buff to a shine. The black base creates depth under the metallic finish. For wood grain, paint a dark brown base, then dry-brush lighter browns in the direction of the grain. For weathering, study your reference. Display weathering should be subtle and specific, not the heavy dry-brush you'd use on a convention prop viewed from 10 feet away.
Clear coat and display mount (Week 4). Apply clear coat in thin, even passes. Use matte for worn surfaces, satin for general use, gloss for glass, crystal, or polished metal sections. You can use different sheen levels on different areas of the same prop to sell material differences. Build and attach your display mount. Screw into the back face for wall mounts (predrill to avoid cracking filler). For shelf displays, a simple wooden base with pegs, brass rod cradle, or acrylic stand works. Paint or stain the mount to complement the prop without competing with it. Black and dark walnut are safe choices.
Common Mistakes
- Rushing surface prep. On a display piece viewed up close and in good lighting, every shortcut in surface prep is visible. This is the one build type where perfection matters.
- Using craft-grade paint. Cheap acrylic craft paint is fine for convention props at arm's length. Display pieces need quality paint (Golden, Liquitex, or similar) for better coverage, pigment density, and blendability.
- Flat, uniform weathering. Real objects don't weather evenly. Study where the original prop shows wear (handle, edges, contact points) and weather only those areas. Less is more on a display piece.
- Afterthought mounting. A gorgeous prop leaning against a wall or sitting on a shelf with no mount looks unfinished. The display solution is part of the build. Budget time and materials for it.
- Ignoring display lighting. How you light a display piece changes how it reads. A small LED puck light ($5-10) aimed at the prop from above or below makes it look dramatically better than ambient room lighting.
A display piece is the one build where you can take your time, go overboard on finish quality, and nobody will tell you to hurry up. Enjoy it.
Components
Prop body
Surface finish
Mount or stand
Materials list
7 itemsEstimated total cost
$40 - $200
Milestone timeline
4 weeks- 1
Choose subject and gather references
Research
- 2
Design display orientation and mounting
design
- 3
Source materials and mounting hardware
sourcing
- 4
Build core structure
Construction
- 5
Sculpt, detail, and smooth surfaces
Construction
- 6
Multi-pass prime and sand
Finishing
- 7
Final paint, gloss, and weather
Finishing
- 8
Build and attach display mount or stand
assembly
Frequently
asked questions.
Related tools and guides
Plan your build, estimate costs, and get ready.
Budget Calculator
Estimate your build cost before you start buying materials.
Convention Checklist
88-item packing checklist. Check off items as you pack.
Prop Scaling Calculator
Scale reference images to your body measurements.
How Much Does It Cost to Build a Prop?
Real build budgets with specific products and dollar amounts.
EVA Foam Sealing Methods Compared
Real build budgets with specific products and dollar amounts.
Prop Making on Costumary
Templates, tools, and workspace built for prop making makers.
Browse all templates
Explore build plans across 10 craft verticals.
Start this build free
Clone this template into your workspace. Track materials, milestones, budget, and build progress in one place.
Related templates
Foam Prop
3 weeks · 8 milestones
A prop weapon or accessory built entirely from EVA foam sheets. Covers patterning, laminating, heat-shaping, sealing, and painting. Works for swords, staffs, shields, gauntlets, or any hard-surface prop that needs to be lightweight and convention-safe.
Mold & Cast Prop
6 weeks · 8 milestones
Silicone mold and resin casting workflow for reproducing detailed parts. Covers sculpting or printing the master, building a mold box, pouring platinum-cure silicone, degassing, demolding, and casting resin pulls. Once you have the mold, you can make as many copies as you want.
Lit / Electronic Prop
5 weeks · 8 milestones
A prop with embedded LEDs, sound, or motion effects. Covers circuit design, power management, wiring inside an enclosure, diffusion, and making the whole thing survive a full day of convention handling. The electronics need to work when you're carrying the prop upside down at 2 AM.
Screen-Accurate Replica
8 weeks · 11 milestones
A detailed replica of a movie, game, or TV prop built to match the original as closely as possible. Mixed media construction (foam, resin, 3D print, or fabrication), extensive surface work, and a display-quality finish. This is the build where "close enough" isn't good enough.