
Screen-Accurate Replica
A detailed replica of a movie, game, or TV prop built to match the original as closely as possible. Mixed media construction (foam, resin, 3D print, or fabrication), extensive surface work, and a display-quality finish. This is the build where "close enough" isn't good enough.
8 weeks
11
8
4
See the whole look before you start.
References, materials, budget, and build order for Screen-Accurate Replica.
Timeline
8 weeks
Color refs

Materials
8 items
Budget
$80 - $350
save the visual refs
Full reference board
The preview above is curated for scanning. This is the working board you clone into your own build, with notes, colors, product images, and extra references intact.
Images are sourced from around the internet to help you get started. Use the web clipper to build your own reference library.
Reference images are gathered from around the web and belong to their original creators. We link back to where we found each one. If something here is yours and you want it taken down, email us and it is gone.
Build guide
Screen-accurate prop making is a different sport from cosplay prop building. Nobody's going to see this from across a convention hall. They're going to hold it, photograph it in harsh light, and compare it side-by-side with screencaps on their phone. If the pommel radius is wrong by 3mm, someone on The RPF will notice. That's the game, and if you're reading this, you already know you want to play it.
You're building a single hero prop: one piece, finished to the highest standard you can manage, display-ready. The process is slower than a costume prop build. You'll spend as much time on research and surface prep as you do on construction.
Key Decisions
Reference library is everything. Before you shape a single piece of material, you need references from every angle. Screen captures at the highest resolution you can find. Behind-the-scenes photos. Auction catalog images if the original prop has been sold. Convention display photos with items for scale. The RPF forums are the best single resource for screen-accurate reference collections. I've spent a full week just compiling references before starting a build, and that research saved me from at least three major proportion errors.
Pick your construction approach based on the prop. Small, detailed props (communicators, small weapons, gadgets) lend themselves to 3D printing or resin casting. Large props (rifles, swords, staffs) work better in EVA foam or MDF with Bondo and filler primer built up on top. Mixed media is often the answer: a 3D-printed core with foam or MDF structural sections. Don't commit to one material before you've thought through the whole build. I've seen people try to 3D-print an entire full-scale rifle and spend $200 in filament when MDF and Bondo would have cost $30 and produced smoother large surfaces.
Surface prep is the build. On a screen replica, you'll spend 60-70% of your total build time on surface preparation: filling, sanding, priming, sanding, spot-filling, sanding. The construction phase gets you to 70% of the final shape. The remaining 30% is filler primer, Bondo spot putty, and sandpaper. Buy sandpaper in bulk (a multi-grit pack from 120 to 2000 grit, $10-15) because you'll go through more than you expect.
Phase-by-Phase Walkthrough
Reference collection (Week 1). Compile every reference image you can find. Organize by angle: front, back, left, right, top, bottom, detail close-ups. Identify a reference object in the screencaps to establish scale (actor's hand, a known prop). Calculate dimensions for every major section. Create a dimension drawing or annotated reference sheet. Post your reference collection on The RPF if you want community input on accuracy.
Material selection and design (Week 1-2). Choose your construction approach. For a mixed-media build, map which sections use which materials. The core structure might be MDF or foam. Fine details might be 3D-printed in PLA or resin. Small repeated elements might justify a silicone mold and resin casting. Create a 3D model in Fusion 360, Blender, or similar if you're 3D-printing any parts. For hand-fabrication, create full-scale paper templates.
Sourcing (Week 2-3). Core materials: MDF from the hardware store ($5-10 per sheet), EVA foam ($8 per 4-pack), or 3D-print filament ($20-25 per kg). Surface prep: Bondo body filler ($10-15), Bondo spot putty ($5-8), filler primer spray cans ($6-8 each, buy 3-4), sandpaper (multi-grit pack). Finish: acrylic paint, metallic finishes (Rub n Buff or Alclad II lacquers for metal parts), clear coat in both matte and gloss. Hardware: screws, magnets, dowels for assembly. Decals or vinyl cut details if the prop has graphics.
Core construction (Week 3-4). Build the main structural shape. If using MDF, cut with a scroll saw or jigsaw, then shape with a Dremel and sandpaper. If using foam, laminate, cut, and heat-shape. If 3D-printing, print in sections and bond with CA glue or epoxy. The goal at this stage is the correct silhouette and proportions, not surface smoothness. Check dimensions against your reference constantly. Errors are easy to fix now and impossible later.
Surface work (Week 4-6). This is where replicas are won or lost. Apply Bondo body filler over any rough surfaces, gaps, or print lines. Sand with 120 grit to shape, then 220 to smooth. Fill pinholes and low spots with Bondo spot putty. Sand again. Apply filler primer (Rust-Oleum Filler Primer is the standard, $6 per can). Sand with 320 grit. Repeat. You might do 3-4 cycles of prime-sand-fill-sand before the surface is truly smooth. For 3D prints, XTC-3D from Smooth-On ($25) is a brushable epoxy coating that fills layer lines in one application, saving hours of sanding.
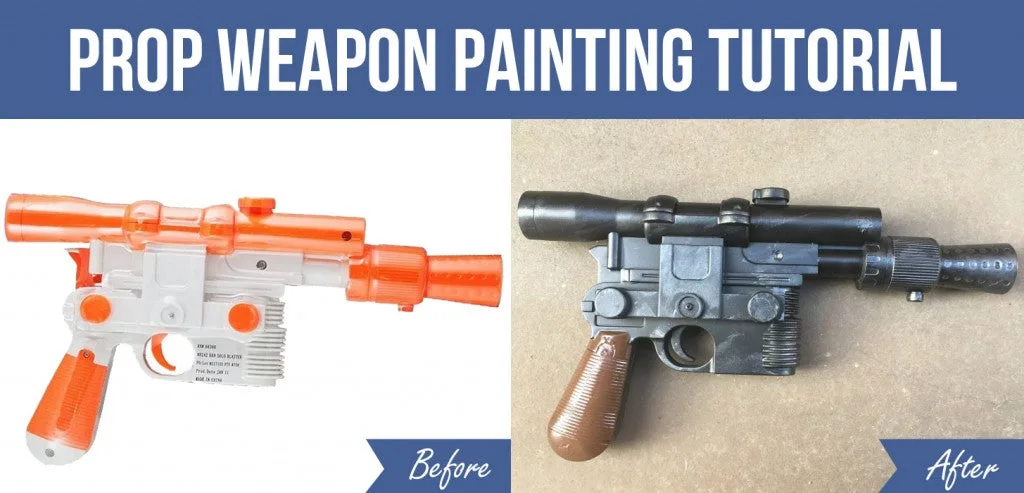
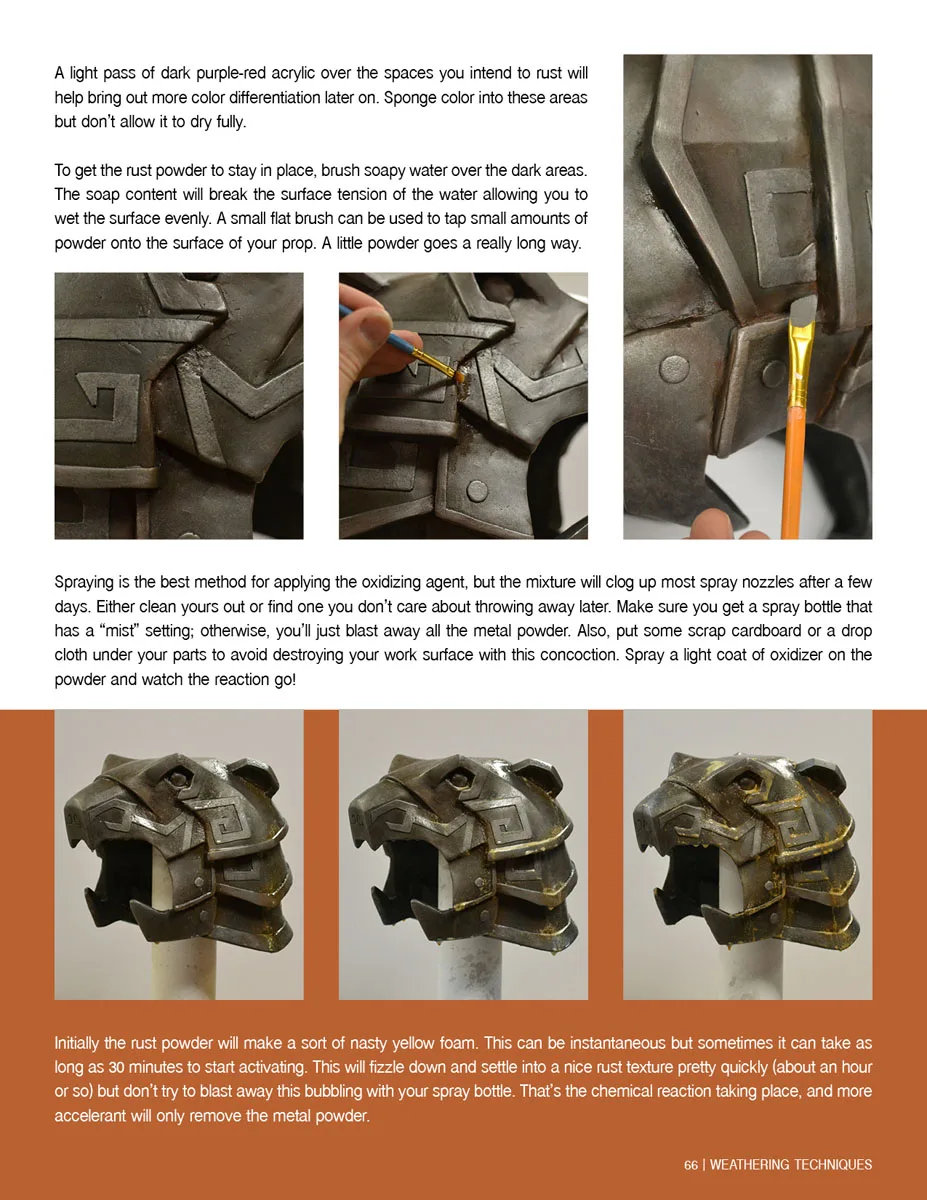
Paint and finish (Week 6-7). Prime with a fine automotive primer. Build up base color in thin coats. For metallic surfaces, Rub n Buff buffed over black gives a convincing brushed metal. Alclad II lacquers over a gloss black base give a chrome-like finish but require an airbrush. Weathering on a screen replica needs to match the specific wear pattern from the source material, not generic "dirt in the crevices." Study your references for exactly where paint chips, scratches, and grime appear. Apply clear coat: matte for military/worn items, satin for general use, gloss for specific glossy sections.
Details and assembly (Week 7-8). Install decals (waterslide decals from a custom printer, or vinyl cut on a Cricut). Set gems, lenses, or metallic accents with E6000 or CA glue. Attach magnets for removable panels if the prop has accessible compartments. Build the display stand or wall mount: a simple acrylic cradle, wooden base with pegs, or custom 3D-printed holder. The stand is part of the presentation. Don't skip it.
Common Mistakes
- Skipping the reference phase. Every experienced replica maker has a story about building something to the wrong dimensions because they worked from a single reference image. Get references from every angle before you cut anything.
- Settling for "close enough" on surface prep. Every imperfection visible at the filler primer stage will be visible in the final paint. If you can see it, sand it. If you can feel it with your fingertip, fill it.
- Using the wrong sandpaper grit sequence. Jumping from 120 to 600 grit leaves deep scratches that show through paint. Step through the grits: 120, 220, 320, 400, 600. Each step removes the previous grit's scratches.
- Painting in bad conditions. Spray painting in high humidity causes blushing (white haze). Painting in a dusty garage puts particles in your finish. Paint in a clean, dry, ventilated space. A paint booth is ideal, but a pop-up canopy with a box fan pulling air through a furnace filter works.
- No display solution. A prop sitting on a shelf with no stand looks like a toy. A prop on a purpose-built display mount looks like a museum piece. Budget $10-20 and an afternoon for the stand.
Screen replicas are a patience game. The builders who produce the best work aren't necessarily the most skilled. They're the ones willing to do one more round of sanding.
Components
Core structure
Surface detail
Paint finish
Display mount
Materials list
8 itemsEstimated total cost
$80 - $350
Milestone timeline
8 weeks- 1
Compile screen captures and reference library
Research
- 2
Measure dimensions from known reference objects
Research
- 3
Choose material approach (print, cast, fabricate)
design
- 4
Create master pattern or 3D model
design
- 5
Source specialty materials and hardware
sourcing
- 6
Build or print core structure
Construction
- 7
Sculpt, fill, and sand to final shape
Construction
- 8
Prime and sand multiple passes
Finishing
- 9
Paint, weather, and clear coat
Finishing
- 10
Install details: decals, gems, metal accents
assembly
- 11
Build display stand or carry solution
display
Frequently
asked questions.
Related tools and guides
Plan your build, estimate costs, and get ready.
Budget Calculator
Estimate your build cost before you start buying materials.
Convention Checklist
88-item packing checklist. Check off items as you pack.
Prop Scaling Calculator
Scale reference images to your body measurements.
How Much Does It Cost to Build a Prop?
Real build budgets with specific products and dollar amounts.
EVA Foam Sealing Methods Compared
Real build budgets with specific products and dollar amounts.
Prop Making on Costumary
Templates, tools, and workspace built for prop making makers.
Browse all templates
Explore build plans across 10 craft verticals.
Start this build free
Clone this template into your workspace. Track materials, milestones, budget, and build progress in one place.
Related templates
Foam Prop
3 weeks · 8 milestones
A prop weapon or accessory built entirely from EVA foam sheets. Covers patterning, laminating, heat-shaping, sealing, and painting. Works for swords, staffs, shields, gauntlets, or any hard-surface prop that needs to be lightweight and convention-safe.
Mold & Cast Prop
6 weeks · 8 milestones
Silicone mold and resin casting workflow for reproducing detailed parts. Covers sculpting or printing the master, building a mold box, pouring platinum-cure silicone, degassing, demolding, and casting resin pulls. Once you have the mold, you can make as many copies as you want.
Display / Trophy Piece
4 weeks · 8 milestones
A wall-mount or shelf-display prop built for visual impact in a controlled environment. Prioritizes surface finish and paint quality over structural durability, because this piece lives on a shelf, not in your hands at a convention. Museum-quality finish on a hobbyist budget.
Lit / Electronic Prop
5 weeks · 8 milestones
A prop with embedded LEDs, sound, or motion effects. Covers circuit design, power management, wiring inside an enclosure, diffusion, and making the whole thing survive a full day of convention handling. The electronics need to work when you're carrying the prop upside down at 2 AM.