
Lit / Electronic Prop
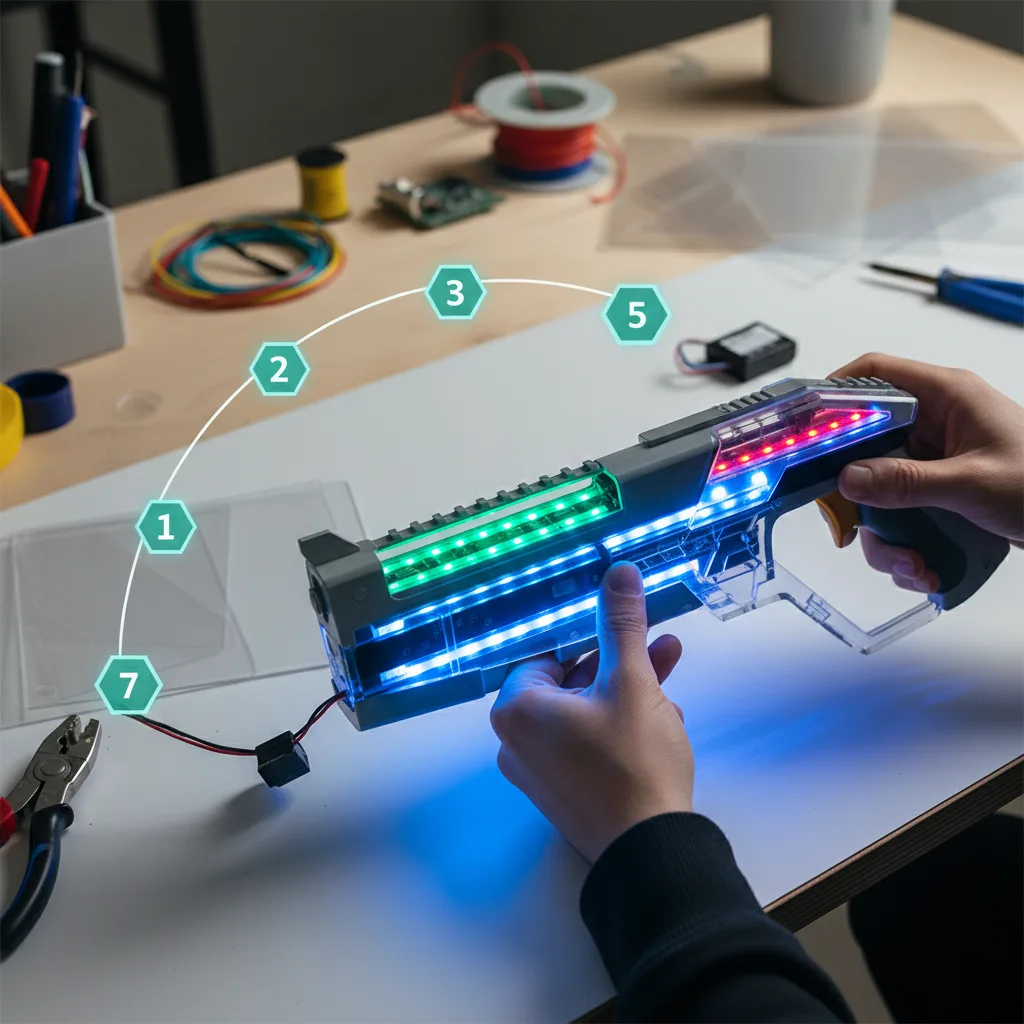
A prop with embedded LEDs, sound, or motion effects. Covers circuit design, power management, wiring inside an enclosure, diffusion, and making the whole thing survive a full day of convention handling. The electronics need to work when you're carrying the prop upside down at 2 AM.
5 weeks
8
6
4
See the whole look before you start.
References, materials, budget, and build order for Lit / Electronic Prop.
Timeline
5 weeks
Color refs
Materials
6 items
Budget
$30 - $80
save the visual refs
Full reference board
The preview above is curated for scanning. This is the working board you clone into your own build, with notes, colors, product images, and extra references intact.
Images are sourced from around the internet to help you get started. Use the web clipper to build your own reference library.
Reference images are gathered from around the web and belong to their original creators. We link back to where we found each one. If something here is yours and you want it taken down, email us and it is gone.
Build guide
The moment you add a working light to a prop, it goes from "cool build" to "people stopping you in the hallway." I've carried foam swords that got polite nods and foam swords with a glowing blade that got 50 photo requests. Electronics turn heads. They also add complexity, failure points, and at least one session of swearing at a breadboard. But the results are worth it.
You're adding LEDs, sound, or motion to an existing or in-progress prop. This template assumes you have (or are building) a prop shell and you want to integrate electronics into it. The circuit design, power system, and installation are the focus here, not the prop construction itself.
Key Decisions
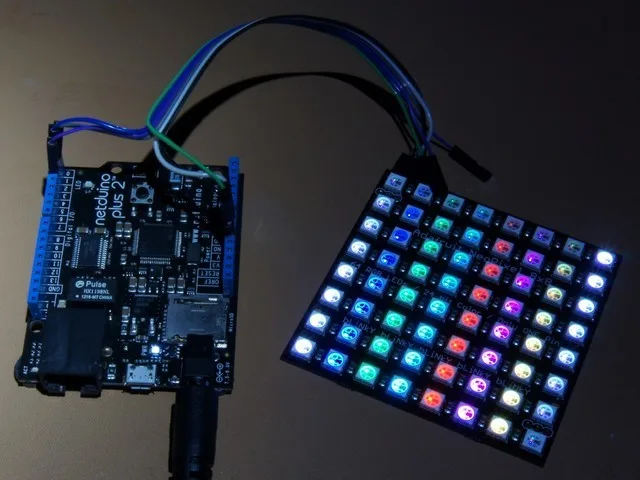
Start with the effect, not the components. Before you open a browser tab to Adafruit, define exactly what you want: static glow, pulsing, color-changing, reactive to motion, sound-activated, or some combination. A static LED strip inside a translucent blade is a completely different project from a sound-reactive, color-cycling staff head. Complexity scales fast. A static glow needs an LED strip, a switch, and a battery pack ($15-20 in parts). Motion-reactive color cycling needs a microcontroller, accelerometer, addressable LEDs, and careful power management ($35-60).
Microcontroller choice. For simple on/off and basic patterns, an Arduino Nano ($5-8 for a clone) handles everything and is the easiest to program. For addressable LED strips (WS2812B/NeoPixel), an Arduino Nano still works for up to about 60 LEDs. For Bluetooth control, sound reactivity, or complex patterns, a Trinket M0 or ESP32 ($8-15) gives more power. Don't overbuild. I've seen people put a Raspberry Pi in a prop that needed three LEDs and a switch.
Power is the constraint that matters most. Calculate your power draw before you commit to a battery. Each WS2812B LED draws up to 60mA at full white. A strip of 30 LEDs at full brightness pulls 1.8A. A 2000mAh LiPo battery would last about an hour at that draw. In practice, you'll rarely run full white, and dimming to 50% brightness halves the power draw with minimal visual difference. Use a 3.7V LiPo with a boost converter to 5V for most LED projects. Size the battery for at least 6-8 hours of runtime at your actual brightness level, because conventions are long and finding a charging outlet is not always an option.
Phase-by-Phase Walkthrough
Effect design and component selection (Week 1). Define your effect. Sketch where LEDs go, where the battery sits, where the switch is accessible, and how wiring routes through the prop. Order components: LEDs (individual or strips), microcontroller, battery, switch, wire (22-24 AWG stranded, not solid), solder, heat-shrink tubing. Adafruit, SparkFun, and Amazon are the main sources. Budget $30-60 for a typical lit prop.
Breadboard prototype (Week 1-2). Build the complete circuit on a breadboard first. Every time. I skipped this step once and soldered a circuit directly into a prop enclosure. It didn't work, and I had to desolder everything in a space the size of a soda can. On the breadboard, test your LED arrangement, verify brightness levels, confirm your code works, and measure actual power draw with a multimeter. This is the cheap, easy stage to find problems.
Enclosure planning (Week 2-3). Your prop needs internal space for the circuit board, battery, and wiring. If you're building the prop from scratch, plan the internal cavity during construction. If you're modifying an existing prop, figure out where to carve or cut access panels. Design the battery compartment so it's accessible for charging or swapping. The switch should be reachable without disassembling anything. I mount switches on the grip or underside where they're hidden but thumbable.
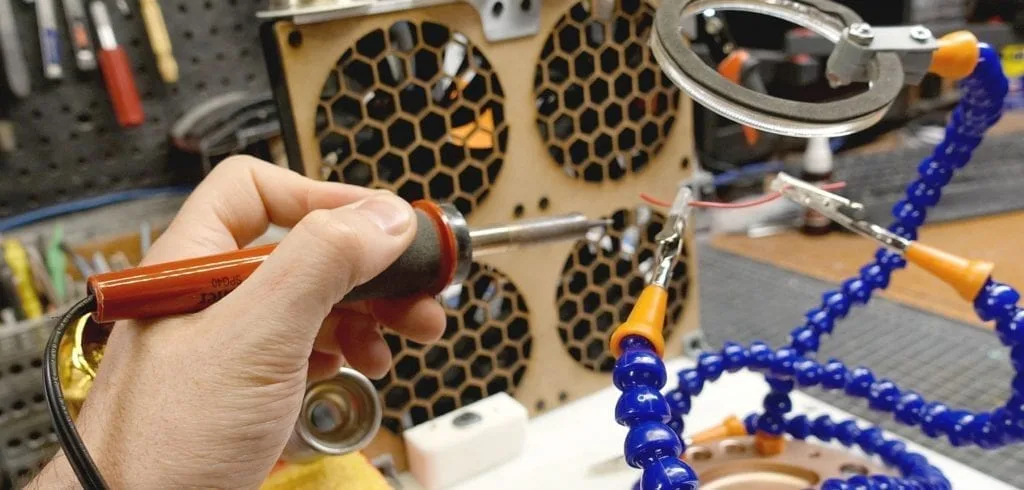
Soldering and installation (Week 3-4). Solder your permanent circuit. Use stranded wire (not solid) because it flexes without breaking when the prop moves. Heat-shrink every solder joint. Run wires through the prop body, securing them with hot glue tacks every 6-8 inches so they don't rattle or shift. Mount the battery with Velcro strips for easy removal. Install the LED strip or individual LEDs in their final positions. For diffusion, line the inside of translucent prop sections with white plastic (cut from a milk jug), diffusion film ($5 from Amazon), or a layer of white craft foam.
Wiring management and power (Week 4). Route all wires cleanly and secure them. Add a JST connector between the battery and circuit so you can disconnect for charging. If using a LiPo, include a small LiPo charger board ($3-5 from Adafruit) wired to a micro-USB port you can access externally. Test the full system: turn it on, leave it running for an hour, check for heat at the battery and any voltage regulator. If anything gets warm to the touch, you have a problem.
Movement testing and sealing (Week 4-5). This is the step most people skip and then regret at the convention. Pick up the prop and shake it. Swing it. Turn it upside down. Tap it against your palm. Does anything rattle? Does the battery shift? Do any solder joints pop? Fix every issue now. Then seal the enclosure. Hot glue, screws, or friction-fit panels work depending on your prop design. Leave at least one access panel for battery maintenance.
Common Mistakes
- No breadboard prototype. Soldering directly into an enclosure is a debugging nightmare. Build it on a breadboard first. Always.
- Undersized battery. A prop that dies at 2 PM at a convention is worse than a prop with no lights at all. Calculate your actual power draw and size the battery for 8+ hours.
- Solid wire instead of stranded. Solid wire work-hardens and snaps when flexed. Stranded wire survives thousands of flex cycles. Use stranded, 22-24 AWG, for everything inside a prop.
- No diffusion layer. Individual LED dots visible through a translucent surface look cheap. A layer of diffusion material turns point lights into a smooth, even glow. White packing foam, printer paper, or purpose-built diffusion film all work.
- Inaccessible battery. LiPo batteries need to be removed or charged periodically. If you seal one inside a prop with no access panel, you'll be cutting your prop open eventually.
The best electronic props look like magic because the electronics are completely invisible. If you can see a wire, a circuit board, or a battery, the build isn't done yet.
Components
Prop shell
Electronics circuit
Power system
Diffusion layer
Materials list
6 itemsEstimated total cost
$30 - $80
Milestone timeline
5 weeks- 1
Plan lighting or effect layout
design
- 2
Select LEDs, driver, and power source
sourcing
- 3
Prototype circuit on breadboard
Construction
- 4
Build or modify prop enclosure for wiring
Construction
- 5
Solder and install permanent circuit
Construction
- 6
Route wiring and secure battery pack
assembly
- 7
Test under movement and orientation changes
testing
- 8
Seal enclosure and finish exterior
Finishing
Frequently
asked questions.
Related tools and guides
Plan your build, estimate costs, and get ready.
Budget Calculator
Estimate your build cost before you start buying materials.
Convention Checklist
88-item packing checklist. Check off items as you pack.
Prop Scaling Calculator
Scale reference images to your body measurements.
How Much Does It Cost to Build a Prop?
Real build budgets with specific products and dollar amounts.
EVA Foam Sealing Methods Compared
Real build budgets with specific products and dollar amounts.
Prop Making on Costumary
Templates, tools, and workspace built for prop making makers.
Browse all templates
Explore build plans across 10 craft verticals.
Start this build free
Clone this template into your workspace. Track materials, milestones, budget, and build progress in one place.
Related templates
Foam Prop
3 weeks · 8 milestones
A prop weapon or accessory built entirely from EVA foam sheets. Covers patterning, laminating, heat-shaping, sealing, and painting. Works for swords, staffs, shields, gauntlets, or any hard-surface prop that needs to be lightweight and convention-safe.
Mold & Cast Prop
6 weeks · 8 milestones
Silicone mold and resin casting workflow for reproducing detailed parts. Covers sculpting or printing the master, building a mold box, pouring platinum-cure silicone, degassing, demolding, and casting resin pulls. Once you have the mold, you can make as many copies as you want.
Display / Trophy Piece
4 weeks · 8 milestones
A wall-mount or shelf-display prop built for visual impact in a controlled environment. Prioritizes surface finish and paint quality over structural durability, because this piece lives on a shelf, not in your hands at a convention. Museum-quality finish on a hobbyist budget.
Screen-Accurate Replica
8 weeks · 11 milestones
A detailed replica of a movie, game, or TV prop built to match the original as closely as possible. Mixed media construction (foam, resin, 3D print, or fabrication), extensive surface work, and a display-quality finish. This is the build where "close enough" isn't good enough.