
Mold & Cast Prop
Silicone mold and resin casting workflow for reproducing detailed parts. Covers sculpting or printing the master, building a mold box, pouring platinum-cure silicone, degassing, demolding, and casting resin pulls. Once you have the mold, you can make as many copies as you want.
6 weeks
8
8
4
See the whole look before you start.
References, materials, budget, and build order for Mold & Cast Prop.
Timeline
6 weeks
Color refs
Materials
8 items
Budget
$80 - $200
save the visual refs
Full reference board
The preview above is curated for scanning. This is the working board you clone into your own build, with notes, colors, product images, and extra references intact.
Images are sourced from around the internet to help you get started. Use the web clipper to build your own reference library.
Reference images are gathered from around the web and belong to their original creators. We link back to where we found each one. If something here is yours and you want it taken down, email us and it is gone.
Build guide
The first time you pull a perfect resin cast out of a silicone mold, something clicks. You've just made a factory. That mold can produce 20, 50, 100 identical copies of a part, and each one comes out with every detail from the original. Mold and cast is the technique that separates casual prop makers from people who sell at cons and supply other builders. It's also the technique with the steepest learning curve and the most expensive materials. But once you nail the process, you'll find excuses to mold everything.
You're building a silicone mold of a master part and producing resin casts from it. The master can be hand-sculpted, 3D-printed, or a found object. The mold is platinum-cure silicone rubber. The casts are polyurethane or epoxy resin. This workflow works for gem stones, medallions, armor details, weapon components, or any part you need multiples of.
Key Decisions
Master quality equals cast quality. Every fingerprint, scratch, and surface imperfection on your master will be reproduced perfectly in every single cast. This is not an exaggeration. Silicone captures detail down to fingerprint ridges. If you're 3D-printing the master, sand and prime it until the surface is flawless. If sculpting, smooth with rubbing alcohol (Monster Clay) or water (Apoxie Sculpt) before molding. I've scrapped molds because I missed a small tool mark on the master that showed up on 15 casts before I noticed it.
Silicone type matters more than brand. Platinum-cure (addition cure) silicone is the standard for prop work. It's more dimensionally stable than tin-cure (condensation cure), doesn't shrink as much, and the molds last longer (100+ pulls vs 20-30). Smooth-On Mold Star 15 SLOW ($35-45 per trial kit) is the most recommended starter silicone in the prop community. The "SLOW" designation gives you 50 minutes of working time, which you'll need for your first few molds. Dragon Skin from Smooth-On is stretchier and better for undercut-heavy masters but costs more. Avoid cheap silicone from craft stores. It's almost always tin-cure and produces inferior molds.
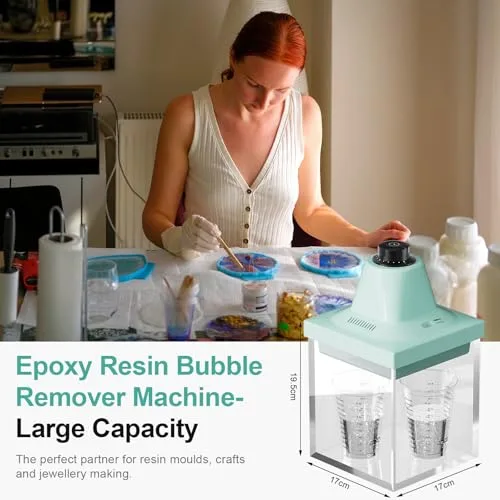
Pressure pot versus open pour. Resin cast in open air will have bubbles. Period. A pressure pot ($80-120 for a Harbor Freight paint pot converted for casting) forces bubbles small enough to be invisible. If you're making display-quality castings, a pressure pot is essentially mandatory. If you're casting parts that will be painted and sanded anyway (like armor blanks), open-pour castings with careful mixing and pouring technique can be acceptable. For a first project, try open pour and see if the bubble level is tolerable before investing in pressure equipment.
Phase-by-Phase Walkthrough
Master creation (Week 1-2). Sculpt, carve, or 3D-print your master part. For sculpting, Monster Clay (a wax-based clay, $20-30 per tub) holds fine detail and can be smoothed with a heat gun or rubbing alcohol. Apoxie Sculpt ($15-20 for a 1 lb kit) is a two-part epoxy clay that self-hardens and sands beautifully. For 3D prints, print at the highest resolution your printer allows (0.08-0.12mm layer height for resin printers, 0.12-0.16mm for FDM). Coat FDM prints with XTC-3D ($25 from Smooth-On) to eliminate layer lines.
Master surface prep (Week 2). Sand the master starting at 220 grit and working to 600+. Fill any imperfections with spot putty or Apoxie Sculpt. Apply 2-3 coats of filler primer, sanding between each with 400 grit. The master should feel like glass when you run your finger over it. Spray with a final coat of gloss clear coat. The gloss surface releases from silicone more easily than matte.
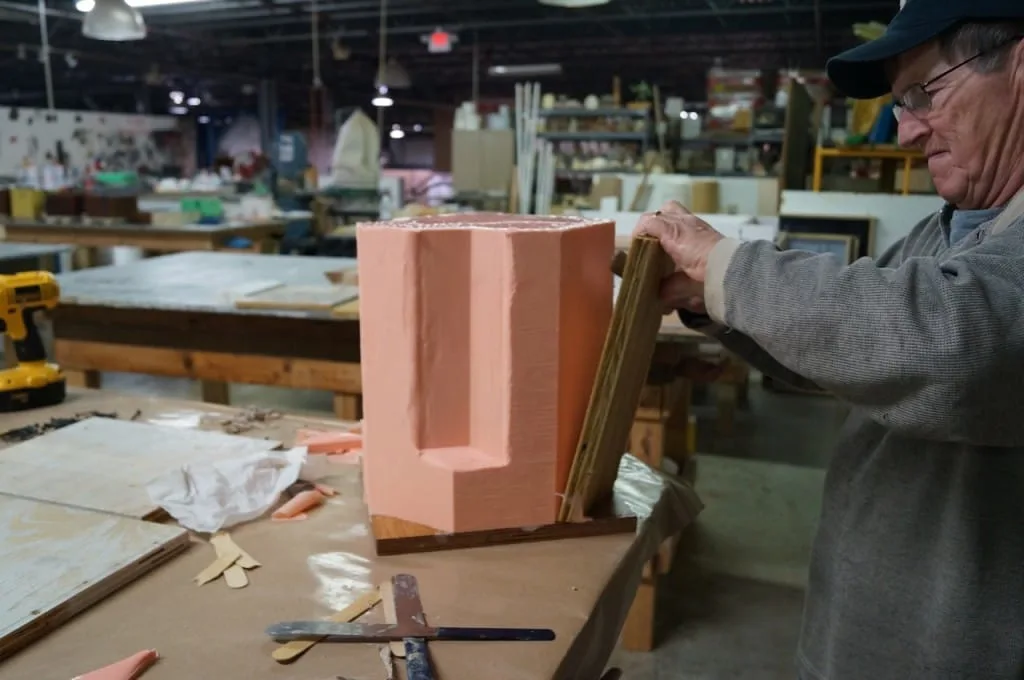
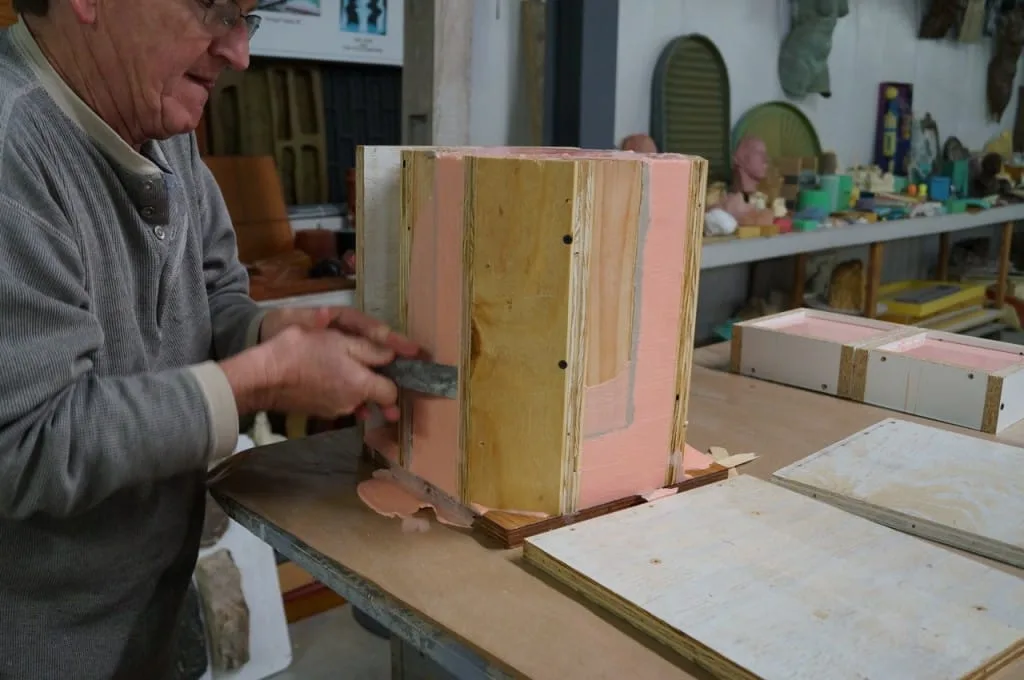
Mold box construction (Week 2-3). Build a containment around your master. Foam core board, hot-glued at the seams, makes a quick, cheap mold box. Leave 1/2" of space on all sides and 1/2" above the master. For a one-piece (block) mold, the master sits on the bottom of the box face-up. For a two-piece mold (needed if the master has undercuts or detail on all sides), you'll need to create a clay bed to embed half the master, pour the first half, flip, and pour the second. Apply mold release agent (Smooth-On Universal Mold Release, $10-15) to everything the silicone will touch except the master itself (silicone doesn't stick to most surfaces, but release agent is cheap insurance).
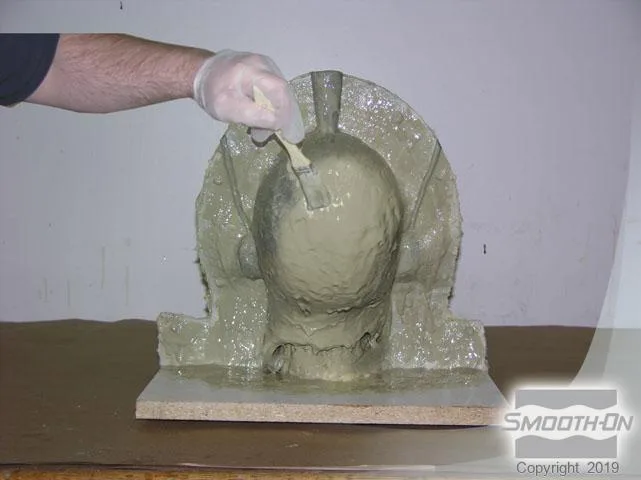
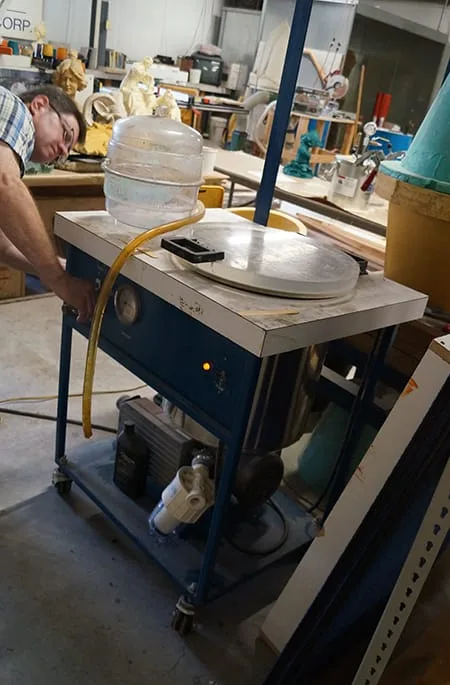
Silicone pour (Week 3). Measure silicone parts A and B by weight (a kitchen scale accurate to 1g works, $10-15). Smooth-On Mold Star 15 SLOW mixes 1:1 by volume. Stir slowly and thoroughly for 3-4 minutes, scraping the sides and bottom of the cup. Pour in a thin stream from a high point to break bubbles. If you have a vacuum chamber, degas the mixed silicone for 3-5 minutes before pouring. Let cure for the recommended time (Mold Star 15 is 4 hours, but I leave it overnight for safety).
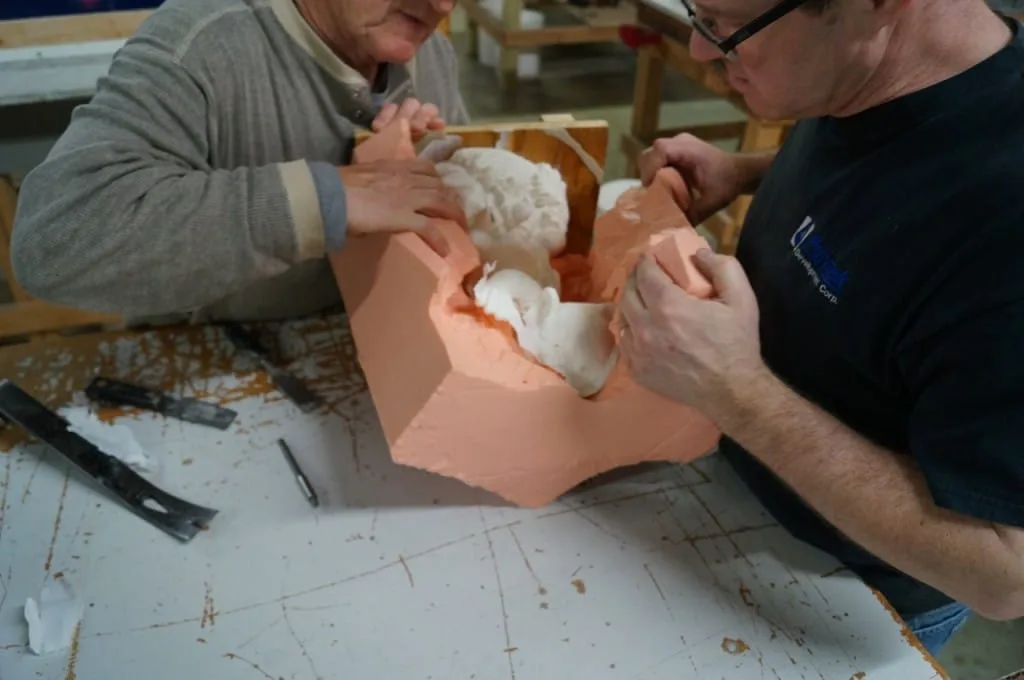
Demold and inspection (Week 3-4). Carefully peel the mold away from the master. Inspect the mold cavity under bright light. Look for air traps (bubbles that settled against the master surface), thin spots, and tear points around detailed areas. A few small bubbles on non-critical surfaces are acceptable. Large bubbles or bubbles on detailed surfaces mean you need to re-pour the mold with better technique (slower pour, higher pour point, or vacuum degassing).
Resin casting (Week 4-5). Apply mold release to the silicone cavity (even though silicone is naturally releasing, this extends mold life). Mix your casting resin by weight. Smooth-On Smooth-Cast 300 (white, 3-minute pot life, $30-40 per trial kit) is the standard starter resin. Pour slowly. If using a pressure pot, seal the mold in the pot at 40-60 PSI and leave for 30 minutes. If open-pouring, tap the mold gently on the table to dislodge surface bubbles. Demold after the recommended cure time.
Finishing casts (Week 5-6). Trim flash (thin resin that seeped between mold halves) with a utility knife. Sand mold seam lines with 220 grit, then 400. Fill any bubble holes with Bondo spot putty. Prime, sand, paint. Resin takes paint beautifully with minimal surface prep compared to foam or MDF. For small parts like gems or medallions, a single coat of primer and 2-3 thin coats of paint produces a clean finish.
Common Mistakes
- Dirty master surface. Fingerprints, dust, and stray fibers on the master surface transfer to the mold and then to every cast. Clean the master with rubbing alcohol right before pouring silicone.
- Mixing silicone or resin by volume instead of weight. Volume measurement is imprecise, especially with viscous materials. Always use a scale. Off-ratio silicone won't cure properly. Off-ratio resin cures brittle or sticky.
- Pouring silicone too fast. A fast pour traps air against the master surface. Pour in a thin stream from 12+ inches above the mold box. Let the silicone flow over the master rather than burying it.
- Demolding resin too early. Resin that's technically hard to the touch might not be fully cured internally. Demolding too early causes warping. Follow the manufacturer's demold time, then add 30 minutes.
- No mold release on the mold box. Silicone bonds to some surfaces permanently. Spray release on foam core, MDF, and any surface you want to separate from the cured silicone.
Mold and cast is a process where your 10th casting is dramatically better than your 1st. The technique is everything, and technique only comes from repetition.
Components
Master sculpt
Silicone mold
Resin casts
Finished parts
Materials list
8 itemsEstimated total cost
$80 - $200
Milestone timeline
6 weeks- 1
Sculpt or 3D-print master part
Construction
- 2
Sand and seal master surface
Finishing
- 3
Build mold box or containment
Construction
- 4
Mix and pour silicone mold
molding
- 5
Demold and inspect for air traps
molding
- 6
Mix and pour resin cast
casting
- 7
Demold, trim, and sand castings
Finishing
- 8
Prime, paint, and finish cast parts
Finishing
Frequently
asked questions.
Related tools and guides
Plan your build, estimate costs, and get ready.
Budget Calculator
Estimate your build cost before you start buying materials.
Convention Checklist
88-item packing checklist. Check off items as you pack.
Prop Scaling Calculator
Scale reference images to your body measurements.
How Much Does It Cost to Build a Prop?
Real build budgets with specific products and dollar amounts.
EVA Foam Sealing Methods Compared
Real build budgets with specific products and dollar amounts.
Prop Making on Costumary
Templates, tools, and workspace built for prop making makers.
Browse all templates
Explore build plans across 10 craft verticals.
Start this build free
Clone this template into your workspace. Track materials, milestones, budget, and build progress in one place.
Related templates
Foam Prop
3 weeks · 8 milestones
A prop weapon or accessory built entirely from EVA foam sheets. Covers patterning, laminating, heat-shaping, sealing, and painting. Works for swords, staffs, shields, gauntlets, or any hard-surface prop that needs to be lightweight and convention-safe.
Display / Trophy Piece
4 weeks · 8 milestones
A wall-mount or shelf-display prop built for visual impact in a controlled environment. Prioritizes surface finish and paint quality over structural durability, because this piece lives on a shelf, not in your hands at a convention. Museum-quality finish on a hobbyist budget.
Lit / Electronic Prop
5 weeks · 8 milestones
A prop with embedded LEDs, sound, or motion effects. Covers circuit design, power management, wiring inside an enclosure, diffusion, and making the whole thing survive a full day of convention handling. The electronics need to work when you're carrying the prop upside down at 2 AM.
Screen-Accurate Replica
8 weeks · 11 milestones
A detailed replica of a movie, game, or TV prop built to match the original as closely as possible. Mixed media construction (foam, resin, 3D print, or fabrication), extensive surface work, and a display-quality finish. This is the build where "close enough" isn't good enough.