
Foam Prop
A prop weapon or accessory built entirely from EVA foam sheets. Covers patterning, laminating, heat-shaping, sealing, and painting. Works for swords, staffs, shields, gauntlets, or any hard-surface prop that needs to be lightweight and convention-safe.
3 weeks
8
6
3
See the whole look before you start.
References, materials, budget, and build order for Foam Prop.
Timeline
3 weeks
Color refs
Materials
6 items
Budget
$25 - $60
save the visual refs
Full reference board
The preview above is curated for scanning. This is the working board you clone into your own build, with notes, colors, product images, and extra references intact.
Images are sourced from around the internet to help you get started. Use the web clipper to build your own reference library.
Reference images are gathered from around the web and belong to their original creators. We link back to where we found each one. If something here is yours and you want it taken down, email us and it is gone.
Build guide
EVA foam is the gateway material for prop making. It's cheap, forgiving, and you can build a sword that looks like it weighs 20 pounds but actually weighs 12 ounces. I've carried foam props through convention halls for 8 hours without arm fatigue, which is more than I can say for any resin or MDF build. If this is your first prop, foam is where you start.
You're building a single prop from EVA foam sheets: a weapon, shield, gauntlet, or large accessory. The workflow is the same regardless of shape: pattern, cut, laminate, shape, seal, paint. The materials cost less than a pizza dinner, and most of the tools you probably already own.
Key Decisions
Foam thickness determines your approach. 10mm EVA (the floor mat variety from Harbor Freight, about $1 per 2'x2' tile) is your structural material. Use it for blade cores, shield faces, and any piece that needs rigidity. 6mm EVA (craft foam sheets from Amazon or Joann, $2-4 per sheet) is for surface details: raised edges, panel lines, rivets, and decorative elements. Most props use both. I buy a 4-pack of Harbor Freight floor mats ($8) and a 10-pack of 6mm craft foam sheets ($15) for every build. That's enough material for 2-3 weapons.
Sealer choice affects paint quality. You can't paint raw EVA foam directly. It drinks paint like a sponge. You need a sealer first. Plasti-Dip spray ($7-10 per can) is the most popular option: 4-5 light coats builds a flexible, paintable skin. Flexbond from Rosco ($15-20 per jar) brushes on thicker and fills small surface imperfections better. I use Plasti-Dip for most builds because it's faster, but I switch to Flexbond when I need a smoother base, like for a prop with large flat surfaces where every texture shows.
Contact cement versus hot glue. For structural bonds (laminating foam layers), use contact cement. Barge All-Purpose or DAP Weldwood original formula ($8-12). Apply to both surfaces, wait until tacky, press together. The bond is permanent and flexible. Hot glue works for tacking things temporarily and for detail pieces that won't take stress, but it fails in heat (a car trunk at a summer con) and creates bumpy glue lines that show through paint.
Phase-by-Phase Walkthrough
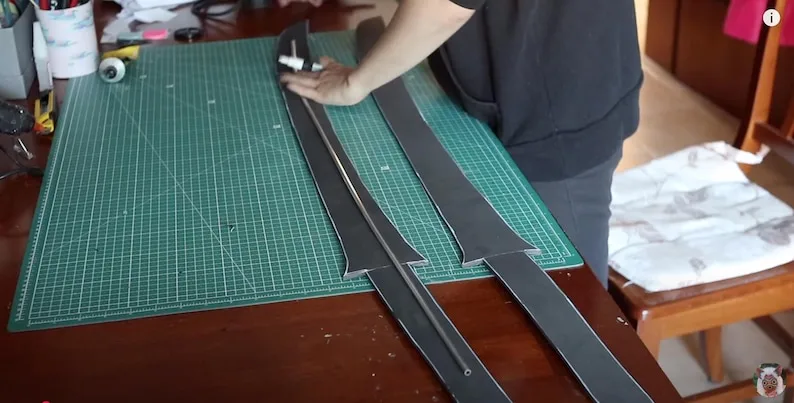
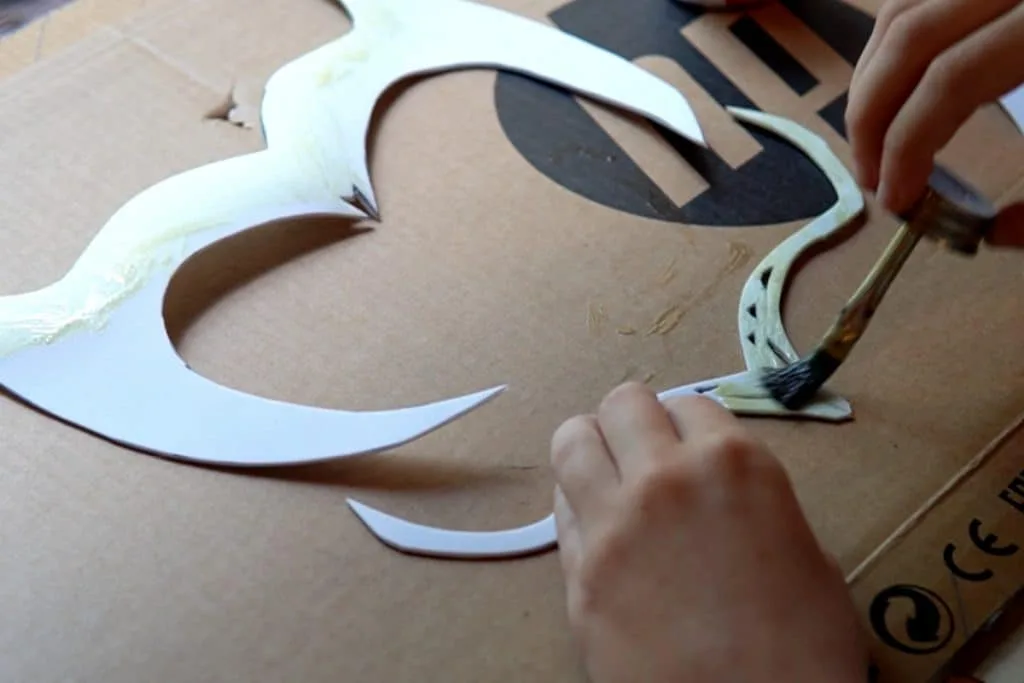
Reference and patterning (Day 1-2). Collect reference images from every angle. If it's from a game or movie, screencaps are your friend. Measure a reference object in the images to establish scale (a character's hand width, a door frame). Draft your pattern on paper or cardboard first. Cut out the cardboard, hold it up, check proportions. Adjust before you touch any foam.
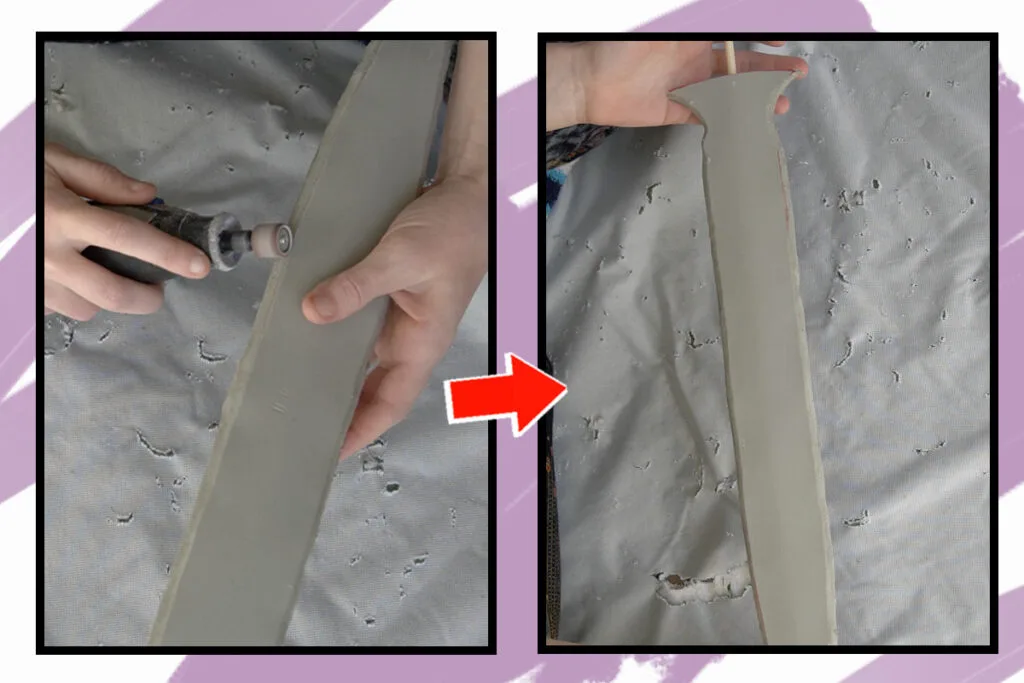
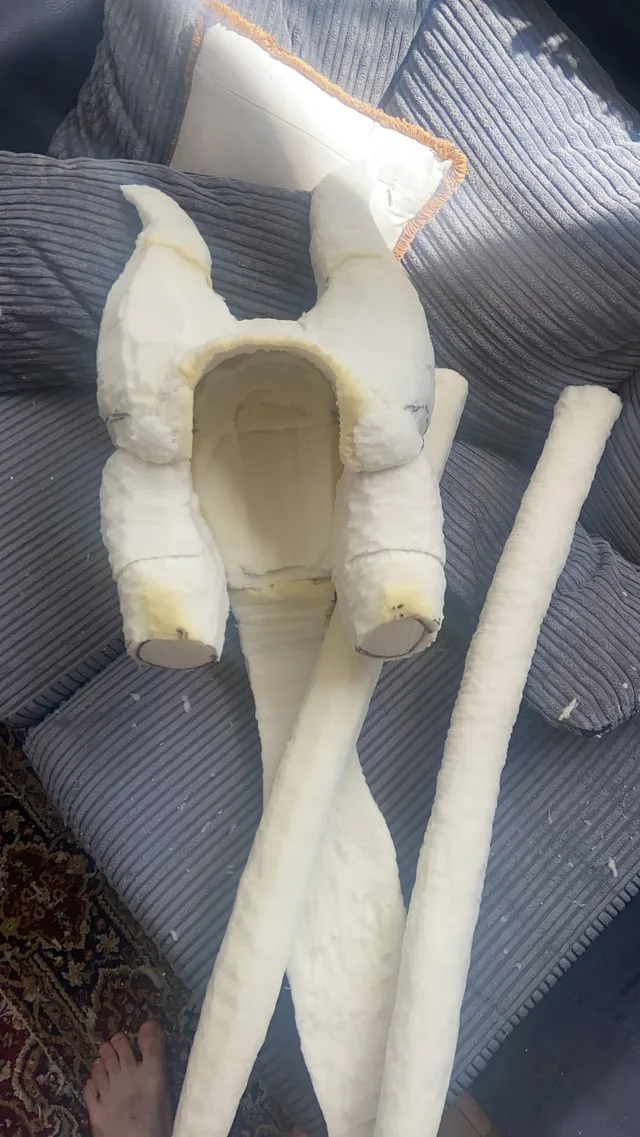
Cutting and laminating (Day 2-4). Transfer patterns to foam with a silver Sharpie (shows up on both dark and light foam). Cut with a fresh utility knife blade. Dull blades tear foam instead of cutting it cleanly, and the difference shows in the final product. Change blades every 20-30 cuts. For thick pieces, laminate 2-3 layers of 10mm foam with contact cement. Clamp or weight the layers while the cement sets (30 minutes minimum).
Heat-shaping and detailing (Day 4-5). Use a heat gun on low-medium to curve flat foam pieces. Work slowly. EVA foam has a sweet spot where it goes soft and pliable. Push past it and the foam bubbles and warps permanently. Bevel edges at 45 degrees with your utility knife for a less "flat-panel" look. Add detail layers: glue 6mm foam strips for raised edges, cut circles for rivets, carve panel lines with a soldering iron or wood-burning tool.
Sealing (Day 5-6). Apply Plasti-Dip in light coats from 8-10 inches away. Heavy coats drip, pool, and create an orange-peel texture that's a pain to sand out. 4-5 thin coats with 20-30 minutes between each. The prop will feel slightly rubbery. That's correct. With Flexbond, brush on 2-3 coats, drying fully between each (1-2 hours). It dries clear and smooth.
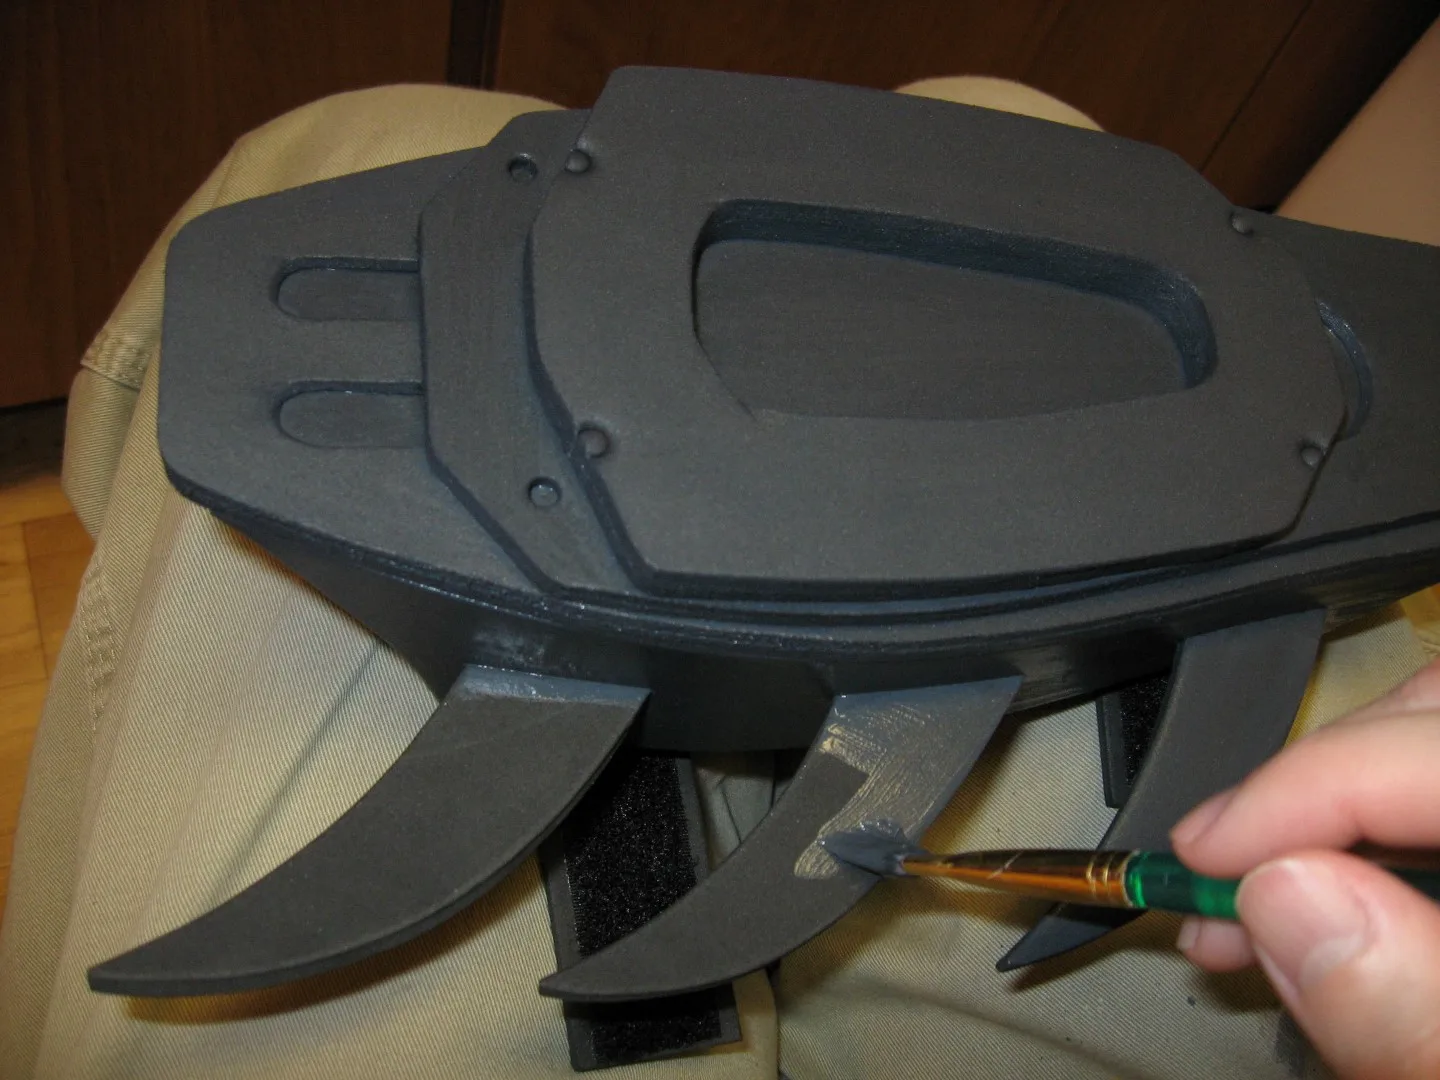
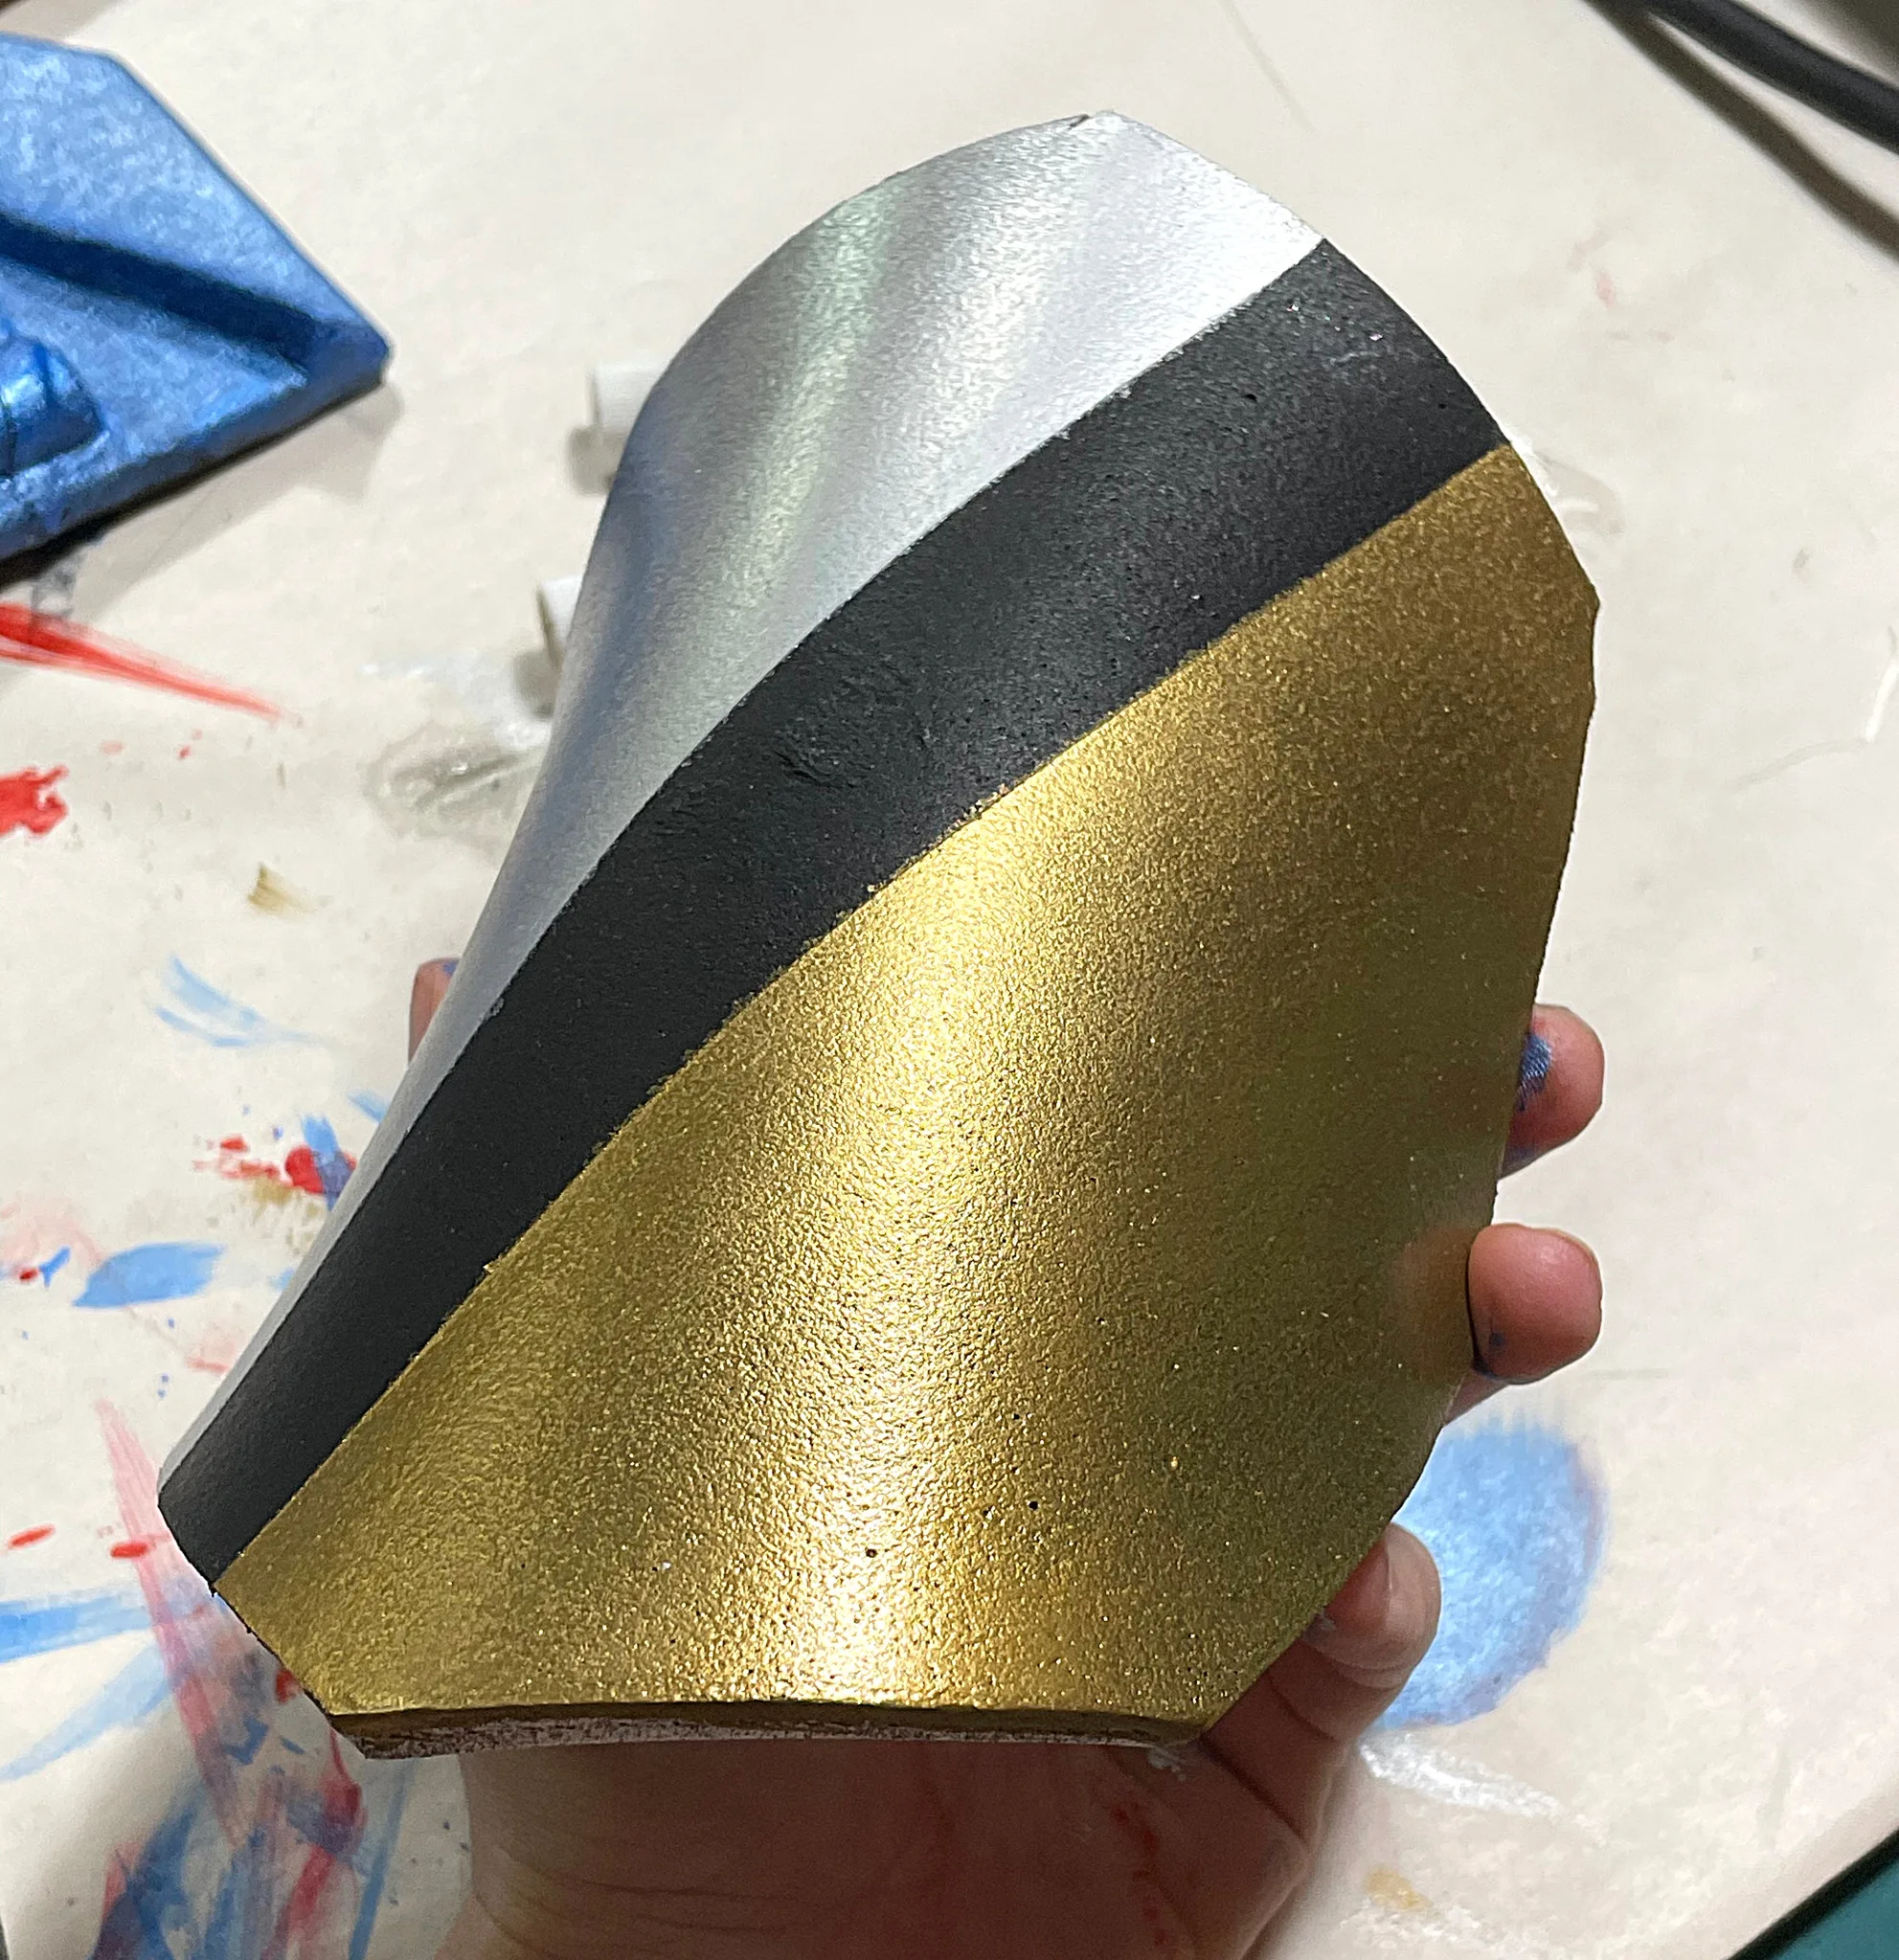
Painting and weathering (Day 6-7). Prime with black acrylic paint. Then build up your base color in 2-3 thin coats. Use a large flat brush for broad areas and a small round brush for details. For metallic finishes, Rub n Buff ($3-5 per tube) buffed over black paint creates a more convincing metal look than any metallic spray paint. Dry-brush silver or gold acrylic over raised edges for worn metal effects. For weathering, thin brown and black acrylic paint with water (10:1 ratio) and apply in recesses. Wipe the high points clean while the wash is still wet. Finish with a clear coat: matte for weapons, satin for magical items.
Grip and hardware (Day 7-8). Wrap handles with leather cord, tennis racket overgrip, or craft leather strips. Secure with contact cement at each end. If the prop needs a mounting point for a belt or back rig, install a PVC pipe section or 3D-printed clip inside the foam before you seal.
Common Mistakes
- Cutting with dull blades. A ragged cut line shows through every layer of sealer and paint. Fresh blades are cheap. Change them often.
- Heavy Plasti-Dip coats. Three heavy coats look worse than five thin ones. Orange peel texture is the most common foam prop beginner mistake.
- Skipping the primer coat. Colored paint directly on Plasti-Dip or Flexbond often looks washed out and uneven. A black base coat makes every color on top richer and more opaque.
- Painting metallic over light colors. Metallic paint needs a dark base to look like metal. Rub n Buff over black is dramatically more convincing than silver spray paint over gray primer.
- No clear coat. Acrylic paint on sealed foam chips and rubs off with handling. A matte or satin clear coat adds durability and evens out the sheen.
A foam prop that looks professional is 70% paint job and 30% construction. Don't rush the finish.
Components
Main body
Detail layers
Grip or mount
Materials list
6 itemsEstimated total cost
$25 - $60
Milestone timeline
3 weeks- 1
Gather reference images and dimensions
Research
- 2
Draft pattern on paper or cardboard
design
- 3
Source foam, adhesive, and primer
sourcing
- 4
Cut and laminate foam layers
Construction
- 5
Heat-shape and bevel edges
Construction
- 6
Seal with Plasti-Dip or Flexbond
Finishing
- 7
Prime, paint, and weather
Finishing
- 8
Attach grip or mounting hardware
assembly
Frequently
asked questions.
Related tools and guides
Plan your build, estimate costs, and get ready.
Budget Calculator
Estimate your build cost before you start buying materials.
Convention Checklist
88-item packing checklist. Check off items as you pack.
Prop Scaling Calculator
Scale reference images to your body measurements.
How Much Does It Cost to Build a Prop?
Real build budgets with specific products and dollar amounts.
EVA Foam Sealing Methods Compared
Real build budgets with specific products and dollar amounts.
Prop Making on Costumary
Templates, tools, and workspace built for prop making makers.
Browse all templates
Explore build plans across 10 craft verticals.
Start this build free
Clone this template into your workspace. Track materials, milestones, budget, and build progress in one place.
Related templates
Mold & Cast Prop
6 weeks · 8 milestones
Silicone mold and resin casting workflow for reproducing detailed parts. Covers sculpting or printing the master, building a mold box, pouring platinum-cure silicone, degassing, demolding, and casting resin pulls. Once you have the mold, you can make as many copies as you want.
Display / Trophy Piece
4 weeks · 8 milestones
A wall-mount or shelf-display prop built for visual impact in a controlled environment. Prioritizes surface finish and paint quality over structural durability, because this piece lives on a shelf, not in your hands at a convention. Museum-quality finish on a hobbyist budget.
Lit / Electronic Prop
5 weeks · 8 milestones
A prop with embedded LEDs, sound, or motion effects. Covers circuit design, power management, wiring inside an enclosure, diffusion, and making the whole thing survive a full day of convention handling. The electronics need to work when you're carrying the prop upside down at 2 AM.
Screen-Accurate Replica
8 weeks · 11 milestones
A detailed replica of a movie, game, or TV prop built to match the original as closely as possible. Mixed media construction (foam, resin, 3D print, or fabrication), extensive surface work, and a display-quality finish. This is the build where "close enough" isn't good enough.