
Sandrone Cosplay
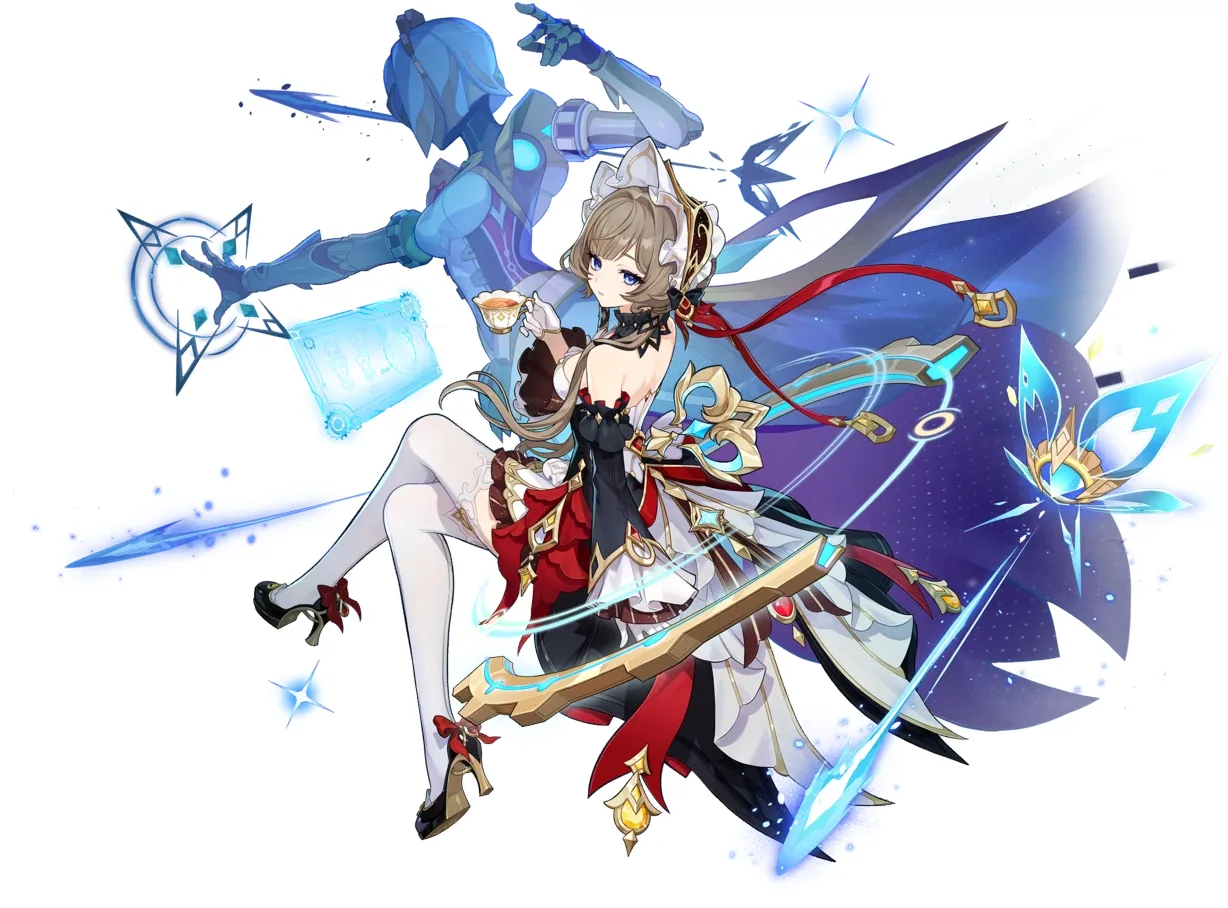
Sandrone is Genshin Impact's puppet-master Harbinger: a structured dark dress with cream accents, an elaborate multi-element headdress, mechanical shoulder armor, and her iconic star eye markings. This is an advanced build where the headdress and the boned bodice are the make-or-break details. Get those two right and the rest falls into place. Includes 7 components, 14 materials with cost estimates, a 12-step build plan, and a realistic 8-week, $150-350 budget.
8 weeks
16
14
7
See the whole look before you start.
References, materials, budget, and build order for Sandrone (The Marionettist).
Timeline
8 weeks
Color refs
Materials
14 items
Budget
$150 - $350
save the visual refs
Full reference board
The preview above is curated for scanning. This is the working board you clone into your own build, with notes, colors, product images, and extra references intact.
Images are sourced from around the internet to help you get started. Use the web clipper to build your own reference library.
Reference images are gathered from around the web and belong to their original creators. We link back to where we found each one. If something here is yours and you want it taken down, email us and it is gone.
Build guide
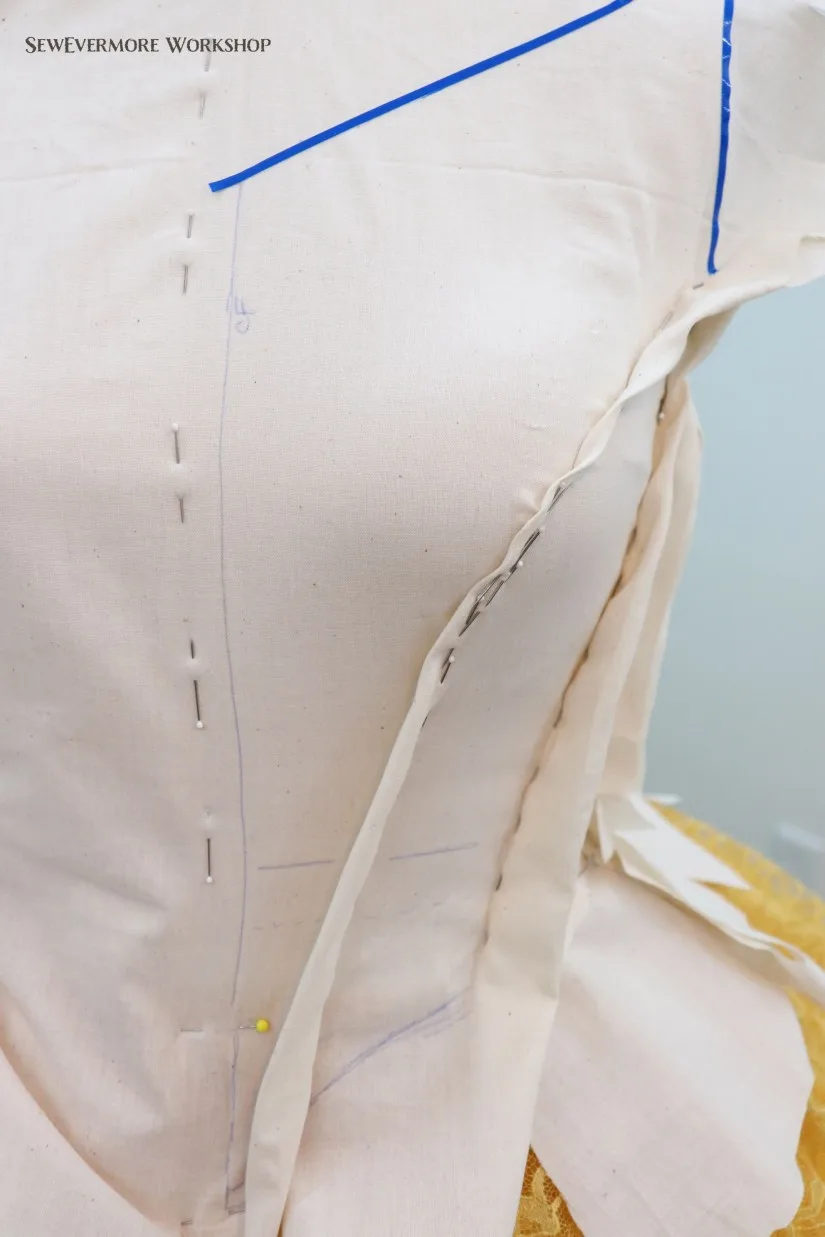
I messed up my first attempt at a boned bodice. Didn't use muslin, went straight to my fashion fabric, and cut six boning channels into a bodice that fit wrong. Three hours of work straight into the scrap bin.
Don't do that. Mock up the bodice first. It doesn't matter how confident you are. A structured boned bodice needs to fit within about a centimeter and you won't know what's off until you're wearing it. Do the muslin, fix the fit, then cut the real thing.
For Sandrone specifically, two things will ruin this build if you get them wrong: the bodice boning and the headdress weight. Everything else is forgiving. These two are not.
Steel flat boning only. I got mine at the Jo-Ann in the Westwood location on Westwood Blvd in Los Angeles and they had it in 3-yard rolls. Plastic spiral boning buckles under body heat. You'll be in a con hall for six hours and by 2pm your bodice will be collapsing inward. Steel doesn't do that. Bone at minimum six channels: two front princess seams, two back princess seams, two side seams. Interface the entire bodice piece before you bone, not just the fashion fabric.
The headdress is the other half of this fight. If you build the crown out of solid Worbla or resin, it's too heavy and the wig slides. I've seen three Sandrone cosplayers at Anime Expo 2024 with their headdresses tilted 30 degrees forward by noon and I'd bet all three used solid thermoplastic. The fix is an EVA foam core with a thin Worbla veneer. Same look, a third of the weight. Mount it on a rigid headband with alligator clips, not bobby pins. Add a flesh-toned elastic chin anchor hidden under the hair if you need it. That's what keeps it for eight hours.
The wig: buy from DokiDoki or Koollia, not from whoever has the cheapest listing. The cheap ones ship with color that looks right in photos and arrives closer to golden blonde. Check the color in natural light before your event. Style the braid bun with 24g wire threaded through it so the structure holds.
Star eye markings get Mehron Paradise or Wolfe Body Art, alcohol-activated, sealed with setting powder then setting spray. Regular face paint is gone by 11am. Practice this at home at least twice before the con.
Budget sits between $150 and $350. Give yourself eight weeks if you're sewing the dress and building the headdress from scratch. The shoulder rig is optional for a first build and most experienced Sandrone cosplayers skip it for all-day wear anyway. Get the bodice and the crown right first.
Components
Structured dark bodice
Layered skirt with cream trim
Headdress / crown
Mechanical shoulder / puppet arm pieces
Styled brown wig with braid bun
Star eye markings (makeup)
Footwear
Pattern Plan
Real sewing patterns for each piece of the Sandrone (The Marionettist) costume: the commercial base to start from, a free alternative where one exists, and the exact modifications that turn the base into the character-accurate piece.
Structured dark bodice
Modifications for structured dark bodice: Use the overdress bodice piece only. Skip the tie-on sleeves and blouse entirely. Remove the front center seam detail and replace with Sandrone's V-notch neckline by redrawing the neckline curve 3cm lower at center front. Add two additional boning channels along the side seams (the pattern provides front channels but omit the back-lacing for a zipper closure). Lengthen the bodice 2-3cm from the waist seam before joining to the skirt. Omit the historical overdress skirt from this pattern entirely and use M7732 View C for the skirt instead.
The S9090 bodice is a princess-seam fitted bodice with boning channels already drafted in, which is the key reason to use it as a base. The Renaissance aesthetic details (lacing eyelets, tie-on sleeve holes) are omitted, leaving a clean fitted shell that reads as a structured gothic bodice when made in matte dark fabric.
Layered skirt with cream trim
Modifications for layered skirt with cream trim: Use View C (lined skirt with shaped yokes, side panels, pleating) as the base. Remove the decorative button detail from the yoke and replace with the cream trim applique to match Sandrone's accent color scheme. Shorten the skirt to Sandrone's approximate mid-calf length (trim 8-12cm from the hem depending on your height). Omit the bustle-back pleat from View C and substitute a straight center-back seam for a cleaner silhouette that reads closer to Sandrone's reference art. Add a 2cm cream cotton twill ribbon along the yoke bottom seam as the accent trim.
M7732 is widely available and the shaped yoke of View C gives Sandrone's skirt its structured high-waist look without requiring you to draft from scratch. The pattern is designed by Angela Clayton and is sized for cosplay-level precision. Use it only for the skirt.
Materials list
14 itemsEstimated total cost
$150 - $350
Milestone timeline
8 weeks- 1
Gather references and plan the silhouette
Research
- 2
Buy and test the wig (check color in person before con)
Materials
- 3
Mock up the bodice in muslin
Patterning
- 4
Pattern and build the headdress from EVA foam
Patterning
- 5
Cut and interface the bodice fashion fabric
Construction
- 6
Bone the bodice with steel flat boning
Construction
- 7
Line and finish the bodice
Construction
- 8
Cut and sew the skirt panels
Construction
- 9
Attach cream trim and accent details
Details
- 10
Join bodice and skirt, finish the hem
Construction
- 11
Veneer with Worbla, sand and paint the headdress
Finishing
- 12
Build mechanical shoulder armor from EVA and Worbla
Construction
- 13
Attach shoulder rig and test mobility
Fitting
- 14
Style braid bun with wire support
Finishing
- 15
Practice star eye markings before the con (minimum 2 test runs)
Finishing
- 16
Full suit-up, photos, and mobility check
Wear test
Frequently
asked questions.
Related tools and guides
Plan your build, estimate costs, and get ready.
Budget Calculator
Estimate your build cost before you start buying materials.
Convention Checklist
88-item packing checklist. Check off items as you pack.
Prop Scaling Calculator
Scale reference images to your body measurements.
How Much Does EVA Foam Armor Cost?
Real build budgets with specific products and dollar amounts.
Cosplay Commission Cost Breakdown
Real build budgets with specific products and dollar amounts.
Cosplay on Costumary
Templates, tools, and workspace built for cosplay makers.
Browse all templates
Explore build plans across 10 craft verticals.
Debut your cosplay build
Upcoming conventions where you could wear this. Dates, checklists, and budget tools included.
Start this build free
Clone this template into your workspace. Track materials, milestones, budget, and build progress in one place.
More from this series
Arlecchino Cosplay
7 weeks · 17 milestones
Arlecchino (The Knave) is Genshin Impact's most cosplay-demanding Fatui Harbinger: a layered suit jacket, structured long coat with back chains, multi-color ombre wig, character-specific X-pupil contacts, and a full accessories set that runs 12+ pieces. This is an advanced build for cosplayers who can sew structured garments, handle prop accessories, and plan a full character makeup look. The make-or-break details are the coat's lapel structure and the wig's silver-black-red color work. Includes 8 components, 14 materials with cost estimates, a 12-step build plan, and a realistic 7-week, $180 to $420 budget.
Raiden Shogun Cosplay
8 weeks · 14 milestones
Genshin Impact's Electro Archon, built around a layered kimono-bodysuit hybrid, EVA foam armor, a 105cm braided purple wig, and the Musou no Hitotachi sword. This is an advanced build mixing garment construction, foam shaping, LED work, and heavy wig management. The make-or-break detail is purple color matching across fabric, paint, and wig. Includes 7 components, 15 materials, a 14-step plan, and a realistic 8-week, $250 to $550 budget.
Hu Tao Cosplay
6 weeks · 15 milestones
Hu Tao is Genshin Impact's ghost-whispering funeral director: a warm brown mandarin-collar coat with gold-printed trim, the iconic porkpie hat loaded with talisman and plum blossom, twin dark braids with crimson tips, and flower-shaped pupils. The hat is the whole build — it has to be constructed accurately, fitted over the wig, and survive a full con day without slipping. Fabric-sewing cosplayers can tackle this; the coat's silhouette is cleaner than other Genshin builds. Plan for 7 components, 13 materials, and a 6-week build at $100-280.
Yae Miko Cosplay
6 weeks · 14 milestones
Genshin Impact's shrine maiden guuji: the soft pink wig with custom fox ears, the red-and-white robe with asymmetrical cut, and the detachable weighted tail. The ears must be made from wig material or heavily anchored, the red fabric needs color-matching precision, and the tail needs weighted construction to avoid dragging. 6 components, 12 materials, about 6 weeks, $110 to $280.
Furina Cosplay
6 weeks · 14 milestones
Fontaine's Hydro Archon in full Rococo splendor: the tilted top hat, cascading jabot collar, split-tail coat, and white-to-blue gradient wig with a wired ahoge. The hat is the make-or-break piece. It needs to hold its shape, sit at the right angle, and stay on the wig through a full convention day. 7 components, 13 materials, about 6 weeks, $120 to $300.
Qifrey Cosplay
5 weeks · 12 milestones
Qifrey's elegant white-robed silhouette is built around three signature elements: the tall pointed hat with the bent tip and black ribbon, the flowing white cape with the brass brooch closure, and the asymmetrical pince-nez glasses with one dark lens hiding his scarred eye. This is an intermediate build that needs more structural crafting than sewing. The hat and glasses demand the most attention, while the cape is a manageable garment project. The glasses and the hat are the make-or-break details, and this template walks you through both. Includes 7 components, 15 materials with cost estimates, a 12-step build plan, and a realistic 5-week, $95 to $280 budget.
Coco Cosplay
6 weeks · 12 milestones
Witch Hat Atelier's apprentice witch in her full outfit: the tall pointed hat with ornamental band, a dark cloak with decorative hem trim, a layered tunic-dress, boots, and her drawing implements. The hat is the signature piece and the hardest to get right. 7 components, 13 materials, ~6 weeks at $120-280.
Sung Jinwoo Cosplay
7 weeks · 15 milestones
Solo Leveling's Shadow Monarch in his iconic default hunter outfit: a long black coat with purple inner lining, structured shoulder armor, fitted pants, and dual daggers. This is an intermediate hybrid build that combines garment sewing with foam armor crafting for the shoulder details, plus prop work for the daggers. The coat and its glowing purple lining are the make-or-break detail. Includes 7 components, 19 materials with cost estimates, a 15-step build plan, and a realistic 5-7 week, $120 to $320 budget.