
Sung Jinwoo Shadow Monarch Cosplay
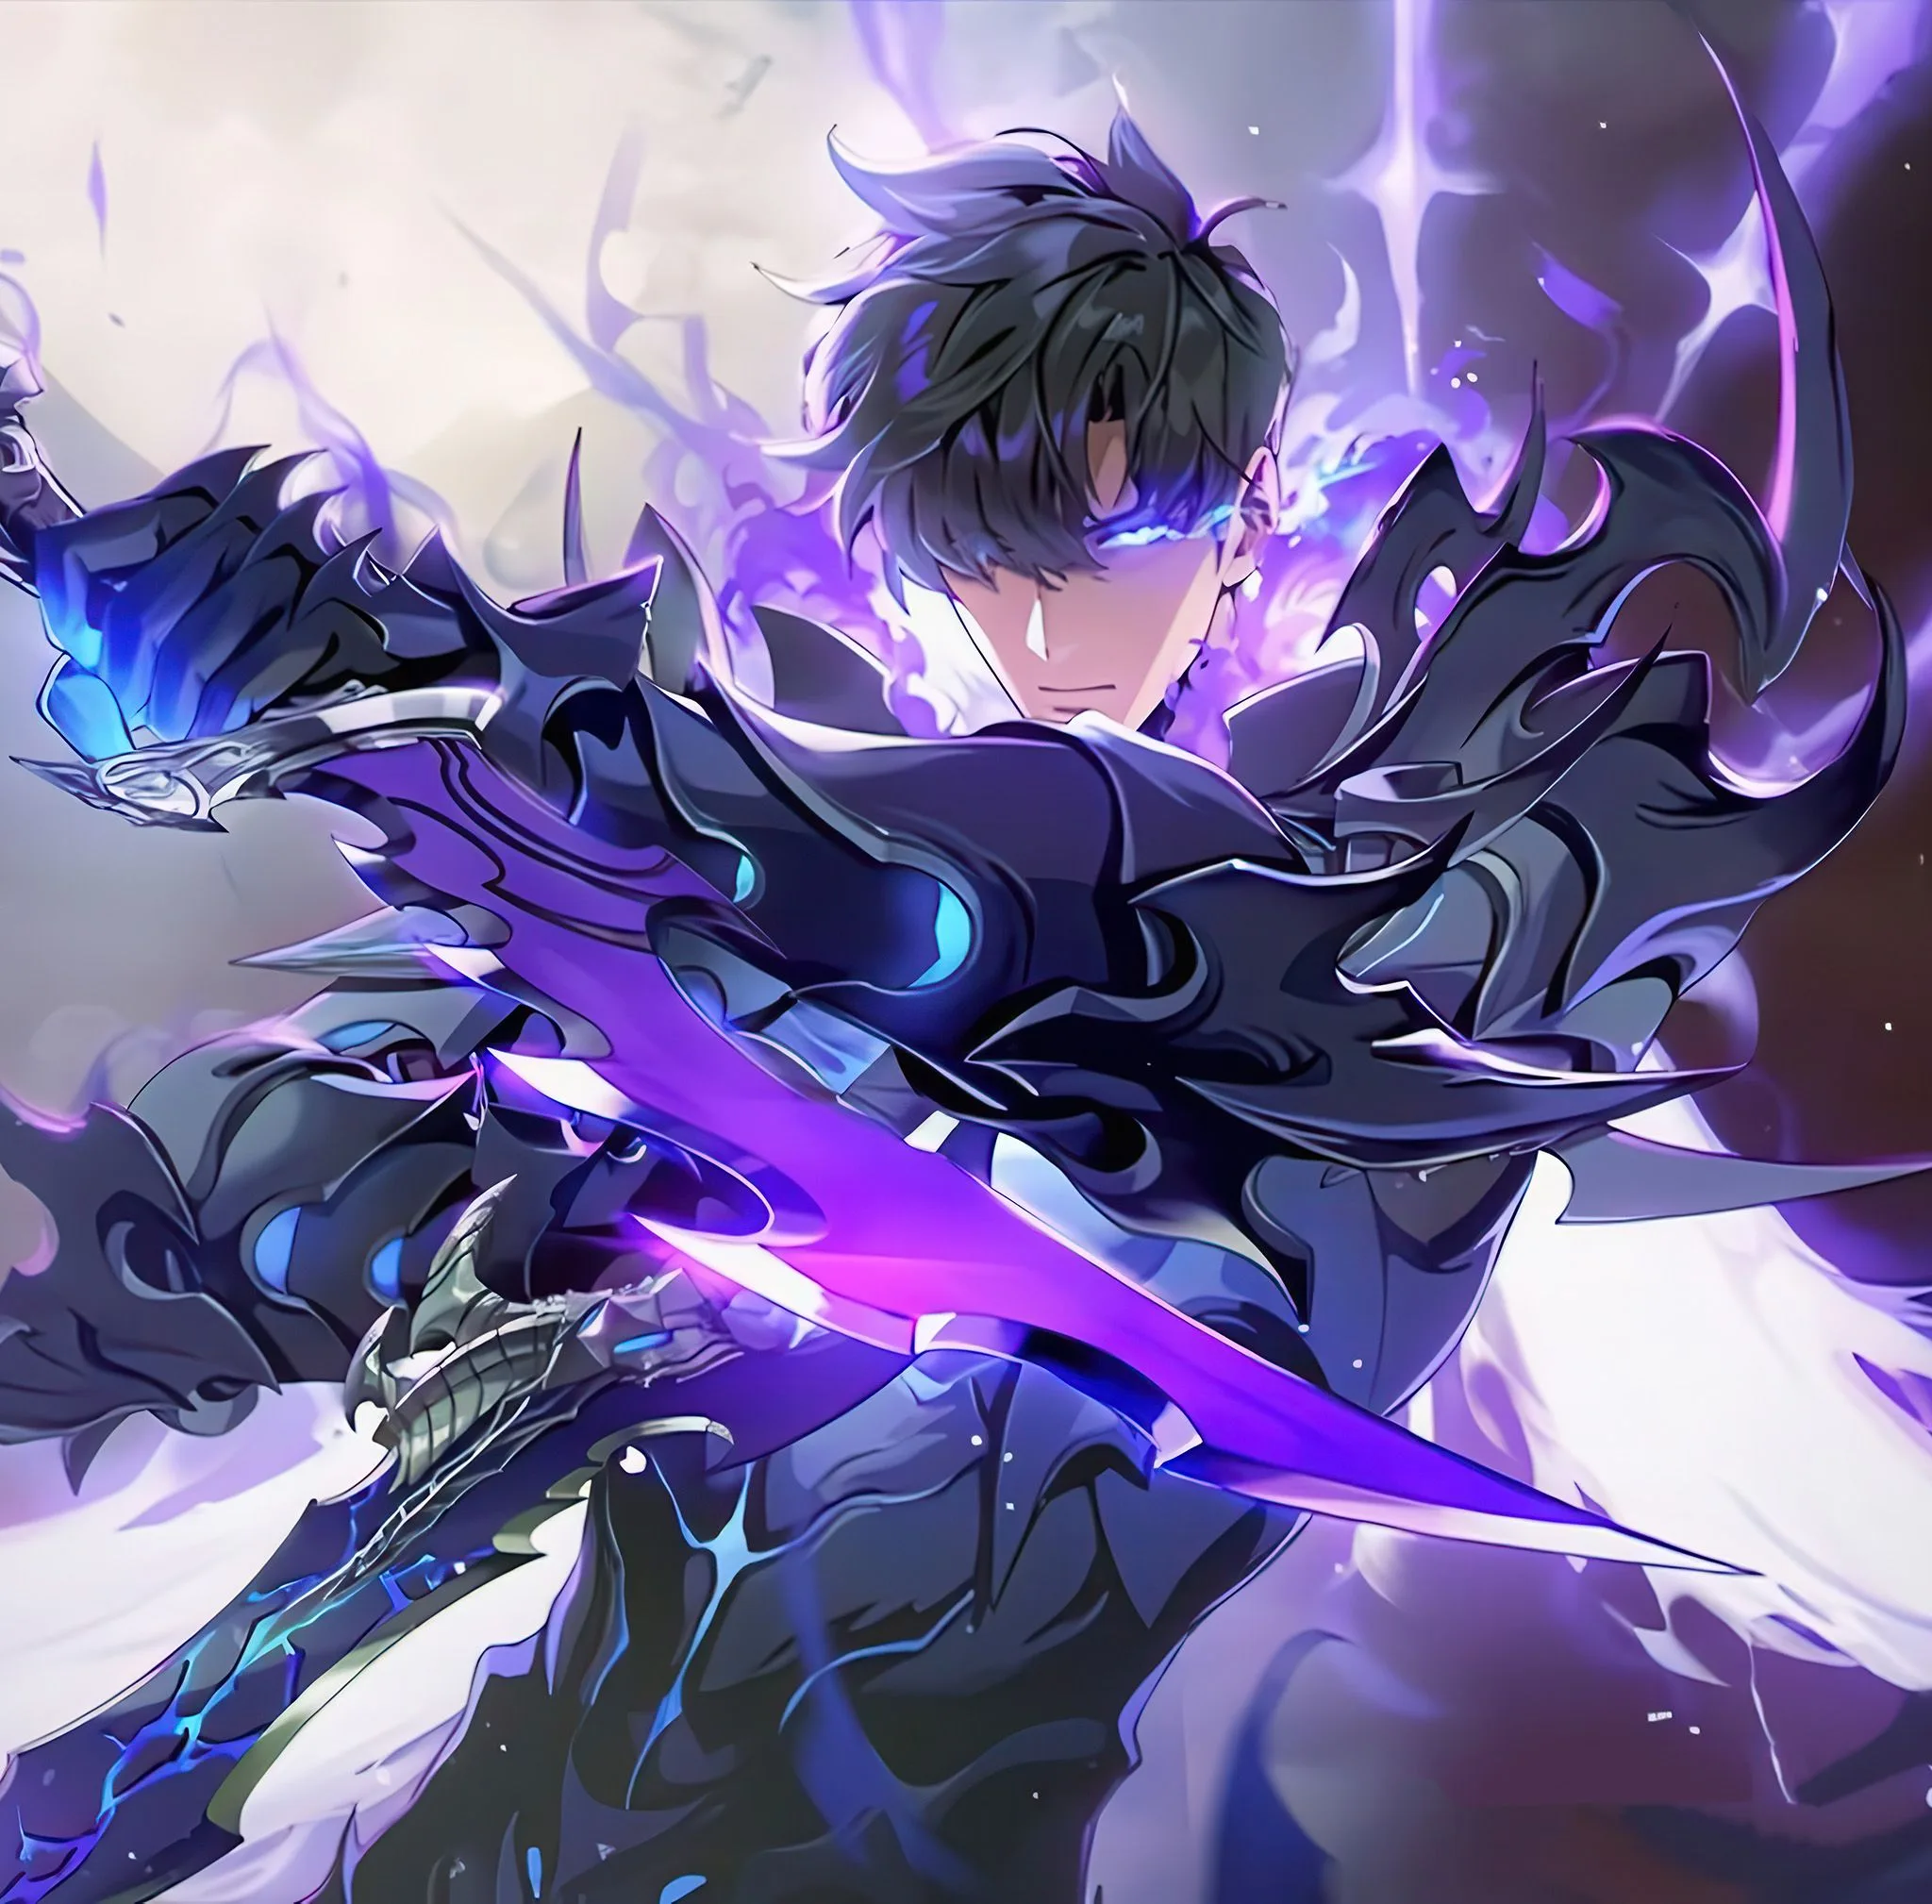
Solo Leveling's endgame look: the full Shadow Monarch armor set in deep purple-black with glowing accents, massive pauldrons, and the iconic pair of daggers. This is a serious foam armor build with optional LED integration and prop weapon construction. Seven components, 16 materials, ~8 weeks. Budget runs $200-500 depending on LED choices and whether you 3D-print or foam-build the daggers.
8 weeks
22
16
7
See the whole look before you start.
References, materials, budget, and build order for Sung Jinwoo (Shadow Monarch).
Timeline
8 weeks
Color refs
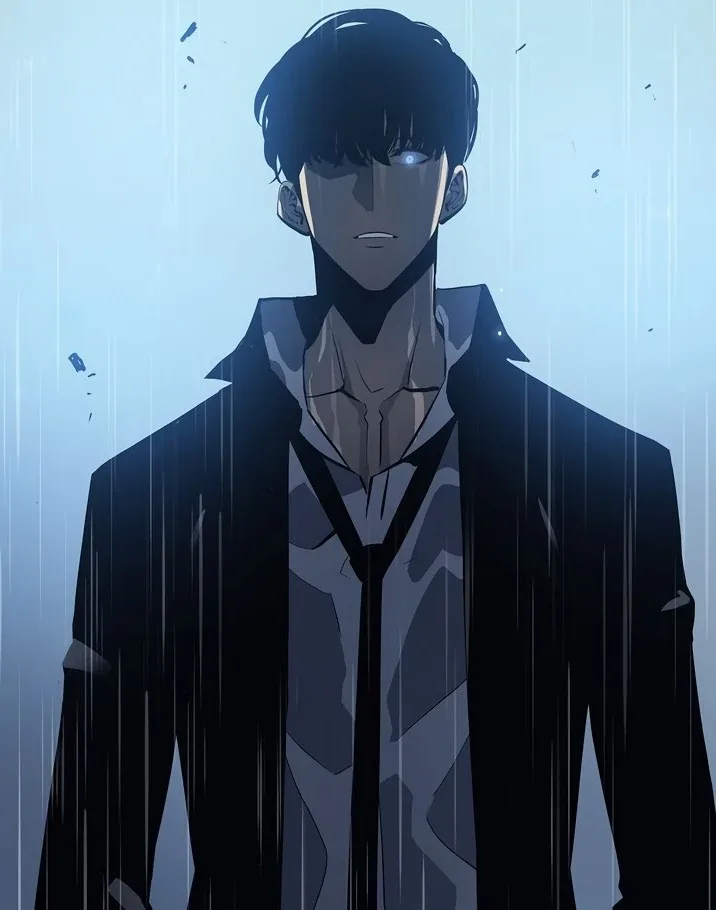
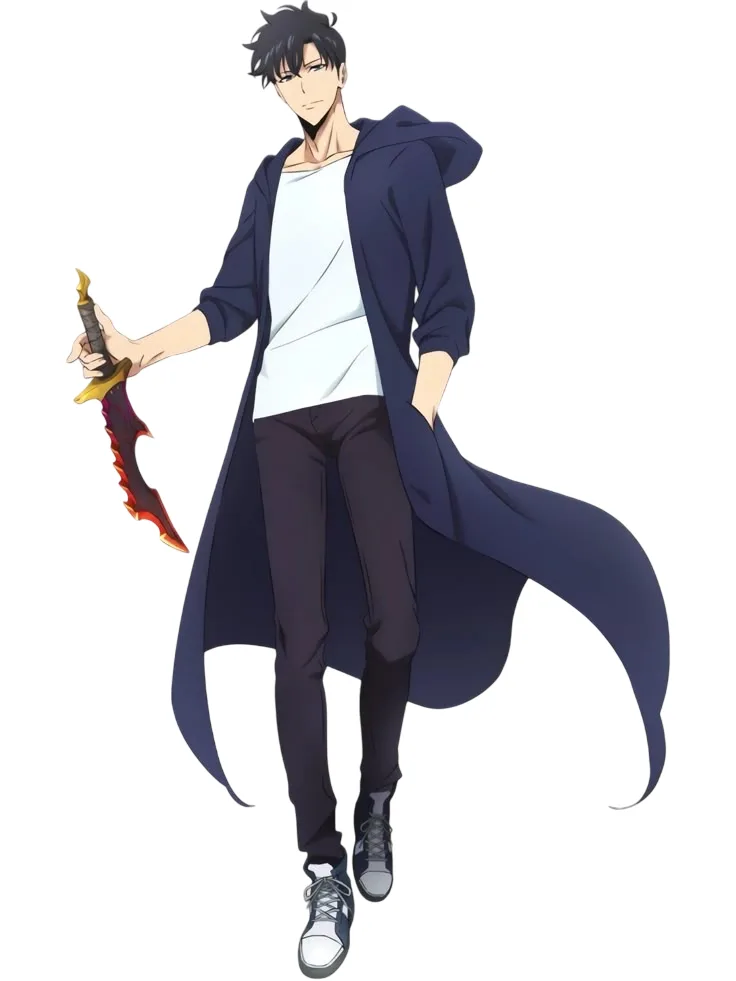
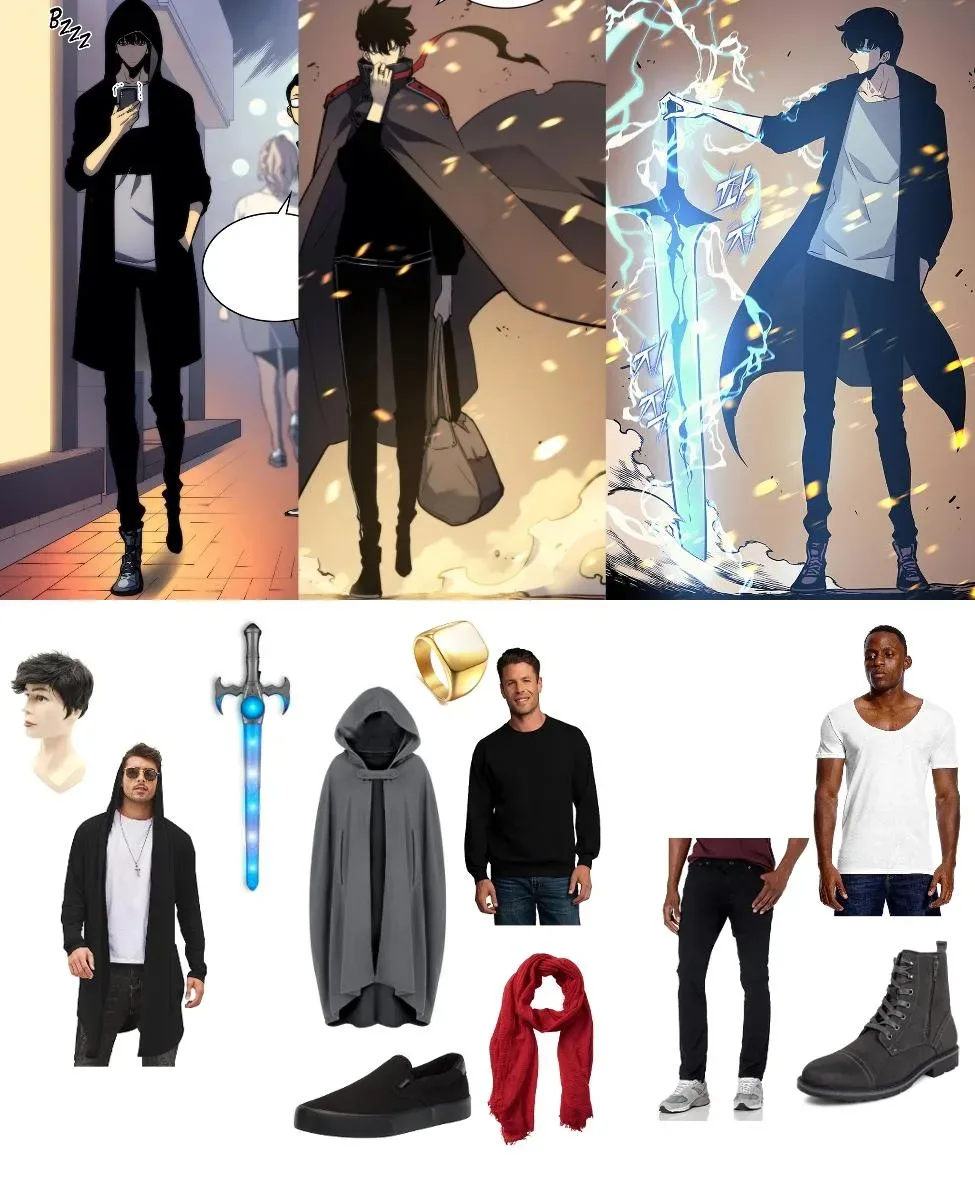
Materials
16 items
Budget
$200 - $500
save the visual refs
Full reference board
The preview above is curated for scanning. This is the working board you clone into your own build, with notes, colors, product images, and extra references intact.
Images are sourced from around the internet to help you get started. Use the web clipper to build your own reference library.
Reference images are gathered from around the web and belong to their original creators. We link back to where we found each one. If something here is yours and you want it taken down, email us and it is gone.
Build guide
I painted my first Shadow Monarch chest plate pure flat black and it looked like a Halloween knight costume from Party City. The purple is not optional. It is the entire build.
The Shadow Monarch armor in the anime reads dark until light catches it, then you see deep violet-purple underneath. That shift is what makes it feel supernatural instead of just dark. The paint system is: Flexbond sealer on your foam, Plasti-Dip Blaze Purple base coat, then thin passes of black gloss until the purple barely shows through at angles. I've seen builders skip the purple base and I've seen them strip and redo their armor two weeks before the con. Don't be those builders.
Test the system on a scrap piece of 10mm EVA. Every time. The paint absorbs differently depending on how many Flexbond coats you laid down, and you will not be able to fix this problem on the chest plate the night before the con.
The pauldrons are the second thing that will hurt you. Screen-accurate pauldrons on this build are massive, roughly twice the width of a normal shoulder. They look incredible in photos and block every doorway at an actual convention. Scale them to about 75% and they still read as impossibly large from six feet away, which is how everyone actually sees you. Build a PVC rod skeleton inside each one before closing the foam shell. No skeleton means the foam compresses and warps under its own weight within three hours.
For attachment: 20mm neodymium magnets on a chest harness, not velcro straps at the shoulder edge. Velcro rotates. Magnets hold orientation.
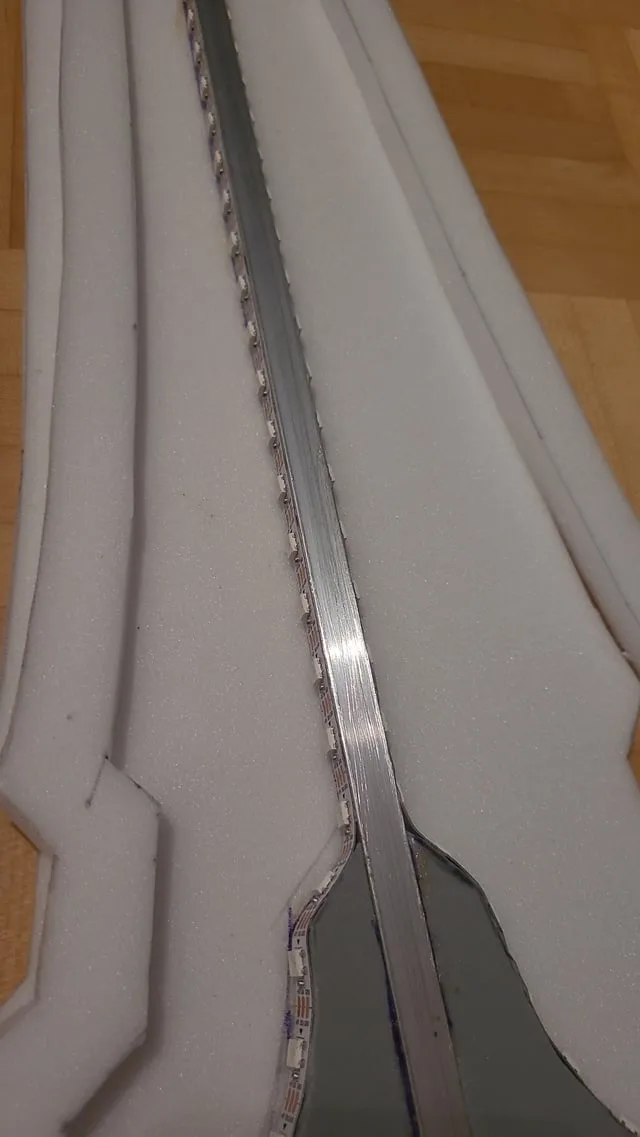
The daggers are where I see the most first-timer mistakes. EVA foam blades without a metal core droop. Full stop. The con floor is warm, the foam softens, and your iconic Monarch's Daggers look like overcooked pasta by 1pm. Get a 6mm aluminum rod from any hardware store, cut it to full blade length on both pieces, and foam-wrap around it. The cross-guard joint is the stress point, reinforce it with a Worbla patch on both faces before you paint anything.
Builders who skip this think they'll be careful. They won't be. Someone will bump into you in Artist Alley.
If you're doing LEDs in the crown and chest accent channels, use LED strip with frosted acrylic diffusers, not EL wire. EL wire fails at the connectors and looks flat. Wire each armor section independently to its own 3V coin cell with a velcro access panel on the back face. One wire loop through multiple pieces is how you lose LEDs mid-photoshoot when the connector catches.
If you're not doing LEDs, UV-reactive purple paint activates under blacklights and reads well in photoshoot environments. Neon Nights brand works on sealed foam. No battery management, no mid-con failures. Genuinely viable alternative.
This is an 8-week build if you're not rushing. 6 weeks is doable. 4 weeks means you're skipping the wear test and the wear test is the part that would have caught the pauldron rotation problem before the con. Your call.
One practical note: plan two versions of the cape. Cut a floor-length one for photoshoots and a knee-length one for walking the floor. Both use the same magnet attachment at the shoulder points. The long one gets stepped on and the short one photographs better than nothing. Sew fishing sinker weights into the hem channels of both so they hang clean instead of catching on the dagger handles.
Components
Chest and back armor plates
Pauldrons (shoulder armor)
Arm guards and gauntlets
Leg armor (thigh, knee, shin plates)
Crown headpiece
Monarch's Daggers (pair)
Cape
Materials list
16 itemsEstimated total cost
$200 - $500
Milestone timeline
8 weeks- 1
Gather and lock reference images for Shadow Monarch armor version
Research
- 2
Order EVA foam sheets, Worbla samples, and aluminum rod cores
Materials
- 3
Test purple-black paint system on a scrap piece before committing
Materials
- 4
Draft chest and back plate patterns from your body measurements
Patterning
- 5
Cut and heat-shape chest plate with heat gun, test fit over base layer
Construction
- 6
Add detail carving and beveled edge work to chest plate
Construction
- 7
Scale pauldron size to 75-80% of screen reference for con wearability
Patterning
- 8
Build internal PVC skeleton before closing the foam shell
Construction
- 9
Install magnet attachment system to connect to chest harness
Construction
- 10
Pattern arm guards from wrist to elbow with bend room at the elbow joint
Construction
- 11
Build segmented leg armor in three pieces: thigh, knee cap, shin
Construction
- 12
Cut aluminum rod cores to full blade length (tip to pommel)
Construction
- 13
Wrap foam around cores, shape blade taper with heat gun
Construction
- 14
Reinforce cross-guard with Worbla patch on both sides
Construction
- 15
Draft crown base pattern to fit your exact head circumference
Construction
- 16
Build and insert wire armature into each spike before closing
Construction
- 17
Seal with Flexbond (2-3 coats), sand lightly between coats
Finishing
- 18
Paint: purple base spray, black gloss topcoat in thin passes
Finishing
- 19
Optional: install LED light bars in crown and chest accent channels
Details
- 20
Cut and attach cape with magnet shoulder closures
Finishing
- 21
Full suit wear test: walk, sit, raise arms, check all attachment points
Wear test
- 22
Pack for transport with padding for dagger cores and crown spikes
Packing
Frequently
asked questions.
Related tools and guides
Plan your build, estimate costs, and get ready.
Budget Calculator
Estimate your build cost before you start buying materials.
Convention Checklist
88-item packing checklist. Check off items as you pack.
Prop Scaling Calculator
Scale reference images to your body measurements.
How Much Does EVA Foam Armor Cost?
Real build budgets with specific products and dollar amounts.
Cosplay Commission Cost Breakdown
Real build budgets with specific products and dollar amounts.
Cosplay on Costumary
Templates, tools, and workspace built for cosplay makers.
Browse all templates
Explore build plans across 10 craft verticals.
Debut your cosplay build
Upcoming conventions where you could wear this. Dates, checklists, and budget tools included.
Start this build free
Clone this template into your workspace. Track materials, milestones, budget, and build progress in one place.
More from this series
Sung Jinwoo Cosplay
7 weeks · 15 milestones
Solo Leveling's Shadow Monarch in his iconic default hunter outfit: a long black coat with purple inner lining, structured shoulder armor, fitted pants, and dual daggers. This is an intermediate hybrid build that combines garment sewing with foam armor crafting for the shoulder details, plus prop work for the daggers. The coat and its glowing purple lining are the make-or-break detail. Includes 7 components, 19 materials with cost estimates, a 15-step build plan, and a realistic 5-7 week, $120 to $320 budget.
Igris Cosplay
9 weeks · 14 milestones
Sung Jinwoo's elite shadow knight: jet-black full plate armor with a purple glow edge, the iconic red hair-like plume from the helmet, a tattered black cape, and a longsword. This is a full-armor advanced build combining EVA foam or 3D printing with LED lighting effects and a fully enclosed helmet with visibility modifications. The helmet visibility solution is the make-or-break detail. Includes 8 components, 17 materials with cost estimates, a 14-step build plan, and a realistic 8-10 week, $200 to $520 budget.
Cha Hae-in Cosplay
5 weeks · 14 milestones
Solo Leveling's top S-rank female hunter in her signature white fitted uniform with gold-trimmed shoulder and chest armor, knee-high boots, and her 48-inch longsword. This is an intermediate hybrid build combining a stretch-knit bodysuit with EVA foam armor pieces and a sword prop. The armor-to-bodysuit attachment is the make-or-break detail. Includes 7 components, 14 materials with cost estimates, a 12-step build plan, and a realistic 4-6 week, $110 to $280 budget.
Qifrey Cosplay
5 weeks · 12 milestones
Qifrey's elegant white-robed silhouette is built around three signature elements: the tall pointed hat with the bent tip and black ribbon, the flowing white cape with the brass brooch closure, and the asymmetrical pince-nez glasses with one dark lens hiding his scarred eye. This is an intermediate build that needs more structural crafting than sewing. The hat and glasses demand the most attention, while the cape is a manageable garment project. The glasses and the hat are the make-or-break details, and this template walks you through both. Includes 7 components, 15 materials with cost estimates, a 12-step build plan, and a realistic 5-week, $95 to $280 budget.
Coco Cosplay
6 weeks · 12 milestones
Witch Hat Atelier's apprentice witch in her full outfit: the tall pointed hat with ornamental band, a dark cloak with decorative hem trim, a layered tunic-dress, boots, and her drawing implements. The hat is the signature piece and the hardest to get right. 7 components, 13 materials, ~6 weeks at $120-280.
Gojo Satoru Cosplay
5 weeks · 11 milestones
Jujutsu Kaisen's strongest sorcerer, built around three signature details: the black high-collar uniform jacket, the blindfold, and the white spiked hair. This is an intermediate build that leans on one well-made garment plus wig styling, so it reads instantly on the con floor without months of work. The collar and the wig are the make-or-break details, and this template walks you through both. Includes 6 components, 11 materials with cost estimates, an 11-step build plan, and a realistic 5-week, $90 to $240 budget.
Arlecchino Cosplay
7 weeks · 17 milestones
Arlecchino (The Knave) is Genshin Impact's most cosplay-demanding Fatui Harbinger: a layered suit jacket, structured long coat with back chains, multi-color ombre wig, character-specific X-pupil contacts, and a full accessories set that runs 12+ pieces. This is an advanced build for cosplayers who can sew structured garments, handle prop accessories, and plan a full character makeup look. The make-or-break details are the coat's lapel structure and the wig's silver-black-red color work. Includes 8 components, 14 materials with cost estimates, a 12-step build plan, and a realistic 7-week, $180 to $420 budget.
Doctor Doom Cosplay
7 weeks · 15 milestones
Marvel's greatest villain in his iconic green cloak and metal mask: a full armor build with a custom EVA foam mask, sculpted chest and shoulder plates, structured green hood, and gold gauntlets. This is an advanced project spanning foam shaping, armor attachment systems, and precision painting. 6 components, 14 materials, ~7 weeks, $180-420 budget.