Monkey D. Luffy Cosplay
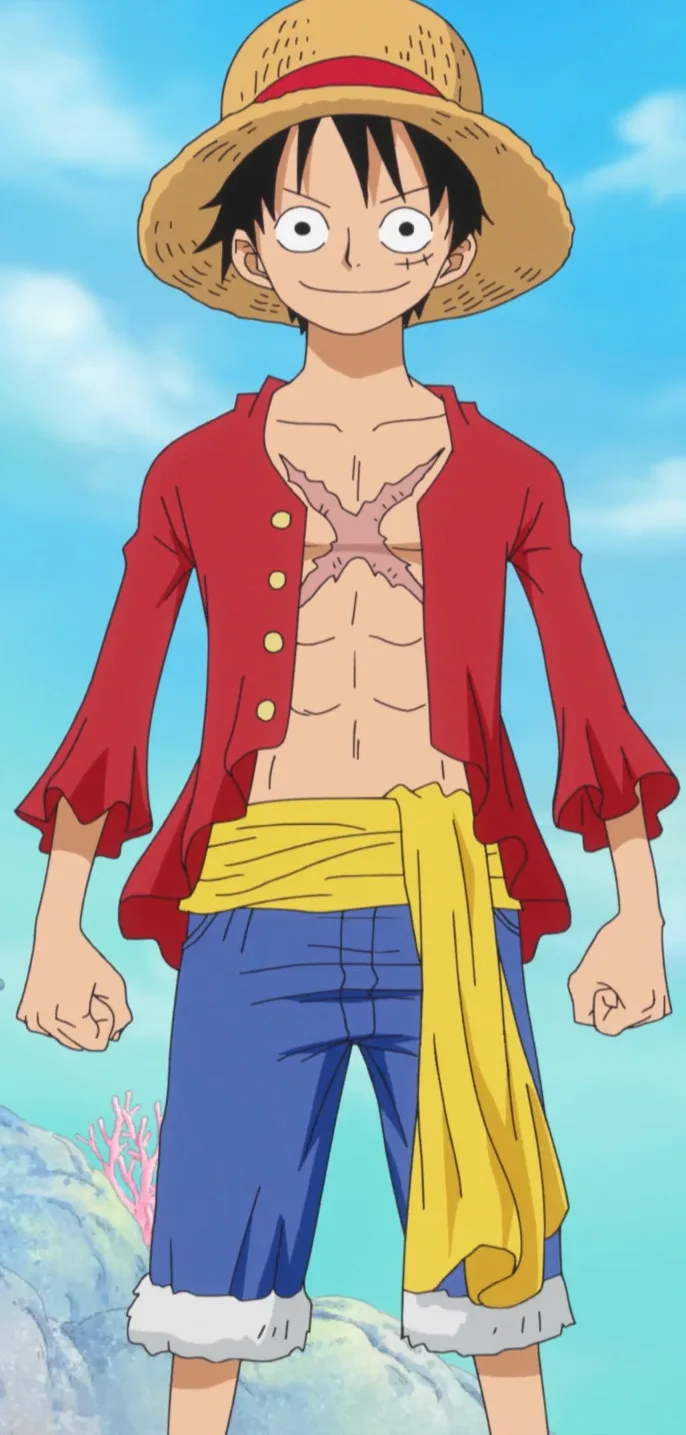
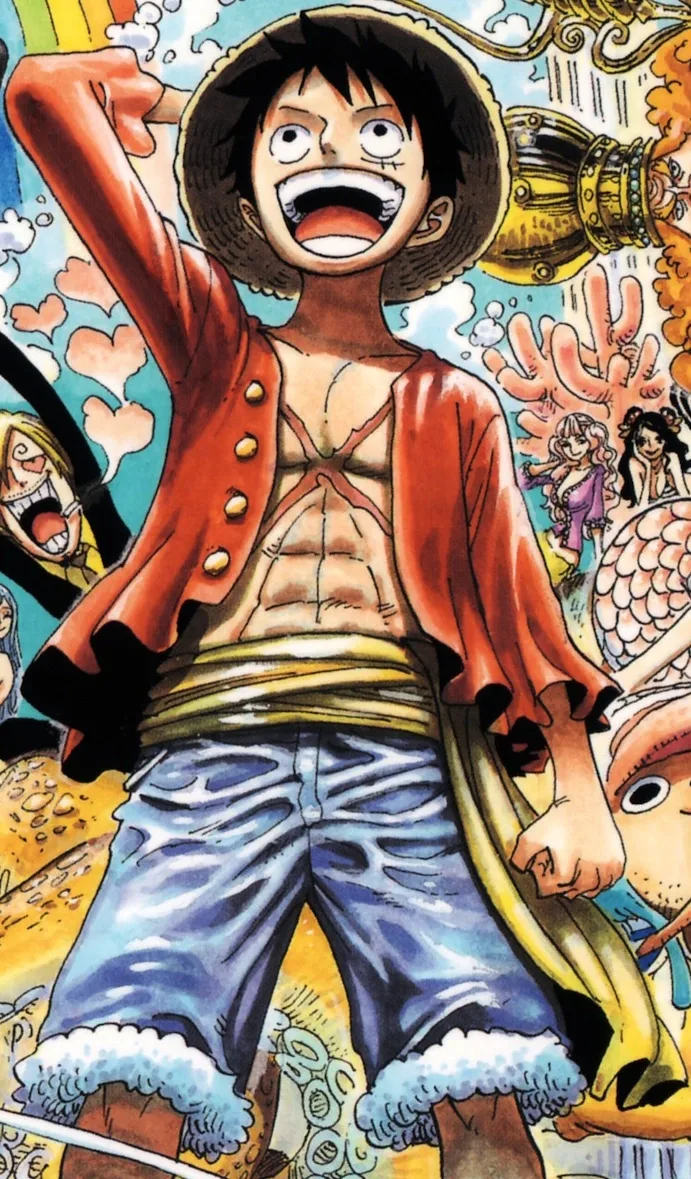
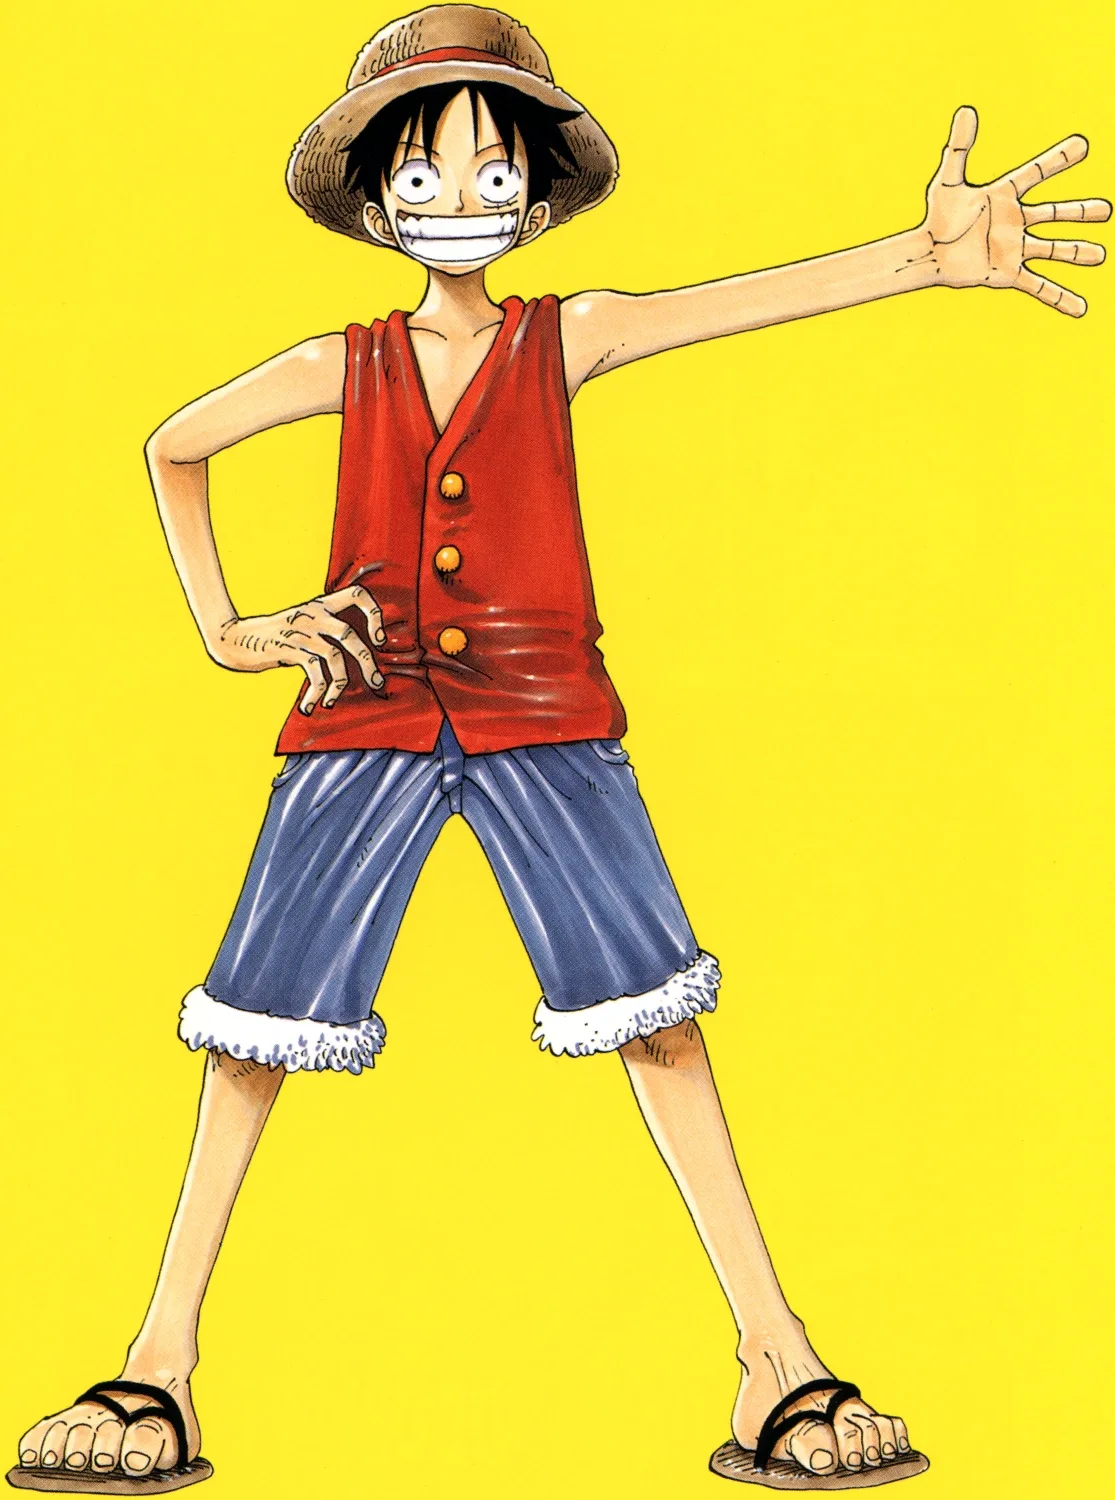
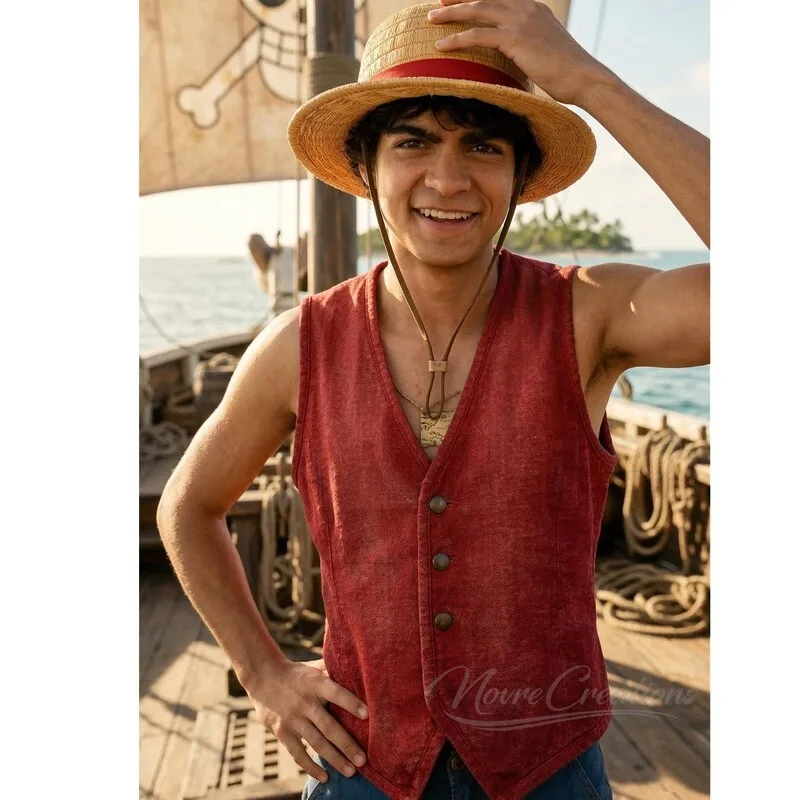
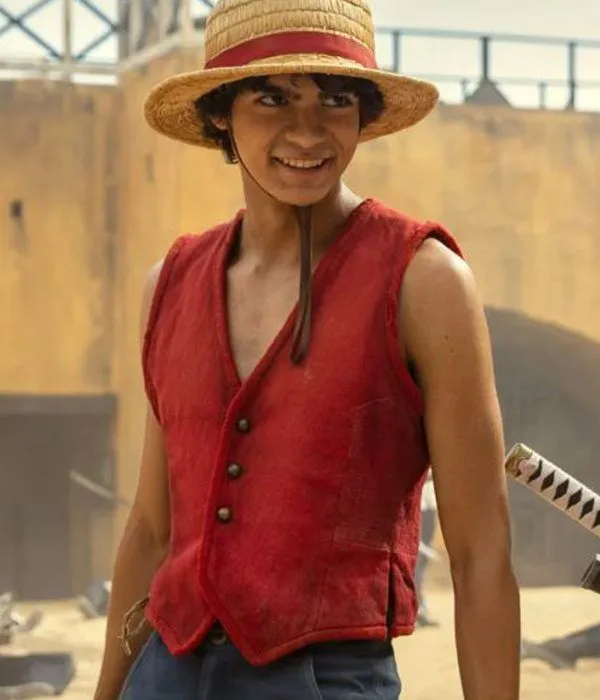
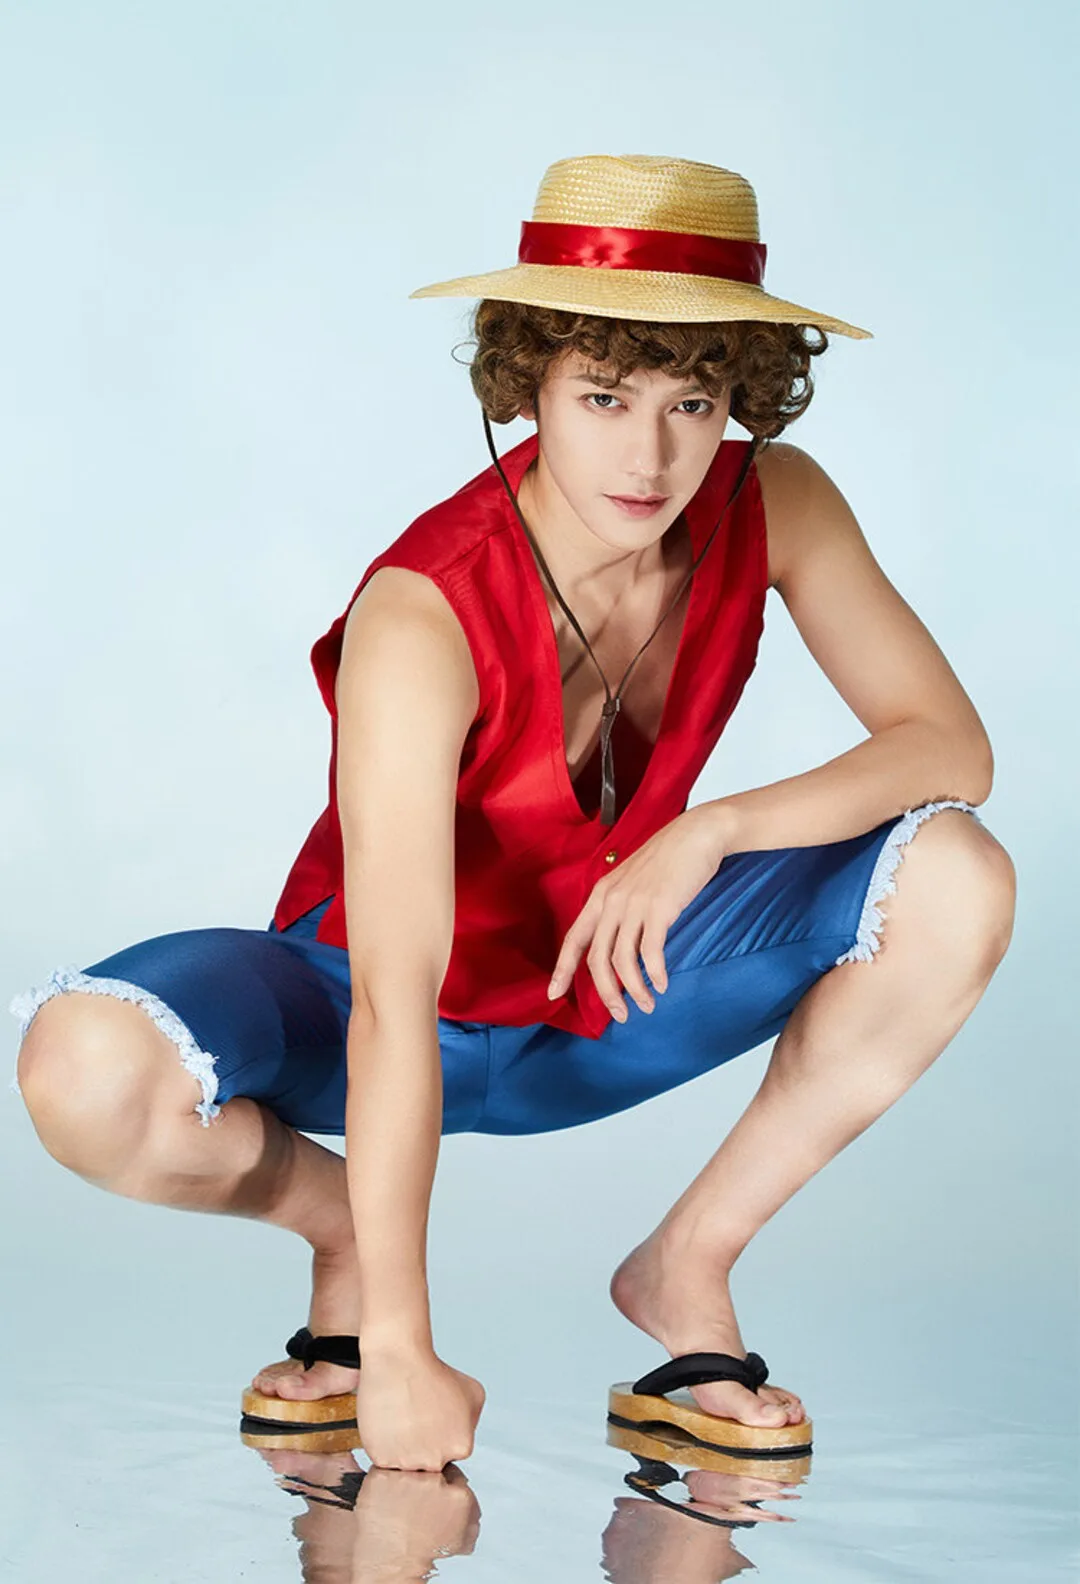
Straw Hat Luffy's classic look, the same silhouette Netflix's live action uses: a straw hat with a red band, a sleeveless red vest with three gold buttons, rolled denim cutoffs, sandals, and the scar under his left eye. Everything except the hat is a beginner sew or a thrift mod. The hat decides whether this reads as Luffy or as a beach day, so it gets the most steps. 6 components, 14 materials, about 3 weeks, $55 to $170.
3 weeks
13
14
6
See the whole look before you start.
References, materials, budget, and build order for Monkey D. Luffy.
Timeline
3 weeks
Color refs
Materials
14 items
Budget
$55 - $170
save the visual refs
Full reference board
The preview above is curated for scanning. This is the working board you clone into your own build, with notes, colors, product images, and extra references intact.
Images are sourced from around the internet to help you get started. Use the web clipper to build your own reference library.
Reference images are gathered from around the web and belong to their original creators. We link back to where we found each one. If something here is yours and you want it taken down, email us and it is gone.
Build guide
Most Luffy costumes fail at the hat, and it isn't close. The vest is a rectangle with armholes. The shorts are jeans you cut with scissors. The hat is the one piece where a stranger across the con floor decides whether you're Straw Hat Luffy or a guy who wandered in from the beach.
The replica hats are the problem. They're plastic raffia dyed a yellow somewhere near a highlighter, they ship folded flat in a polybag, and the adult size fits a 22 inch head on a good day. I measure 23.5 inches over my hair. My first replica sat on top of my skull like a bottle cap and blew off twice on the walk from the parking garage at Anime Expo.
What works is a plain natural straw sun hat, about $22, bought to your measured head size. Real straw takes steam. Hold the crown over a pot of boiling water until it goes soft, push it down over a mixing bowl so it rounds into a dome, and leave it there until it's cold. Luffy's crown is a dome: no pinch, no flat boater top, no fedora dent. Then press the brim flat under a stack of books overnight, because most sun hats have a slight droop that reads as gardening instead of piracy.
Zigzag millinery wire around the brim edge next. It's $8, and it's the difference between a brim that holds flat in wind and one that flaps every time you turn your head. The band is a 1.5 inch strip of red cotton or grosgrain at the base of the crown. I matched mine to the vest, roughly #C0222E. Satin ribbon goes plasticky under camera flash, so skip it. If the straw still looks too yellow next to your reference (#D9B45A is a fair target), wipe on walnut stain thinned way down and let it dry overnight before you judge it. Add a cotton cord chin string last. It lets the hat hang on your back between photos, which is the most Luffy pose there is anyway.
That's one weekend, and it's half the reason anyone will recognize you.
I sewed the vest from McCall's M4952, the pirate costume pattern, using only the vest piece because it's already loose and open in front. I added a 1.25 inch button extension, cut a shallow V that ends at the top button, and lengthened the hem until it met the shorts waistband. Three 3/4 inch gold shank buttons, interfaced facings behind them so the drill doesn't pucker. If you want the tighter live-action look, M8133 view D is the better base. Use cotton drill, 1.5 yards. I tried red jersey first because it was already in my stash, and it hung off me like a pajama top. Wasted evening.
Shorts take about an hour. Thrift a pair of light-wash jeans for around $10, cut them two inches longer than the finished length, scrub the edge with a wire brush, dab bleach on the frayed part, roll it once, and tack it at the side seams so it stays put when you walk.
The scar goes under his left eye, with two stitch marks. I've watched people paint it on the wrong side because they copied a flipped fan render.
Budget lands between $55 and $170, and three weeks covers it if you sew the vest. If your deadline is Friday, buy a red button-up, cut off the sleeves, swap in gold buttons, and spend every remaining hour on the hat. That's the version I'd hand a first-timer anyway.
Components
Straw hat with red band
Red sleeveless vest
Rolled denim cutoff shorts
Sandals
Shaggy black wig
Scar under the left eye
Pattern Plan
Real sewing patterns for each piece of the Monkey D. Luffy costume: the commercial base to start from, a free alternative where one exists, and the exact modifications that turn the base into the character-accurate piece.
Red sleeveless vest
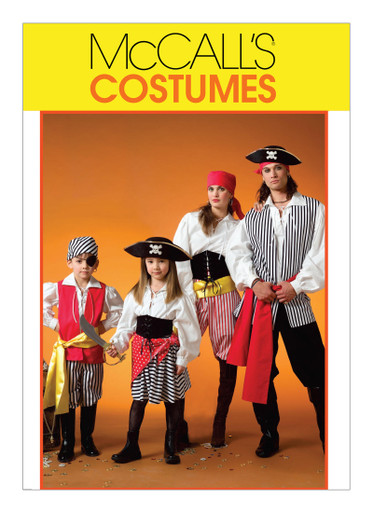
Modifications for red sleeveless vest: Use only the vest piece. It's loose and open-front like Luffy's, but it has no closure, so add a 1.25in button extension to each center front and a 2.5in interfaced facing. Cut the front neckline down into a shallow V that ends at the top button. Lengthen the hem 2 to 3in so it reaches the top of the shorts, and cut it straight across. Set three 3/4in gold buttons about 3.5in apart.
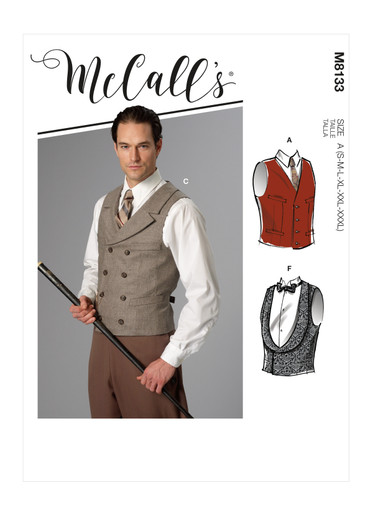
Modifications for red sleeveless vest: Better for a tailored live-action style vest. View D already has three 3/4in buttons. Size up one size so it hangs instead of hugging, skip the welt pockets, and redraw the pointed front hem straight and 2in longer. Cut any back pieces the envelope assigns to lining fabric from red drill as well, so the back reads red when the vest flaps open.
Modifications for red sleeveless vest: Generate it with 2 to 3in extra ease at chest and waist so it's boxy, choose the straight hem option, drop the front darts and welt pockets, and lengthen the front 2in. Wahid is drafted as a fitted waistcoat, so the ease change is what makes it look like Luffy's.
No commercial pattern sells a Luffy vest as such. The read comes from the loose fit, the straight hem at the shorts waistband, and three gold buttons, not from fine tailoring. If you'd rather not sew, cut the sleeves off an oversized red button-up and swap the buttons.
Materials list
14 itemsEstimated total cost
$55 - $170
Milestone timeline
3 weeks- 1
Pick your Luffy (classic anime or live action) and pull references
Research
- 2
Measure your head over your hair and buy the hat base
Materials
- 3
Source the vest pattern, red drill, and gold buttons
Materials
- 4
Steam the crown into a dome and press the brim flat
Construction
- 5
Wire the brim edge and sew on the red band
Details
- 6
Mock up the vest and check the hem hits the shorts waistband
Patterning
- 7
Sew the vest with interfaced facings and set three gold buttons
Construction
- 8
Cut the jeans just above the knee and fray the edge
Construction
- 9
Bleach, roll, and tack the shorts cuffs
Details
- 10
Add the chin string so the hat hangs on your back
Finishing
- 11
Cut and texture the wig into Luffy's shaggy shape
Finishing
- 12
Practice the scar under your left eye
Finishing
- 13
Full wear test in the sandals, hat on and off
Wear test
Frequently
asked questions.
Related tools and guides
Plan your build, estimate costs, and get ready.
Budget Calculator
Estimate your build cost before you start buying materials.
Convention Checklist
88-item packing checklist. Check off items as you pack.
Prop Scaling Calculator
Scale reference images to your body measurements.
How Much Does EVA Foam Armor Cost?
Real build budgets with specific products and dollar amounts.
Cosplay Commission Cost Breakdown
Real build budgets with specific products and dollar amounts.
Cosplay on Costumary
Templates, tools, and workspace built for cosplay makers.
Browse all templates
Explore build plans across 10 craft verticals.
Debut your cosplay build
Upcoming conventions where you could wear this. Dates, checklists, and budget tools included.
Start this build free
Clone this template into your workspace. Track materials, milestones, budget, and build progress in one place.
More from this series
Qifrey Cosplay
5 weeks · 12 milestones
Qifrey's elegant white-robed silhouette is built around three signature elements: the tall pointed hat with the bent tip and black ribbon, the flowing white cape with the brass brooch closure, and the asymmetrical pince-nez glasses with one dark lens hiding his scarred eye. This is an intermediate build that needs more structural crafting than sewing. The hat and glasses demand the most attention, while the cape is a manageable garment project. The glasses and the hat are the make-or-break details, and this template walks you through both. Includes 7 components, 15 materials with cost estimates, a 12-step build plan, and a realistic 5-week, $95 to $280 budget.
Coco Cosplay
6 weeks · 12 milestones
Witch Hat Atelier's apprentice witch in her full outfit: the tall pointed hat with ornamental band, a dark cloak with decorative hem trim, a layered tunic-dress, boots, and her drawing implements. The hat is the signature piece and the hardest to get right. 7 components, 13 materials, ~6 weeks at $120-280.
Sung Jinwoo Cosplay
7 weeks · 15 milestones
Solo Leveling's Shadow Monarch in his iconic default hunter outfit: a long black coat with purple inner lining, structured shoulder armor, fitted pants, and dual daggers. This is an intermediate hybrid build that combines garment sewing with foam armor crafting for the shoulder details, plus prop work for the daggers. The coat and its glowing purple lining are the make-or-break detail. Includes 7 components, 19 materials with cost estimates, a 15-step build plan, and a realistic 5-7 week, $120 to $320 budget.
Gojo Satoru Cosplay
5 weeks · 11 milestones
Jujutsu Kaisen's strongest sorcerer, built around three signature details: the black high-collar uniform jacket, the blindfold, and the white spiked hair. This is an intermediate build that leans on one well-made garment plus wig styling, so it reads instantly on the con floor without months of work. The collar and the wig are the make-or-break details, and this template walks you through both. Includes 6 components, 11 materials with cost estimates, an 11-step build plan, and a realistic 5-week, $90 to $240 budget.
Deadpool Suit Cosplay
5 weeks · 12 milestones
The Merc with a Mouth in full red and black: a head-to-toe spandex bodysuit with diamond-textured fabric, a face shell mask with white magnetic lenses, dual katanas on a concealed back harness, and a utility belt with pouches and holsters. An intermediate build that rewards patience with fit and details. Covers 7 components, 12 materials with cost estimates, a 12-step build plan across 5 phases, and a 5-week timeline at $120 to $350.
Yuta Okkotsu Cosplay
6 weeks · 12 milestones
Jujutsu Kaisen 0's tragic sorcerer bound to Rika's curse: the black school uniform, textured black wig, cursed arm markings, and luminous katana. A balanced build across uniform tailoring, prop construction, and wig styling. 4 components, 11 materials, ~6 weeks, $120-280.
Arlecchino Cosplay
7 weeks · 17 milestones
Arlecchino (The Knave) is Genshin Impact's most cosplay-demanding Fatui Harbinger: a layered suit jacket, structured long coat with back chains, multi-color ombre wig, character-specific X-pupil contacts, and a full accessories set that runs 12+ pieces. This is an advanced build for cosplayers who can sew structured garments, handle prop accessories, and plan a full character makeup look. The make-or-break details are the coat's lapel structure and the wig's silver-black-red color work. Includes 8 components, 14 materials with cost estimates, a 12-step build plan, and a realistic 7-week, $180 to $420 budget.
Doctor Doom Cosplay
7 weeks · 15 milestones
Marvel's greatest villain in his iconic green cloak and metal mask: a full armor build with a custom EVA foam mask, sculpted chest and shoulder plates, structured green hood, and gold gauntlets. This is an advanced project spanning foam shaping, armor attachment systems, and precision painting. 6 components, 14 materials, ~7 weeks, $180-420 budget.