
Levi Ackerman Cosplay
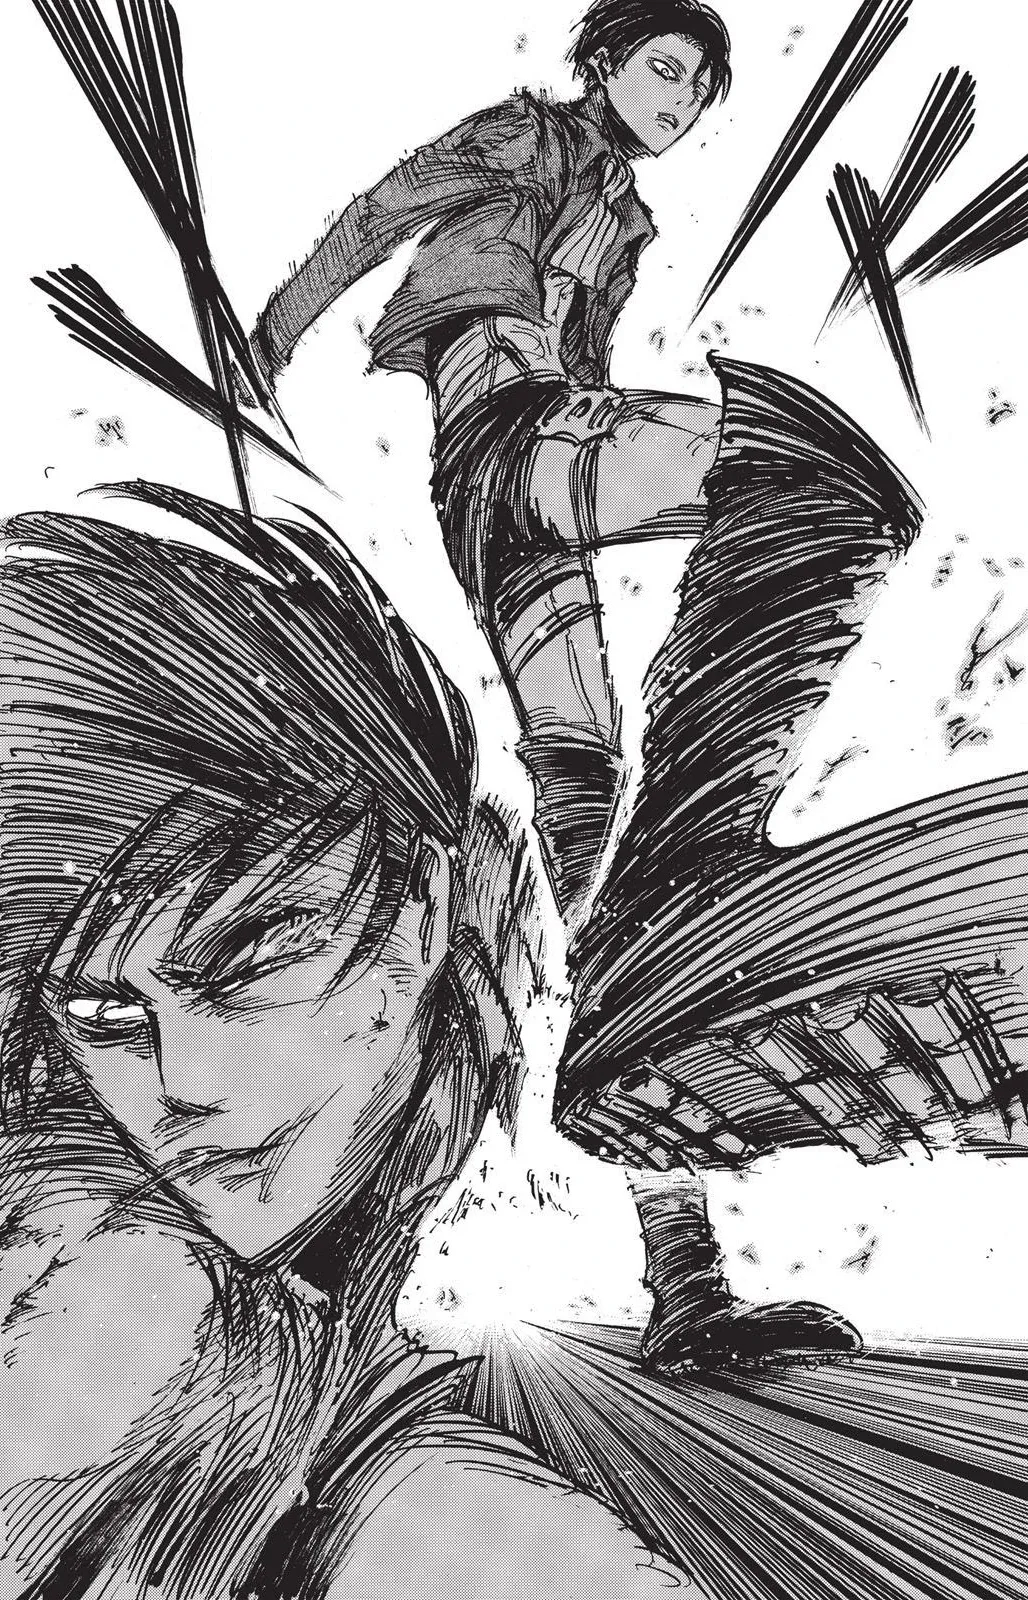
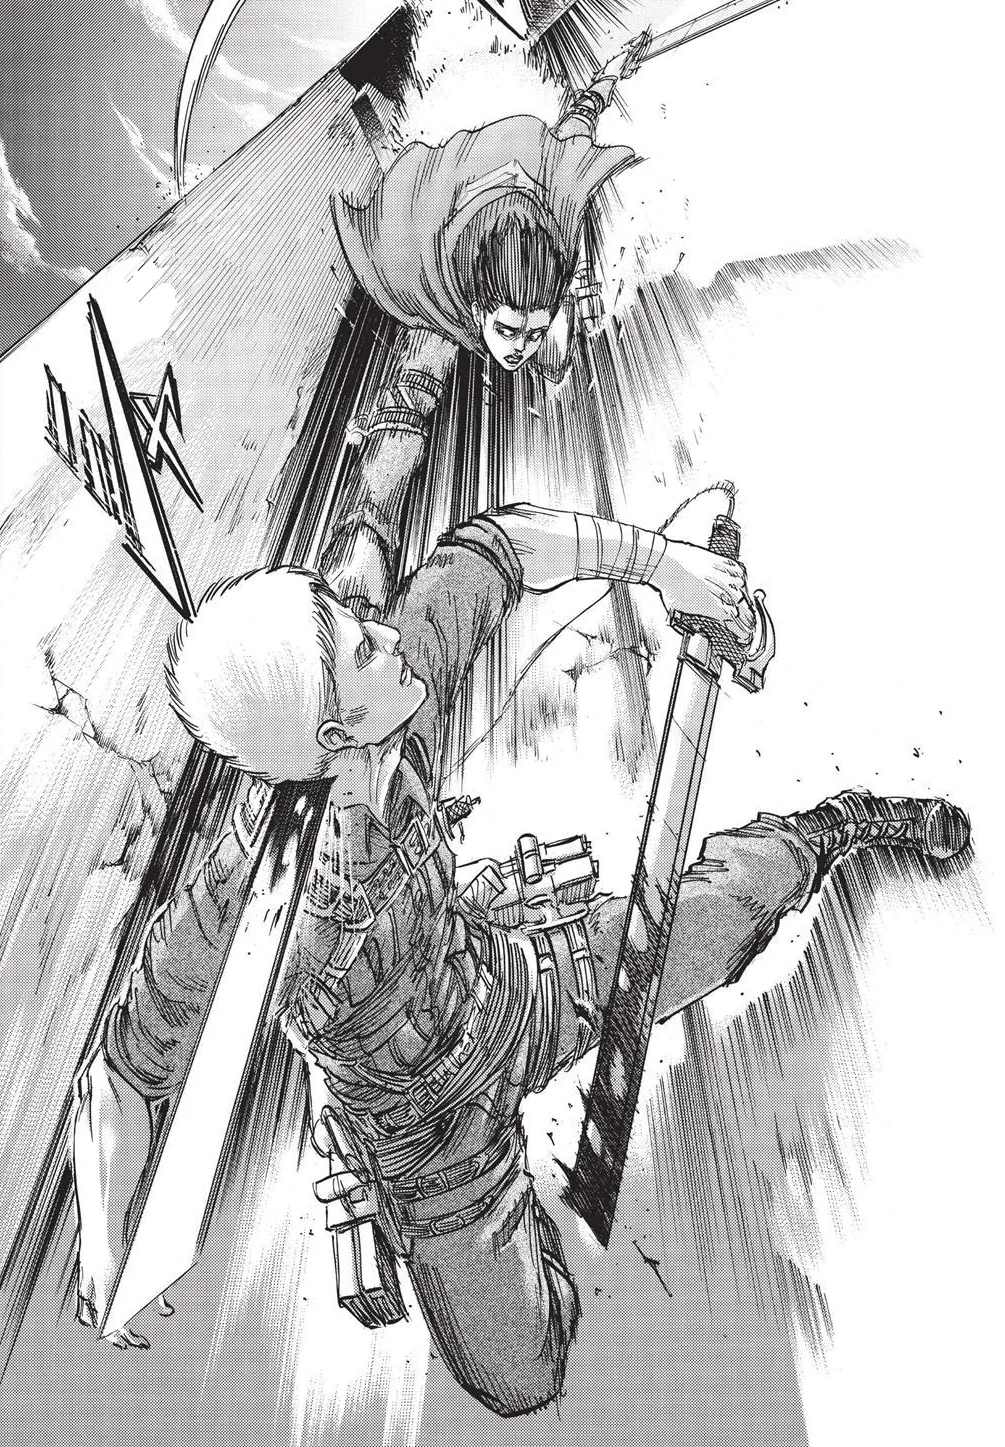
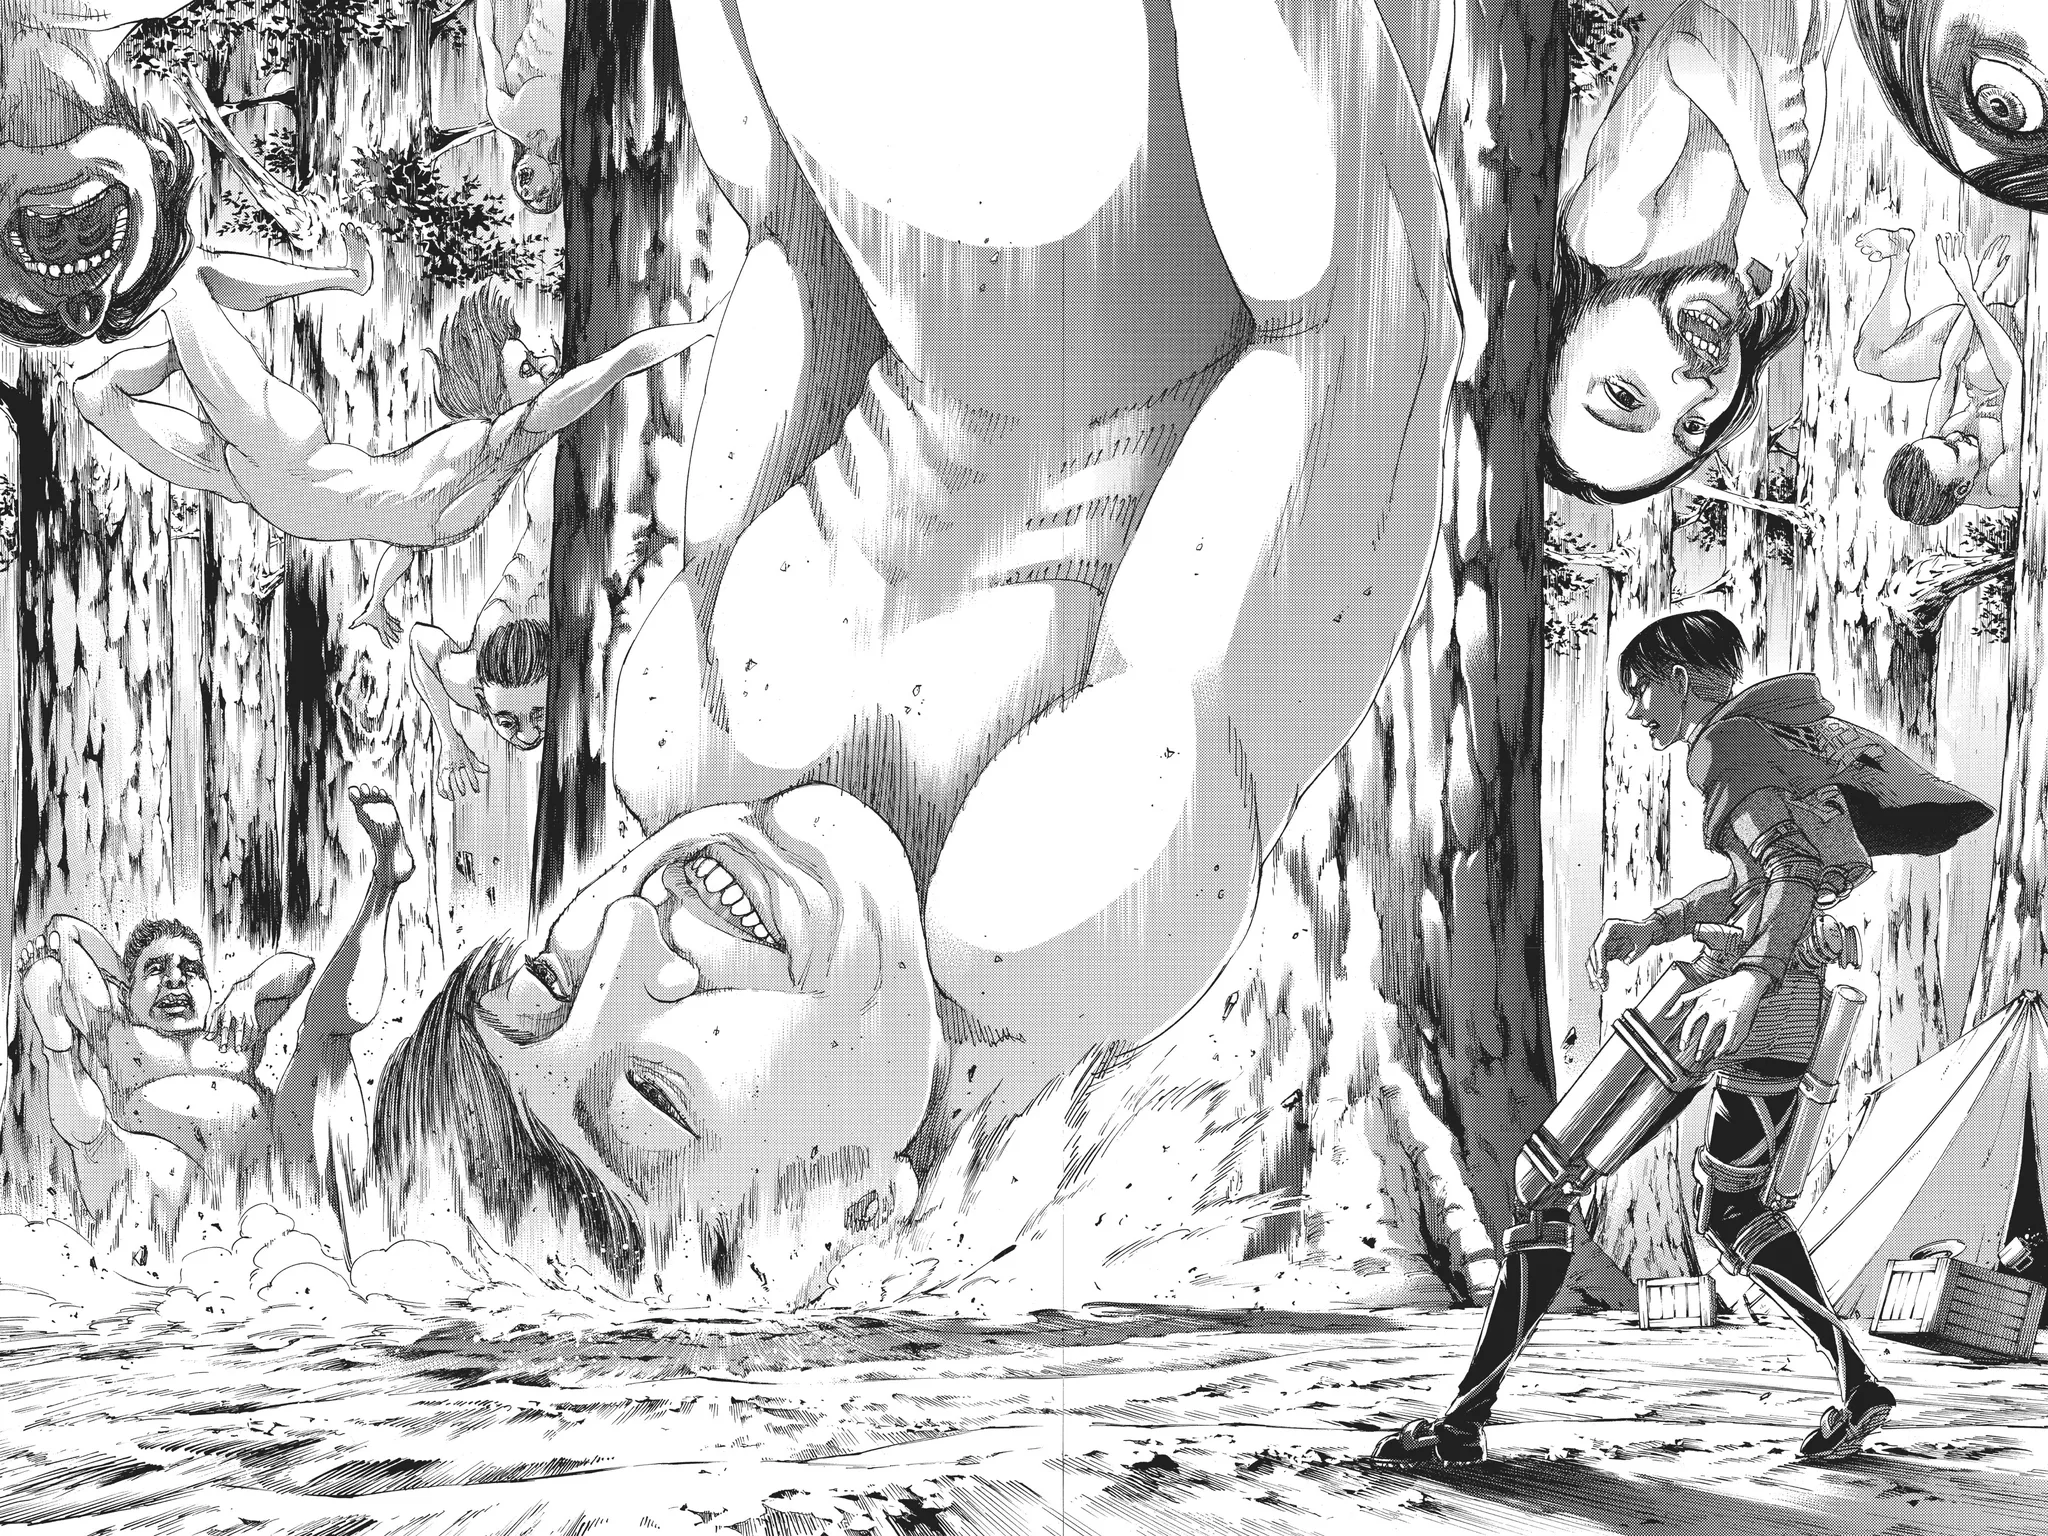
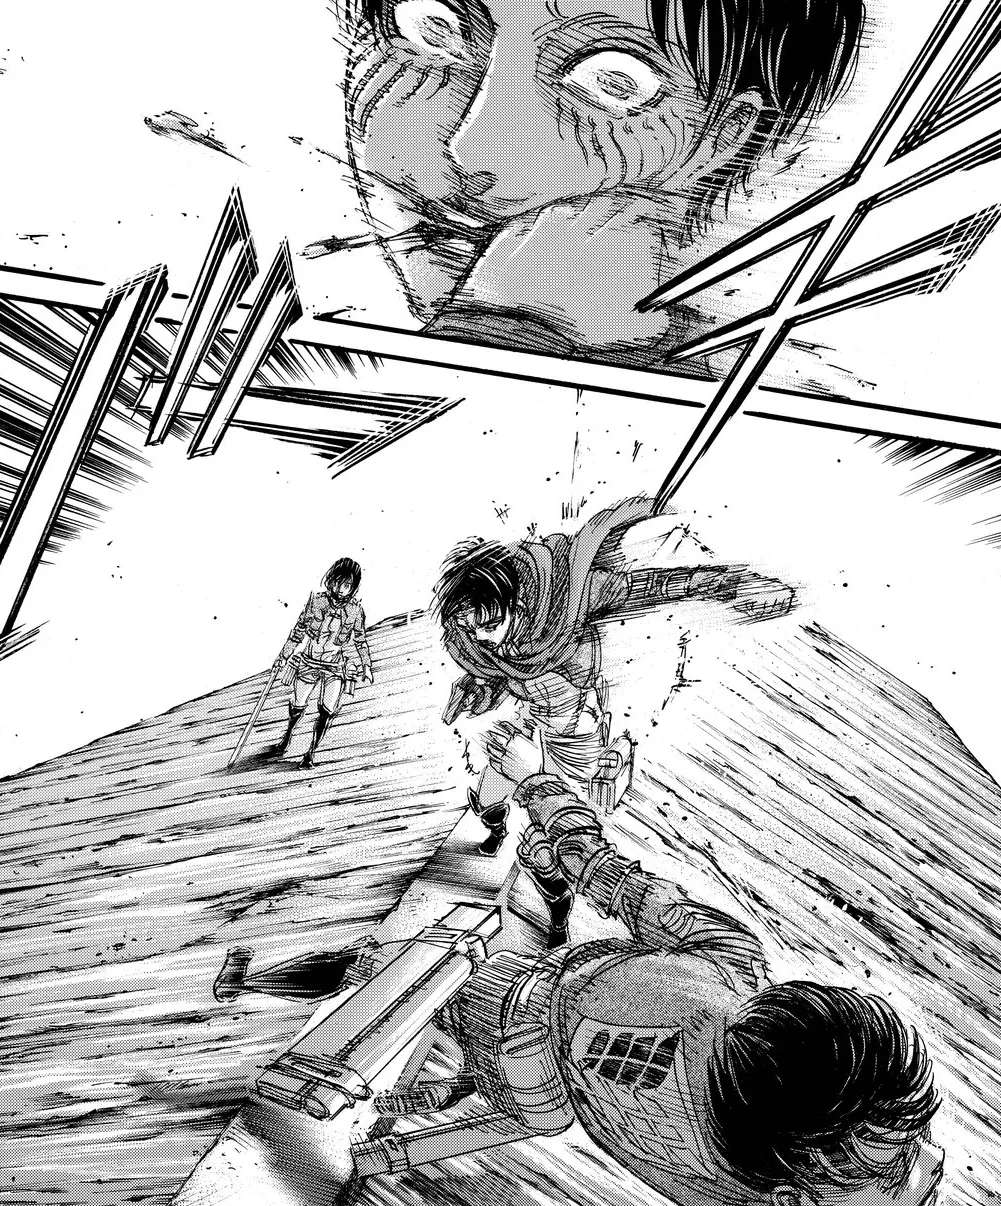
Attack on Titan's humanity's strongest soldier, built around four signature details: the cropped tan Survey Corps jacket, the green hooded cape, the ODM gear harness system, and Levi's undercut. This is an intermediate build that demands garment sewing skills and strapwork for the harness, but the result reads instantly as Levi on any con floor. The jacket collar and the harness are the make-or-break details, and this template walks you through both. Includes 8 components, 16 materials with cost estimates, a 14-step build plan, and a realistic 6-week, $120 to $350 budget.
6 weeks
14
16
8
See the whole look before you start.
References, materials, budget, and build order for Levi Ackerman.
Timeline
6 weeks
Color refs
Materials
16 items
Budget
$120 - $350
save the visual refs
Full reference board
The preview above is curated for scanning. This is the working board you clone into your own build, with notes, colors, product images, and extra references intact.
Images are sourced from around the internet to help you get started. Use the web clipper to build your own reference library.
Reference images are gathered from around the web and belong to their original creators. We link back to where we found each one. If something here is yours and you want it taken down, email us and it is gone.
Build guide
Levi Ackerman either reads instantly or he does not. The cropped tan jacket, the green hooded cape, the ODM harness crossing your chest. Get those right and people yell "Survey Corps!" from across the hall.
Here is the surprise: the jacket is not the hard part. The cape is not either. The harness is. I built two Levi versions and I messed up the strap layout the first time badly enough that I had to buy new faux leather and start over.
This is for intermediate cosplayers who can sew garments and are not afraid of a rivet setter. If you have made pants and a lined jacket before, you have the sewing skills. The new skill is strapwork: cutting faux leather, attaching metal buckles, setting rivets, and fitting a multi-point harness to your body. Give yourself 6 weeks with one full weekend for the harness alone.
Start with the jacket. The cropped hem and standing mandarin collar define the whole silhouette. Collar height matters more than any other detail. I used McCall's M6044 as a base pattern and shortened the hem three inches to match Levi's crop. Use heavyweight fusible interfacing on the collar so it stands up, not slouching against your neck.
For the cape, green cotton suiting in olive or forest green with a Wings of Freedom patch centered on the back. Cotton suiting breathes better than wool and you will not regret it at 2 PM on a con floor. Pants are white twill hemmed to ankle. Thrift the button-up shirt and save an afternoon.
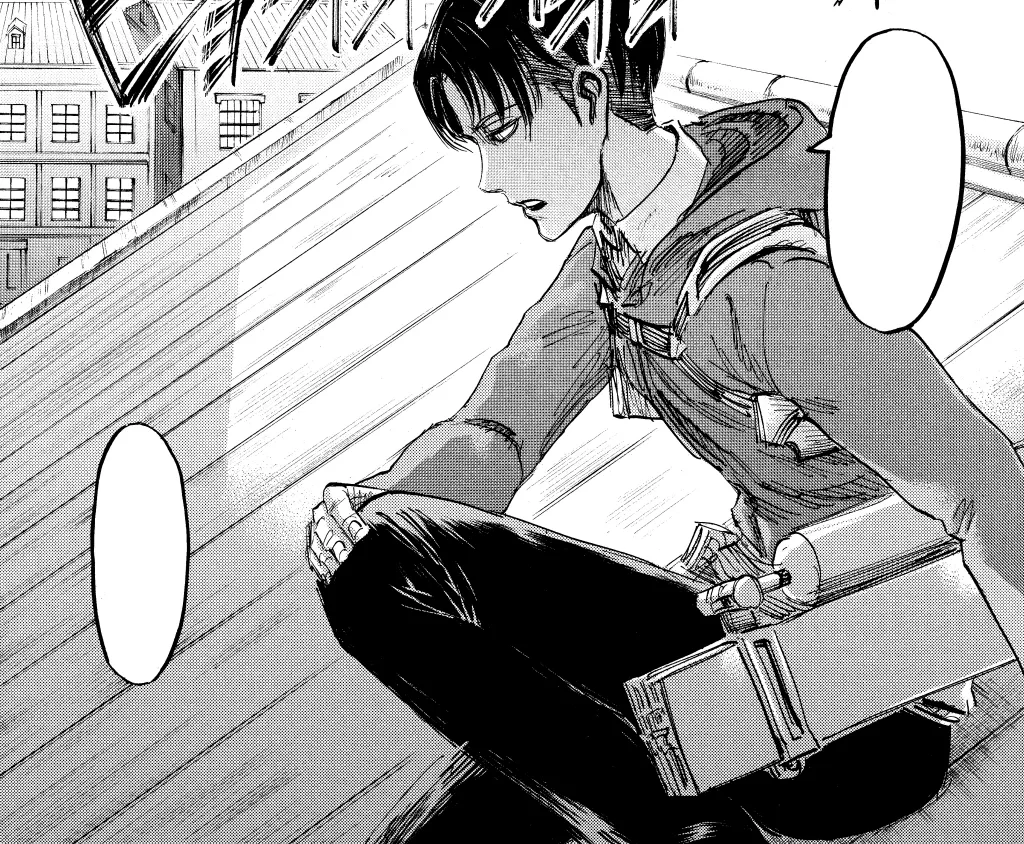
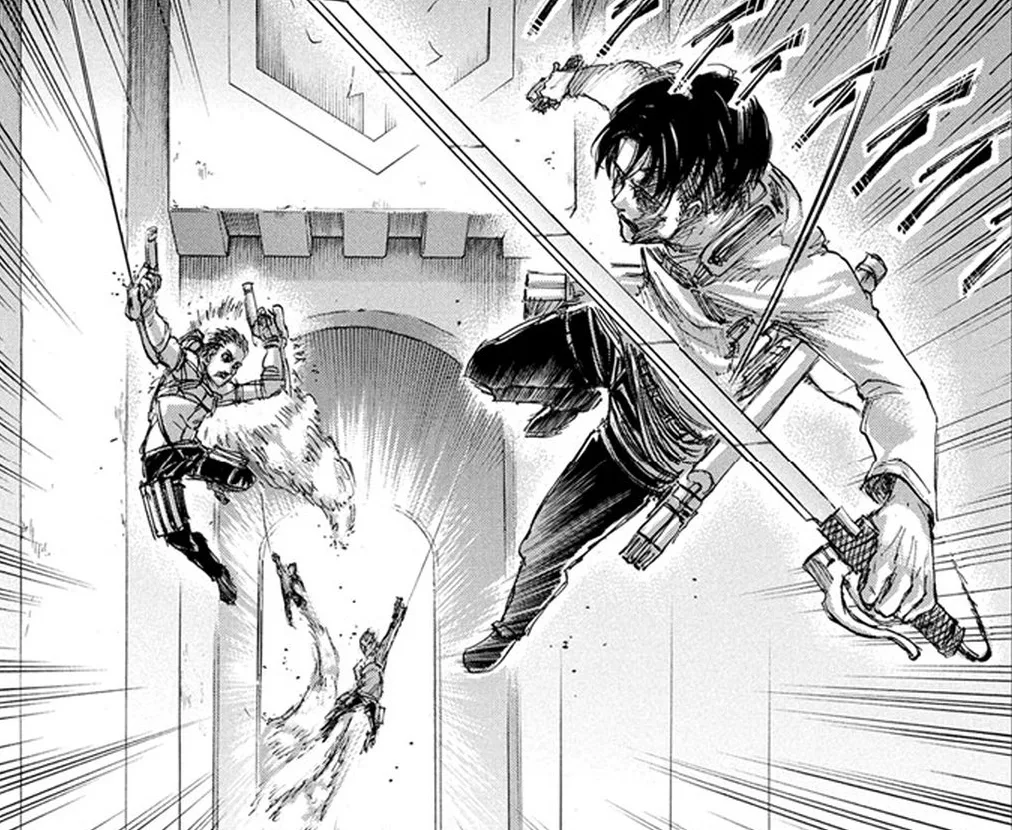
Now the harness, where I made every possible mistake. The strap layout has three zones: a waist belt, vertical straps crossing your chest and over the shoulders, and thigh straps below. I bought 2.5 yards of brown faux leather in saddle brown from Joann, plus metal buckles and D-rings from Tandy Leather for about $12. You will also need a rivet setter and a small hammer.
The step I skipped and regretted: fit the harness over the finished jacket before cutting anything permanent. The jacket adds bulk at the shoulders and waist, and straps that fit over a t-shirt will pull tight when you layer the jacket underneath. I cut my chest straps to the right length for my body, then found them sitting two inches too high over the jacket. I bought another yard of faux leather and recut everything. Pin or clip the full assembly over the jacket, mark every strap with chalk while wearing both layers, and only then set the rivets.
Finish with the wig. Levi's undercut is close on the sides and swept back on top. Take a short black wig from EpicCosplay or Five Wits and thin the sides with a razor comb. Use a matte pomade, not a wet-look gel. Keep the top flat, not spiked. Nobody recognizes a Levi with a shiny helmet head.
Budget $120 to $350. Most people land around $200 and get a solid con-ready result. Take your time on the strap layout, fit over the jacket before cutting, and keep the wig matte.
Components
Survey Corps cropped jacket
White dress shirt
White pants
Survey Corps green cape
ODM gear harness straps
Tall brown boots
Black undercut wig
ODM gear boxes (optional)
Materials list
16 itemsEstimated total cost
$120 - $350
Milestone timeline
6 weeks- 1
Gather Levi references and choose your version
Research
- 2
Source jacket pattern, fabric, and emblem patches
Materials
- 3
Source harness materials: faux leather, buckles, rivets
Materials
- 4
Source cape fabric, clasp closure, and wig
Materials
- 5
Draft and mock up jacket pattern with standing collar
Patterning
- 6
Cut jacket pieces and fuse interfacing to collar
Construction
- 7
Sew jacket body, set zipper, attach standing collar
Construction
- 8
Apply Survey Corps emblem to jacket and sew white shirt
Construction
- 9
Sew cape body with hood and attach back emblem
Construction
- 10
Hem white pants, make cravat, and finish cape closure
Construction
- 11
Cut, rivet, and fit the ODM harness system
Construction
- 12
Style wig with undercut and slicked-back top
Finishing
- 13
Build and paint ODM gear boxes (optional)
Finishing
- 14
Full suit-up, harness adjustment, and test walk
Wear test
Frequently
asked questions.
Related tools and guides
Plan your build, estimate costs, and get ready.
Budget Calculator
Estimate your build cost before you start buying materials.
Convention Checklist
88-item packing checklist. Check off items as you pack.
Prop Scaling Calculator
Scale reference images to your body measurements.
How Much Does EVA Foam Armor Cost?
Real build budgets with specific products and dollar amounts.
Cosplay Commission Cost Breakdown
Real build budgets with specific products and dollar amounts.
Cosplay on Costumary
Templates, tools, and workspace built for cosplay makers.
Browse all templates
Explore build plans across 10 craft verticals.
Debut your cosplay build
Upcoming conventions where you could wear this. Dates, checklists, and budget tools included.
New York Comic Con 2026
Oct 8-11 · New York, NY
The East Coast's largest pop culture convention, with major panels, artist alley, and cosplay showcases.
Anime USA 2026
Oct 9-11 · Washington, DC
A mid-size anime convention in the DC metro area, offering panels, cosplay, and Japanese cultural programming.
Tsubasacon 2026
Oct 9-11 · Charleston, WV
Sekaicon 2026
Oct 9-11 · Newark, OH
Start this build free
Clone this template into your workspace. Track materials, milestones, budget, and build progress in one place.
More from this series
Qifrey Cosplay
5 weeks · 12 milestones
Qifrey's elegant white-robed silhouette is built around three signature elements: the tall pointed hat with the bent tip and black ribbon, the flowing white cape with the brass brooch closure, and the asymmetrical pince-nez glasses with one dark lens hiding his scarred eye. This is an intermediate build that needs more structural crafting than sewing. The hat and glasses demand the most attention, while the cape is a manageable garment project. The glasses and the hat are the make-or-break details, and this template walks you through both. Includes 7 components, 15 materials with cost estimates, a 12-step build plan, and a realistic 5-week, $95 to $280 budget.
Coco Cosplay
6 weeks · 12 milestones
Witch Hat Atelier's apprentice witch in her full outfit: the tall pointed hat with ornamental band, a dark cloak with decorative hem trim, a layered tunic-dress, boots, and her drawing implements. The hat is the signature piece and the hardest to get right. 7 components, 13 materials, ~6 weeks at $120-280.
Sung Jinwoo Cosplay
7 weeks · 15 milestones
Solo Leveling's Shadow Monarch in his iconic default hunter outfit: a long black coat with purple inner lining, structured shoulder armor, fitted pants, and dual daggers. This is an intermediate hybrid build that combines garment sewing with foam armor crafting for the shoulder details, plus prop work for the daggers. The coat and its glowing purple lining are the make-or-break detail. Includes 7 components, 19 materials with cost estimates, a 15-step build plan, and a realistic 5-7 week, $120 to $320 budget.
Gojo Satoru Cosplay
5 weeks · 11 milestones
Jujutsu Kaisen's strongest sorcerer, built around three signature details: the black high-collar uniform jacket, the blindfold, and the white spiked hair. This is an intermediate build that leans on one well-made garment plus wig styling, so it reads instantly on the con floor without months of work. The collar and the wig are the make-or-break details, and this template walks you through both. Includes 6 components, 11 materials with cost estimates, an 11-step build plan, and a realistic 5-week, $90 to $240 budget.
Deadpool Suit Cosplay
5 weeks · 12 milestones
The Merc with a Mouth in full red and black: a head-to-toe spandex bodysuit with diamond-textured fabric, a face shell mask with white magnetic lenses, dual katanas on a concealed back harness, and a utility belt with pouches and holsters. An intermediate build that rewards patience with fit and details. Covers 7 components, 12 materials with cost estimates, a 12-step build plan across 5 phases, and a 5-week timeline at $120 to $350.
Yuta Okkotsu Cosplay
6 weeks · 12 milestones
Jujutsu Kaisen 0's tragic sorcerer bound to Rika's curse: the black school uniform, textured black wig, cursed arm markings, and luminous katana. A balanced build across uniform tailoring, prop construction, and wig styling. 4 components, 11 materials, ~6 weeks, $120-280.
Captain America Cosplay
6 weeks · 12 milestones
The star-spangled Avenger in his Endgame suit: scaled chest armor over a tactical blue base, a white star emblem, red gauntlets and boot details, a foam cowl helmet with ear wings, and the iconic round shield. This is an intermediate build with repetitive detail work on the scales and some prop-making for the shield. Covers 7 components, 12 materials with cost estimates, a 12-step plan across 5 phases, and a realistic 6-week, $150 to $400 budget.
Arlecchino Cosplay
7 weeks · 17 milestones
Arlecchino (The Knave) is Genshin Impact's most cosplay-demanding Fatui Harbinger: a layered suit jacket, structured long coat with back chains, multi-color ombre wig, character-specific X-pupil contacts, and a full accessories set that runs 12+ pieces. This is an advanced build for cosplayers who can sew structured garments, handle prop accessories, and plan a full character makeup look. The make-or-break details are the coat's lapel structure and the wig's silver-black-red color work. Includes 8 components, 14 materials with cost estimates, a 12-step build plan, and a realistic 7-week, $180 to $420 budget.