
Denji Pochita Hybrid Cosplay
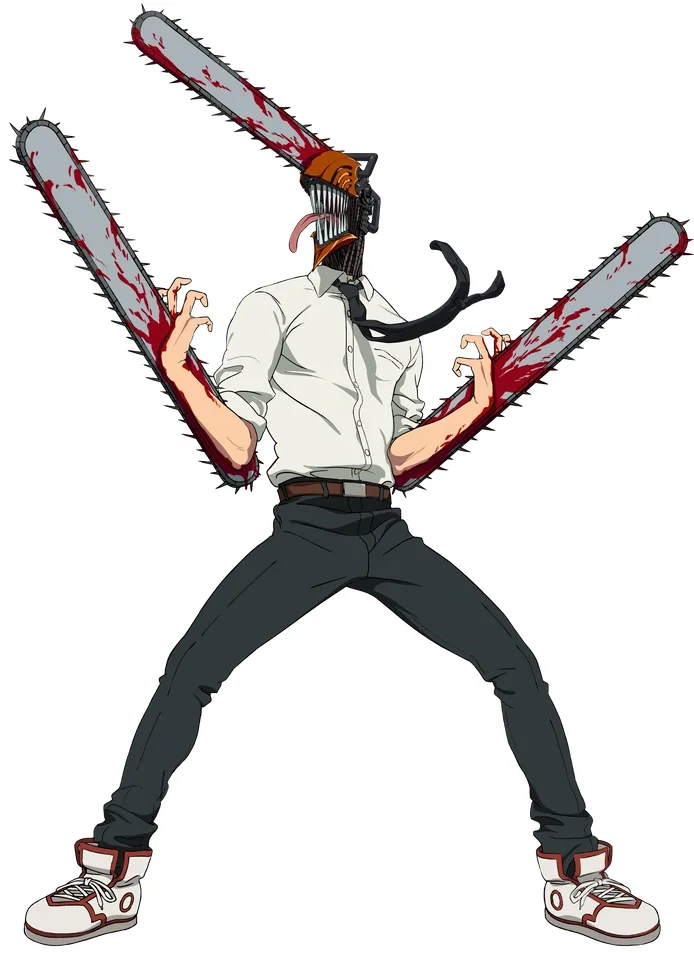
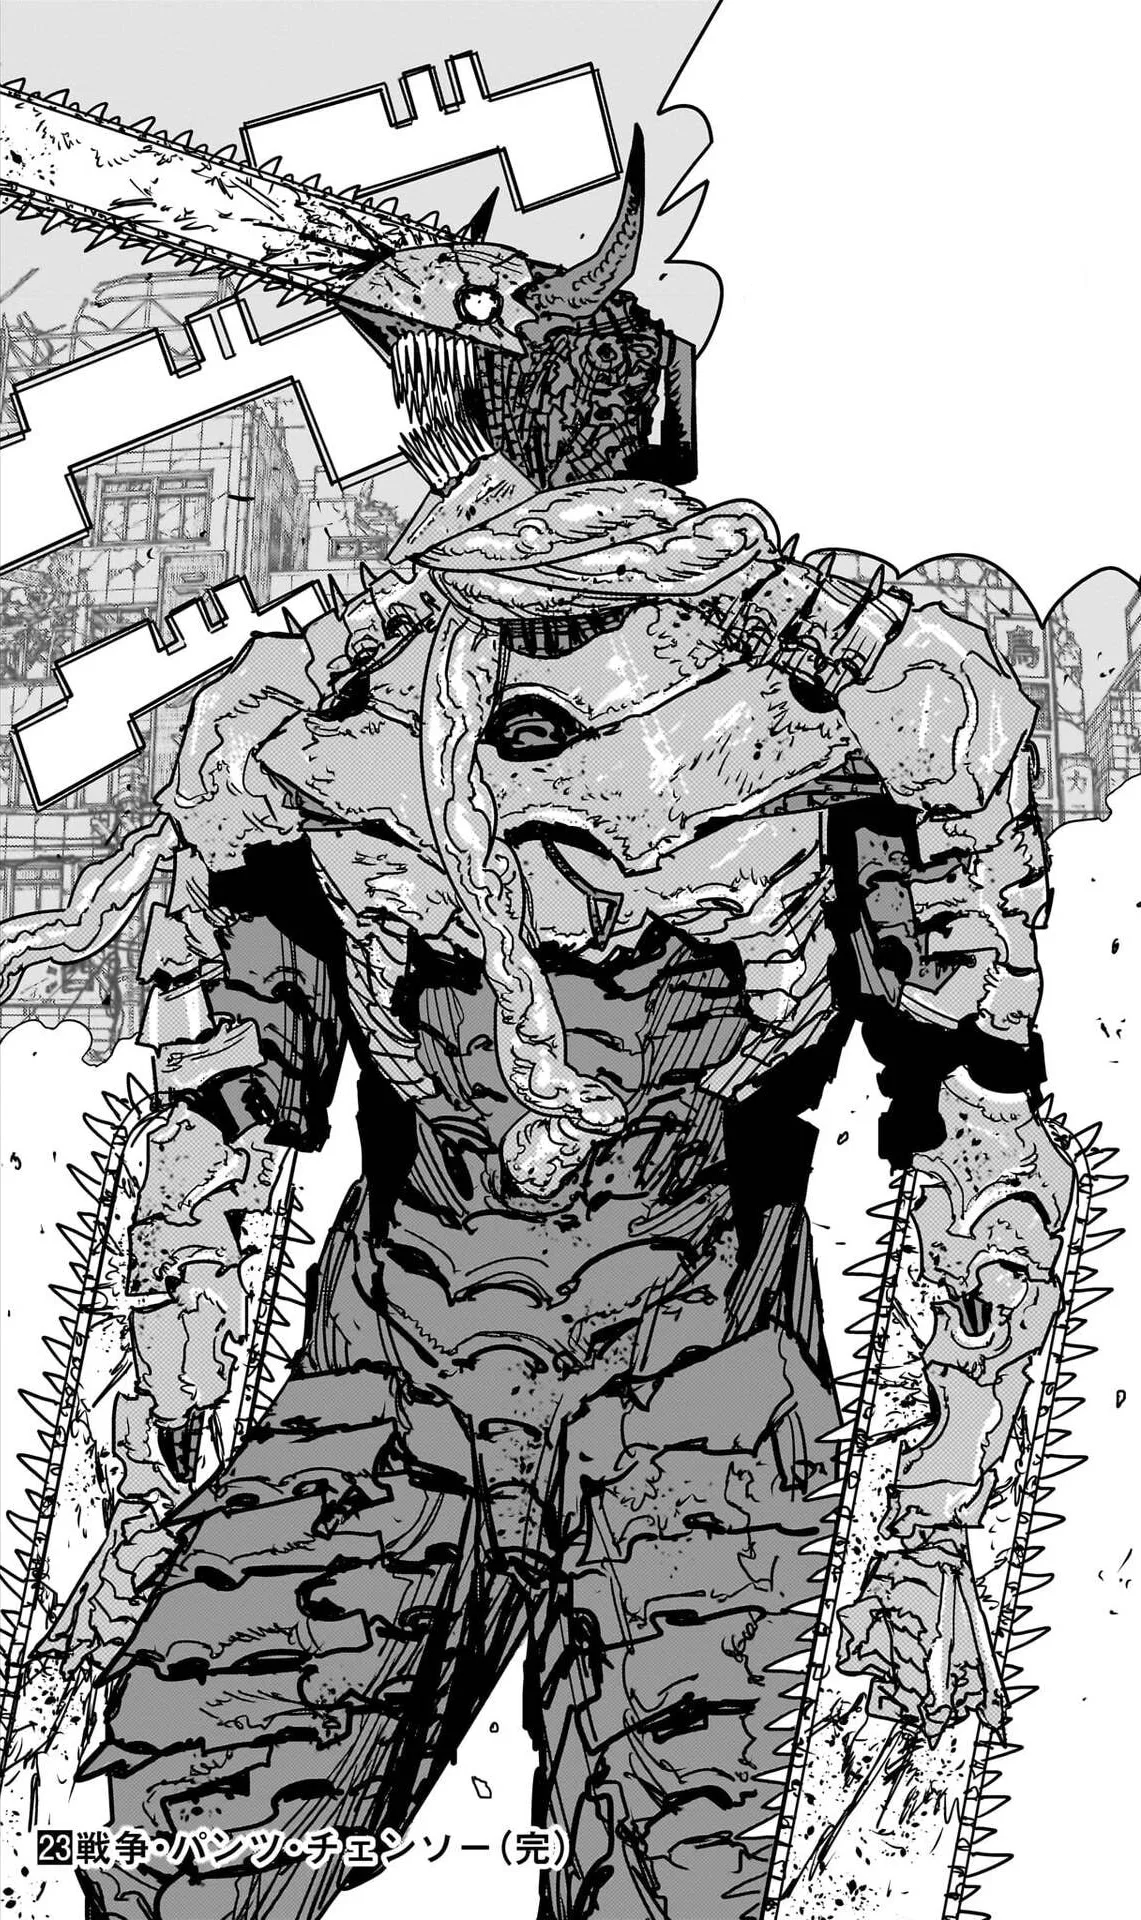
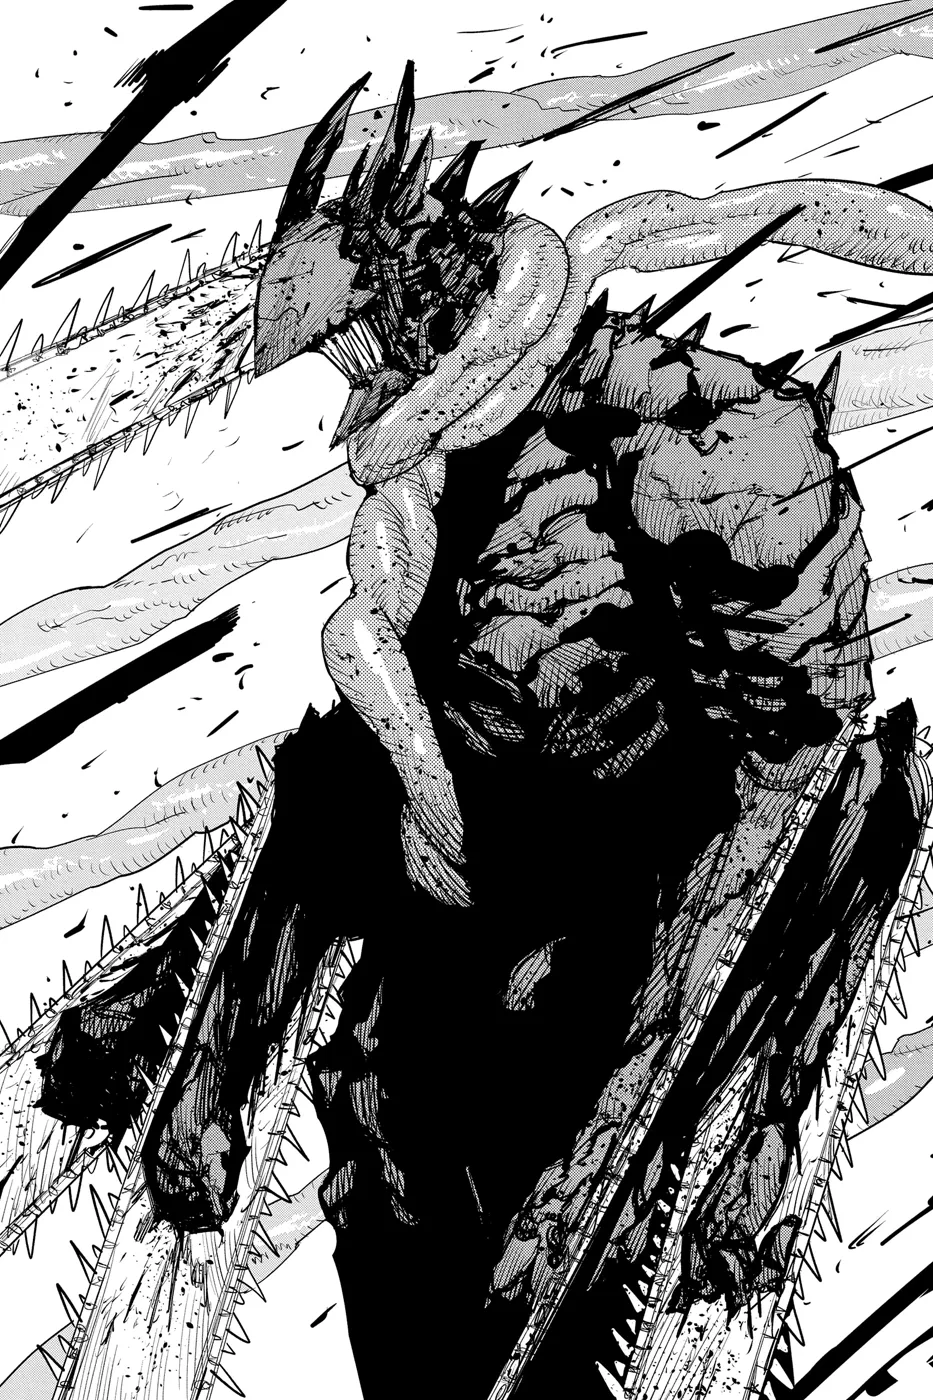
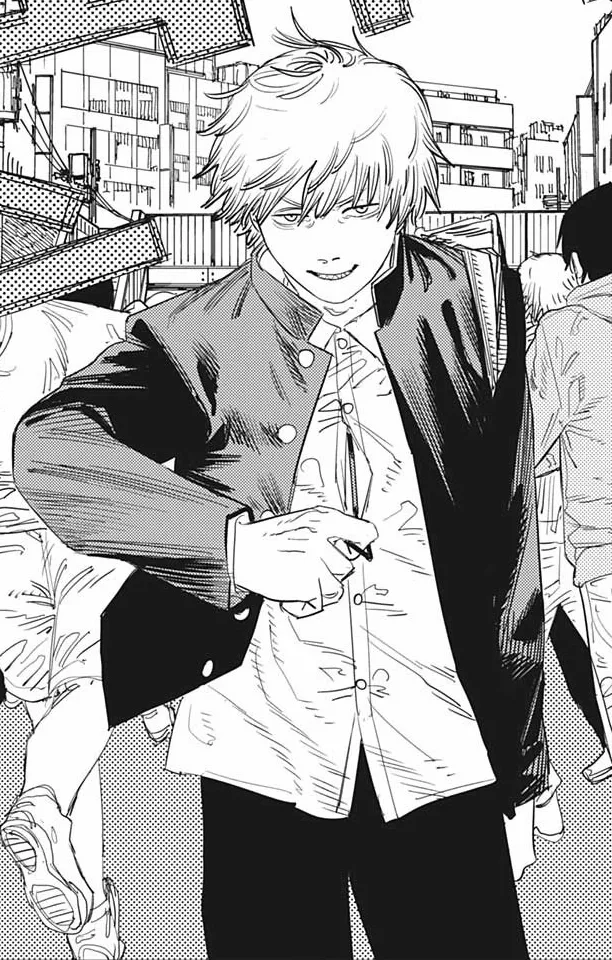
Denji's Pochita hybrid transformation: the chainsaw helmet, dual wrist blade arms, and blood-soaked Public Safety uniform. This is a full prop-and-armor build, not a fabric cosplay. The helmet is the centerpiece and the hardest piece: blade balance, internal sightlines, and weight all need solving before you build anything else. 6 components, 15 materials, ~12 weeks, $180-420.
12 weeks
20
15
6
See the whole look before you start.
References, materials, budget, and build order for Denji (Pochita Hybrid Form).
Timeline
12 weeks
Color refs
Materials
15 items
Budget
$180 - $420
save the visual refs
Full reference board
The preview above is curated for scanning. This is the working board you clone into your own build, with notes, colors, product images, and extra references intact.
Images are sourced from around the internet to help you get started. Use the web clipper to build your own reference library.
Reference images are gathered from around the web and belong to their original creators. We link back to where we found each one. If something here is yours and you want it taken down, email us and it is gone.
Build guide
Make a cardboard mock-up of the helmet before you touch a single sheet of EVA foam. Not a rough sketch. An actual cardboard shell around your actual head, with eye holes punched where your eyes fall. Then mark the grill slots at that height. This one step is what separates a convention-wearable build from a $200 photoshoot prop that never leaves the display stand.
The sightline problem is non-obvious from the reference art because Denji's character design doesn't account for human skulls. The grill sits at chin level on the character. On you, wearing the helmet, that puts the grill somewhere around your collarbone. Build at your proportions, not the anime's proportions. I've seen four completed Denji helmets at Anime Expo that the cosplayer couldn't actually walk in. Four.
For the blade, scale it to 75% of what the reference shows. Full-scale blades throw the center of gravity forward and you physically cannot hold your head level after about twenty minutes. 75% reads correctly in photos. Nobody will notice. Your neck will thank you at hour six of the con.
EVA foam is the right call for the helmet shell. Full PLA print weighs 3-5 lb before you attach the blade. Full EVA build, following the SKSProps free templates, comes in under 2 lb. If you want the crisp surface detail of a print, do a hybrid: print the main shell, replace the blade in 6mm foam, add a counterweight pocket in the rear interior. That's $40 in PLA versus $15 in foam for the blade section alone. Expensive. Worth thinking about.
The chain links are the hidden time trap. Each link is hand-carved from 5mm EVA strips cut to half-inch widths. You have three chainsaw props. Do the math: you're looking at 8-15 hours just for chain work if you carve by hand. The shortcut that no tutorial mentions is 3/8-inch rubber gasket chain from a hardware store plumbing aisle. It looks nearly identical once painted. I used it on the arm props and carved the helmet chain links by hand because the helmet gets photographed up close. Good compromise.
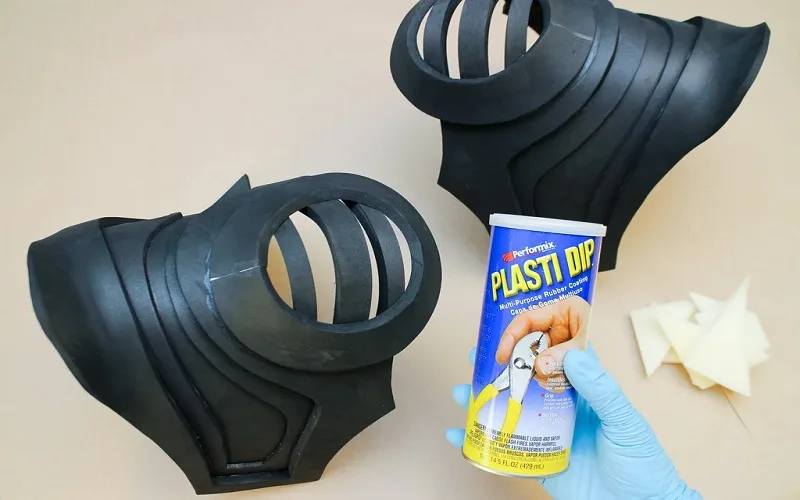
Paint sequence: seal everything in three Plasti-Dip coats before you open the gray. Each coat needs 30 minutes minimum. Skip this and your acrylic goes on chalky and flat because foam is porous. After sealing, base coat in a matte dark steel gray (I mixed Americana Slate Gray with a touch of black to hit around #3D3D3D). Let it dry, then dry-brush a lighter silver (#8A8A8A range) across raised edges of the chainsaw teeth and chain links. Two coats, no more. Then matte varnish. That's the whole paint job.
For blood effects: buy Ben Nye Gel Stage Blood, not liquid. Mix 3 parts blood to 1 part brown acrylic. Apply with a stipple brush on the pre-con shirt, let it dry, seal lightly with matte varnish so it doesn't transfer onto other people. Do this the week before the con, not the morning of. And buy two shirts. One blood shirt, one clean backup. This advice is free. The ruined shirt experience is not.
Convention notes: the arm props make you physically incapable of carrying anything. Build a chest-worn fanny pack or bring a handler. The helmet becomes an oven after 30 minutes with no airflow. Cut small ventilation holes along the back lower edge, hidden by the rear panel. Invisible in photos. Makes the difference between wearing this for two hours and wearing it all day.
Components
Chainsaw helmet (head prop)
Wrist chainsaw arm props (pair)
Public Safety uniform (base costume)
Body armor shell (chest and shoulder pieces)
Chain link detailing (all props)
Blood effects and weathering (final layer)
Materials list
15 itemsEstimated total cost
$180 - $420
Milestone timeline
12 weeks- 1
Gather references and lock your version (manga panels vs anime screenshots)
Research
- 2
Build cardboard mock-up at your head scale, map eye sightlines
Patterning
- 3
Mock up forearm shell fit on both arms in cardboard
Patterning
- 4
Pattern chest plate and shoulder pieces from references
Patterning
- 5
Source and fit white shirt and black trousers
Materials
- 6
Cut and glue helmet shell in 10mm EVA foam
Construction
- 7
Shape and attach front blade in 6mm EVA foam (scaled for wearability, not anime accuracy)
Construction
- 8
Cut and glue arm prop shells in 10mm EVA foam
Construction
- 9
Cut and form chest and shoulder armor in 10mm EVA foam
Construction
- 10
Heat-shape armor pieces to body curve with heat gun
Construction
- 11
Hand-carve chain links from 5mm EVA strips OR source rubber chain
Details
- 12
Attach chain trim to blade perimeters on all three chainsaw props
Details
- 13
Install snap-on rubber cord attachment system on arm props
Details
- 14
Install elastic/D-ring harness under shirt for chest armor
Details
- 15
Seal all foam pieces in 3 Plasti-Dip coats, let cure fully between coats
Finishing
- 16
Paint steel gray base coat, dry-brush silver highlight, add weathering
Finishing
- 17
Apply blood effects to shirt, armor, and helmet using stipple technique
Finishing
- 18
Seal weathering on props with matte varnish
Finishing
- 19
Full wear test: helmet sightlines, arm prop snap-off, mobility, weight
Wear test
- 20
Pack repair kit: contact cement, gaffer tape, gray and silver paint, spare shirt
Packing
Frequently
asked questions.
Related tools and guides
Plan your build, estimate costs, and get ready.
Budget Calculator
Estimate your build cost before you start buying materials.
Convention Checklist
88-item packing checklist. Check off items as you pack.
Prop Scaling Calculator
Scale reference images to your body measurements.
How Much Does EVA Foam Armor Cost?
Real build budgets with specific products and dollar amounts.
Cosplay Commission Cost Breakdown
Real build budgets with specific products and dollar amounts.
Cosplay on Costumary
Templates, tools, and workspace built for cosplay makers.
Browse all templates
Explore build plans across 10 craft verticals.
Debut your cosplay build
Upcoming conventions where you could wear this. Dates, checklists, and budget tools included.
Start this build free
Clone this template into your workspace. Track materials, milestones, budget, and build progress in one place.
More from this series
Denji Cosplay
10 weeks · 15 milestones
Chainsaw Man's protagonist in his iconic hybrid form: the human body with a chainsaw head and transformable chainsaw arms. The hand-carved foam helmet with chain-link detailing is the make-or-break piece, demanding precision foam work and 8-12 weeks of dedicated building. A full build includes the school uniform base, prosthetic teeth, spiky hair, and the chainsaw arms or helmet. 6 components, 14 materials, ~10 weeks, $200-500.
Reze Cosplay
7 weeks · 13 milestones
Chainsaw Man's Bomb Devil in two forms: the human school uniform and the full hybrid transformation. The uniform is a tailored dark blazer, pleated gray skirt, and white blouse with red tie. The Bomb Devil form adds a sculpted metal mask and dynamite waist panel. The harness system with chains, ammo pouches, and the amber-red wig with soft waves are the make-or-break details. 8 components, 15 materials, 13-step build plan, ~7 weeks, $100 to $300.
Power Cosplay
3 weeks · 11 milestones
Power is Chainsaw Man's Blood Fiend: golden-blonde hair, sharp red horns, and a Public Safety suit she never quite manages to wear correctly. The read comes from three details done right: the dirty-blonde wig with dense bangs, the curved red horns attached so they don't tip over by noon, and yellow target-pattern circle lenses that make strangers do a double-take. Every other piece is thrifted business casual. 6 components, 10 materials, about 3 weeks, $75 to $185.
Makima Cosplay
4 weeks · 10 milestones
Chainsaw Man's most unsettling devil hunter, built from off-the-rack business formal and one killer wig. No sewing required. The whole look is a white dress shirt, black tie, slim pants, and a knee-length trench coat the kind of sharp office-wear that reads instantly as Makima on the con floor. The pink-red wig with straight bangs is the make-or-break detail, and the yellow ringed circle lenses seal the unnerving effect. 7 components, 9 materials, about 4 weeks, $80 to $220.
Qifrey Cosplay
5 weeks · 12 milestones
Qifrey's elegant white-robed silhouette is built around three signature elements: the tall pointed hat with the bent tip and black ribbon, the flowing white cape with the brass brooch closure, and the asymmetrical pince-nez glasses with one dark lens hiding his scarred eye. This is an intermediate build that needs more structural crafting than sewing. The hat and glasses demand the most attention, while the cape is a manageable garment project. The glasses and the hat are the make-or-break details, and this template walks you through both. Includes 7 components, 15 materials with cost estimates, a 12-step build plan, and a realistic 5-week, $95 to $280 budget.
Coco Cosplay
6 weeks · 12 milestones
Witch Hat Atelier's apprentice witch in her full outfit: the tall pointed hat with ornamental band, a dark cloak with decorative hem trim, a layered tunic-dress, boots, and her drawing implements. The hat is the signature piece and the hardest to get right. 7 components, 13 materials, ~6 weeks at $120-280.
Sung Jinwoo Cosplay
7 weeks · 15 milestones
Solo Leveling's Shadow Monarch in his iconic default hunter outfit: a long black coat with purple inner lining, structured shoulder armor, fitted pants, and dual daggers. This is an intermediate hybrid build that combines garment sewing with foam armor crafting for the shoulder details, plus prop work for the daggers. The coat and its glowing purple lining are the make-or-break detail. Includes 7 components, 19 materials with cost estimates, a 15-step build plan, and a realistic 5-7 week, $120 to $320 budget.
Gojo Satoru Cosplay
5 weeks · 11 milestones
Jujutsu Kaisen's strongest sorcerer, built around three signature details: the black high-collar uniform jacket, the blindfold, and the white spiked hair. This is an intermediate build that leans on one well-made garment plus wig styling, so it reads instantly on the con floor without months of work. The collar and the wig are the make-or-break details, and this template walks you through both. Includes 6 components, 11 materials with cost estimates, an 11-step build plan, and a realistic 5-week, $90 to $240 budget.